
1. Introduction
This manual provides detailed instructions for the installation, operation, and troubleshooting of your MLEEDA KVM Switch. This device allows you to control up to four computers using a single set of keyboard, mouse, and three monitors. It supports 4K@60Hz resolution and features USB 3.0 ports for high-speed data transfer.

The MLEEDA KVM Switch enables seamless control of four computers across three monitors and shared USB peripherals.
2. Package Contents
Please verify that all items are present in your package:
- 1 x MLEEDA 4 PC 3 Monitor KVM Switch
- 4 x USB 3.0 Cables (1.5m)
- 1 x 12V Power Adapter
- 1 x Wired Remote Control (1.5m)
- 1 x User Manual

Contents of the MLEEDA KVM Switch package.
3. Product Diagram
Familiarize yourself with the ports and indicators on the KVM switch:

Front and rear view of the KVM Switch with port labels. Each PC requires 2 HDMI, 1 DisplayPort, and 1 USB cable connection.
Front Panel:
- Power Button: On/Off switch.
- USB 3.0 Ports: For connecting keyboard, mouse, USB drives, etc.
- PC Selection Buttons: Buttons labeled PC1, PC2, PC3, PC4 to manually switch between connected computers.
- Wired Remote Port: For connecting the included wired remote control.
Rear Panel:
- PC Input Ports (PC1-PC4): Each PC requires 2 HDMI inputs, 1 DisplayPort input, and 1 USB 3.0 input.
- Monitor Output Ports (OUT A, OUT B, OUT C): Connect to your three monitors.
- DC 12V Power Input: For connecting the power adapter.
4. Setup Instructions
- Power Off All Devices: Ensure all computers and monitors are powered off before beginning the connection process.
- Connect Monitors to KVM: Connect your three monitors to the KVM Switch's "OUT A", "OUT B", and "OUT C" ports using appropriate HDMI and DisplayPort cables.
- Connect Computers to KVM: For each computer (PC1, PC2, PC3, PC4):
- Connect two HDMI outputs from your computer to the corresponding HDMI input ports on the KVM (e.g., PC1's HDMI outputs to KVM's PC1 HDMI inputs).
- Connect one DisplayPort output from your computer to the corresponding DisplayPort input port on the KVM (e.g., PC1's DisplayPort output to KVM's PC1 DisplayPort input).
- Connect one USB 3.0 cable from your computer's USB port to the corresponding USB 3.0 input port on the KVM (e.g., PC1's USB to KVM's PC1 USB 3.0 input).
Important: Ensure all video and USB cables from a single computer are connected to the same PC input group on the KVM (e.g., all cables for PC1 go to the PC1 input section).
- Connect Peripherals: Connect your keyboard, mouse, and other USB 3.0 devices (e.g., webcam, hard drive, printer) to the USB 3.0 ports on the front panel of the KVM Switch.
- Connect Wired Remote (Optional): Plug the wired remote control into the dedicated port on the front panel.
- Power On KVM: Connect the 12V power adapter to the KVM Switch and plug it into a power outlet. Turn on the KVM using the power button.
- Power On Computers and Monitors: Power on your computers and monitors. The KVM will automatically detect the active input.
5. Operating Instructions
You can switch between connected computers using two methods:
Method 1: Front Panel Buttons
Press the corresponding PC selection button (PC1, PC2, PC3, or PC4) on the front panel of the KVM Switch to switch to the desired computer. An LED indicator will illuminate to show the active computer.
Method 2: Wired Remote Control
Press the button on the wired remote control to cycle through the connected computers. Each press will switch to the next active PC in sequence.

Switching between computers using the front panel button or the wired remote control.
6. Display Modes
The KVM switch supports both Mirror and Extended display modes. You can typically configure these modes through your computer's operating system display settings (e.g., Windows + P shortcut on Windows).
- Mirror Mode: Displays the same content on all three monitors.
- Extended Mode: Extends your desktop across all three monitors, allowing for three different screens.
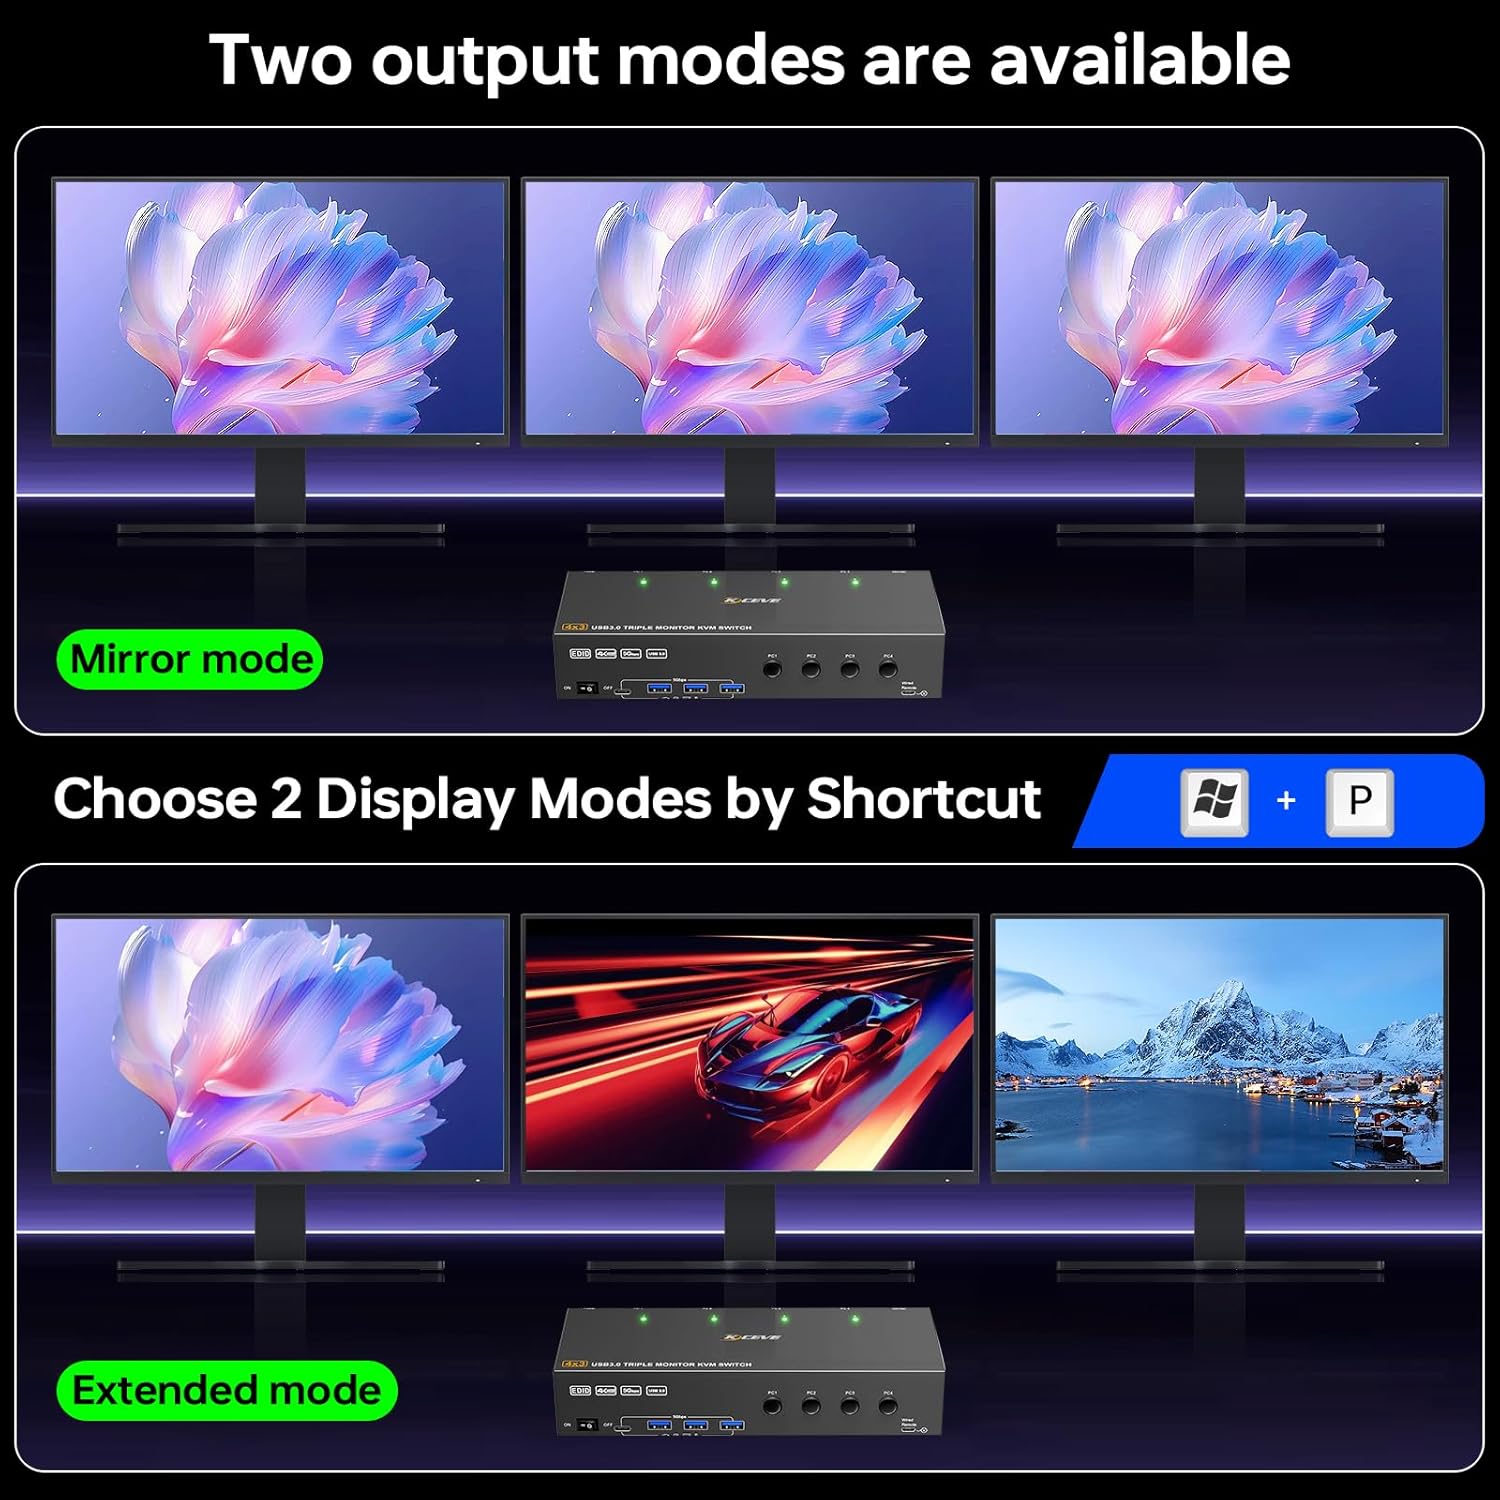
Illustration of Mirror and Extended display modes.
7. EDID Emulation
The KVM Switch features EDID emulation on its HDMI input ports. This function allows the KVM to store and simulate the display's EDID (Extended Display Identification Data) to the connected computers. This ensures that your computers always detect the correct display resolution and refresh rate, preventing display issues when switching between sources or when a computer is not actively selected.
Note: DisplayPort (DP) inputs do not support EDID emulation.

Explanation of EDID Emulation support.
8. USB 3.0 Data Transfer
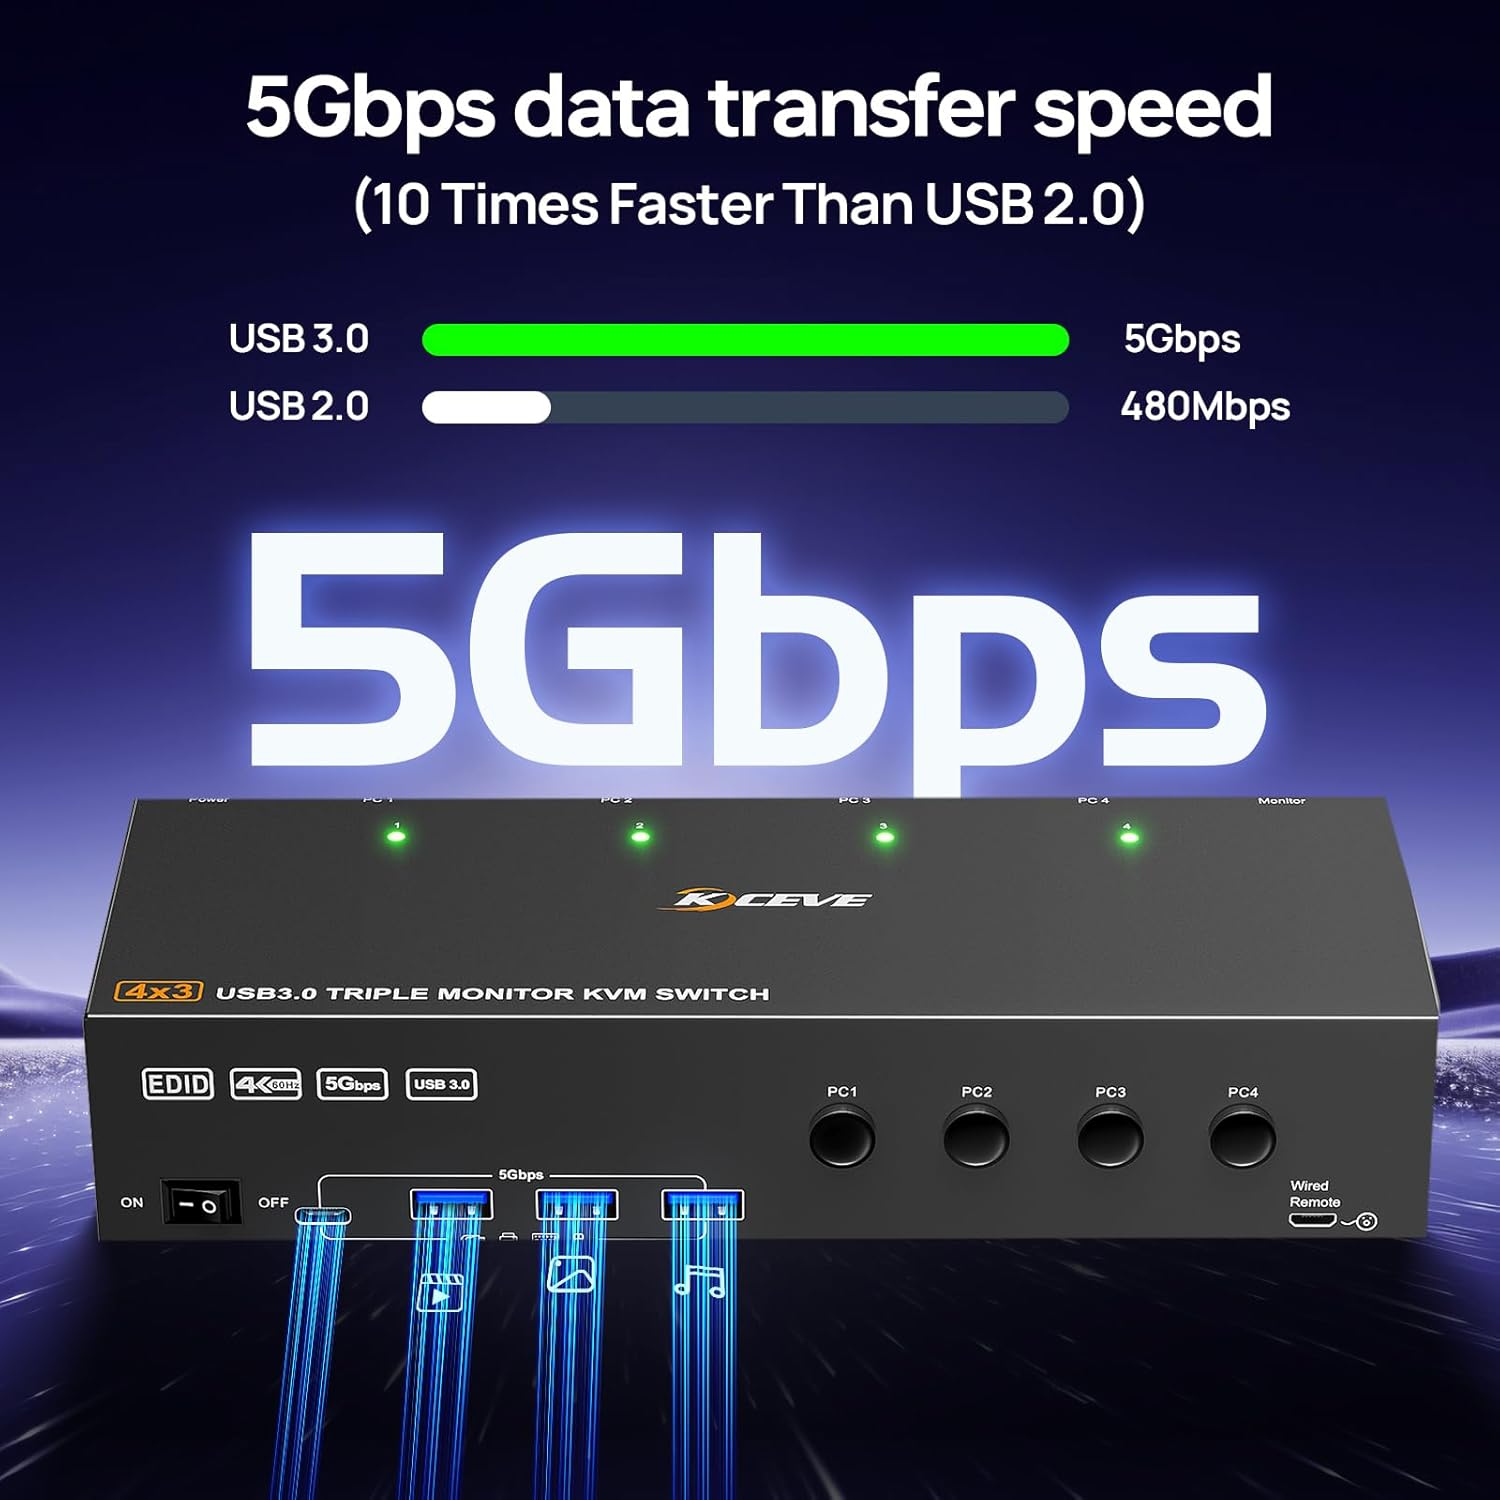
The integrated USB 3.0 ports support ultra-fast data transfer speeds of up to 5Gbps, which is significantly faster than USB 2.0. This allows for quick and efficient use of connected USB peripherals.

Comparison of USB 3.0 and USB 2.0 data transfer speeds.
9. Troubleshooting
If you encounter issues with your KVM Switch, please refer to the following common problems and solutions:
- No Display on Monitors:
- Ensure all HDMI and DisplayPort cables are securely connected between the computers, KVM, and monitors.
- Verify that the KVM Switch is powered on and the correct PC input is selected.
- Check if the monitors are powered on and set to the correct input source.
- Try restarting the KVM Switch and then the computers.
- Ensure your graphics card drivers are up to date.
- Keyboard/Mouse Not Working:
- Ensure the USB 3.0 cables are properly connected from the computers to the KVM.
- Try connecting the keyboard and mouse to different USB 3.0 ports on the KVM.
- Some specialized gaming keyboards/mice may require direct connection to the computer or specific drivers.
- Restart the KVM Switch.
- Resolution or Refresh Rate Issues:
- Ensure your cables (HDMI 2.0, DisplayPort 1.2 or higher) support the desired resolution and refresh rate (e.g., 4K@60Hz).
- Verify your computer's display settings are configured for the correct resolution and refresh rate.
- Remember that DisplayPort inputs do not support EDID emulation, which might affect display detection on DP connections.
- Intermittent Connectivity:
- Check all cable connections for looseness.
- Ensure the power adapter is securely connected and providing stable power.
- Avoid using excessively long or low-quality cables, which can degrade signal integrity.
10. Specifications
| Feature | Detail |
|---|---|
| Model Number | 4 PC 3 Monitor HDMI+DP |
| Brand | MLEEDA |
| Dimensions (L x W x H) | 21 x 7.8 x 4.5 cm |
| Weight | 580 Grams |
| Video Inputs | 2x HDMI, 1x DisplayPort per PC (4 PCs total) |
| Video Outputs | 3x Monitor Outputs |
| Max Resolution | 4K@60Hz, 2K@120Hz |
| USB Ports | 4x USB 3.0 (5Gbps data transfer) |
| Power Supply | 12V DC Adapter |
| Control Methods | Front Panel Button, Wired Remote Control |
| EDID Emulation | Supported on HDMI inputs |
| Compatibility | Windows, Mac, Linux, Unix, Ubuntu |
| Material | Metal |
| Operating Voltage | 5 Volts |
| Current Rating | 2 A |
| Power | 10 Watts |
| International Protection Rating | IP54 |
| Certifications | CE |
The KVM Switch supports 4K Ultra HD resolutions up to 60Hz.
11. Maintenance
To ensure the longevity and optimal performance of your MLEEDA KVM Switch:
- Keep the device in a cool, dry place, away from direct sunlight and heat sources.
- Avoid exposing the device to moisture or extreme temperatures.
- Clean the exterior with a soft, dry cloth. Do not use liquid cleaners or aerosols.
- Ensure proper ventilation around the device to prevent overheating.
- Periodically check all cable connections to ensure they are secure.
12. Warranty and Support
The MLEEDA KVM Switch comes with a 12-month warranty. If you have any questions or require technical support regarding your KVM switch, please contact MLEEDA customer service. We offer comprehensive after-sales service, including technical assistance and replacement options.
For support, please refer to the contact information provided with your purchase or visit the official MLEEDA website.


