
1. Introduction
This manual provides essential information for setting up, operating, and maintaining your NIMO 17.3 Gaming Laptop. Please read this manual thoroughly to ensure proper usage and to maximize the performance and longevity of your device. Keep this manual for future reference.

Image 1.1: Front view of the NIMO 17.3 Gaming Laptop. The laptop features a large display, a full-sized keyboard, and a sleek design.
2. Package Contents
Verify that all items are present in the package:
- 1 x NIMO 17.3 Gaming Laptop (Model Nimo N175)
- 1 x Type-C 100W PD Fast Charger
- 1 x User Manual (this document)
- Windows 11 Home Operating System (pre-installed)
3. Product Overview
3.1. External Components and Ports
Familiarize yourself with the various ports and components of your NIMO laptop:
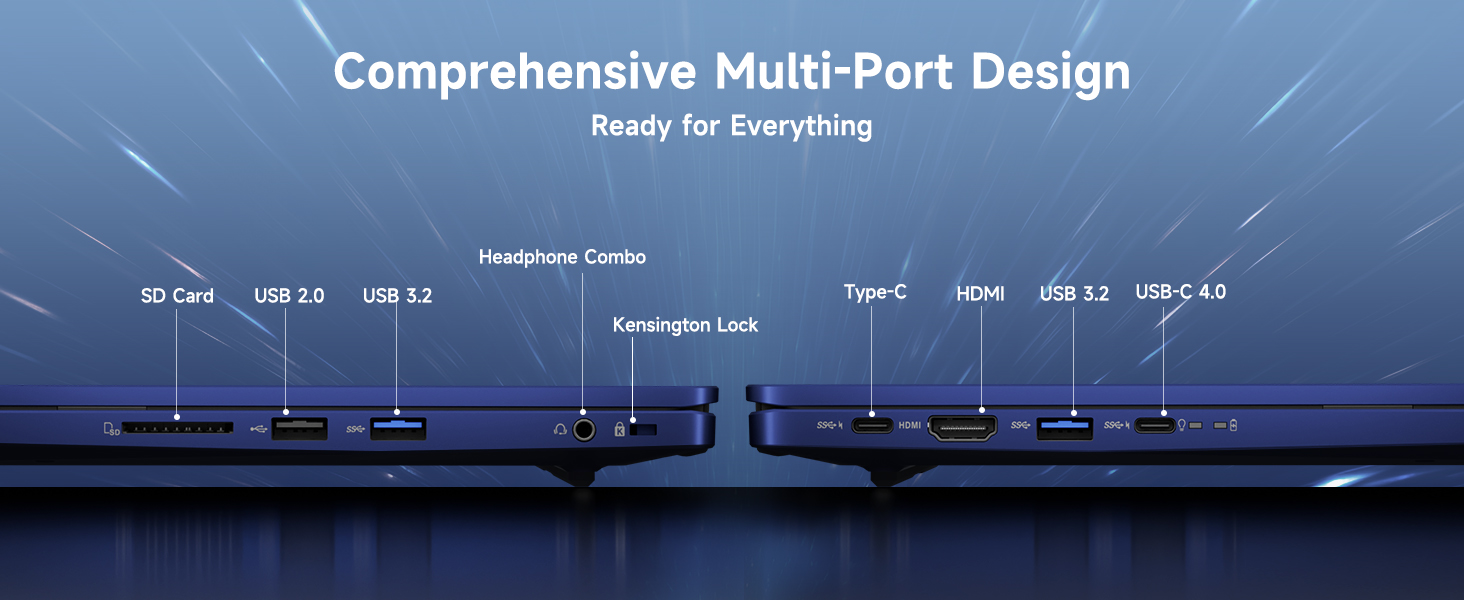
Image 3.1: Overview of the comprehensive multi-port design on the NIMO laptop. Ports include SD Card reader, USB 2.0, USB 3.2, Headphone Combo jack, Kensington Lock slot, Type-C, HDMI, and USB-C 4.0.
- Left Side: SD Card Reader, USB 2.0 Port, USB 3.2 Port, Headphone Combo Jack, Kensington Lock Slot.
- Right Side: Type-C Port, HDMI Port, USB 3.2 Port, USB-C 4.0 Port.
- Top (Display): Integrated Webcam with Privacy Switch.
- Keyboard: Backlit Keyboard, Fingerprint Reader (integrated into power button or touchpad area).
4. Setup
4.1. Initial Power On
- Connect the 100W Type-C PD Fast Charger to the laptop's USB-C port and a power outlet.
- Open the laptop lid.
- Press the power button to turn on the laptop.
- Follow the on-screen instructions to complete the Windows 11 initial setup, including language, region, network connection, and user account creation.
4.2. Connecting Peripherals
Use the available USB ports (USB 2.0, USB 3.2, USB-C 4.0) to connect external devices such as a mouse, keyboard, or external storage drives. The HDMI port allows connection to an external monitor or TV.
4.3. Network Connection
During initial setup, you will be prompted to connect to a Wi-Fi network. You can also manage network settings via Windows Settings > Network & Internet.
5. Operating Instructions
5.1. Power Management
- Power On/Off: Press the power button to turn on. To shut down, click the Start button, then Power > Shut down.
- Sleep Mode: Close the lid or click the Start button, then Power > Sleep.
- Restart: Click the Start button, then Power > Restart.
5.2. Using the Keyboard and Touchpad
The laptop features a full-sized keyboard with a numeric keypad and a precision touchpad. The keyboard is backlit for use in low-light conditions. Adjust backlight settings via function keys (refer to your specific model's key layout).
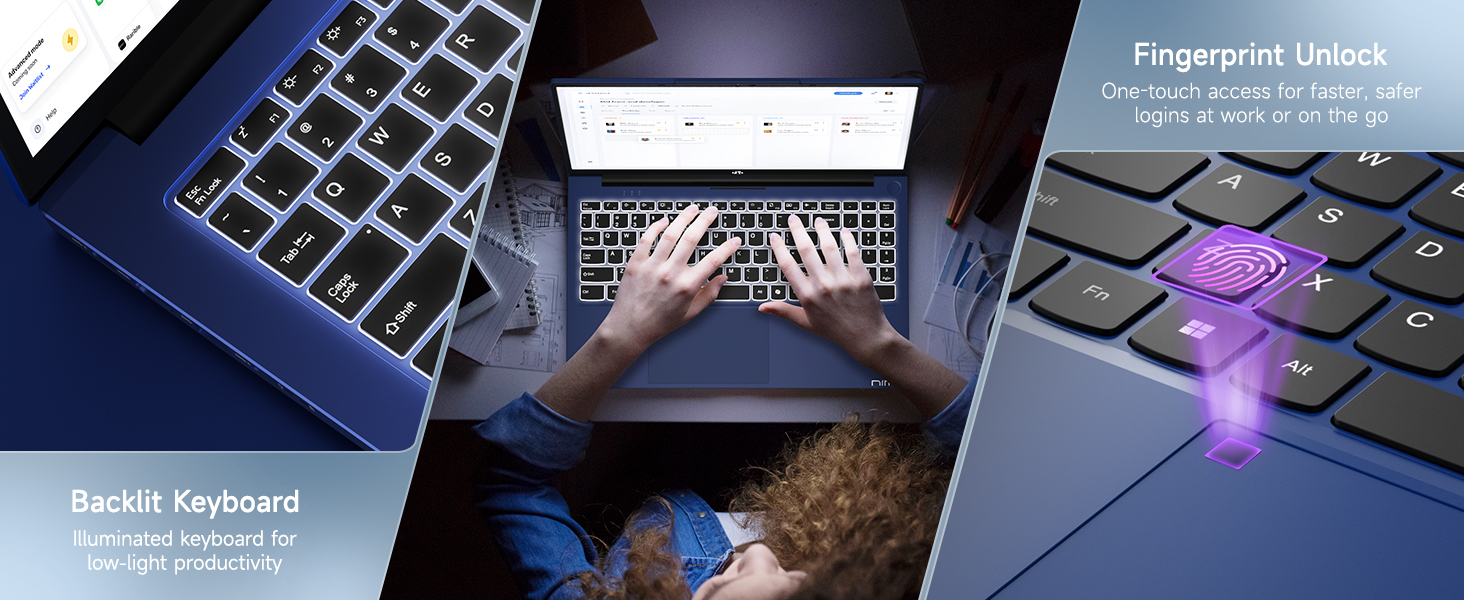
Image 5.1: The backlit keyboard illuminates for visibility in dim environments, and the fingerprint sensor provides quick, secure access.
5.3. Fingerprint Unlock
For enhanced security and quick access, configure the fingerprint reader:
- Go to Windows Settings > Accounts > Sign-in options.
- Under 'Windows Hello Fingerprint', click 'Set up' and follow the on-screen instructions to register your fingerprint.
5.4. Webcam Privacy Switch
The integrated webcam includes a physical privacy switch to ensure your privacy. Slide the switch to cover or uncover the camera lens as needed.
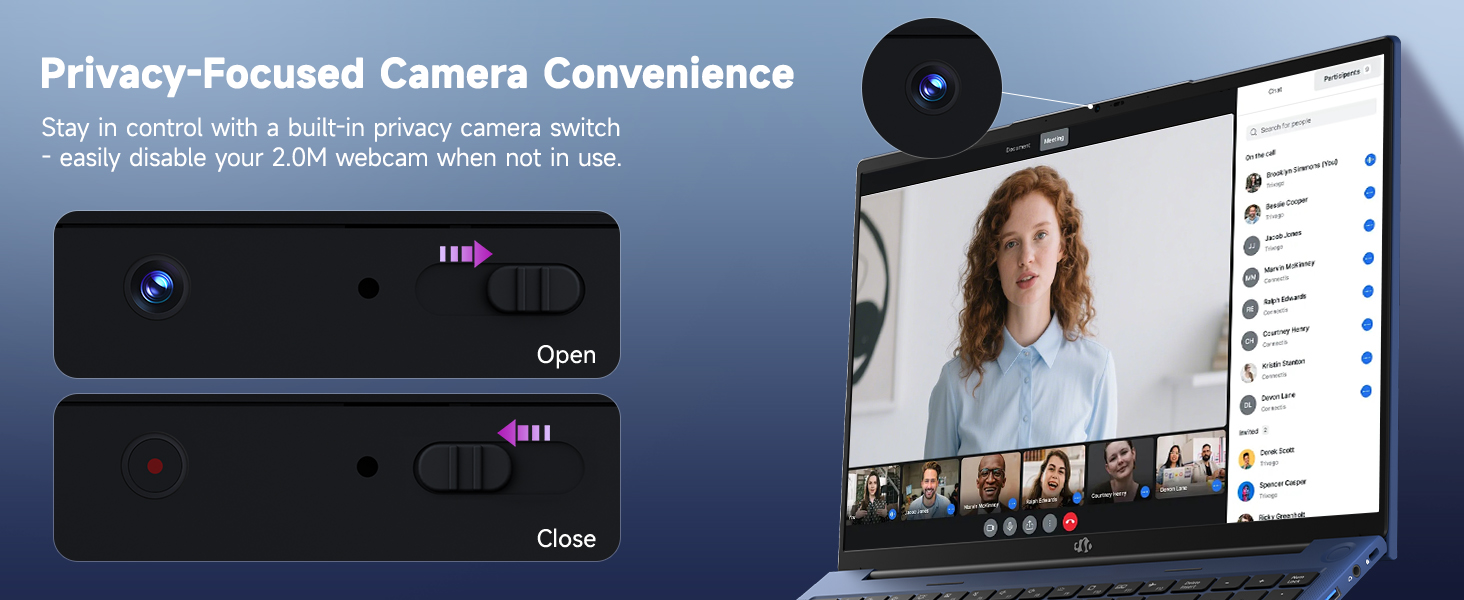
Image 5.2: The webcam features a physical privacy switch, allowing users to disable the camera when not in use for enhanced security.
5.5. USB-C 4.0 Functionality
The USB-C 4.0 port offers versatile connectivity:
- Data Transfer: Supports high-speed data transfer with compatible devices.
- External Display: Connects to external monitors using a compatible USB-C to display adapter (not included).
- Power Delivery (PD): Used for charging the laptop with the provided 100W PD charger.
- eGPU Support: Compatible with external GPU (eGPU) docks for enhanced graphics performance (eGPU dock not included).
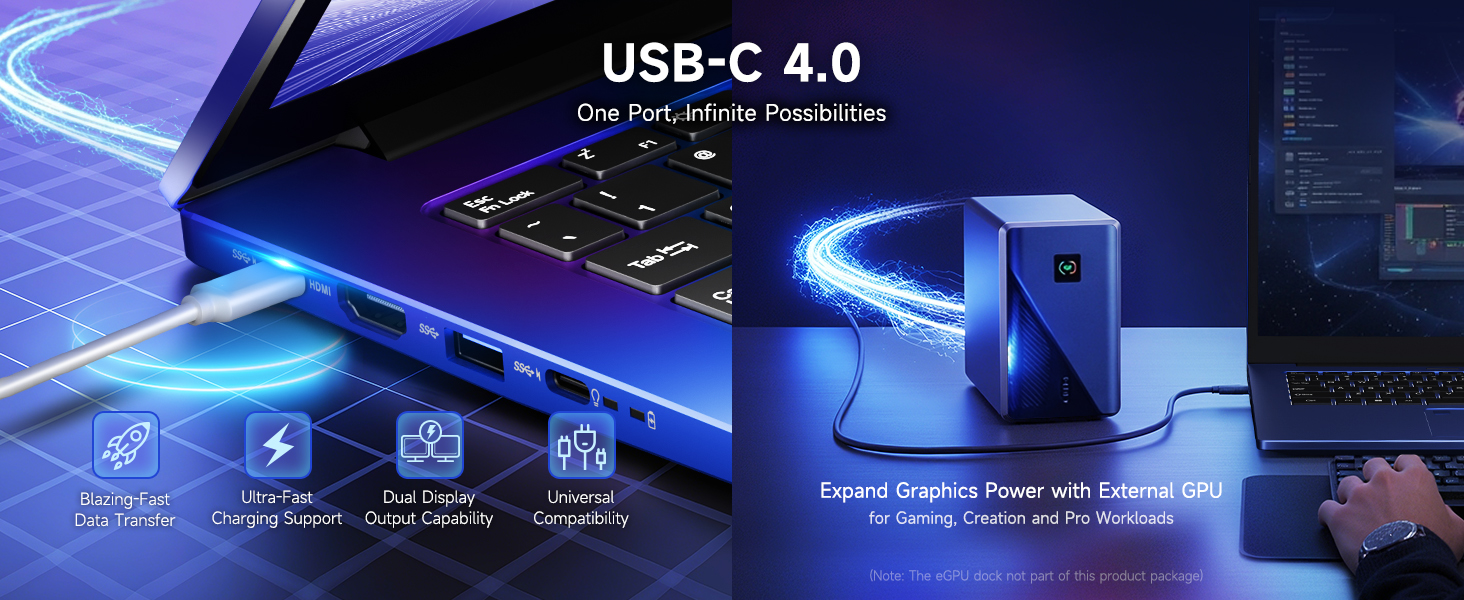
Image 5.3: The USB-C 4.0 port provides blazing-fast data transfer, external display output, charging support, and compatibility with external GPU docks.
6. Maintenance
6.1. Cleaning
- Use a soft, lint-free cloth to clean the screen and exterior surfaces.
- For stubborn marks, slightly dampen the cloth with water or a screen-cleaning solution.
- Avoid harsh chemicals, abrasives, or solvents.
- Use compressed air to clear dust from keyboard keys and vents.
6.2. Battery Care
To prolong battery life:
- Avoid fully discharging the battery frequently.
- Store the laptop in a cool, dry place when not in use for extended periods.
- Use the provided 100W PD charger for optimal charging.
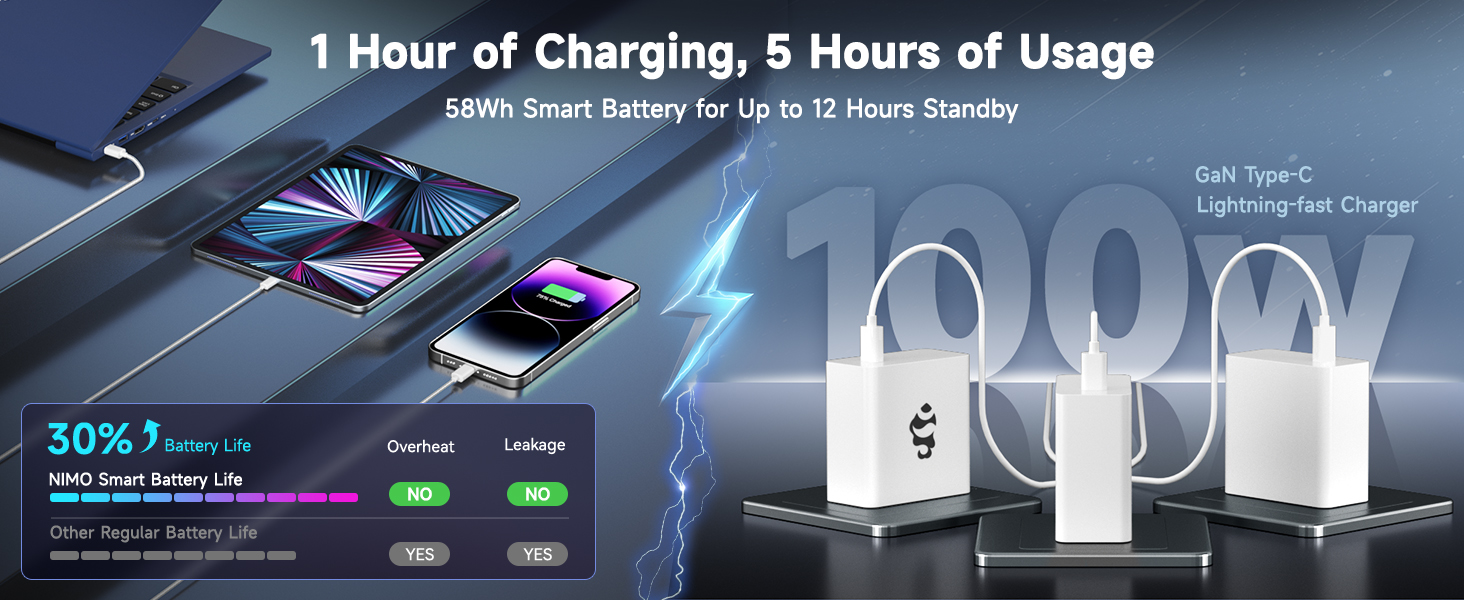
Image 6.1: The 100W GaN charger provides efficient power delivery, contributing to the laptop's smart battery optimization for extended usage.
6.3. Software Updates
Regularly check for and install Windows updates and driver updates to ensure optimal performance and security. Go to Windows Settings > Windows Update.
7. Troubleshooting
This section addresses common issues you might encounter.
- Laptop does not power on: Ensure the charger is properly connected and the power outlet is functional. Try holding the power button for 15-20 seconds to perform a hard reset.
- Screen is blank or flickering: Restart the laptop. If connected to an external display, try disconnecting it. Check display settings in Windows.
- Wi-Fi connection issues: Ensure Wi-Fi is enabled in Windows settings. Restart your router and the laptop. Update network drivers if necessary.
- Slow performance: Close unnecessary applications. Check for background processes in Task Manager. Ensure sufficient free space on the SSD. Run a system scan for malware.
- Fingerprint reader not working: Ensure your finger is clean and dry. Re-register your fingerprint in Windows settings if the issue persists.
For issues not covered here, please refer to the Warranty and Support section for contact information.
8. Specifications
| Feature | Detail |
|---|---|
| Model Name | Nimo N175 |
| Display | 17.3-inch Full HD (1920x1080) IPS |
| Processor | AMD Ryzen 9 8945HS (5.2 GHz Max Boost, 8 Cores) |
| Graphics | AMD Radeon 780M |
| RAM | 16GB DDR5 (4800 MHz) |
| Storage | 1TB SSD |
| Operating System | Windows 11 Home |
| Wireless Connectivity | 802.11a/b/g/n/ac |
| Ports | 1x USB 2.0, 3x USB 3.0 (or 3.2), 1x USB-C 4.0, 1x HDMI, 1x SD Card Reader, 1x Headphone Combo, 1x Kensington Lock |
| Battery Life | Approximately 6 hours (up to 12 hours standby) |
| Charger | 100W Type-C PD Fast Charger |
| Dimensions (LxWxH) | 14.07 x 8.98 x 0.76 inches |
| Weight | 3.8 pounds |
| Special Features | Backlit Keyboard, Fingerprint Reader, HD Audio, Numeric Keypad, Webcam Privacy Switch |
9. Warranty and Support Information
NIMO is committed to providing reliable products and customer service.
9.1. Warranty
Your NIMO laptop comes with a 2-year warranty from the date of purchase, covering manufacturing defects and hardware malfunctions under normal use conditions.
9.2. Return Policy
A 90-day free return policy is provided, allowing returns for any reason within 90 days of purchase.
9.3. Customer Support
For technical assistance, warranty claims, or any product-related inquiries, please contact our U.S.-based support team:
- Email: service@nimopc.com
- Online: Visit the official NIMO website for support resources and contact options.

Image 9.1: NIMO offers 2-year support, 90-day free returns, and dedicated customer service to ensure user satisfaction.