
1. Introduction
This manual provides detailed instructions for the installation, operation, and maintenance of your Clovis 56-60 inch wide by 76 inch high frameless double sliding shower door. This shower door features 3/8 inch (10mm) SGCC certified clear tempered glass, a double slide rail design, and a brushed nickel finish. It is designed for smooth and quiet operation with a damping buffer system for gentle closing. Please read this manual thoroughly before beginning installation or use.
2. Safety Information
- Always wear appropriate safety gear, including safety glasses and gloves, during installation.
- Tempered glass, while strong, can shatter if impacted at the edges. Handle glass panels with extreme care.
- Ensure the installation surface (walls, floor) is structurally sound and capable of supporting the weight of the shower door.
- Two or more people are required for safe handling and installation of the glass panels due to their weight and size.
- Do not use power tools near glass without extreme caution.
- Verify all measurements and clearances before drilling or making permanent modifications.
- Keep children and pets away from the installation area.
3. Package Contents
Carefully unpack all components and verify that all parts are present and undamaged. Refer to the diagram below for component identification.

Figure 3.1: Shower Door Diagram with Dimensions and Features
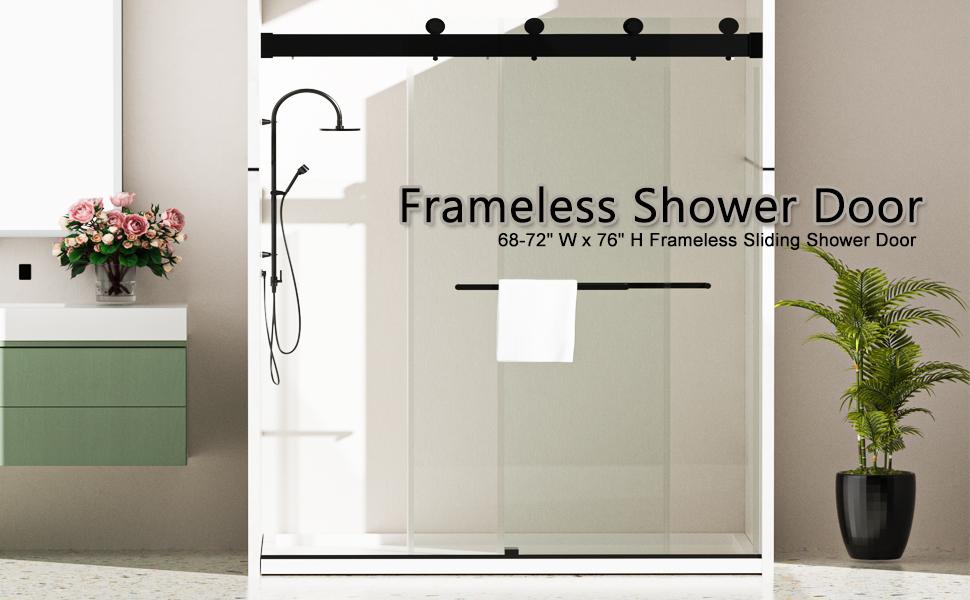
Figure 3.2: Detailed Component Diagram
- Tempered Glass Panels (2)
- Top Track Rail (1)
- Bottom Guide Rail (1)
- Wall Brackets/Mounting Hardware
- Rollers/Hangers (Set)
- Handles (2)
- Sealing Strips/Gaskets
- Glass Clamps/Stoppers
- Installation Hardware (screws, anchors, etc.)
4. Specifications
| Brand | Clovis |
| Model Number | 21S1001-2 |
| Dimensions (W x H) | Adjustable 56-60 inches x 76 inches |
| Glass Thickness | 3/8 inch (10mm) |
| Glass Type | SGCC Certified Clear Tempered Glass |
| Material | Glass, 304 Stainless Steel, Anodized Aluminum |
| Finish | Brushed Nickel |
| Door Type | Double Sliding Bypass |
| Item Weight | Approximately 202 Pounds |
| Assembly Required | Yes |
5. Installation Guide
Professional installation is recommended. Ensure you have all necessary tools and assistance before beginning. This guide provides general steps; always refer to the specific instructions included in your product packaging for detailed diagrams and measurements.
5.1 Tools Required (Not Included)
- Measuring Tape
- Pencil
- Level
- Drill with appropriate bits (for tile/concrete/wood)
- Screwdrivers (Phillips and Flathead)
- Caulking Gun and Silicone Sealant (mildew-resistant)
- Utility Knife
- Safety Glasses and Gloves
5.2 Pre-Installation Checks
- Confirm the shower opening width is within the adjustable range of 56-60 inches and height is 76 inches.
- Ensure the shower base or curb is level and plumb.
- Verify that wall studs or solid blocking are present where mounting hardware will be attached.
- Clean the installation area thoroughly.
5.3 Installation Steps
- Prepare the Wall: Measure and mark the positions for the wall brackets on both sides of the shower opening. Ensure these marks are level. Drill pilot holes and install wall anchors if necessary. Attach the wall brackets securely.

Figure 5.1: Wall Bracket
- Install the Top Track Rail: Position the top track rail onto the installed wall brackets. Secure the top track rail to the wall brackets using the provided screws. Ensure the rail is level.

Figure 5.2: Top Track Rail Detail

Figure 5.3: Top Rail End Cap
- Attach Rollers to Glass Panels: Carefully attach the rollers to the top edge of each glass panel according to the manufacturer's instructions. Ensure they are securely fastened.
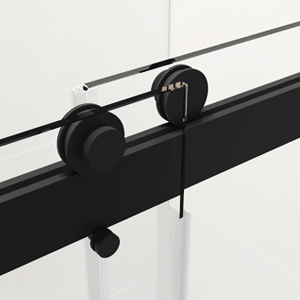
Figure 5.4: Roller Component
- Hang Glass Panels: With assistance, carefully lift and hang the glass panels onto the top track rail, ensuring the rollers engage properly with the track. Position the inner and outer panels as desired for the bypass system.
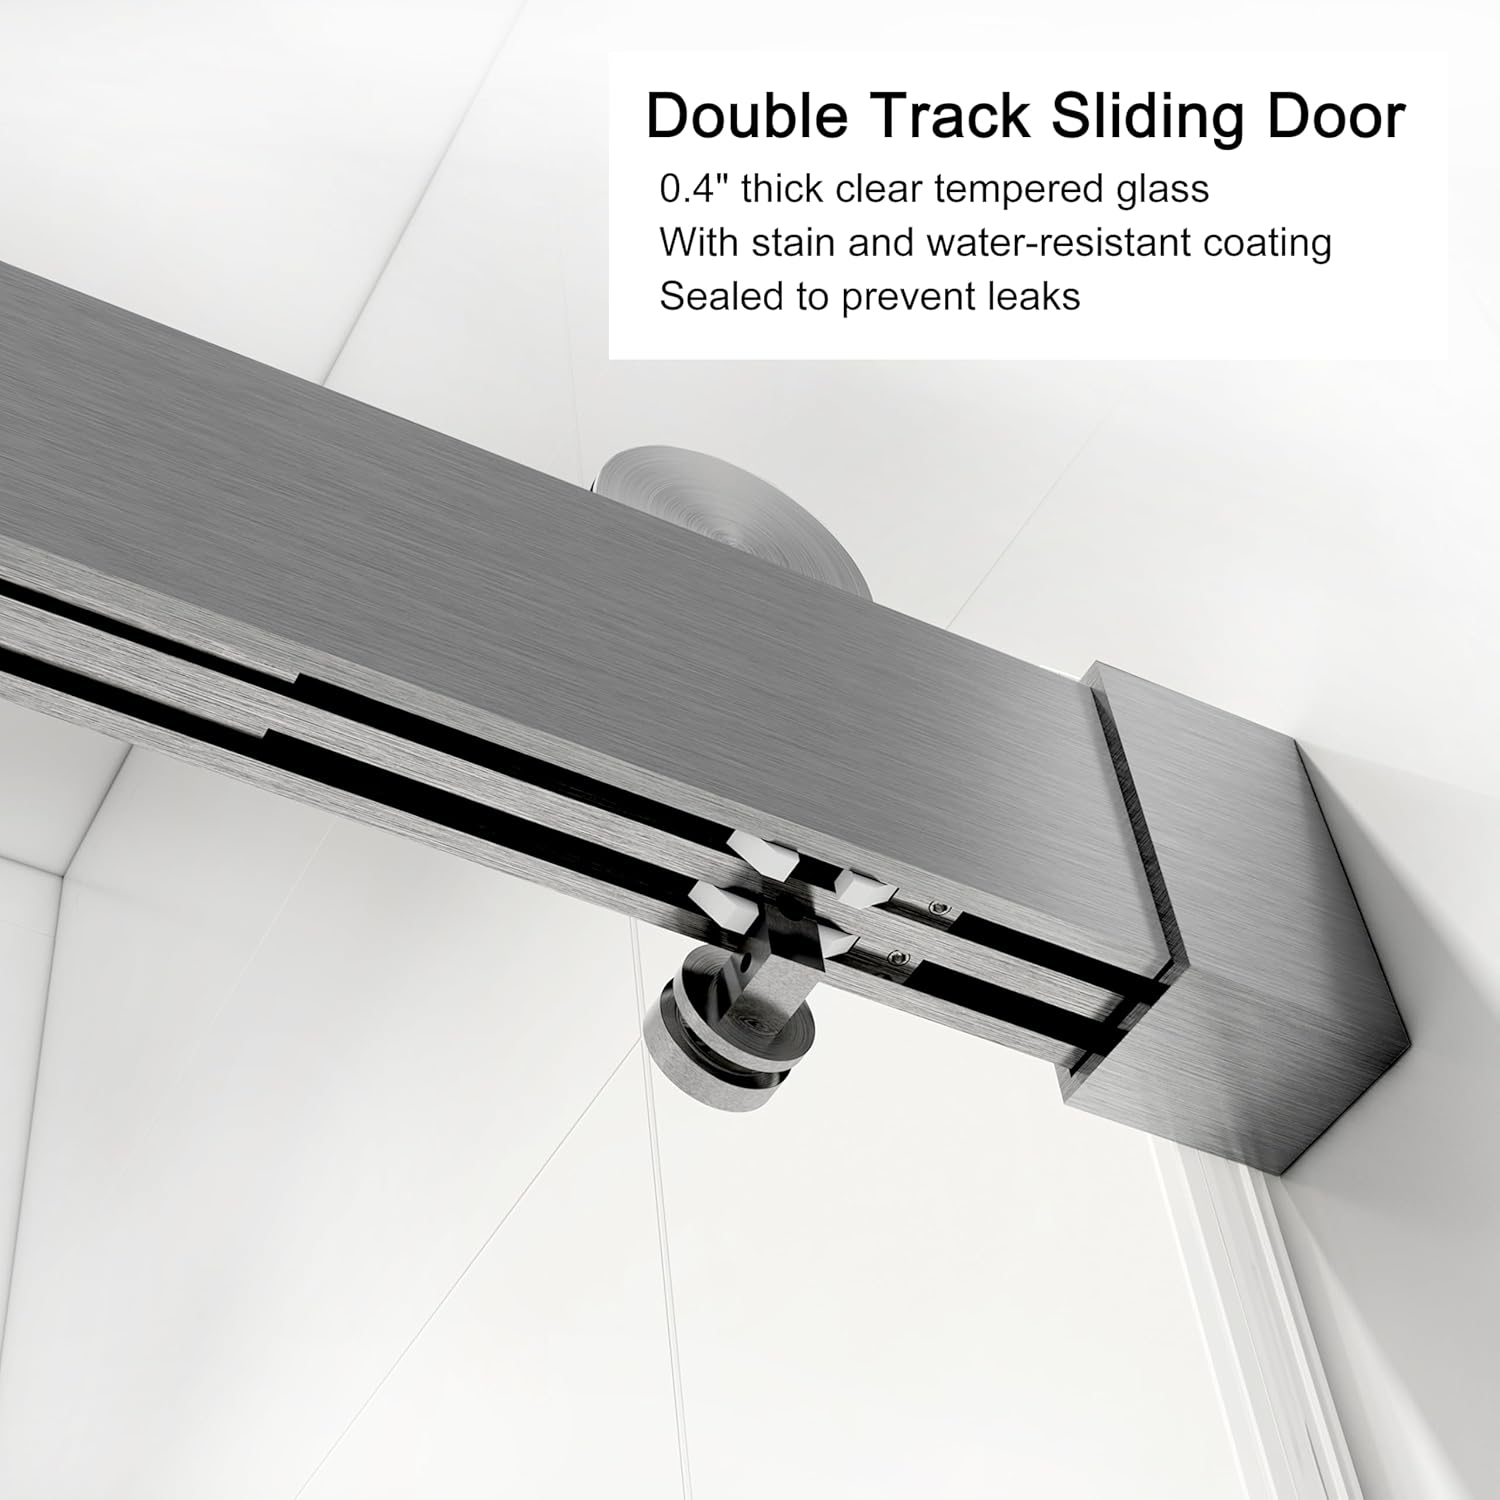
Figure 5.5: Double Track Sliding Door Mechanism
- Install Bottom Guide Rail: Once the glass panels are hung, install the bottom guide rail to align and stabilize the panels. Secure it to the shower base or curb.

Figure 5.6: Bottom Guide
- Attach Handles and Glass Clamps: Install the handles onto the glass panels. Attach any glass clamps or stoppers as per the instructions to prevent excessive movement.

Figure 5.7: Handle Component

Figure 5.8: Glass Clamp
- Apply Sealing Strips and Silicone: Install the sealing strips along the edges of the glass panels and where glass meets the wall or bottom track to prevent water leakage. Apply a bead of mildew-resistant silicone sealant along the exterior base and vertical seams where the frame meets the wall. Allow the silicone to cure completely before using the shower.
6. Operation
Your Clovis shower door features a double sliding bypass design, allowing entry from either the left or right side. The doors operate smoothly and quietly on the roller disc system. The integrated damping buffer ensures a gentle and controlled closing action, minimizing impact and enhancing safety.

Figure 6.1: Bypass Double Sliding Design
To open or close the door, gently push or pull the handle in the desired direction. The rollers will guide the glass panel along the track. Avoid forcing the doors or slamming them, as this can damage the mechanism or glass.
7. Maintenance and Cleaning
Regular cleaning and maintenance will ensure the longevity and appearance of your shower door.

Figure 7.1: Tempered Glass Features
- Glass Cleaning: Use a soft cloth or sponge with a non-abrasive glass cleaner or a solution of mild soap and water. Wipe down the glass after each use to prevent water spots and soap scum buildup. Avoid harsh chemicals, abrasive cleaners, or scouring pads, as these can damage the glass surface or protective coatings.
- Hardware Cleaning: Clean the brushed nickel hardware with a soft, damp cloth. Do not use abrasive cleaners, ammonia-based products, or harsh chemicals, as these can damage the finish.
- Track Maintenance: Periodically clean the top and bottom tracks to remove any debris, soap scum, or hair that could impede smooth door operation. Use a small brush or vacuum to clear the tracks.
- Sealing Strips: Inspect sealing strips regularly for wear or damage. Replace them if they become brittle or torn to maintain water tightness.
8. Troubleshooting
| Problem | Possible Cause | Solution |
|---|---|---|
| Door does not slide smoothly | Debris in track, damaged rollers, misaligned track | Clean tracks thoroughly. Inspect rollers for damage and replace if necessary. Check if the top track is level and securely fastened. |
| Water leaks from shower door | Damaged or improperly installed sealing strips, insufficient silicone sealant | Inspect sealing strips and replace if damaged or adjust their position. Reapply silicone sealant to exterior seams where needed, ensuring a continuous bead. |
| Door feels loose or wobbly | Loose mounting hardware, worn rollers | Check and tighten all mounting screws for wall brackets and track rails. Inspect rollers and replace if worn. |
| Handles are loose | Mounting screws need tightening | Tighten the screws securing the handles to the glass panels. Do not overtighten. |
9. Warranty and Customer Support
Clovis is committed to customer satisfaction. Before purchasing and installation, please carefully determine the dimensions you need, such as the height and width of the door. Read the installation instructions carefully when installing. If there is any damage or defect upon receipt or during the warranty period, please contact our customer support team. We will promptly resolve the issue to meet your needs.
For assistance, please contact Clovis Customer Support:
- Website: www.clovisgoods.com (placeholder)
- Email: support@clovisgoods.com (placeholder)
- Phone: 1-800-XXX-XXXX (placeholder)


