
A9
A9 Mini Security Camera User Manual
Model: A9
Introduction
Thank you for choosing the A9 Mini Security Camera. This compact and versatile device is designed for indoor security monitoring, offering 1080p HD video recording, night vision, and Wi-Fi connectivity for remote viewing. This manual provides detailed instructions on setting up, operating, and maintaining your camera to ensure optimal performance.
Package Contents
Please verify that all items listed below are included in your package:
- 1 x A9 Mini Security Camera (White or Black)
- 1 x 360 Degree Rotating Base / Stand
- 1 x USB Charging Cable
- 1 x Snake Tube Data Cable (Flexible USB Cable)
- 1 x Instruction Manual
- 1 x Power Adapter (if included with specific variant)
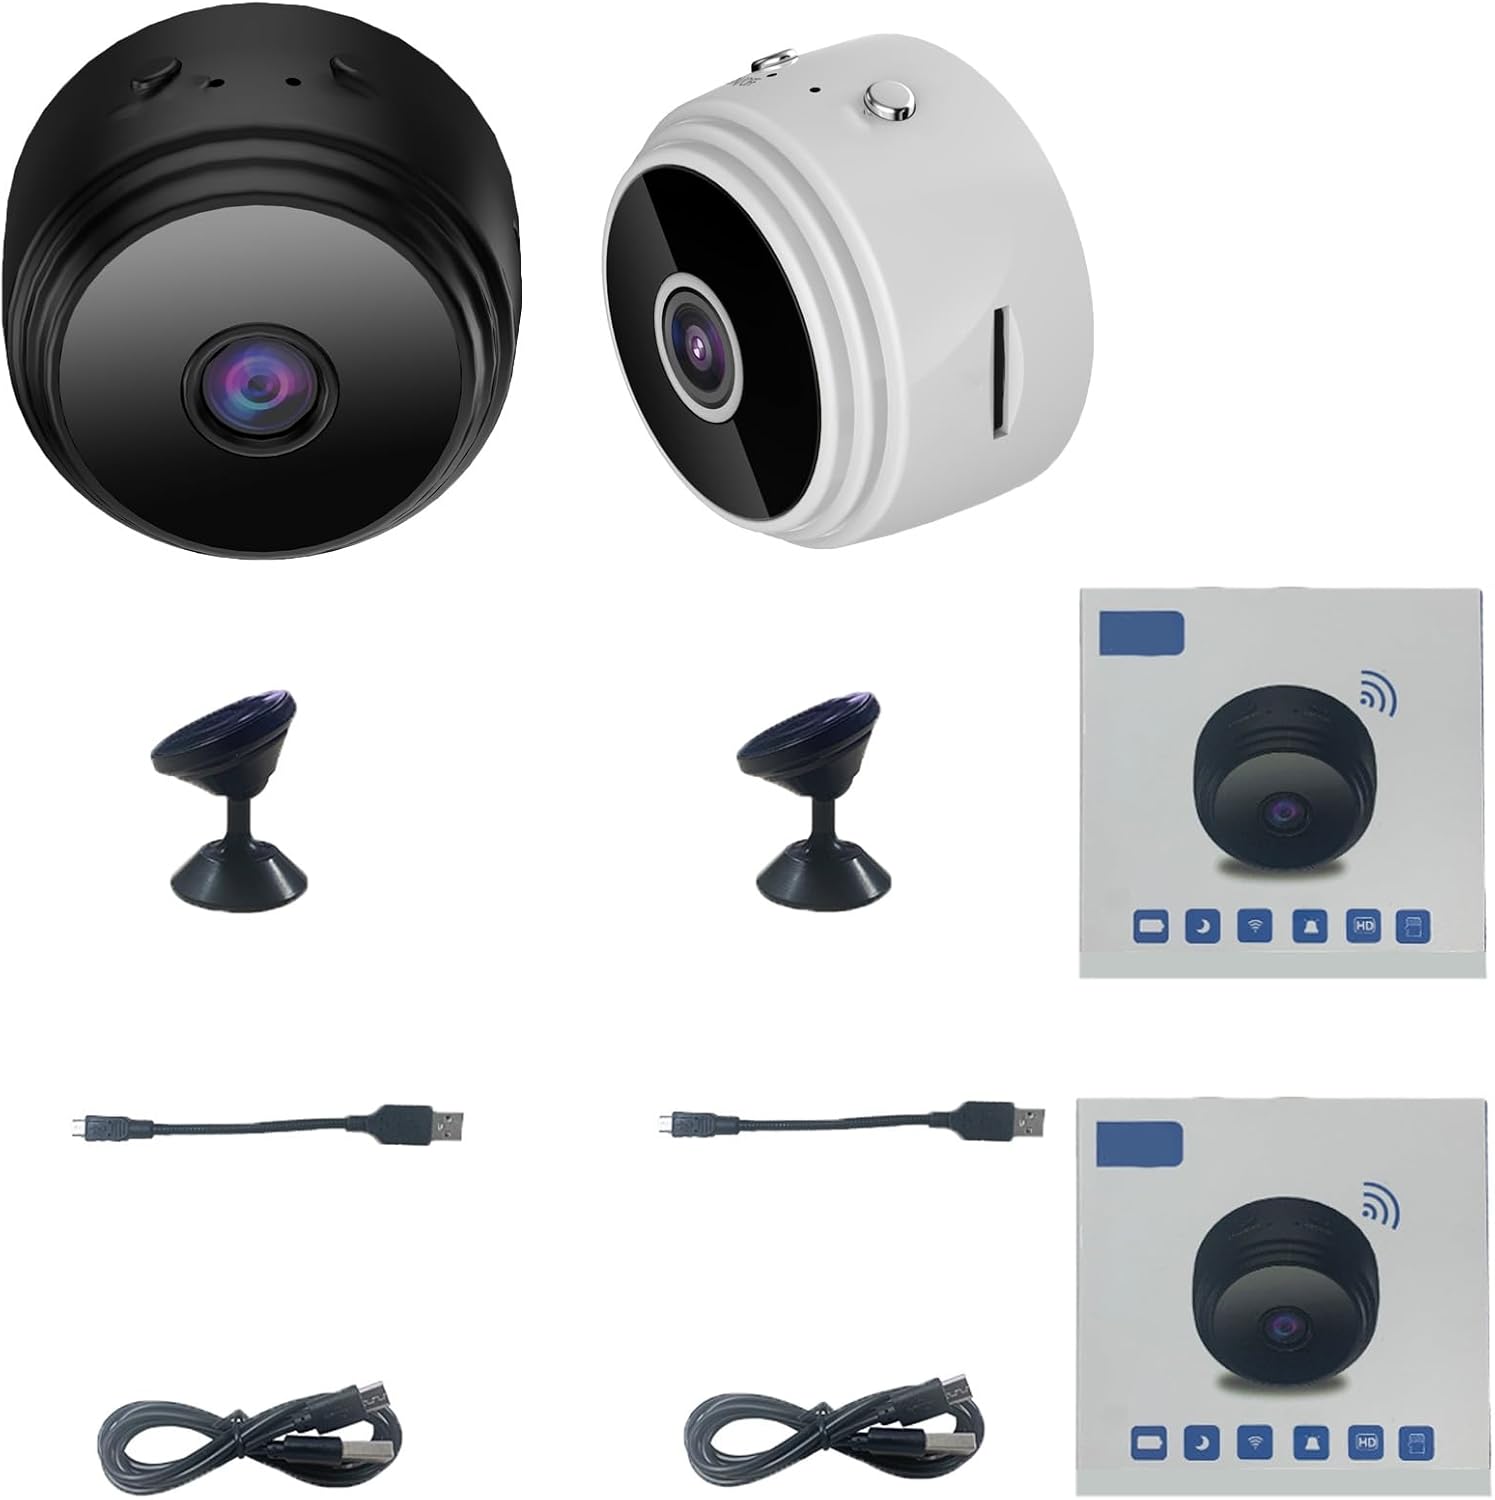
Image: The A9 Mini Security Camera in both white and black, alongside its accessories including the stand, charging cables, and packaging.
Product Overview and Features
The A9 Mini Security Camera is designed for discreet and effective indoor surveillance. Key features include:
- Compact Design: Its small size allows for discreet placement.
- 1080p HD Video: Captures clear, high-definition video footage.
- Clear Night Vision: Equipped with advanced infrared technology for monitoring in low-light conditions.
- Wi-Fi Connectivity: Enables remote viewing and control via a smartphone.
- Motion Detection: Automatically records when motion is detected, enhancing security.
- Loop Recording: Ensures continuous recording by overwriting the oldest files when storage is full.
- Magnetic Mounting: The included bracket allows for easy and versatile placement on magnetic surfaces.
- Battery Powered: Offers flexibility in placement without constant power connection.

Image: The A9 Mini Security Camera highlighting its capabilities such as video playback, mobile phone remote control, WiFi connection, and no wiring requirement.
Setup Guide
1. Charging the Camera
Before first use, fully charge the camera. Connect the provided USB charging cable to the camera's charging port and the other end to a USB power adapter (not always included) or a computer's USB port. The charging indicator light will typically turn off or change color once fully charged.

Image: The A9 Mini Security Camera demonstrating various power sources including a wall socket, power bank, and its internal built-in battery.
2. Inserting a MicroSD Card (TF Card)
For local video storage, insert a MicroSD card (TF card) into the designated slot on the camera. Ensure the card is inserted correctly until it clicks into place. The camera supports loop recording, meaning it will automatically overwrite the oldest footage when the card is full.
3. App Installation and Wi-Fi Connection
To utilize the camera's remote viewing and advanced features, you will need to download the compatible mobile application. Refer to the specific instructions provided in the included manual for the app name and QR code for download. Once installed:
- Power on the camera.
- Open the app and follow the on-screen prompts to add a new device.
- Select your Wi-Fi network and enter the password.
- The camera will connect to your Wi-Fi network. Once connected, you can view the live feed and control settings from your smartphone.
4. Mounting the Camera
The A9 camera comes with a magnetic mounting bracket, allowing for flexible placement. Attach the camera to the magnetic base, then place the base on any suitable magnetic surface. For non-magnetic surfaces, the base can be affixed using adhesive or screws (not included) if it has mounting holes.
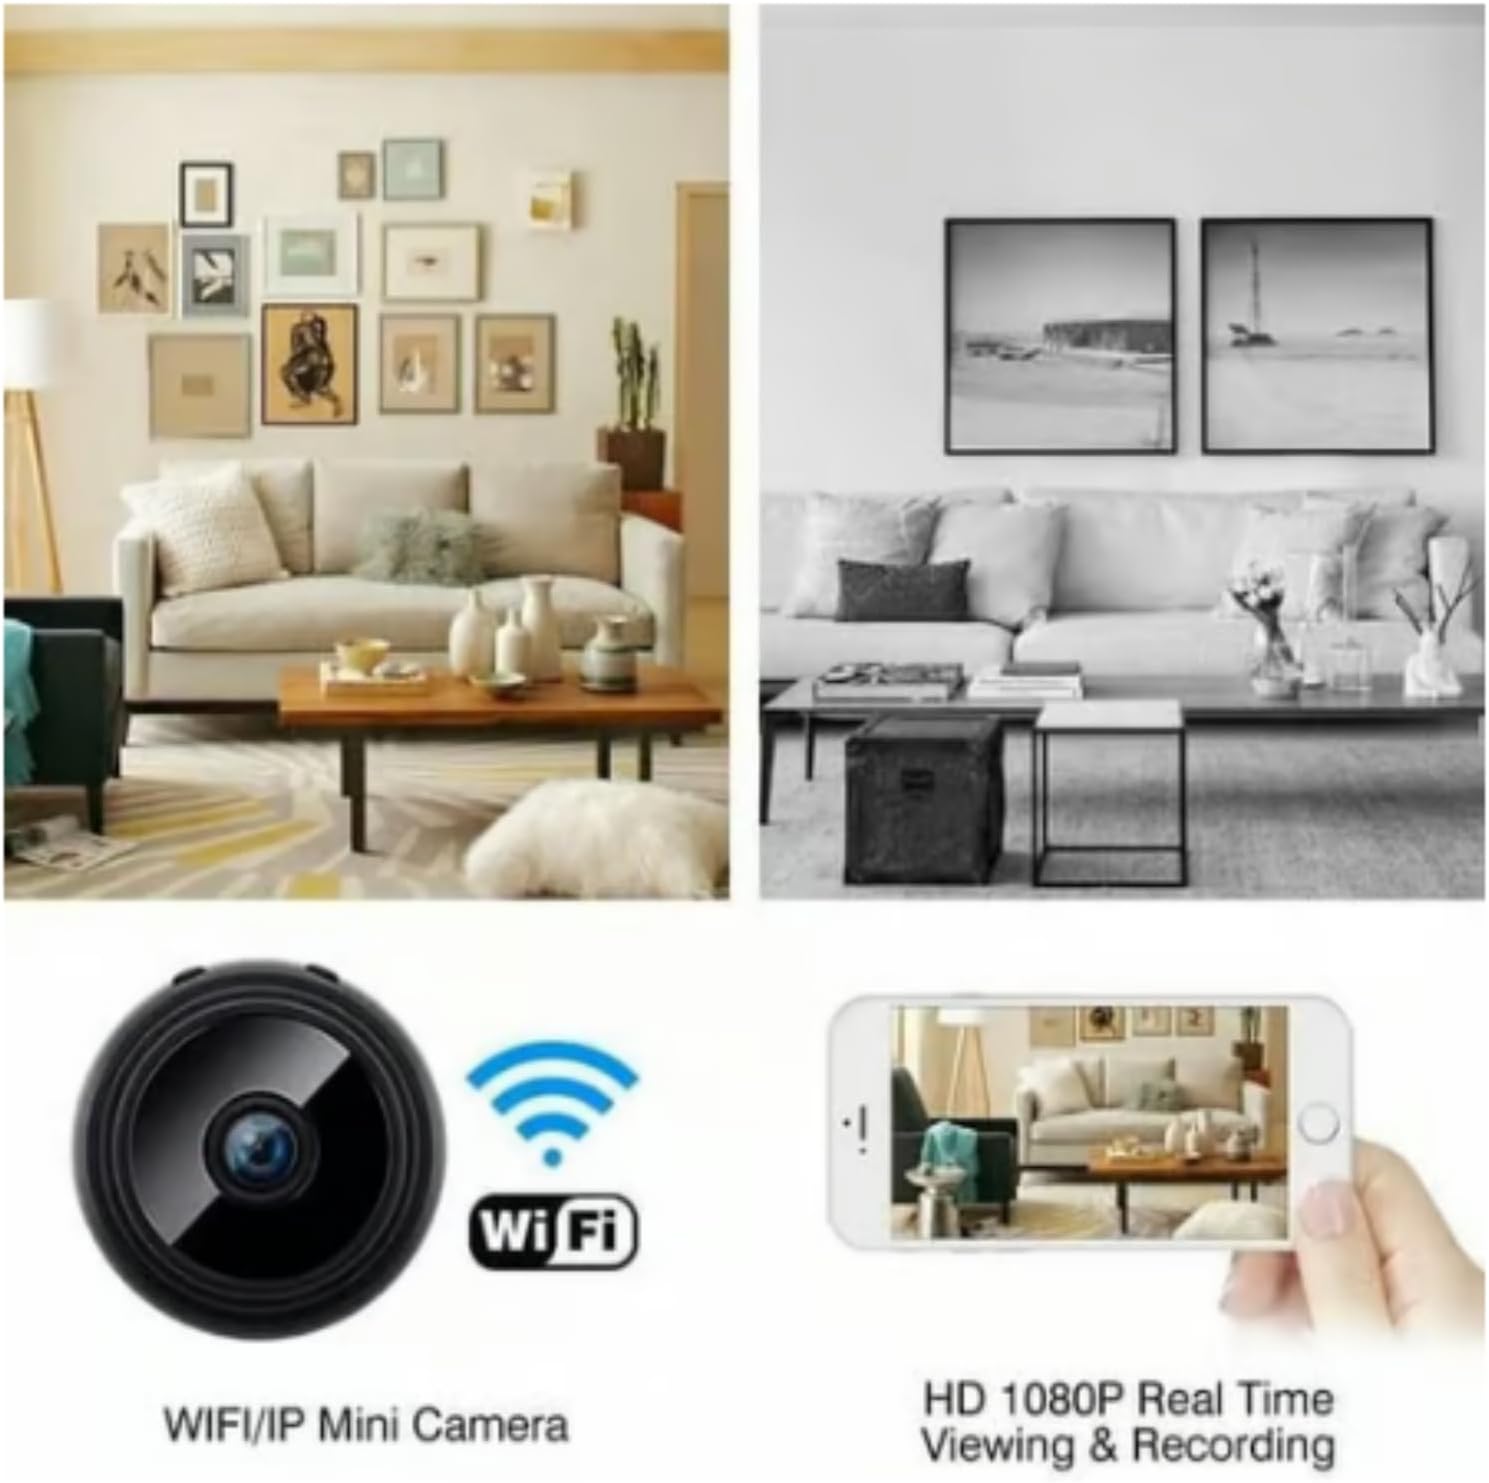
Image: The A9 Mini Security Camera integrated into a living room environment, illustrating its discreet presence and Wi-Fi connectivity for real-time viewing and recording on a smartphone.
Operating Instructions
1. Power On/Off
Locate the power button on the camera. Press and hold for a few seconds to turn the camera on or off. An indicator light will confirm the power status.
2. Recording Video
The camera typically begins recording automatically when powered on, especially if a MicroSD card is inserted. You can configure recording modes (e.g., continuous, motion-activated) through the mobile application. Motion detection recording saves storage space by only recording when activity is detected.

Image: A scenario depicting the A9 Mini Security Camera's motion detection capability, showing an intruder being detected and an alarm icon, with the live feed visible on a smartphone.
3. Night Vision
The camera is equipped with infrared night vision. It will automatically switch to night vision mode in low-light conditions, providing clear black and white footage. No manual intervention is usually required for this feature.
4. Remote Viewing and Playback
Access the live video feed and recorded footage through the dedicated mobile application. You can view real-time video, browse recorded clips stored on the MicroSD card, and download them to your phone. The app also allows for managing storage, including options to automatically delete old files to make space for new recordings.

Image: The A9 Mini Security Camera illustrating its large memory and video playback features, showing icons for automatically deleting old files and recording new blocks, with a smartphone displaying video playback from different environments.
Maintenance
- Cleaning: Use a soft, dry cloth to clean the camera lens and body. Avoid using liquid cleaners or abrasive materials.
- Placement: Ensure the camera is placed in a stable location, away from direct sunlight, extreme temperatures, and moisture.
- Software Updates: Periodically check the mobile application for any available firmware updates for the camera to ensure optimal performance and security.
- Battery Care: For prolonged battery life, avoid fully discharging the camera frequently. Charge it regularly.
Troubleshooting
| Problem | Possible Cause | Solution |
|---|---|---|
| Camera not turning on | Low battery; Power button not pressed long enough. | Charge the camera fully. Press and hold the power button for 3-5 seconds. |
| Cannot connect to Wi-Fi | Incorrect Wi-Fi password; Camera too far from router; Router issues. | Verify Wi-Fi password. Move camera closer to router. Restart router. Ensure camera is in pairing mode. |
| No recording to MicroSD card | Card not inserted correctly; Card full; Card corrupted; Incorrect format. | Reinsert card. Format card via app or computer. Use a compatible card (Class 10 recommended). |
| Poor video quality | Dirty lens; Low light conditions (if not in night vision); Weak Wi-Fi signal. | Clean the lens. Ensure adequate lighting or proper night vision activation. Improve Wi-Fi signal strength. |
| App not responding | App glitch; Phone issues. | Close and restart the app. Restart your smartphone. Check for app updates. |
Specifications
| Parameter | Value |
|---|---|
| Model Number | A9 |
| Indoor/Outdoor Usage | Indoor |
| Video Capture Resolution | 1080p |
| Viewing Angle | 120 Degrees |
| Connectivity Technology | Wireless (Wi-Fi) |
| Power Source | Battery Powered |
| Storage Medium | TF Card (MicroSD) |
| Product Dimensions (L x W x H) | 1.37 x 0.98 x 0.99 inches (43 x 35 x 25mm) |
| Body Material | Frosted Plastic |
| Special Feature | Portable, Night Vision, Motion Detection, Loop Recording |
| Compatible Devices | Smartphone |

Image: Detailed product parameters of the A9 Mini Security Camera, including its dimensions, 120-degree viewing angle, 360-degree rotation capability, and examples of its versatile applications.
Warranty and Support
For information regarding warranty coverage and technical support, please refer to the contact details provided on the product packaging or the official website of the manufacturer/seller. Keep your purchase receipt as proof of purchase for any warranty claims.
Related documentsA9


Ask a question about this manual
Ask about setup, troubleshooting, compatibility, parts, safety, or missing instructions. Manuals+ will review the question and use this page’s manual context to help answer it.