
Glonerle Inflatable Hot Tub
Glonerle Inflatable Hot Tub User Manual
Model: Inflatable Hot Tub (71” X 71” X 25”)
Product Overview
The Glonerle Round Inflatable Hot Tub is designed for relaxation and hydrotherapy, accommodating 2-4 people. It features 120 bubble jets for a soothing massage, an efficient heating system, and a durable 3-ply leak-proof PVC construction. The integrated circulating filtration system helps maintain water cleanliness.

Image: Glonerle Round Inflatable Hot Tub, showcasing its design and a person relaxing inside.
Safety Information
Always read and follow all instructions carefully before installing and using this product. Failure to do so may result in serious injury or property damage.
- Ensure the hot tub is placed on a flat, stable, and level surface capable of supporting the weight of the filled tub and occupants.
- Do not operate the hot tub if the water temperature exceeds 104°F (40°C).
- Supervise children at all times when they are in or near the hot tub.
- Keep all electrical components dry and away from water. Do not use extension cords.
- Consult a physician before use if you have any medical conditions.
- Maintain proper water chemistry to prevent health risks and damage to the hot tub.
Package Contents
Verify that all components listed below are included in your package:
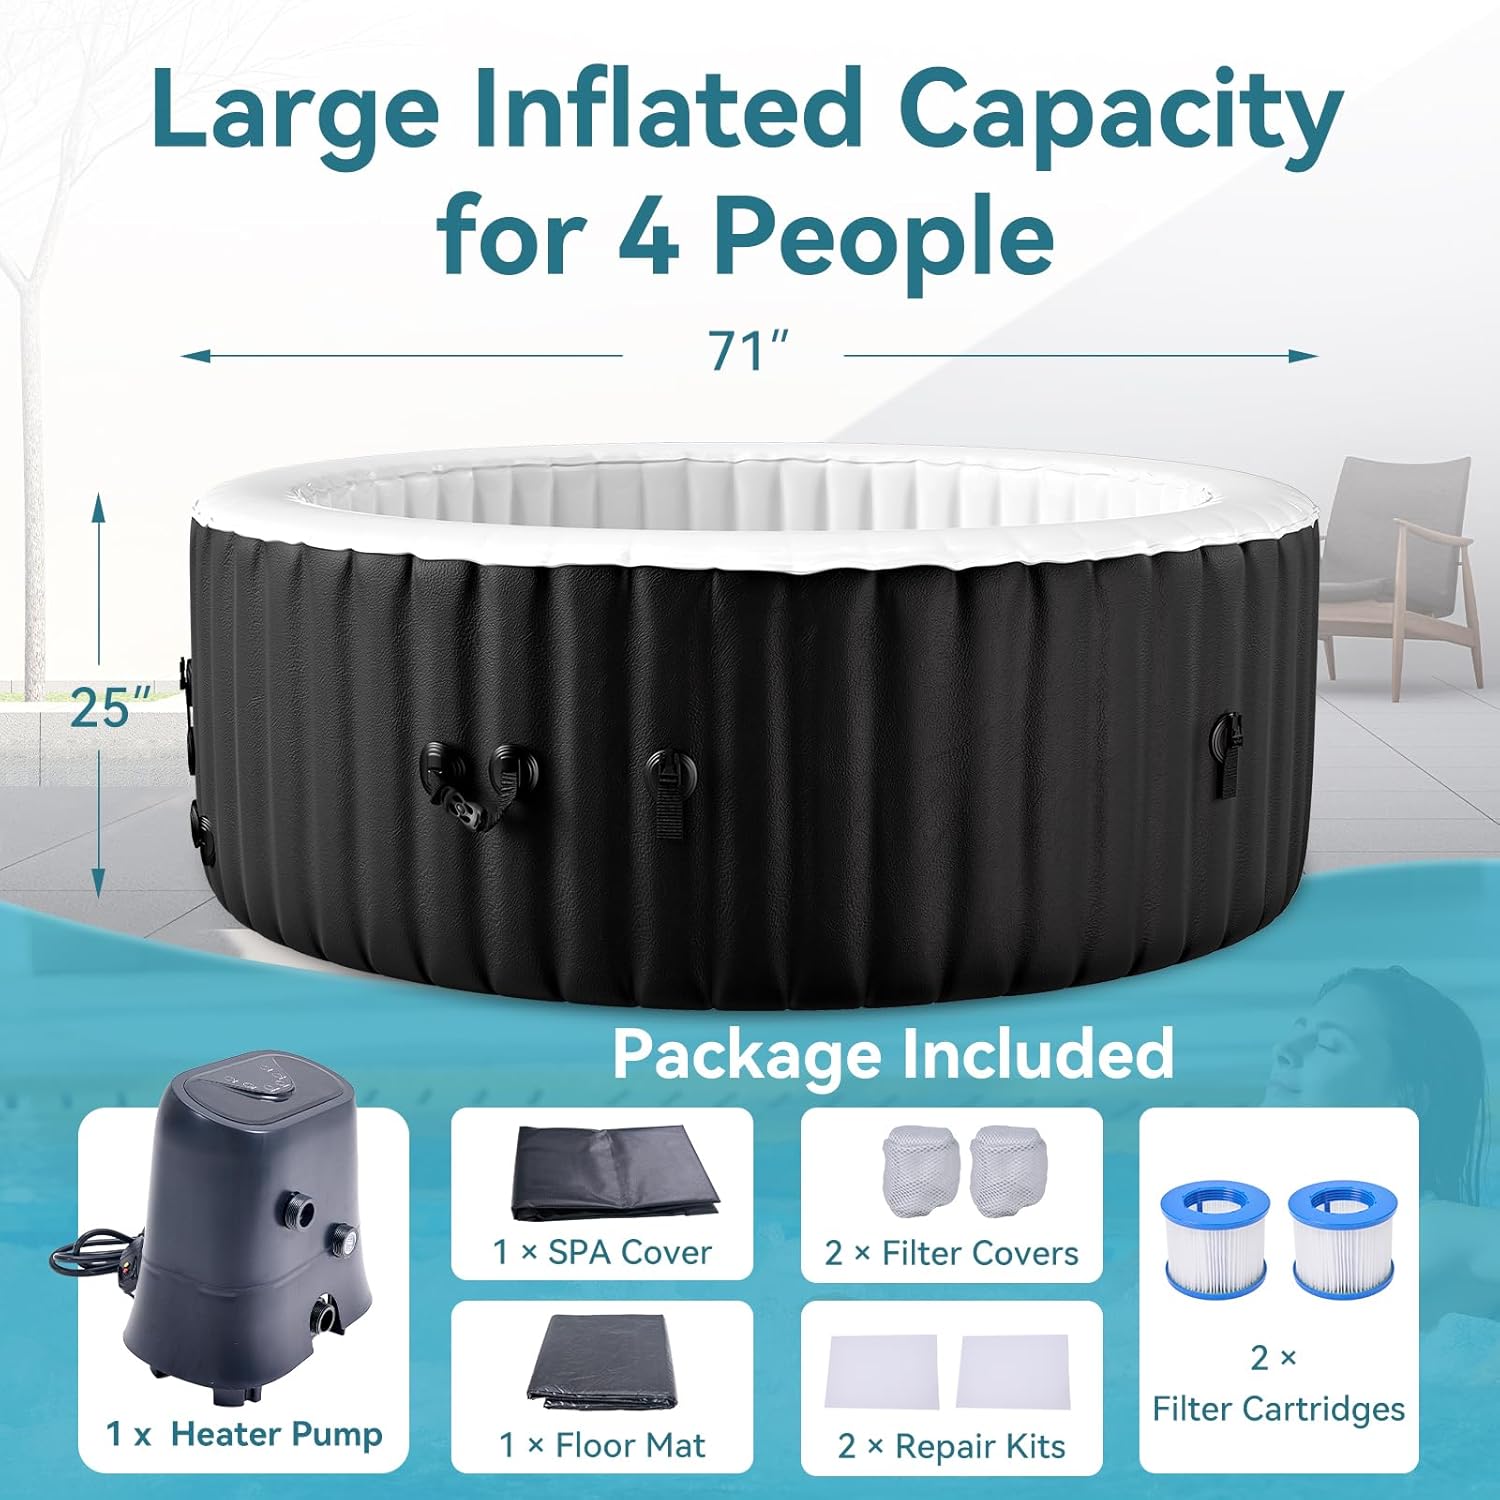
Image: Visual representation of the Glonerle hot tub package contents, including the heater pump, SPA cover, floor mat, filter covers, and filter cartridges.
- 1 x Inflatable Hot Tub
- 1 x Heater Pump
- 1 x SPA Cover
- 1 x Floor Mat
- 2 x Filter Covers
- 2 x Filter Cartridges
- 2 x Repair Kits
Setup Instructions
Follow these steps to set up your Glonerle Inflatable Hot Tub:
- Prepare the Location: Choose a flat, stable, and clean area for your hot tub. Ensure there are no sharp objects. Lay down the included floor mat to protect the tub's base.
- Connect the Heater Pump: Place the heater pump unit near the hot tub. Connect the pump's hoses to the corresponding inlets and outlets on the hot tub. Ensure connections are secure to prevent leaks.
- Inflate the Hot Tub: Use the inflation hose from the heater pump to inflate the hot tub. Inflate until it is firm to the touch but not over-inflated.
- Fill with Water: Once inflated, fill the hot tub with water using a garden hose. Fill to the recommended water level indicated on the inside of the tub.
- Install Filter Cartridges: Insert the filter cartridges into their designated compartments within the hot tub.
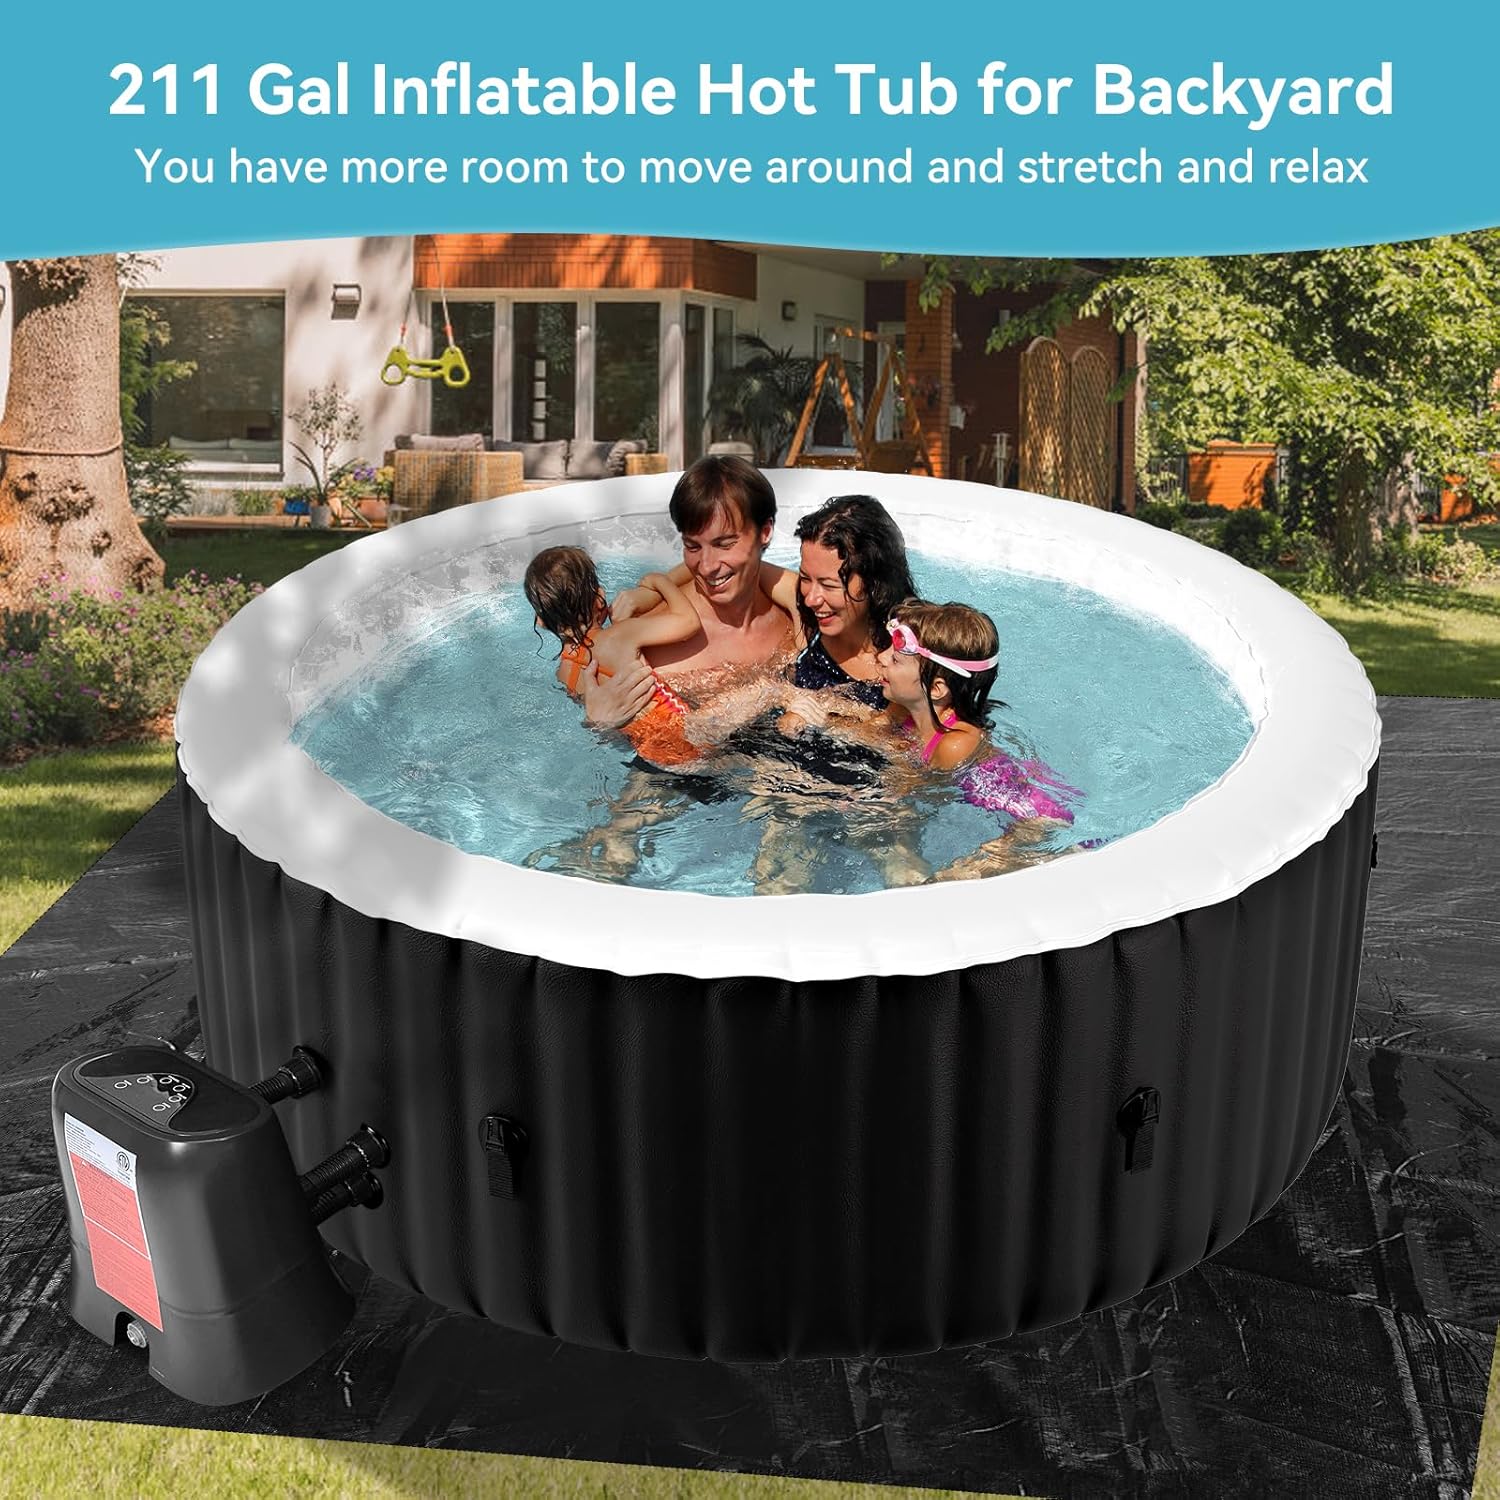
Image: The hot tub set up in a backyard, illustrating suitable placement on a flat surface.
Video: This video demonstrates the step-by-step installation process of the hot tub, including connecting the pump and inflation.
Operating Instructions
Learn how to operate your hot tub's features:
- Control Panel: The integrated control panel on the heater pump allows you to manage all functions.
- Heating: Press the "Heater" button to activate the 1350W heater. Use the "Temp Up" and "Temp Down" buttons to set your desired water temperature between 68°F (20°C) and 104°F (40°C). The thermal cover helps retain heat.
- Bubble Jets: Press the "Bubble" button to activate the 120 air jets for a soothing massage.
- Filtration: The hot tub features a strong circulating filtration system. Press the "Filter" button to activate it.
- Child Lock: Use the "Lock" button to prevent unintended changes to settings.

Image: The control panel of the hot tub, showing buttons for bubble activation, child lock, temperature adjustment, heater, and filter.

Image: This image highlights the internal heating elements and the insulated cover, highlighting how they work together to maintain water temperature.
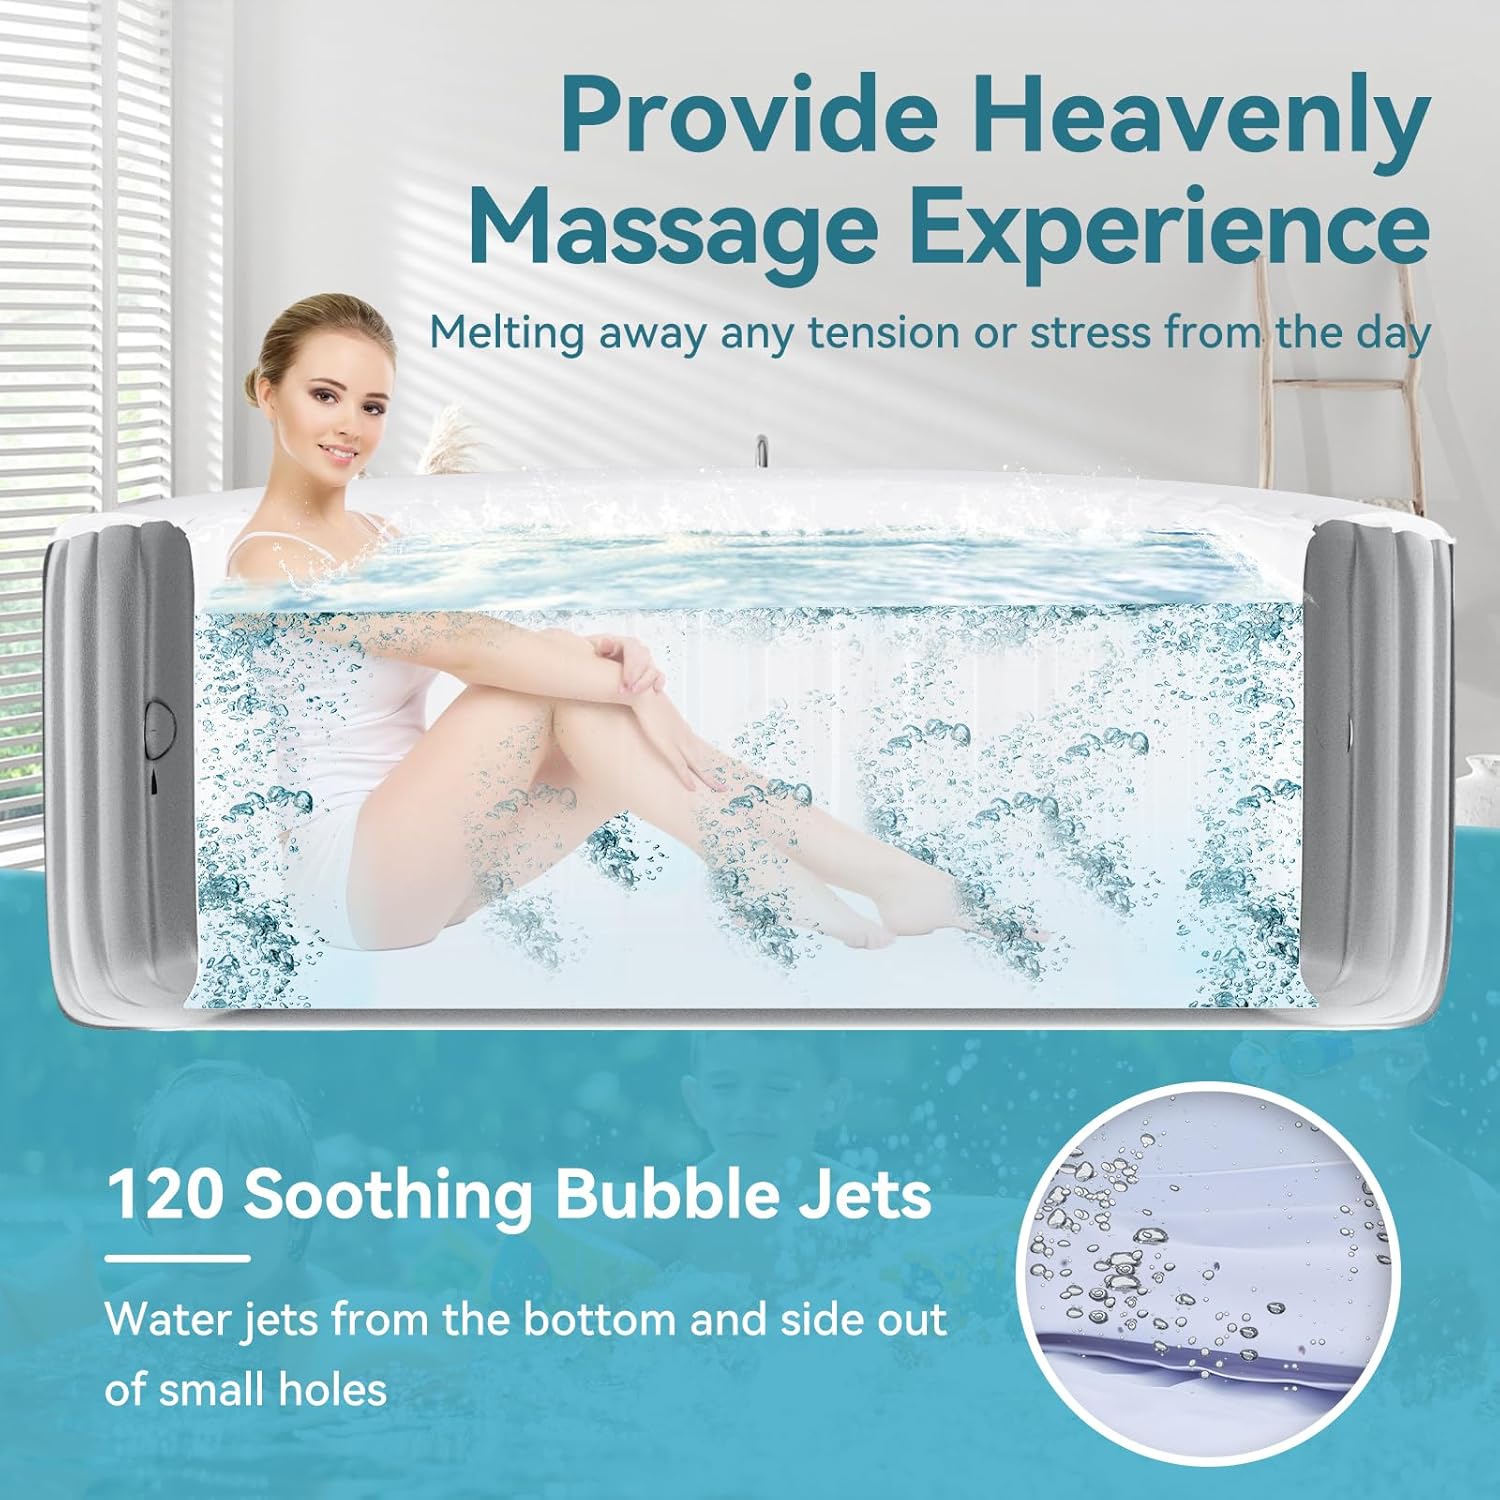
Image: A visual representation of the 120 soothing bubble jets in action, providing a massage experience.
Maintenance
Regular maintenance ensures the longevity and hygiene of your hot tub:
- Filter Cartridge Replacement: Replace the filter cartridge every 168 hours (approximately 7 days) for optimal filtration performance.
- Water Treatment: The integrated hard water treatment system helps maintain water quality, preserves bathing suits, and prevents skin dryness. Regularly test and adjust water chemistry as needed.
- Cleaning: Periodically clean the interior and exterior of the hot tub with mild soap and water. Ensure the tub is completely dry before storage.
- Draining: When not in use for extended periods, drain the hot tub completely and clean it thoroughly.

Image: This image highlights the efficient circulating filtration system and the need to replace filter cartridges to remove debris, leaves, and sand.
Troubleshooting
Refer to this section for common issues and their solutions:
| Problem | Possible Cause | Solution |
|---|---|---|
| Hot tub not heating. | Heater not activated, low water level, dirty filter, or ambient temperature too low. | Ensure heater is on. Check water level and add water if necessary. Clean or replace filter. Ensure ambient temperature is within operating range. |
| Bubbles not working. | Bubble function not activated, or air jets are blocked. | Press the "Bubble" button. Check for any obstructions in the air jets. |
| Water is cloudy. | Dirty filter, improper water chemistry, or heavy use. | Clean or replace filter cartridge. Test water chemistry and adjust chlorine/pH levels. Shock the water if necessary. |
| Hot tub losing air. | Loose inflation valve cap, small puncture, or extreme temperature changes. | Ensure inflation valve cap is tightly secured. Check for small punctures using soapy water and repair with included kit. Avoid extreme temperature fluctuations. |
Specifications
| Feature | Detail |
|---|---|
| Brand | Glonerle |
| Model Name | Inflatable Hot Tub |
| Product Dimensions | 71"L x 71"W x 25"H |
| Material | Polyvinyl Chloride (PVC) |
| Voltage | 110 Volts |
| Shape | Round |
| Capacity | 211 Gallons |
| Number of Jets | 120 |
| Seating Capacity | 4 |
| Assembly Required | Yes |
Warranty and Support
Glonerle products are manufactured to the highest quality standards. For warranty information, technical support, or to purchase replacement parts, please contact Glonerle customer service. Keep your purchase receipt as proof of purchase.
For further assistance, visit the official Glonerle store: Glonerle Store
Ask a question about this manual
Ask about setup, troubleshooting, compatibility, parts, safety, or missing instructions. Manuals+ will review the question and use this page’s manual context to help answer it.