
1. Introduction
This manual provides comprehensive instructions for the installation, operation, and maintenance of your TMEZON T30 2-Wire Triple-Family Video Intercom System. Please read this manual carefully before installation and use to ensure proper functionality and safety. Keep this manual for future reference.
2. Product Overview
The TMEZON T30 system is designed to provide secure and convenient communication for multi-family residences or offices. It includes an outdoor camera unit and three indoor 7-inch TFT color monitors, all connected via a simple 2-wire system.

Figure 2.1: TMEZON T30 Video Intercom System components, showing the outdoor camera unit and three indoor 7-inch monitors.
2.1 Components
- Outdoor Camera Unit: Features a camera, microphone, speaker, and call buttons for three families.
- Indoor Monitor (x3): 7-inch TFT color display with controls for communication, door unlocking, and settings.
- Power Adapters: For indoor monitors.
- Connection Cables: Short cables for initial setup.

Figure 2.2: Labeled diagram of the outdoor unit and indoor monitor, indicating camera, microphone, speaker, call buttons, and monitor controls.
3. Key Features
- 2-Wire Connection: Simplifies installation by requiring only two wires between the outdoor unit and indoor monitors. This ensures stable signal transmission and ease of setup for users without extensive technical experience.

Figure 3.1: Illustration of the 2-wire connection technology, showing the outdoor unit, indoor monitor, and power supply.
- 7-inch TFT Color Monitor: Each indoor unit features a 7-inch TFT color screen, providing a clear and detailed view of visitors. The user-friendly menu allows for easy adjustment of volume and brightness.
- Night Vision and Weather-Resistant Design: The outdoor unit is equipped with integrated IR night vision for clear identification in low-light conditions. With an IPX5 certification, the outdoor camera is resistant to rain and strong winds, ensuring reliable operation in various weather conditions.

Figure 3.2: Night vision capability of the outdoor camera, providing clear images in dark environments.

Figure 3.3: The outdoor unit's weather-resistant design, shown functioning reliably in rainy conditions.
- Two-Way Audio and Door Unlock: Communicate with visitors at your door using the two-way audio feature. The system also allows you to unlock the door directly from the indoor monitor, enhancing security and convenience.

Figure 3.4: Two-way audio communication in action, allowing conversation with visitors.

Figure 3.5: Unlocking the door directly from the indoor monitor with a single button press.
- Electronic Lock Compatibility: The outdoor unit supports connection with various electronic locks without requiring additional devices.
- Gate lock: ≤30V 2A
- Electronic lock: ≤350 mA

Figure 3.6: Diagram illustrating the connection of an electronic lock to the outdoor unit.
- 16 Melodies and Do Not Disturb Mode: Choose from 16 integrated classic melodies for your doorbell. Activate the "Do Not Disturb" mode directly from the monitor's menu when you prefer silence.
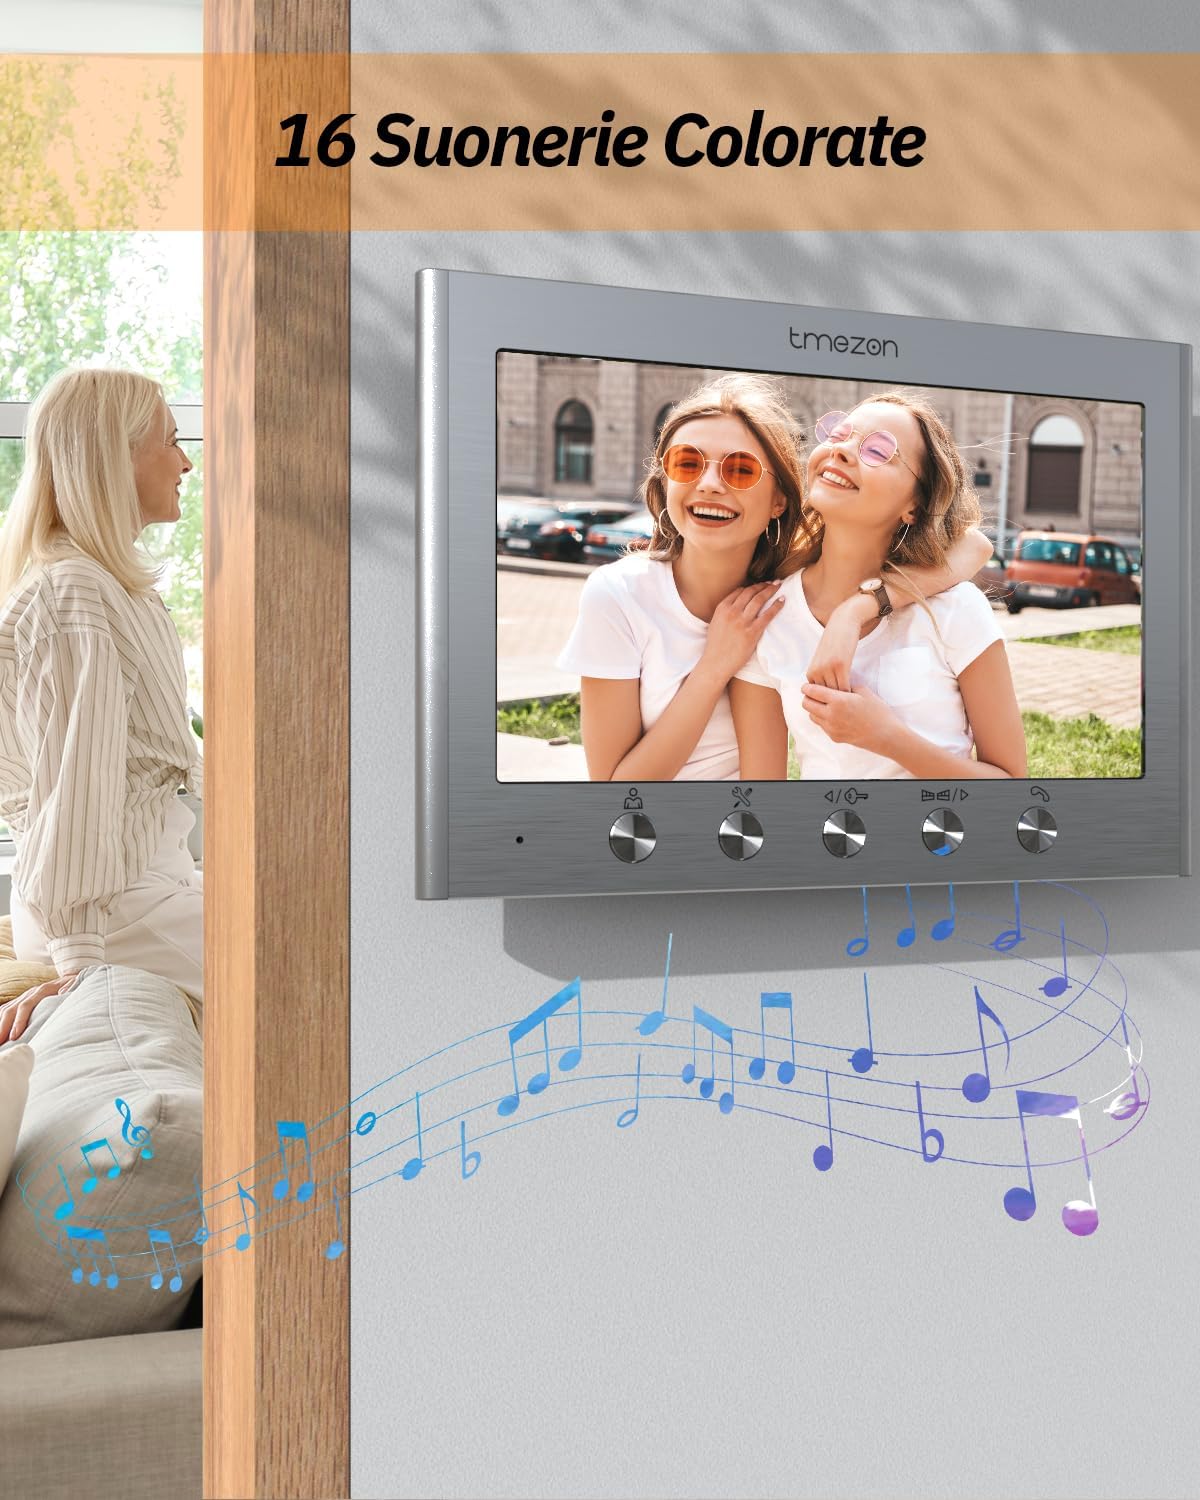
Figure 3.7: The indoor monitor interface, highlighting the selection of 16 different melodies.
- Triple-Family System: This kit includes one outdoor unit and three indoor monitors, making it suitable for three separate families or apartments.
4. Setup and Installation
Proper installation is crucial for the optimal performance of your video intercom system. Follow these general guidelines. For detailed steps, refer to the included installation guide.
4.1 Wiring Diagram
The system utilizes a 2-wire connection. It is recommended to use an RVV2×0.75 mm² cable between the indoor monitor and the outdoor unit, with a maximum connection distance of up to 50 meters.

Figure 4.1: Comprehensive wiring diagram showing connections for the outdoor unit, three indoor units, power, and optional electronic lock/gate release.
4.2 Installation Steps (General)
- Mount the Outdoor Unit: Choose a suitable location near your entrance, ensuring the camera has a clear view and is protected from direct impact.
- Mount Indoor Monitors: Install the three indoor monitors in desired locations within each residence/apartment.
- Connect Wiring: Connect the 2-wire cable between the outdoor unit and each indoor monitor as per the wiring diagram. Ensure all connections are secure.
- Connect Power: Plug in the power adapters for each indoor monitor.
- Test System: Verify all functions, including calling, two-way audio, video display, and door unlock (if connected).
5. Operating Instructions
5.1 Answering a Call
When a visitor presses a call button on the outdoor unit, the corresponding indoor monitor(s) will ring and display the visitor's image. Press the "Answer" button on the monitor to establish two-way audio communication.
5.2 Two-Way Communication
After answering, you can speak with the visitor. The system supports full duplex audio, allowing natural conversation.
5.3 Unlocking the Door
If an electronic lock is connected, press the "Unlock" button on the indoor monitor during a call to remotely open the door or gate.
5.4 Adjusting Settings
Access the monitor's menu to adjust various settings, including:
- Volume: Adjust the ringtone and communication volume.
- Brightness: Control the display brightness.
- Melody Selection: Choose from 16 available ringtones.
- Do Not Disturb Mode: Activate or deactivate silent mode.
6. Maintenance
- Cleaning: Use a soft, dry cloth to clean the indoor monitors and outdoor unit. Avoid abrasive cleaners or solvents.
- Outdoor Unit: Periodically check the outdoor unit for any obstructions to the camera lens or microphone/speaker. Ensure it remains securely mounted.
- Cables: Inspect wiring for any signs of damage or wear, especially outdoor cables.
7. Troubleshooting
7.1 No Video/Audio
- Check all power connections to the indoor monitors.
- Verify that the 2-wire connection between the outdoor unit and indoor monitors is secure and correctly wired.
- Ensure the monitor is not in "Do Not Disturb" mode if there's no audio.
7.2 Door Unlock Not Working
- Confirm the electronic lock is correctly wired to the outdoor unit as per the diagram.
- Check the power supply to the electronic lock.
- Ensure the lock itself is functioning correctly.
7.3 Poor Video Quality
- Clean the camera lens on the outdoor unit.
- Check for any obstructions in the camera's field of view.
- Ensure the cable length does not exceed the recommended 50 meters for RVV2×0.75 mm² cable.
8. Specifications
| Feature | Detail |
|---|---|
| Model | T30 |
| Connection Type | 2-Wire |
| Indoor Monitor Display | 7-inch TFT Color |
| Outdoor Unit Features | Camera, IR Night Vision, Microphone, Speaker, 3 Call Buttons, IPX5 Weather Resistance |
| Audio | Two-Way Bidirectional |
| Electronic Lock Compatibility | Gate lock: ≤30V 2A, Electronic lock: ≤350 mA |
| Recommended Cable | RVV2×0.75 mm² |
| Max Cable Distance | 50 meters (with recommended cable) |
| Product Dimensions (Outdoor Unit) | Approx. 183mm (H) x 85mm (W) |
| Product Dimensions (Indoor Monitor) | Approx. 184mm (W) x 124mm (H) |
| Item Weight | 2.3 Kilograms (Total package weight) |
9. Warranty and Support
TMEZON products are designed for reliability and performance. For warranty information, technical support, or service inquiries, please refer to the contact details provided with your purchase or visit the official TMEZON website. Please retain your proof of purchase for warranty claims.


