
1. Product Overview
The SelectBlinds Cordless Classic Vinyl Blackout Roller Shade is designed to provide complete light blockage and privacy for various rooms in your home. Its durable construction and cordless operation ensure both functionality and safety.
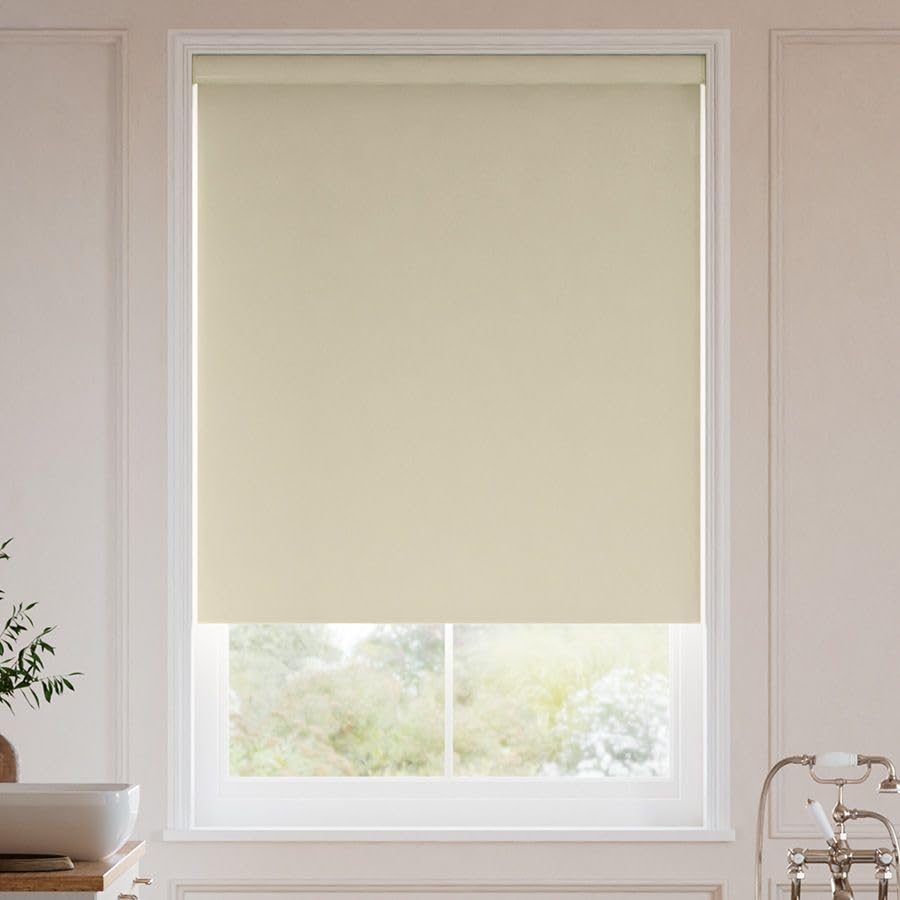
Image 1.1: SelectBlinds Cordless Classic Vinyl Blackout Roller Shade in Beige.
Key Features:
- Total Blackout & Privacy: Blocks 100% of light, providing complete darkness and privacy. Suitable for bedrooms, nurseries, media rooms, and home offices.
- Durable & Moisture-Resistant: Constructed from flame-retardant vinyl fiberglass with an additional laminated layer for enhanced strength and durability. Humidity resistant, suitable for bathrooms and kitchens.
- Safe Cordless Operation: Features a smooth, tangle-free cordless lift system for easy operation and increased safety in environments with children and pets.
- Custom Fit Options: Available in various widths (14” to 84”) and heights (12” to 84”) to fit different window sizes.
- Versatile Mounting: Supports both inside and outside mount installations. Inside mount requires specific minimum and flush depths depending on the roll type. Outside mount requires at least 1 inch of space.

Image 1.2: Features highlighting light blocking and cordless safety.
2. Installation Guide
2.1 Before You Begin
Ensure all components are present and undamaged before starting installation. Refer to the packing list provided with your shade.
Tools Required:
- Measuring Tape
- Pencil
- Drill with appropriate drill bits
- Screwdriver (Phillips or Flathead, depending on screws)
- Level
2.2 Measuring for Installation
Accurate measurements are crucial for proper fit and function. Determine whether you will use an inside mount (within the window frame) or an outside mount (outside the window frame).

Image 2.1: Measuring guide for roller shades.
Mounting Requirements:
- Inside Mount Minimum Depth:
- Exposed Roll: 2 1/4 inches
- Cassette: 2 5/8 inches
- Inside Mount Flush Depth:
- Exposed Roll: 3 inches
- Cassette: 3 1/4 inches
- Outside Mount Minimum Space: 1 inch

Image 2.2: Detailed depth requirements for mounting options.
2.3 Mounting Instructions
- Mark Bracket Locations: Hold the shade in the desired mounting position and mark the locations for the installation brackets with a pencil. Ensure marks are level.
- Drill Pilot Holes: Drill pilot holes at the marked locations. Use appropriate drill bits for your wall material (e.g., wood, drywall with anchors).
- Attach Brackets: Securely fasten the installation brackets using the provided screws.
- Install the Shade: Carefully insert the roller shade into the installed brackets. Ensure it clicks securely into place. Refer to the specific bracket design for detailed attachment steps.
- Test Operation: Gently raise and lower the shade to ensure smooth operation and proper installation.
3. Operating Your Roller Shade
Your SelectBlinds roller shade features a cordless lift system for easy and safe operation.
3.1 Raising and Lowering the Shade
- To Lower: Gently grasp the bottom rail of the shade and pull it down to the desired position. The shade will hold its position automatically.
- To Raise: Gently grasp the bottom rail and push it upwards. The shade will retract smoothly and hold its position when released.

Image 3.1: Demonstrating cordless shade operation by adjusting the bottom rail.
Avoid forcing the shade or pulling on the fabric directly, as this may damage the lift mechanism.
4. Care and Maintenance
Regular cleaning will help maintain the appearance and longevity of your roller shades.
4.1 Cleaning Instructions
- Dusting: Use a soft cloth, duster, or vacuum cleaner with a brush attachment to gently remove dust from the shade fabric.
- Spot Cleaning: For stubborn spots, use a damp cloth with mild soap and water. Gently blot the stained area. Avoid harsh chemicals or abrasive cleaners, as these can damage the vinyl material.
- Drying: Allow the shade to air dry completely before raising it.
Due to the moisture-resistant vinyl material, these shades are easy to clean and maintain.
5. Troubleshooting
If you encounter issues with your roller shade, refer to the following common problems and solutions:
| Problem | Possible Cause | Solution |
|---|---|---|
| Shade does not stay up or down | Cordless mechanism needs adjustment or is damaged. | Gently pull the shade all the way down, then quickly push it all the way up. Repeat a few times to reset the mechanism. If the issue persists, contact customer support. |
| Shade moves unevenly | Improper installation or uneven tension. | Check that the installation brackets are level and securely fastened. Ensure the shade is properly seated in the brackets. |
| Difficulty raising or lowering | Obstruction or mechanism issue. | Check for any obstructions in the window frame or around the shade. Ensure you are grasping the center of the bottom rail when operating. |
6. Product Specifications
| Feature | Detail |
|---|---|
| Brand | SELECT BLINDS |
| Model Number | 347 |
| Material | Vinyl |
| Color | Beige |
| Opacity | Blackout |
| Operation Mode | Manual (Cordless) |
| Product Dimensions (Example) | 36"L x 18"W (Specific dimensions vary by order) |
| Mounting Type | Inside, Outside |
| Room Type Compatibility | Bedroom, Home Office, Kids Room, Kitchen, Nursery |
7. Warranty and Customer Support
For specific warranty information regarding your SelectBlinds product, please refer to the documentation included with your purchase or visit the official SelectBlinds website.
If you require assistance with installation, operation, or troubleshooting that is not covered in this manual, please contact SelectBlinds customer support:
- Manufacturer: SelectBlinds
- Seller: SelectBlinds® (via Amazon)
- Contact Information: Please refer to your purchase receipt or the SelectBlinds official website for the most current contact details.

