
SANNCE 81BC
SANNCE 8-Channel 1080P Wired Home Surveillance Security Camera System
Model: 81BC - User Manual
1. Introduction
This user manual provides detailed instructions for the installation, operation, and maintenance of your SANNCE 8-Channel 1080P Wired Home Surveillance Security Camera System. This DVR system is designed to provide reliable and high-quality video surveillance for your home or office, featuring 5-in-1 compatibility, human detection, and remote access capabilities. Please read this manual thoroughly before using the product to ensure proper setup and functionality.
2. What's in the Box
Upon unboxing, please verify that all components are present and in good condition:
- SANNCE 8-Channel DVR Recorder with 1TB Hard Disk Drive
- Power Adapter for DVR
- USB Mouse
- Ethernet Cable
- Quick Start Guide
- Mounting Screws (for HDD, if applicable)
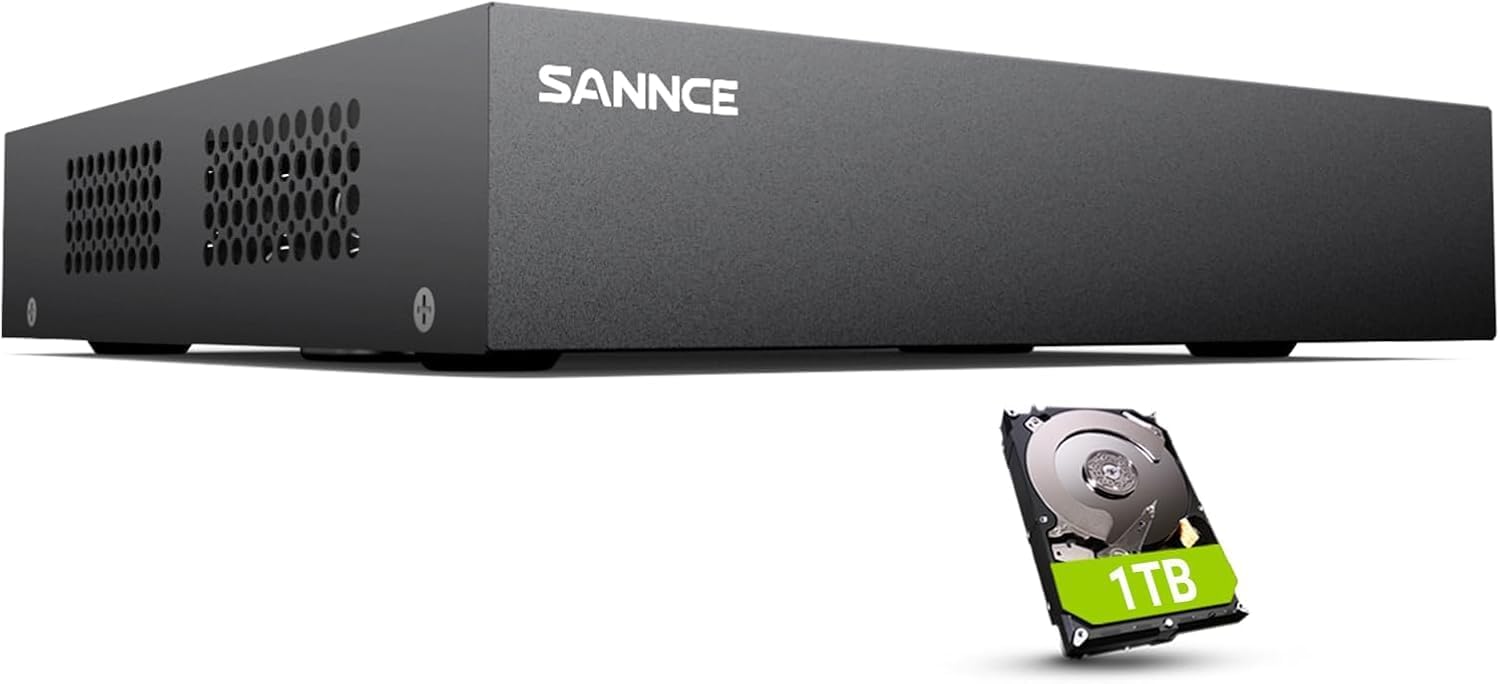
Image: The SANNCE 8-Channel DVR unit shown with a 1TB hard disk drive, indicating the core components of the system.
3. System Overview and Features
The SANNCE 8-Channel DVR system offers advanced surveillance capabilities with user-friendly features.
3.1. 5-in-1 Compatibility
This DVR supports multiple camera types, including CVBS, AHD, TVI, CVI, and IP cameras, allowing for flexible integration with existing or new surveillance setups.

Image: A diagram illustrating the 5-in-1 compatibility of the DVR, showing connections for AHD, TVI, CVI, CVBS, and IP cameras.
3.2. Human/Vehicle Detection
Advanced detection algorithms minimize false alarms by accurately identifying human and vehicle movement, reducing triggers from pets or environmental factors.

Image: A scene showing a child and a car, with green boxes highlighting the human and vehicle detection capabilities, indicating reduced false alarms.
3.3. Real-time Alarms and Notifications
Receive instant email notifications and app alerts on your smart devices when motion is detected, ensuring timely awareness of events.

Image: A person attempting to break in, with notification pop-ups for email and the SANNCE HOME app, demonstrating real-time alarm alerts.
3.4. Multiple Recording Options
Choose from continuous recording, motion detection recording, or scheduled recording to suit your surveillance needs.
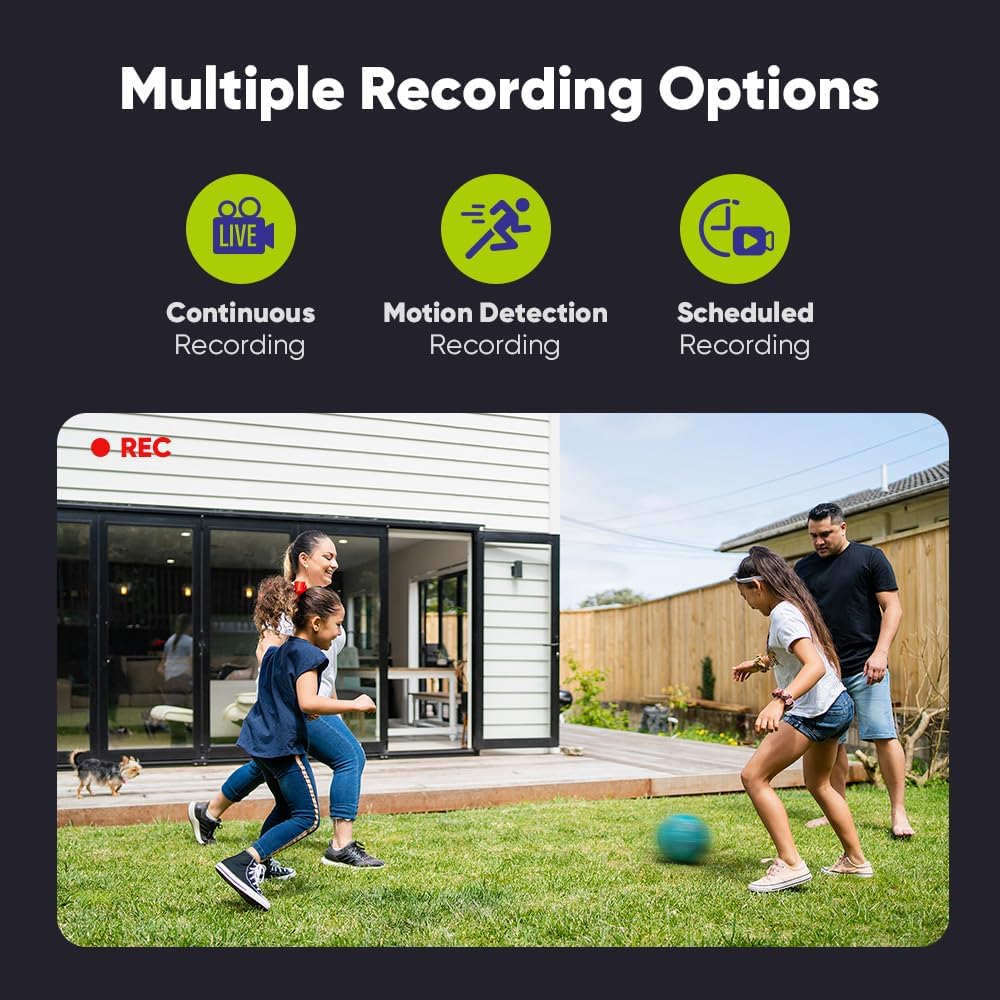
Image: Icons representing Continuous Recording, Motion Detection Recording, and Scheduled Recording, with a scene of a family playing outdoors, indicating various recording modes.
3.5. H.265+ Video Compression
The H.265+ video format optimizes storage space and bandwidth usage while maintaining high-quality 1080P resolution recordings.

Image: A graph comparing H.264 and H.265+ compression, showing H.265+ significantly reduces storage space and bandwidth usage, with the DVR unit at the bottom.
3.6. Remote Access and Monitoring
Access live feeds and recordings from anywhere using the free SANNCE HOME app on your smartphone, tablet, or computer.

Image: Hands holding a smartphone displaying the SANNCE HOME app interface with a live camera feed, demonstrating easy remote access.
3.7. HDMI and VGA Outputs
Connect the DVR to an HD monitor or TV via HDMI or VGA for clear 1080P video output.

Image: The SANNCE DVR connected to a large monitor displaying a clear 1080P image of a house, highlighting the HDMI output capability.
4. Setup Guide
4.1. Initial Hardware Connection
- Connect Cameras: Connect your surveillance cameras to the BNC video input ports on the back of the DVR.
- Connect Monitor: Use an HDMI or VGA cable to connect the DVR to a monitor or TV.
- Connect Mouse: Plug the USB mouse into one of the USB ports on the DVR.
- Connect Network: For remote access, connect an Ethernet cable from the DVR's LAN port to your router.
- Power On: Connect the power adapter to the DVR and then to a power outlet. The DVR will power on automatically.
4.2. Hard Disk Drive (HDD) Installation
Your SANNCE DVR comes with a pre-installed 1TB HDD. If you need to replace or install an additional HDD (check model compatibility for additional bays), follow these steps:
- Power off and unplug the DVR.
- Remove the top cover of the DVR by unscrewing the retaining screws.
- Carefully connect the SATA data and power cables from the DVR to the HDD.
- Secure the HDD to the DVR chassis using the provided screws.
- Replace the top cover and secure it with screws.
- Power on the DVR. You may need to format the HDD through the DVR's system settings before recording.
4.3. Network Configuration
After connecting the Ethernet cable, the DVR should automatically obtain an IP address via DHCP. You can verify network status and configure advanced settings (e.g., static IP) through the DVR's network menu.
4.4. SANNCE HOME App Setup
- Download the 'SANNCE HOME' app from your mobile device's app store (iOS App Store or Google Play Store).
- Register an account or log in if you already have one.
- Add your DVR device by scanning the QR code displayed on the DVR's monitor (found in the network settings or device info) or by manually entering the device ID.
- Follow the on-screen prompts to complete the setup and begin remote viewing.
5. Operating Instructions
5.1. Live View
Once the DVR is powered on and cameras are connected, the live view of all channels will be displayed on the connected monitor. Use the USB mouse to navigate the interface.
5.2. Recording Management
Access the recording settings via the main menu to configure continuous, motion-triggered, or scheduled recording for each camera channel.
- Continuous Recording: Records 24/7.
- Motion Detection Recording: Records only when motion is detected. Configure detection zones and sensitivity in the settings.
- Scheduled Recording: Set specific times for recording to occur.
5.3. Playback
To review recorded footage, enter the playback interface from the main menu. Select the date, time, and camera channel to view recordings. You can fast-forward, rewind, and pause playback.

Image: A security control room with multiple monitors displaying live and recorded footage from up to 8 cameras, illustrating the multi-channel playback capability.
5.4. Privacy Masking
To protect privacy in sensitive areas, you can set up privacy masks. These areas will be blacked out in live view and recordings.

Image: An outdoor scene with a purple shaded area indicating a detection zone and two windows with green shaded areas indicating private areas, demonstrating customizable monitoring and privacy settings.
5.5. Recording Backup
You can export recorded video files to a USB flash drive for backup. Insert the USB drive into the DVR's USB port and follow the on-screen instructions in the backup menu.

Image: Two security personnel reviewing footage on a monitor, with text indicating that recording backup is supported, allowing users to save valuable scenes.
6. Maintenance
6.1. Hard Drive Management
Regularly check the HDD status in the DVR's system settings. If the HDD is full, the DVR will typically overwrite the oldest recordings. Ensure the HDD is healthy for continuous recording.
6.2. Firmware Updates
Periodically check the SANNCE official website for firmware updates. Updating the firmware can improve system performance, add new features, and resolve bugs. Follow the instructions provided with the firmware update carefully.
6.3. Cleaning
Keep the DVR unit and cameras clean. Use a soft, dry cloth to wipe dust from the DVR. For cameras, gently clean lenses with a microfiber cloth. Ensure power is disconnected before cleaning the DVR.
7. Troubleshooting
7.1. No Video Output
- Check all cable connections (HDMI/VGA, power).
- Ensure the monitor is set to the correct input source.
- Try a different monitor or cable.
7.2. No Camera Display
- Verify camera power supply and BNC connections.
- Ensure cameras are compatible with the DVR's 5-in-1 modes (CVBS/AHD/TVI/CVI/IP).
- Check camera settings in the DVR menu.
7.3. Remote Access Issues
- Confirm the DVR is connected to the internet (check network status in DVR settings).
- Ensure your mobile device has a stable internet connection.
- Verify the device ID or QR code was correctly added to the SANNCE HOME app.
- Check router firewall settings if connection is blocked.
7.4. No Recording
- Check HDD status; ensure it is formatted and healthy.
- Verify recording schedules and motion detection settings are correctly configured.
- Ensure there is sufficient storage space on the HDD.
8. Specifications
| Feature | Specification |
|---|---|
| Model Number | 81BC |
| Product Dimensions | 9 x 2 x 3 inches |
| Item Weight | 3.14 pounds |
| Number of Channels | 8 |
| Connectivity Technology | Ethernet |
| Compatible Devices | Camera (CVBS/AHD/TVI/CVI/IP) |
| Total USB Ports | 2 |
| Video Output | HDMI, VGA (1080P) |
| Hard Disk Drive | 1TB Pre-installed |
9. Warranty and Support
SANNCE products are covered by a manufacturer's warranty. For specific warranty terms and conditions, please refer to the warranty card included with your product or visit the official SANNCE website. For technical support, troubleshooting assistance, or product inquiries, please contact SANNCE customer service through their official channels. You can find more information and support resources by visiting the SANNCE Store on Amazon or their official website.
Ask a question about this manual
Ask about setup, troubleshooting, compatibility, parts, safety, or missing instructions. Manuals+ will review the question and use this page’s manual context to help answer it.