
1. Introduction
This manual provides detailed instructions for the setup, operation, and maintenance of your UCOCARE M7 4MP 4G LTE Cellular Security Camera. Please read this manual thoroughly before using the product to ensure proper functionality and safety. The UCOCARE M7 is designed for flexible security monitoring in locations without Wi-Fi access, utilizing 4G LTE connectivity.
2. Product Overview
2.1 Package Contents
- UCOCARE M7 4MP 4G LTE Cellular Security Camera
- Mounting Bracket
- 4G SIM Card (with 300MB trial data)
- Screw Pack for installation
- USB Charging Cable
- User Manual (this document)
2.2 Key Features
- 4G LTE Connectivity: Operates independently of Wi-Fi, ideal for remote locations.
- 4MP HD Video: Captures clear video at 2560 x 1440 resolution.
- 160° Wide Viewing Angle: Provides extensive coverage.
- 10x Digital Zoom: Allows for detailed inspection of captured footage.
- 5200mAh Rechargeable Battery: Extended operational time.
- AI Motion Detection: Reduces false alerts by distinguishing relevant motion.
- Enhanced Night Vision: Clear visibility up to 33 feet in low-light conditions without red glow.
- Portable and Compact Design: Easy to carry and install in various environments.
- Flexible Storage Options: Supports Micro SD card (up to 128GB, not included) and optional cloud storage.
- Two-Way Audio: Communicate through the camera (functionality implied by app features).

Image 2.1: UCOCARE M7 Camera and included SIM card.

Image 2.2: The UCOCARE M7 features a 5200mAh battery for extended use.
3. Setup Guide
Follow these steps to set up your UCOCARE M7 camera:
3.1 App Download and Installation
- Download the "UBoxPro" app from your smartphone's app store (Google Play Store for Android or Apple App Store for iOS).
- Enable Bluetooth on your smartphone.
- Open the UBoxPro app and create an account or log in.
3.2 SIM Card Insertion
The camera comes with a pre-activated 4G SIM card with a 300MB trial data. You can also use a compatible SIM card from major carriers like AT&T, T-Mobile, Verizon, MetroPCS, C Spire, or ClearTalk.
- Locate the SIM card slot on the camera.
- Carefully insert the provided 4G SIM card into the slot until it clicks into place. Ensure the correct orientation as indicated on the camera.
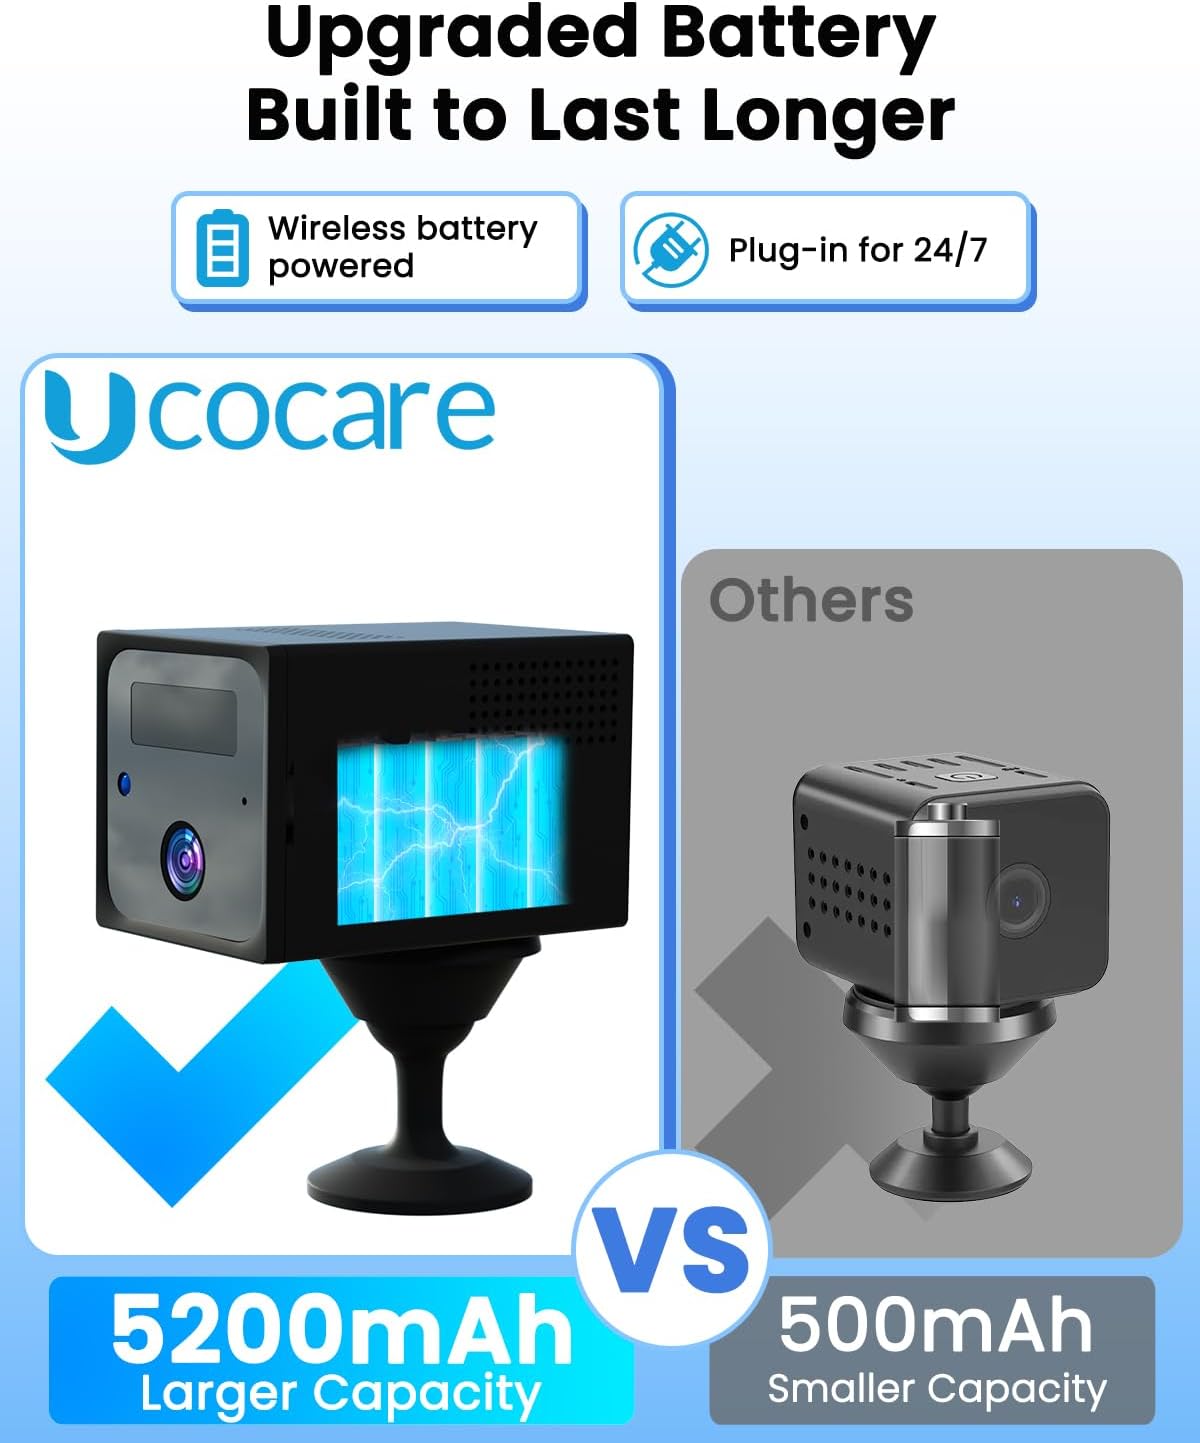
Image 3.1: Inserting the 4G SIM card into the camera.
3.3 Initial Power On and Pairing
- After inserting the SIM card, power on the camera.
- If necessary, reset the camera using a pin to press the reset button.
- Wait for the blue indicator light on the camera to become solid, indicating it has connected to the 4G network.
- In the UBoxPro app, follow the on-screen instructions to add a new device. You may need to scan the QR code located on the back of the camera.
- Once paired, you will be able to view the camera feed and access settings.

Image 3.2: Visual guide for the four-step setup process.
3.4 Installation and Mounting
The UCOCARE M7 camera is designed for versatile installation, including tabletop, wall, or ceiling mounting. The adjustable mount allows for 360° rotation.
- Choose a location that provides the desired viewing angle and is within 4G network coverage.
- Use the included mounting bracket and screw pack to secure the camera to a surface.
- Adjust the camera's angle using its 360° rotatable base to achieve optimal surveillance.

Image 3.3: Examples of flexible installation options for the portable camera.
4. Operating Instructions
4.1 Real-Time Monitoring
Once the camera is set up and connected, you can access live video feed through the UBoxPro app on your smartphone.
- Open the UBoxPro app.
- Select your camera from the device list to view the live stream.
- Use the app interface for digital zoom (10x), two-way audio, and other controls.
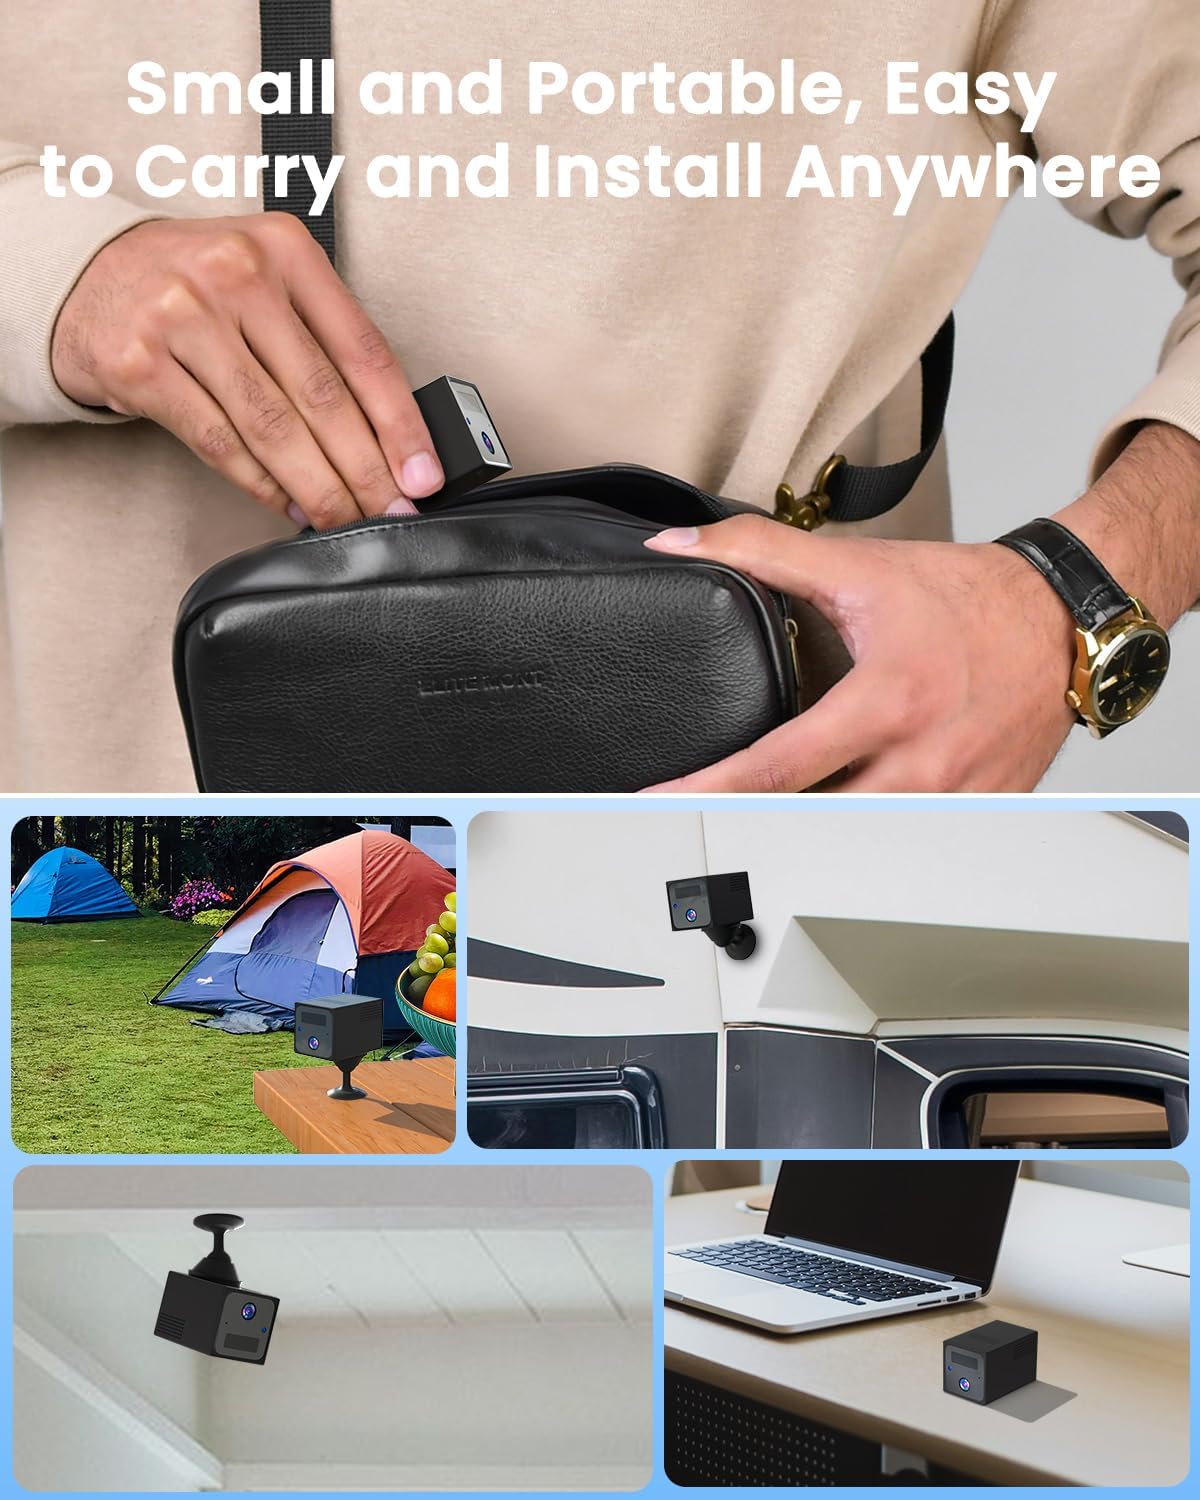
Image 4.1: Real-time video monitoring and alerts via the UBoxPro app.
4.2 Motion Detection and Alerts
The camera features advanced AI motion detection to minimize false alarms.
- In the UBoxPro app, navigate to the camera settings.
- Adjust the motion sensitivity level to suit your environment. Higher sensitivity detects more subtle movements, while lower sensitivity filters out minor disturbances.
- Set specific arming periods to activate motion detection only during certain times.
- When motion is detected, you will receive instant notifications on your smartphone.

Image 4.2: Customizing motion detection settings in the app.
4.3 Video Storage and Playback
Recorded events can be stored locally or in the cloud.
- Micro SD Card: Insert a Micro SD card (up to 128GB, not included) into the camera's designated slot for local storage of motion-triggered recordings.
- Cloud Storage: A 30-day free trial of cloud storage is available. After the trial, subscription is optional. Cloud storage allows access to recordings from anywhere without needing physical access to the camera.
- Access recorded events and playback through the UBoxPro app's event history.

Image 4.3: Accessing recorded events and managing storage options.
4.4 Multi-User Access
You can share camera access with family members or trusted individuals.
- In the UBoxPro app, navigate to the sharing settings.
- Invite other users by entering their account details.
- Shared users can view live feeds and receive notifications, ensuring everyone stays informed.

Image 4.4: Sharing camera access with multiple users.
5. Maintenance
5.1 Battery Charging
The UCOCARE M7 is equipped with a 5200mAh rechargeable battery. When the battery level is low, connect the camera to a 5V USB power source using the provided USB charging cable. The camera can operate while charging for 24/7 security.
5.2 Cleaning
To maintain optimal performance, periodically clean the camera lens and body with a soft, dry cloth. Avoid using harsh chemicals or abrasive materials that could damage the camera.
5.3 Firmware Updates
Ensure your camera's firmware is up to date. Check for available updates within the UBoxPro app settings. Firmware updates often include performance improvements and security enhancements.
6. Troubleshooting
If you encounter issues with your UCOCARE M7 camera, refer to the following common solutions:
- Camera not connecting to 4G:
- Ensure the SIM card is correctly inserted and activated.
- Check for 4G network coverage in the camera's location.
- Verify that the SIM card has an active data plan.
- Restart the camera.
- No notifications received:
- Check app notification settings on your smartphone and within the UBoxPro app.
- Ensure motion detection is enabled and sensitivity is appropriately set.
- Verify the camera has a stable 4G connection.
- Poor video quality:
- Clean the camera lens.
- Ensure adequate lighting for optimal day vision.
- For night vision, ensure no obstructions are blocking the infrared sensors.
- Battery draining quickly:
- Reduce motion detection sensitivity if it's triggering too frequently.
- Limit live view access if multiple users are constantly streaming.
- Ensure the camera is fully charged before deployment.
- App not pairing with camera:
- Ensure Bluetooth is enabled on your phone.
- Confirm the camera's indicator light is solid blue.
- Try resetting the camera and attempting the pairing process again.
- Ensure the UBoxPro app is updated to the latest version.
7. Specifications
| Feature | Specification |
|---|---|
| Model Name | M7 |
| Video Capture Resolution | 4MP (2560 x 1440) |
| Viewing Angle | 160 Degrees |
| Digital Zoom | 10x |
| Night Vision Range | 33 Feet (10 meters) |
| Battery Capacity | 5200 mAh Lithium Ion |
| Power Source | Battery Powered (5V) |
| Connectivity Protocol | Cellular (4G LTE) |
| Compatible Devices | Smartphone (Android, iOS) |
| Controller Type | UBox App |
| Storage Options | Micro SD (up to 128GB), Cloud Storage (optional) |
| Indoor/Outdoor Usage | Indoor, Outdoor |
| Mounting Type | Ceiling Mount, Tabletop Mount, Wall Mount |
| Item Dimensions (L x W x H) | 2.28 x 1.5 x 1.5 inches |
| Item Weight | 9.9 ounces |
| UPC | 755560372271 |
8. Warranty and Support
UCOCARE is committed to providing quality products and customer satisfaction. All products undergo strict factory standards and quality certifications (CE, FCC, ROHS).
8.1 Technical Support
For any technical assistance, questions, or concerns regarding your UCOCARE M7 camera, please contact our dedicated technical support team. Refer to the contact information provided on the product packaging or the official UCOCARE website for support channels.
8.2 Privacy Policy
UCOCARE utilizes financial-grade encryption to safeguard your video data, ensuring protection against theft and damage. Your privacy is a priority, and your data remains secure and inaccessible without your explicit permission.

