
1. Introduction
This manual provides detailed instructions for the installation, operation, and maintenance of your maXpeedingrods 1-3" Front & 3" Rear Lift Leveling Kit with Shocks. Please read this manual thoroughly before beginning installation to ensure proper procedure and safety. Incorrect installation can lead to vehicle damage or personal injury.
This kit is designed to increase the ground clearance of your vehicle, allowing for larger tires and an enhanced off-road appearance and performance.
2. Safety Information
WARNING: Professional installation is highly recommended. Improper installation can lead to serious injury or death, and may void your vehicle's warranty.
- Always wear appropriate personal protective equipment (PPE), including safety glasses and gloves.
- Ensure the vehicle is securely supported on jack stands on a level surface before working underneath it. Never rely solely on a jack.
- Disconnect the vehicle's battery before starting any electrical work.
- Do not modify any components of this kit.
- After installation, perform a full alignment of the vehicle.
- Check all fasteners after 500 miles of driving and periodically thereafter.
3. Product Overview and Components
The maXpeedingrods Lift Leveling Kit includes the following components:
- Front Torsion Keys (Forged Adjustable Key)
- Rear Lift Blocks (High Strength Steel Block)
- Rear U-Bolts (Class 8.8 Bolts)
- Front Shocks (Extended, Nitrogen-charged)
- Rear Shocks (Extended, Nitrogen-charged)

Figure 3.1: Complete maXpeedingrods Lift Leveling Kit Components.

Figure 3.2: Key components including strong carbon steel blocks, forged adjustable keys, and shocks.

Figure 3.3: Individual component details: steel blocks, torsion keys, and U-bolts.
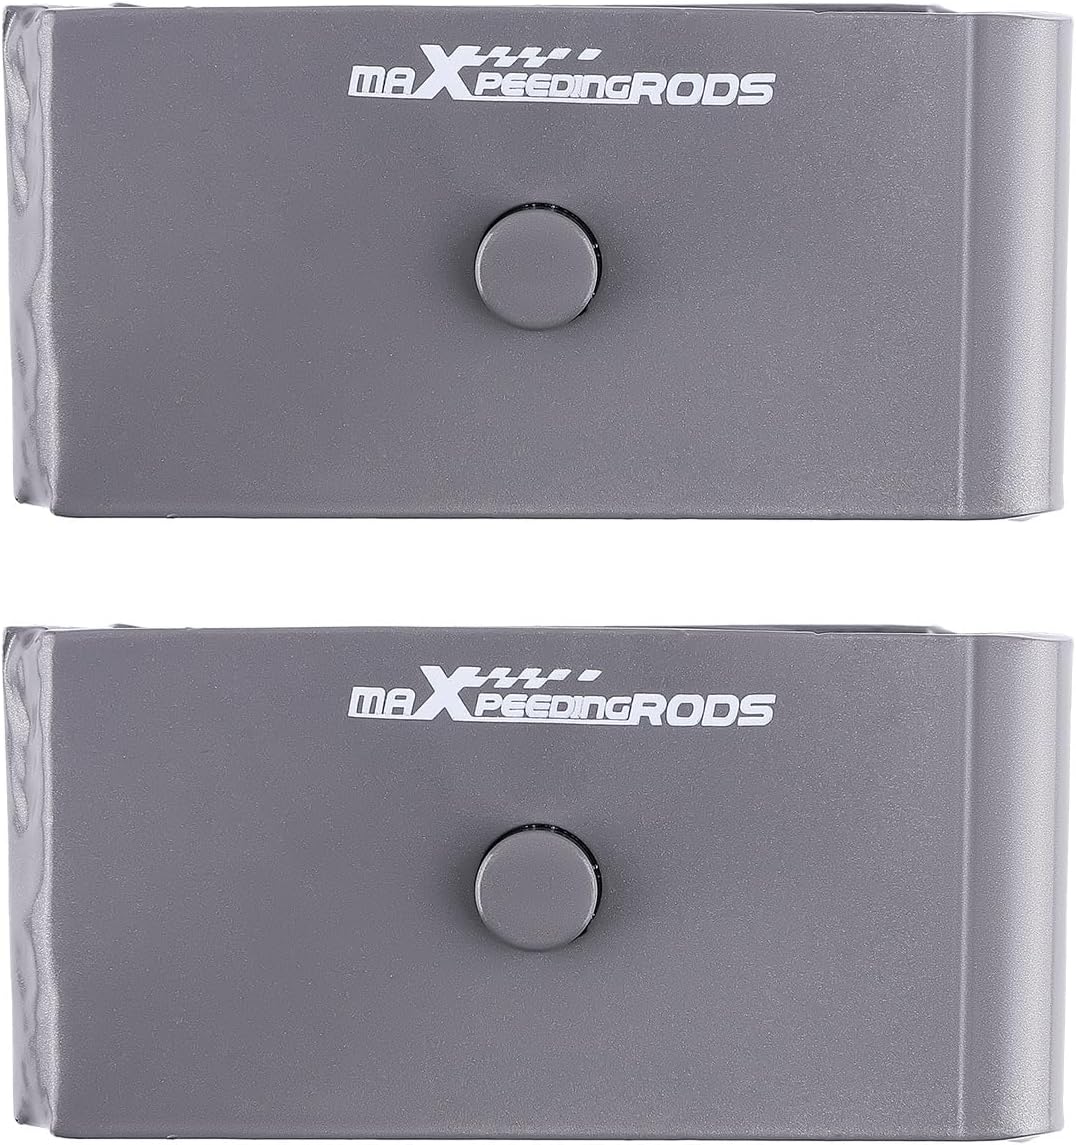
Figure 3.4: Rear lift blocks.

Figure 3.5: Shock absorber detail.
4. Vehicle Compatibility
This lift leveling kit is compatible with the following vehicles:
- Chevrolet Silverado 1500 4WD (1999-2006)
- GMC Sierra 1500 4WD (1999-2006)
- 2007 "Classic" models of Chevrolet Silverado 1500 4WD and GMC Sierra 1500 4WD.
Important Notes:
- This kit is NOT compatible with HD models.
- This kit is NOT compatible with 1999 GMT400 "Classic" body style.
5. Installation Instructions (Setup)
This section outlines the general steps for installing the maXpeedingrods Lift Leveling Kit. Due to the complexity and safety implications, professional installation is strongly recommended. Refer to your vehicle's service manual for specific torque specifications and detailed disassembly/assembly procedures.
5.1. Pre-Installation Steps
- Park the vehicle on a firm, level surface.
- Engage the parking brake.
- Chock the rear wheels when working on the front, and the front wheels when working on the rear.
- Loosen the lug nuts on all wheels.
- Raise the vehicle using a hydraulic jack and support it securely with jack stands under the frame.
- Remove the wheels.
5.2. Front Lift Installation (1-3" Adjustable)
The front lift is achieved by replacing the factory torsion keys with the adjustable maXpeedingrods torsion keys. This allows for a 1-3 inch lift depending on adjustment.
- Locate the factory torsion bar keys.
- Carefully relieve tension on the torsion bars using a specialized torsion bar unloading tool. WARNING: Torsion bars are under extreme tension and can cause severe injury if not handled properly.
- Remove the factory torsion keys.
- Install the new maXpeedingrods forged adjustable torsion keys.
- Re-tension the torsion bars using the unloading tool, adjusting to achieve the desired lift height (1-3 inches). Ensure both sides are adjusted evenly.
- Replace the front shocks with the provided extended maXpeedingrods front shocks.
5.3. Rear Lift Installation (3")
The rear lift is achieved by installing lift blocks between the leaf springs and the axle, secured with new U-bolts.
- Support the rear axle with a jack.
- Remove the factory U-bolts and lower the axle slightly to create space for the lift blocks.
- Insert the maXpeedingrods high-strength steel lift blocks between the leaf springs and the axle. Ensure proper orientation.
- Install the new, longer maXpeedingrods Class 8.8 U-bolts.
- Gradually raise the axle with the jack, guiding the U-bolts and ensuring all components align correctly.
- Tighten the U-bolt nuts evenly and to the manufacturer's specified torque.
- Replace the rear shocks with the provided extended maXpeedingrods rear shocks.

Figure 5.1: Visual representation of vehicle lift before and after kit installation.
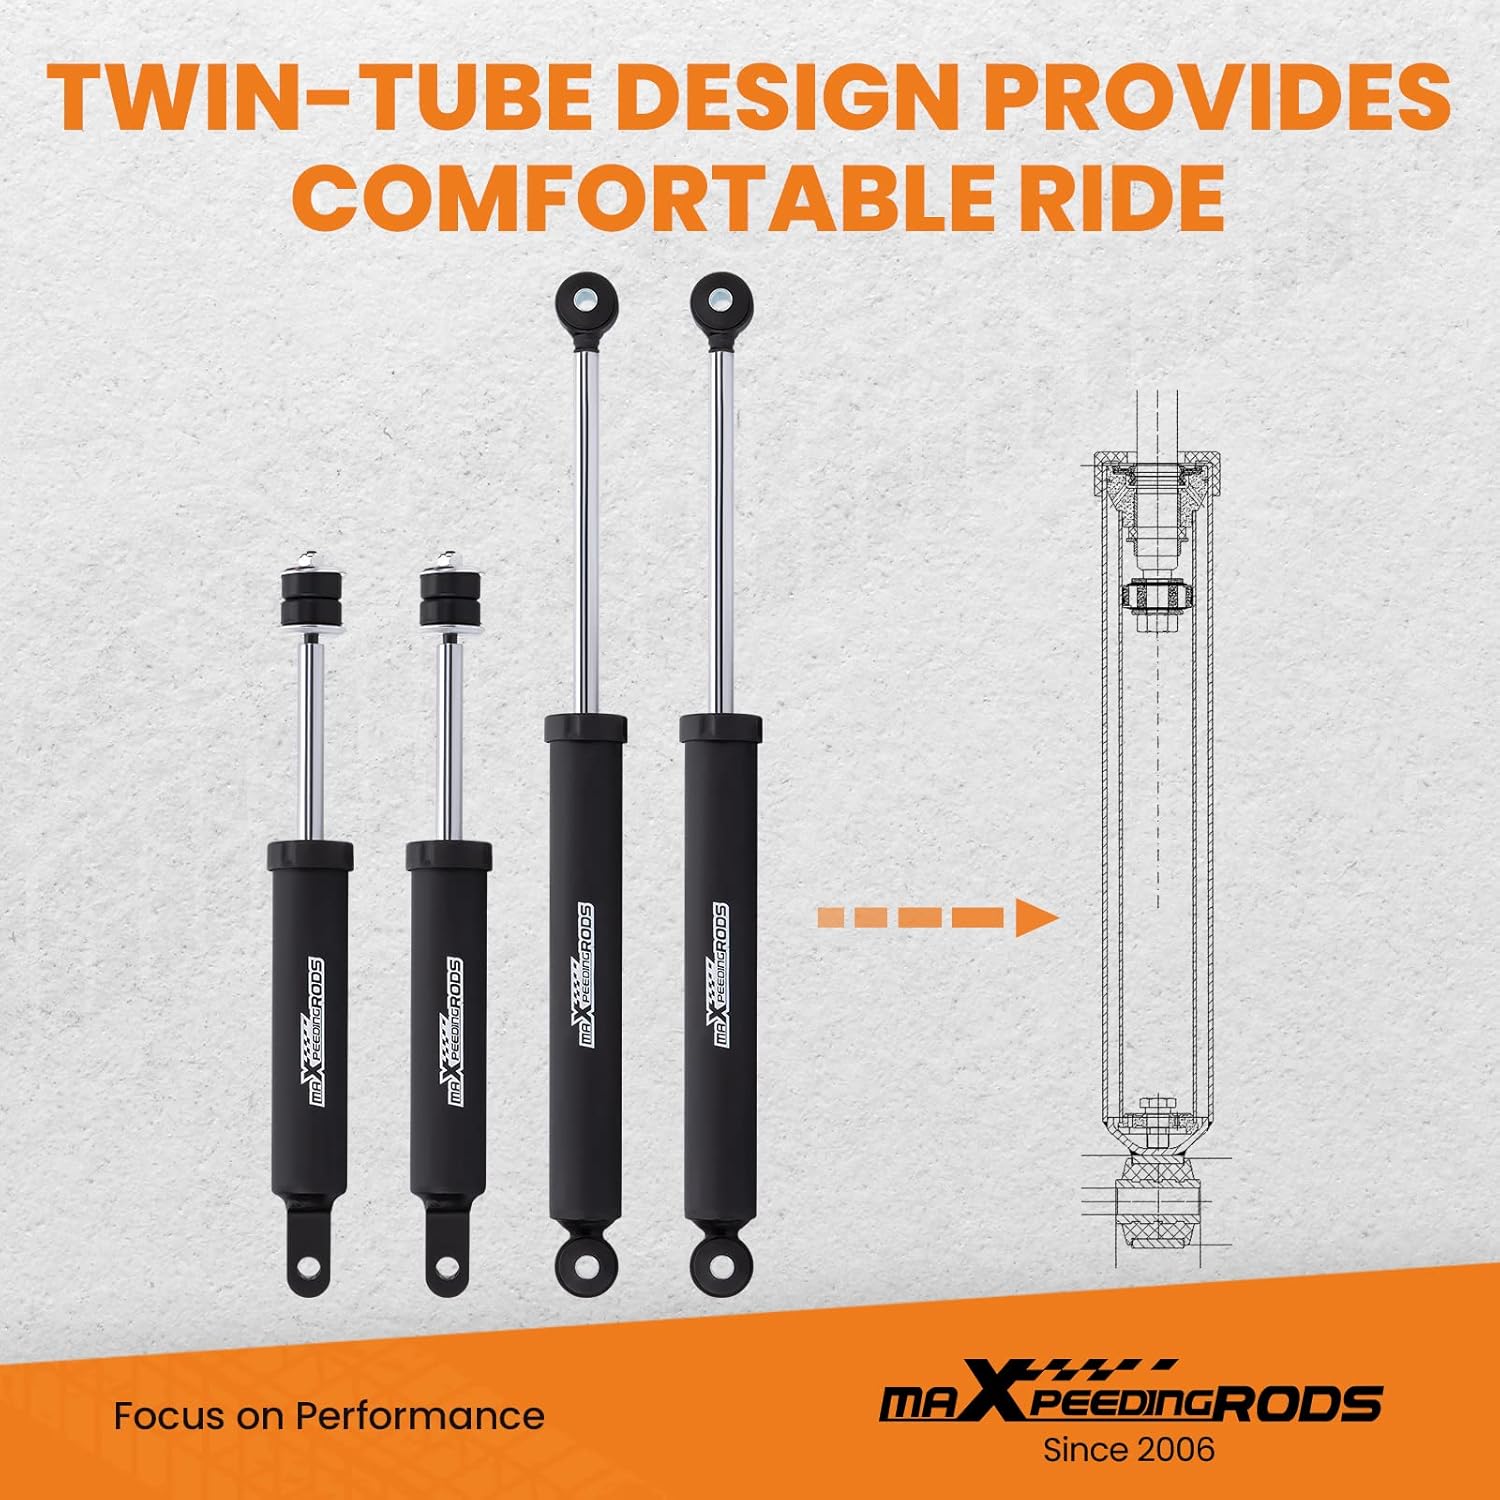
Figure 5.2: Shock absorber dimensions (compressed vs. extended).
5.4. Post-Installation Steps
- Reinstall the wheels and tighten lug nuts to factory specifications.
- Lower the vehicle completely.
- Bounce the vehicle several times to settle the suspension.
- Re-check all fasteners for proper torque.
- Immediately perform a professional wheel alignment. This is crucial for vehicle handling and tire wear.
6. Operating Considerations
After installing a lift kit, your vehicle's driving characteristics will change. Be aware of the following:
- Center of Gravity: The vehicle's center of gravity will be higher, which can affect stability, especially during cornering or sudden maneuvers. Drive cautiously until you are accustomed to the new handling.
- Braking: Braking performance may be slightly altered. Allow for increased stopping distances.
- Headlight Aim: Headlights may need to be re-aimed to prevent blinding oncoming traffic.
- Tire Size: If larger tires are installed, ensure they clear all suspension and body components during full steering lock and suspension travel.
- Off-Road Use: While this kit enhances off-road capability, always drive within your limits and the vehicle's capabilities.

Figure 6.1: Twin-tube shock design for ride comfort.
7. Maintenance
Regular inspection and maintenance are crucial for the longevity and safe operation of your lift kit.
- Fastener Checks: Re-torque all nuts and bolts associated with the lift kit after the first 500 miles of driving, and then every 3,000-5,000 miles or during routine vehicle maintenance.
- Component Inspection: Periodically inspect all components (torsion keys, lift blocks, U-bolts, shocks, bushings) for signs of wear, damage, or corrosion. Replace any damaged parts immediately.
- Shock Absorbers: Check shocks for leaks, dents, or bent rods. Replace if any damage is observed or if performance degrades.
- Alignment: If you notice uneven tire wear or changes in steering, have the vehicle's alignment checked and adjusted by a professional.
8. Troubleshooting
| Symptom | Possible Cause | Solution |
|---|---|---|
| Uneven Ride Height | Improper torsion bar adjustment (front); incorrectly seated lift blocks (rear). | Re-check torsion bar adjustment; inspect rear lift block seating. Professional alignment may be needed. |
| Excessive Vibration | Loose U-bolts; driveshaft angle issues (rare with mild lifts); unbalanced tires. | Check U-bolt torque; inspect driveshaft angles; balance tires. |
| Poor Handling / Steering Issues | Incorrect wheel alignment; loose steering components; worn suspension parts. | Perform professional wheel alignment; inspect all steering and suspension components. |
| Noisy Suspension | Loose fasteners; worn bushings; component rubbing. | Inspect and re-torque all fasteners; check bushings for wear; identify and address rubbing points. |
9. Product Specifications
- Brand: maXpeedingrods
- Model Number: OI46HY
- Front Lift: 1-3 inches (Adjustable)
- Rear Lift: 3 inches (Fixed)
- Material: High Carbon Steel (Blocks), Forged Steel (Torsion Keys)
- Front Shock Compressed Length: 16.9 inches
- Front Shock Extended Length: 26 inches
- Rear Shock Compressed Length: 14.05 inches
- Rear Shock Extended Length: 19.68 inches
- Item Weight: Approximately 44.7 pounds
- Product Dimensions: 29.02 x 10.67 x 7.95 inches (Packaging)
10. Warranty and Support
maXpeedingrods is committed to providing high-quality products. This product comes with a warranty against manufacturing defects. Please refer to the official maXpeedingrods website or your purchase documentation for specific warranty terms and conditions.
For technical assistance, installation questions, or warranty claims, please contact maXpeedingrods customer service. Support for free returns and exchanges is available within three months of purchase.
Contact Information:
- Visit the maXpeedingrods Store on Amazon
- Refer to your purchase invoice for direct seller contact details.


