
1. Introduction
This manual provides detailed instructions for the installation, setup, and operation of your Oskkude Double Din Car Stereo. This unit is specifically designed for Ford F150 models from 2009 to 2014, offering a 9-inch HD touchscreen with Android 13 operating system, Wireless CarPlay, Android Auto, GPS navigation, Bluetooth, WiFi, and steering wheel control compatibility. Please read this manual thoroughly before installation and use to ensure proper functionality and safety.
2. Package Contents
Verify that all items listed below are included in your package:
- Oskkude 9-inch Car Stereo Unit
- Custom Fit Bezel for Ford F150 (2009-2014)
- Power Cable
- RCA Input/Output Cables
- 2 x USB Cables
- Camera Input Cable
- GPS Antenna
- Instruction Manual
- Canbus Box
- Radio Adapter Cable
- Plastic Pry Tool (for trim removal)

Image: All components included in the Oskkude Double Din Car Stereo package.
Video: An unboxing of a similar NUNOO Android car multimedia system, demonstrating the package contents and initial presentation.
3. Installation
3.1 Vehicle Compatibility
This car stereo is designed for Ford F150 models manufactured between 2009 and 2014. Ensure your vehicle's center console matches the compatible configurations shown below for a proper fit.

Image: Visual guide for Ford F150 console compatibility (Model B is compatible).

Image: The car stereo unit after successful installation in a compatible Ford F150 dashboard.
3.2 Wiring Diagram
Refer to the detailed wiring diagram provided in the included instruction manual and the image below for correct connections. Ensure all cables are securely connected to their respective ports.

Image: Comprehensive wiring diagram for the Oskkude car stereo.
4. Initial Setup and Connections
4.1 Power On and Basic Settings
After installation, turn on your vehicle's ignition. The stereo should power on automatically. Follow any on-screen prompts for initial setup, including language and time zone settings.
Video: Demonstrates how to start the car navigation system and initial boot-up.
4.2 Bluetooth Connection
To pair your smartphone via Bluetooth:
- On the car stereo, navigate to the Bluetooth application.
- Enable Bluetooth on your smartphone and search for available devices.
- Select the car stereo's Bluetooth name (e.g., 'CarBT') from your phone's list.
- Enter the PIN (usually '0000' or '1234') if prompted.
- Confirm pairing on both devices.
Video: Instructions on how to connect Android Auto via Bluetooth and Tlink.
4.3 WiFi Connection
To connect to a WiFi network or mobile hotspot:
- Go to 'Settings' on the car stereo, then 'Network & Internet', and select 'Wi-Fi'.
- Turn on Wi-Fi and select your desired network from the list.
- Enter the password if required and connect.
- Alternatively, enable a personal hotspot on your smartphone and connect the stereo to it.
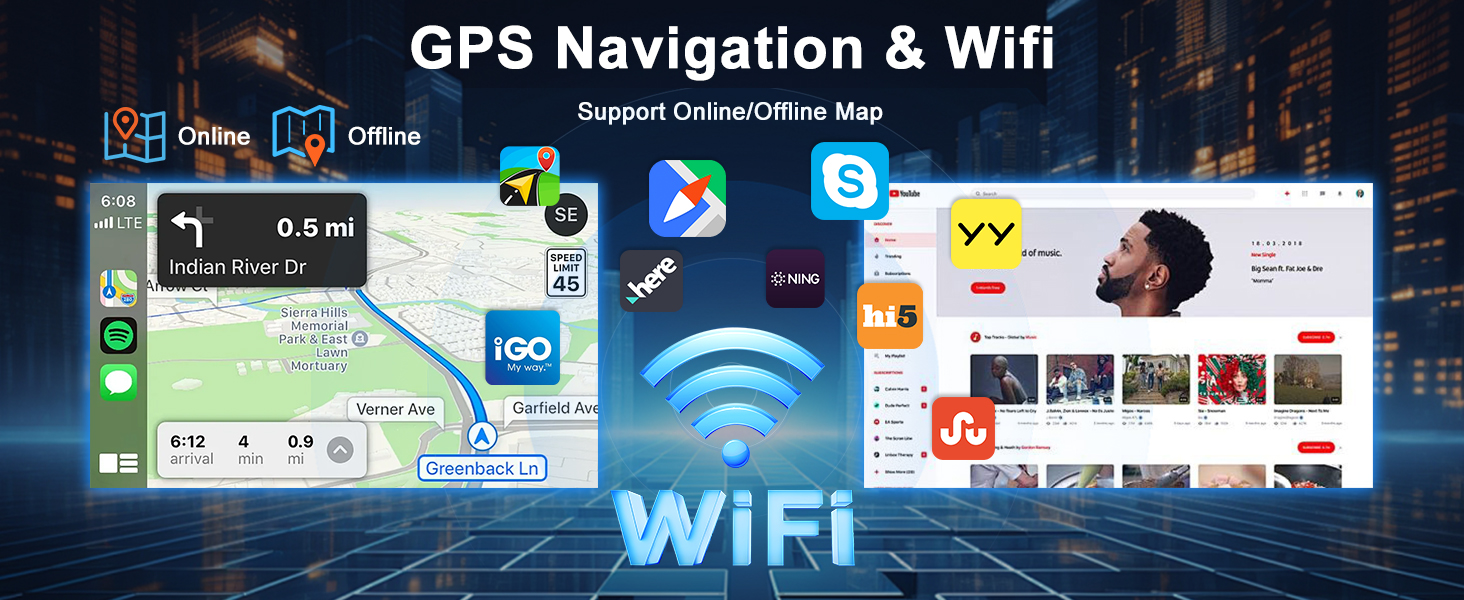
Image: Car stereo display showing GPS navigation and WiFi connectivity.
5. Operating Instructions
5.1 Wireless CarPlay & Android Auto
Connect your smartphone wirelessly to access navigation, calls, messages, and music through the car stereo's interface. This feature supports both Wireless CarPlay and wired Android Auto.
- Ensure Bluetooth and WiFi are enabled on your phone and the car stereo.
- Open the CarPlay or Android Auto application on the stereo.
- Follow the on-screen prompts to connect your device.

Image: Wireless CarPlay and Android Auto interfaces on the car stereo.
Video: Demonstrates the usage of Wireless/Wired CarPlay functionality.
Video: Shows the process of connecting Wireless CarPlay.
5.2 GPS Navigation
The unit includes a built-in GPS module with pre-installed offline maps for North America. Online maps are also supported when connected to WiFi.
- Tap the 'Navigation' icon to open the map application.
- Enter your destination for turn-by-turn directions.
- Connect to WiFi for real-time traffic updates and online map services.

Image: GPS Navigation interface with online/offline map support.
5.3 Bluetooth Functions
After pairing your phone, you can make/receive calls and stream music wirelessly.
- Hands-Free Calling: Access your phone's contacts and dial numbers directly from the stereo.
- Audio Streaming: Play music from your phone through the car's speakers.
5.4 Multimedia Player
The unit supports various multimedia inputs including USB, SD card, and AUX. You can play audio and video files directly from these sources.
- Insert a USB drive or SD card into the designated port.
- Select the 'Video' or 'Music' application to browse and play your media.
5.5 FM/RDS Radio
Access local radio stations with automatic or manual tuning. RDS (Radio Data System) provides additional information like station name and song title where available.
- Tap the 'Radio' icon to open the radio interface.
- Use the scan function to find stations or manually tune to a specific frequency.

Image: Split screen view with navigation and music, and FM/RDS radio interface.
5.6 Steering Wheel Control (SWC)
The unit supports your vehicle's existing steering wheel controls, allowing you to manage media and calls without taking your hands off the wheel. Configuration may be required in the settings menu.
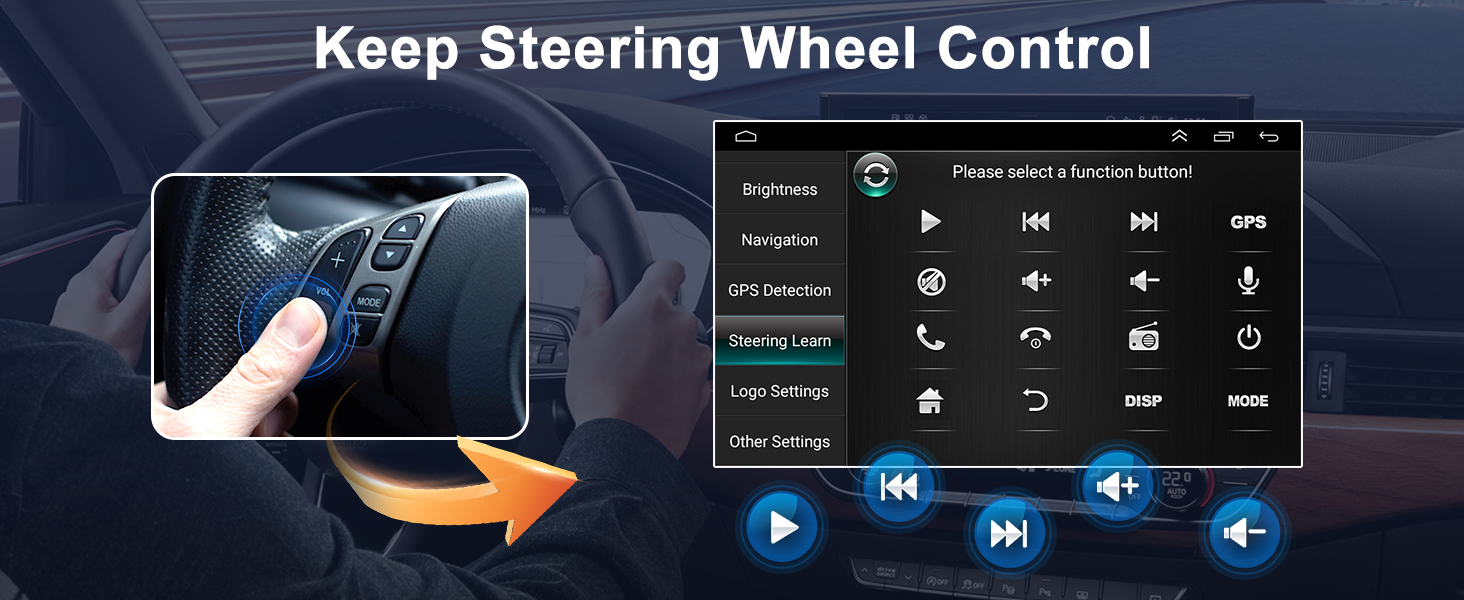
Image: Steering Wheel Control interface for customizing button functions.
5.7 Split Screen Functionality
Utilize the split-screen feature to run two applications simultaneously, such as navigation and music playback.
- Long-press an app icon or use the split-screen button (if available) to activate.
- Select a second app to display alongside the first.
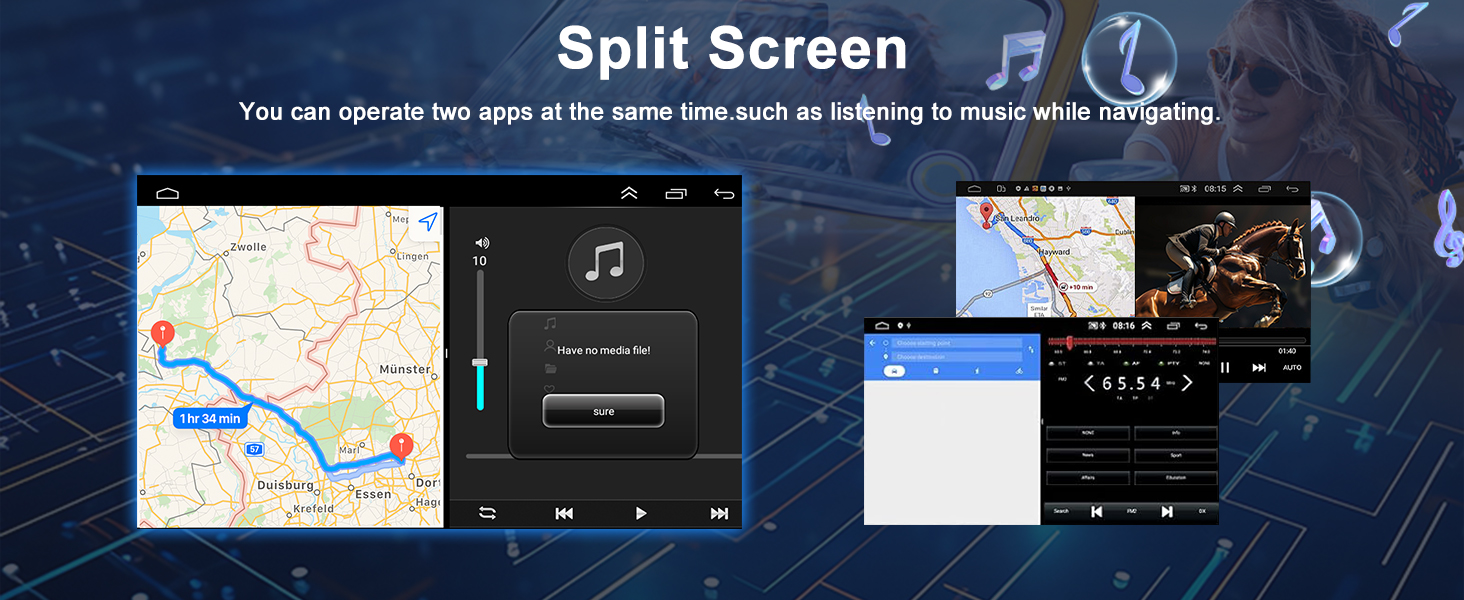
Image: Split screen mode displaying two applications simultaneously.
5.8 Rear View Camera Support
The stereo supports an AHD backup camera (sold separately). When connected, the display automatically switches to the rear view when the vehicle is in reverse gear.
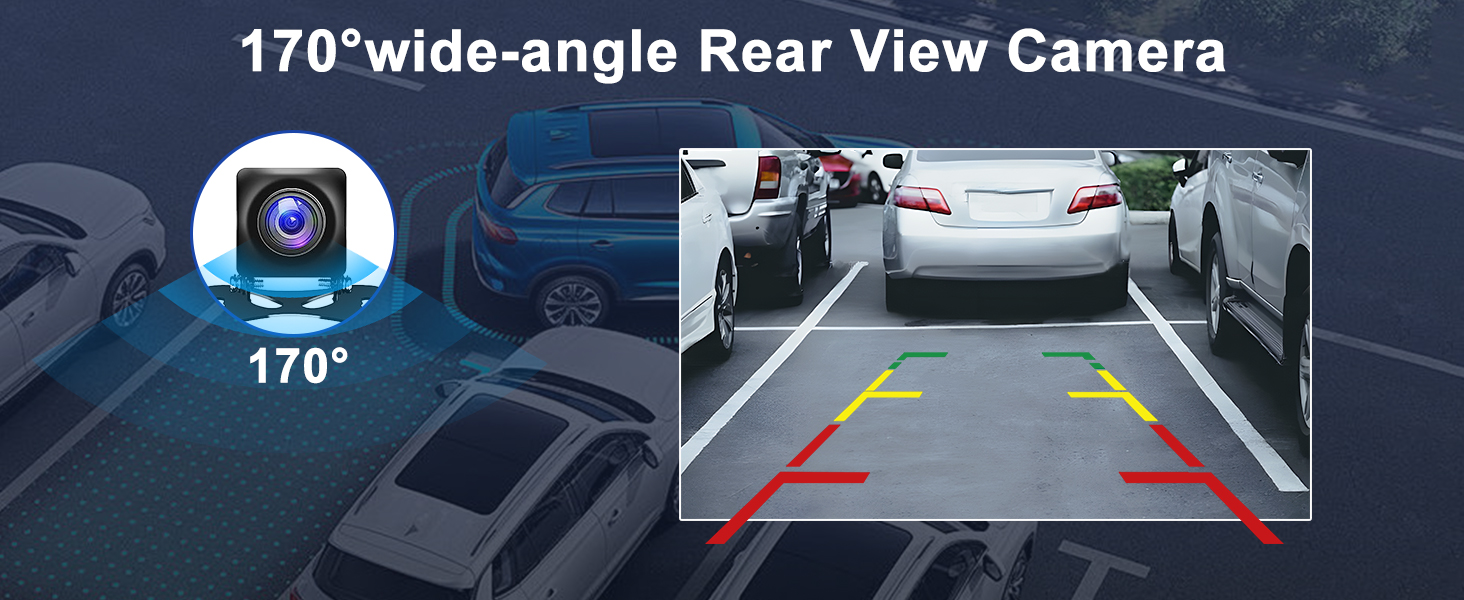
Image: Rear view camera display with parking assist lines.
6. Specifications
| Feature | Description |
|---|---|
| Model Number | TISU-05-DYY-25QA1095X |
| Operating System | Android 13.0 |
| RAM/ROM | 2GB RAM + 32GB ROM |
| Screen Size | 9 Inches |
| Screen Type | IPS Touchscreen |
| Connectivity | Bluetooth, USB, Wi-Fi |
| Special Features | Wireless CarPlay, Wired Android Auto, Steering Wheel Control, GPS Navigation, Split Screen, AHD Backup Camera Support, FM/AUX, AV IN, RCA, RLV |
| Audio Output Mode | Stereo |
| Product Dimensions | 16.93 x 13.39 x 4.33 inches |
| Item Weight | 3.75 pounds |
7. Troubleshooting
If you encounter issues, refer to the following common solutions:
- No Power: Check all power connections and vehicle fuses. Ensure the ignition is on.
- No Sound: Verify speaker connections, volume levels, and audio source selection.
- Bluetooth/CarPlay/Android Auto Connection Issues: Ensure Bluetooth and WiFi are enabled on both devices. Try restarting both the stereo and your smartphone. Confirm correct pairing PIN.
- GPS Not Working: Ensure the GPS antenna is properly installed and has a clear view of the sky. Check map settings.
- Screen Unresponsive: Try restarting the unit. If the issue persists, contact support.
8. Maintenance
To ensure the longevity and optimal performance of your car stereo:
- Clean the touchscreen regularly with a soft, lint-free cloth. Avoid abrasive cleaners.
- Keep the unit free from dust and debris.
- Avoid exposing the unit to extreme temperatures or direct sunlight for extended periods.
9. Warranty and Support
For warranty information, technical support, or service inquiries, please refer to the contact details provided with your purchase documentation or visit the Oskkude official website. Keep your proof of purchase for warranty claims.