
1. Introduction
This manual provides essential information for the proper setup, operation, and maintenance of your Prechen 23.8" Portable Touchscreen Monitor. Please read this manual thoroughly before using the product to ensure optimal performance and to prevent damage.
The Prechen HD-238 is a 23.8-inch Full HD (1920x1080) portable touchscreen monitor featuring 100% sRGB color gamut, a 4000:1 contrast ratio, and a 75Hz refresh rate. It includes an integrated 90-degree adjustable stand, VESA mounting compatibility, built-in speakers, and versatile connectivity options via USB-C and HDMI.
2. Package Contents
Verify that all items are present in the package:
- Prechen 23.8" Portable Touchscreen Monitor
- User Manual
- Power Adapter
- USB-C to USB-C Cable (x1)
- USB-A to USB-C Cable (x1)
- HDMI Cable (x1)

Figure 2.1: Included Accessories
3. Product Overview
3.1 Ports and Controls
Familiarize yourself with the monitor's ports and control buttons:
- HDMI Port: For video input from devices like PCs, PS4/5, X-Box.
- Type C 3.1 Port: For video, audio, power, and touch signal from compatible phones, tablets, and laptops.
- 3.5mm Headphone Port: For connecting external audio devices.
- DC Powered Port: For connecting the power adapter to supply stable power to the monitor.
- USB Port: Used for touch functionality when connecting via HDMI.
- Brightness Shortcuts (+UP): Adjusts screen brightness.
- Menu/ON/OFF/Switching Button: Accesses the On-Screen Display (OSD) menu, powers the monitor on/off, and switches input sources.
- Volume Shortcuts (-Down): Adjusts audio volume.
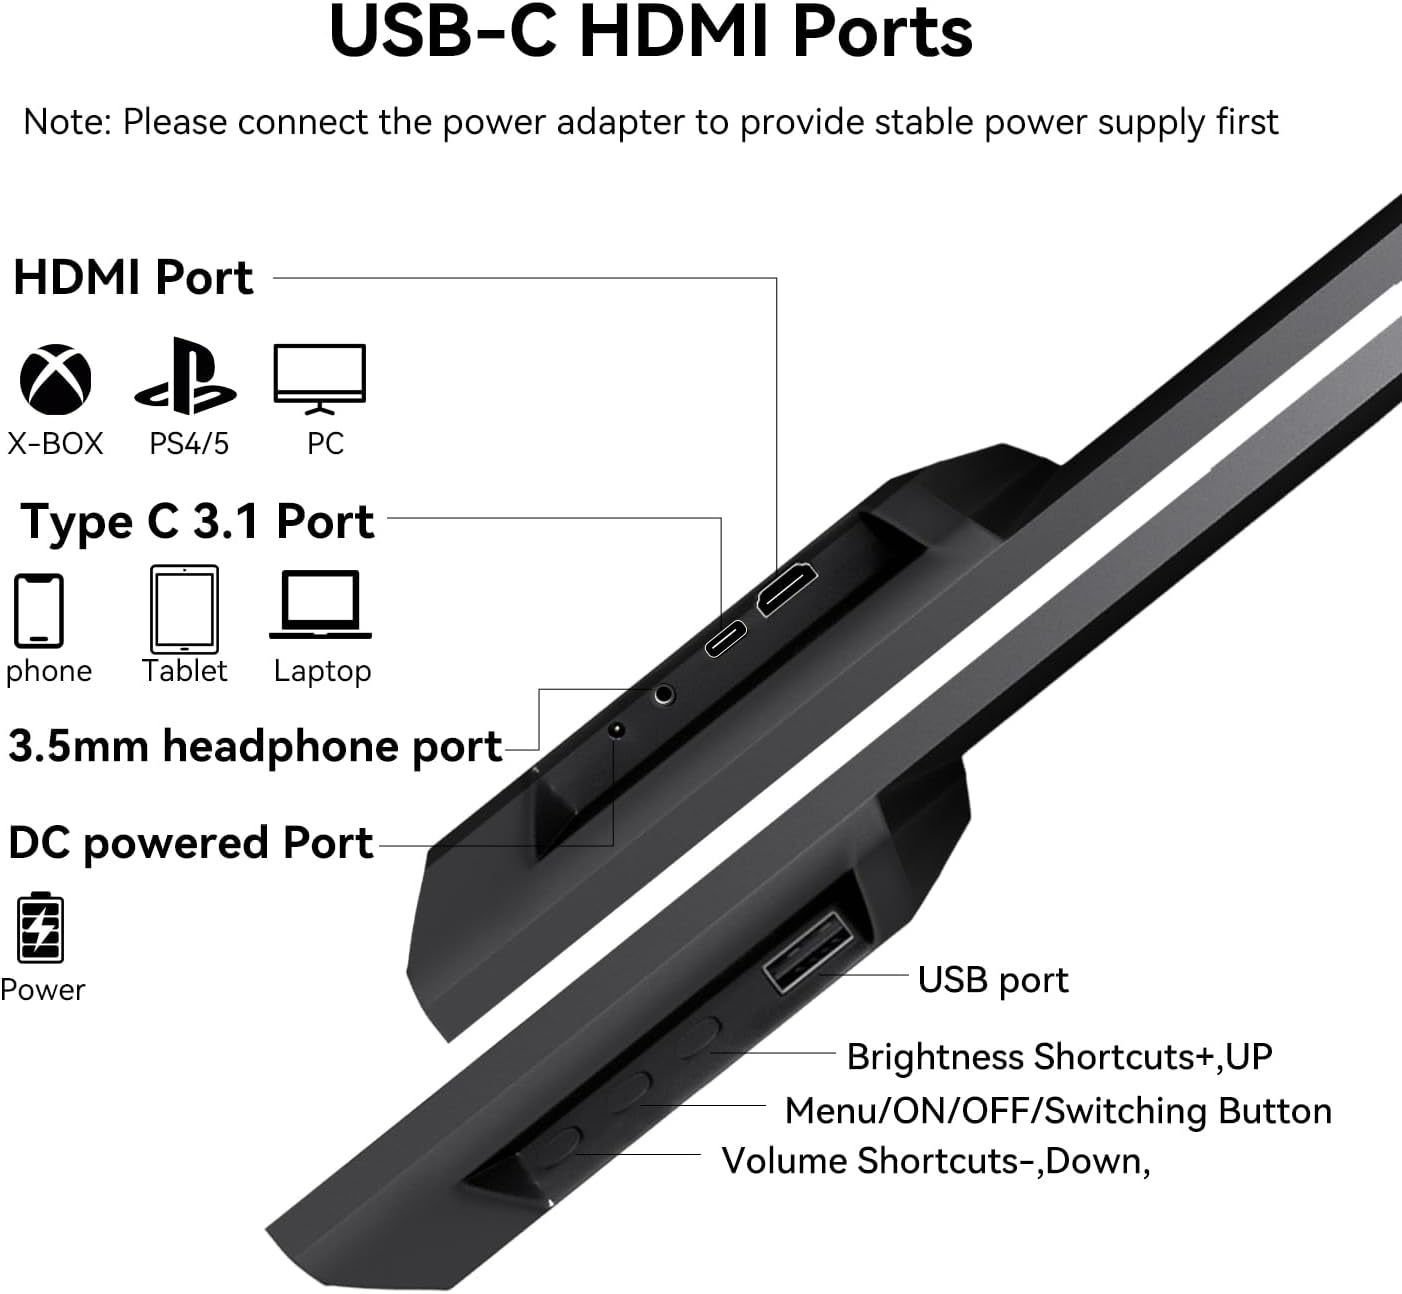
Figure 3.1: Monitor Ports and Controls
4. Setup
Before connecting, ensure the monitor is placed on a stable surface or mounted securely. Always connect the power adapter first to provide stable power.
4.1 Connecting via USB-C (Full-featured USB-C 3.1 Port)
For devices with a full-featured USB-C port (supporting video, audio, power, and touch):
- Connect the power adapter to the monitor's DC Powered Port.
- Connect one end of the USB-C to USB-C cable to your device's full-featured USB-C port.
- Connect the other end of the USB-C to USB-C cable to the monitor's Type C 3.1 Port.
This connection method typically provides signal, touch functionality, and power (if your device can supply sufficient power, though external power is recommended for stability).
4.2 Connecting via HDMI and USB-A
For devices without a full-featured USB-C port, or for dedicated video input:
- Connect the power adapter to the monitor's DC Powered Port.
- Connect one end of the HDMI cable to your device's HDMI output.
- Connect the other end of the HDMI cable to the monitor's HDMI Port.
- Connect one end of the USB-A to USB-C cable to your device's USB-A port.
- Connect the other end of the USB-A to USB-C cable to the monitor's USB Port to enable touch functionality.
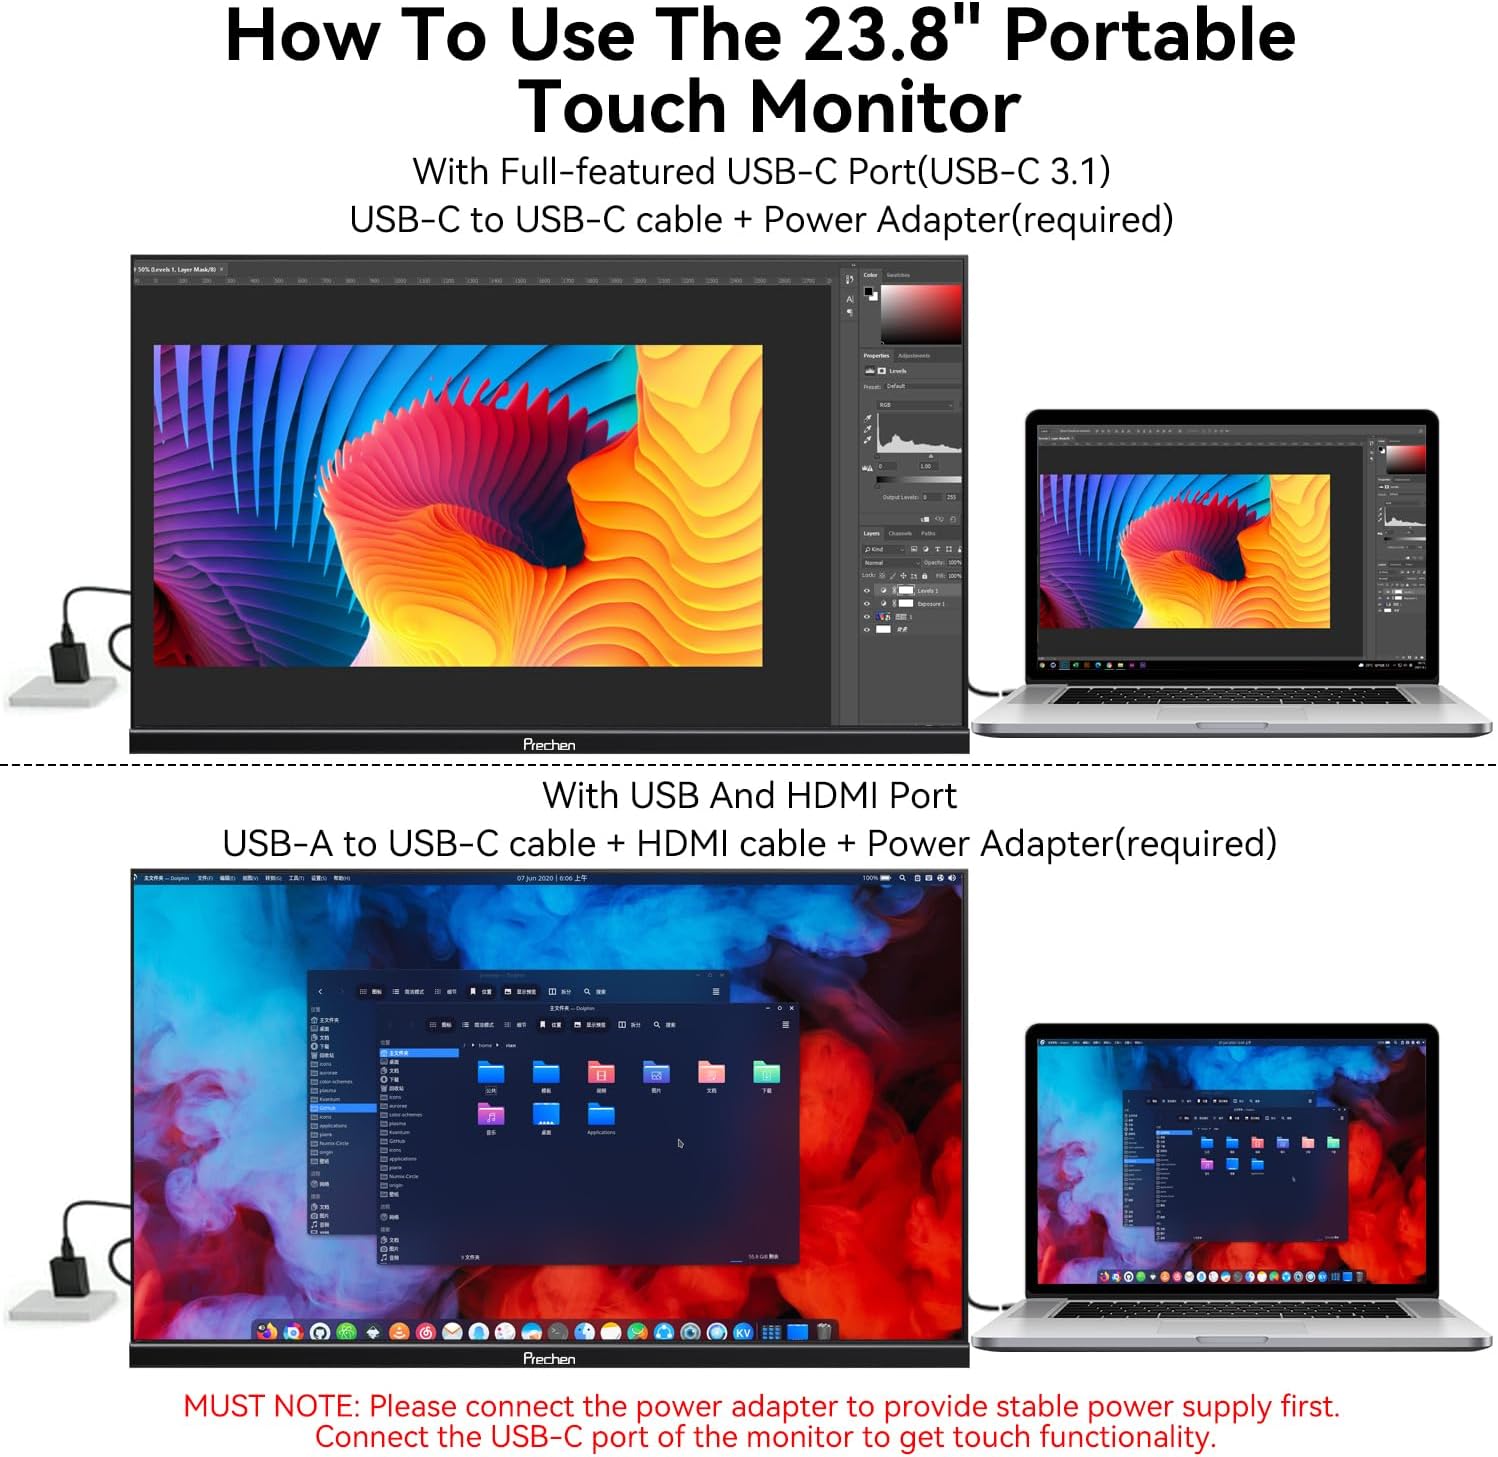
Figure 4.1: Connection Methods
4.3 Touchscreen Configuration (Windows)
If this is the first touchscreen connected to your Windows device, or if touch input is misaligned:
- Go to the Windows Control Panel.
- Navigate to "Tablet PC Settings."
- Click "Setup" and follow the on-screen prompts to configure the touch display.
5. Operating Instructions
5.1 Power On/Off and Input Switching
- Power On: Press the Menu/ON/OFF/Switching Button.
- Power Off: Press and hold the Menu/ON/OFF/Switching Button for a few seconds.
- Switch Input: Briefly press the Menu/ON/OFF/Switching Button to cycle through available input sources (USB-C, HDMI).
5.2 Adjusting Brightness and Volume
- Brightness: Use the Brightness Shortcuts (+UP) button to increase brightness.
- Volume: Use the Volume Shortcuts (-Down) button to adjust the audio output level.
5.3 On-Screen Display (OSD) Menu
The OSD menu allows for advanced display settings adjustments. Refer to the detailed instructions in the included user manual for navigation and options.
5.4 Touch Functionality
The monitor supports 10-point multi-touch for intuitive interaction. Common gestures include:
- Touch: Single tap for selection.
- 2-finger Touch: For specific application functions.
- Narrow/Enlarge: Pinch gestures for zooming.
- Multi-touch: Simultaneous touches for various commands.
- Up/Down/Drag: Swiping gestures for navigation.
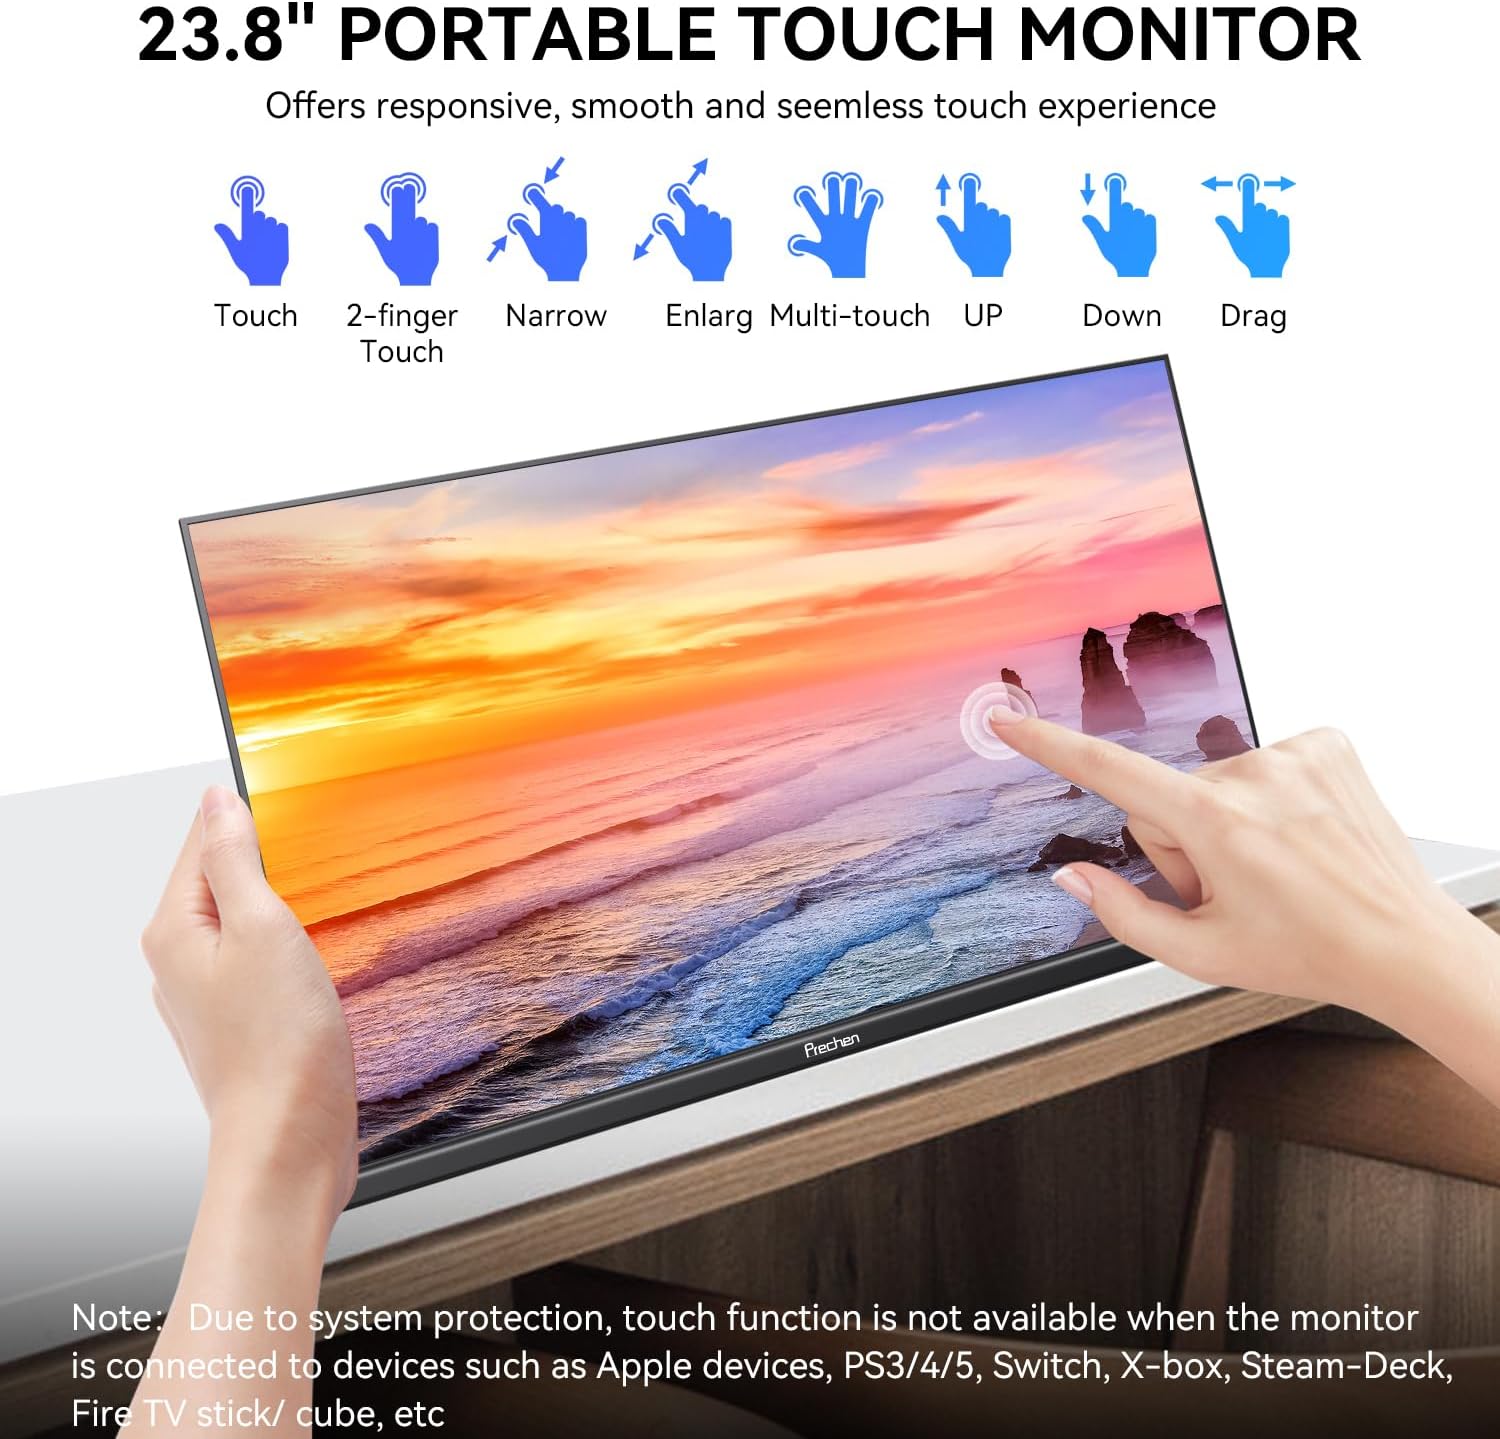
Figure 5.1: Touch Gestures
Important Note on Touch Functionality:
The touch functionality of this 23.8-inch portable monitor is not available when connected to devices such as Apple devices, PS3/4/5, Switch, X-box, Steam-Deck, or Fire TV stick/cube, due to system protection or compatibility limitations.
5.5 Adjustable Stand and VESA Mounting
The integrated stand allows for a 0-90 degree adjustment to achieve the optimal viewing angle. For alternative setups, the monitor supports 75x75mm VESA mounting standards.
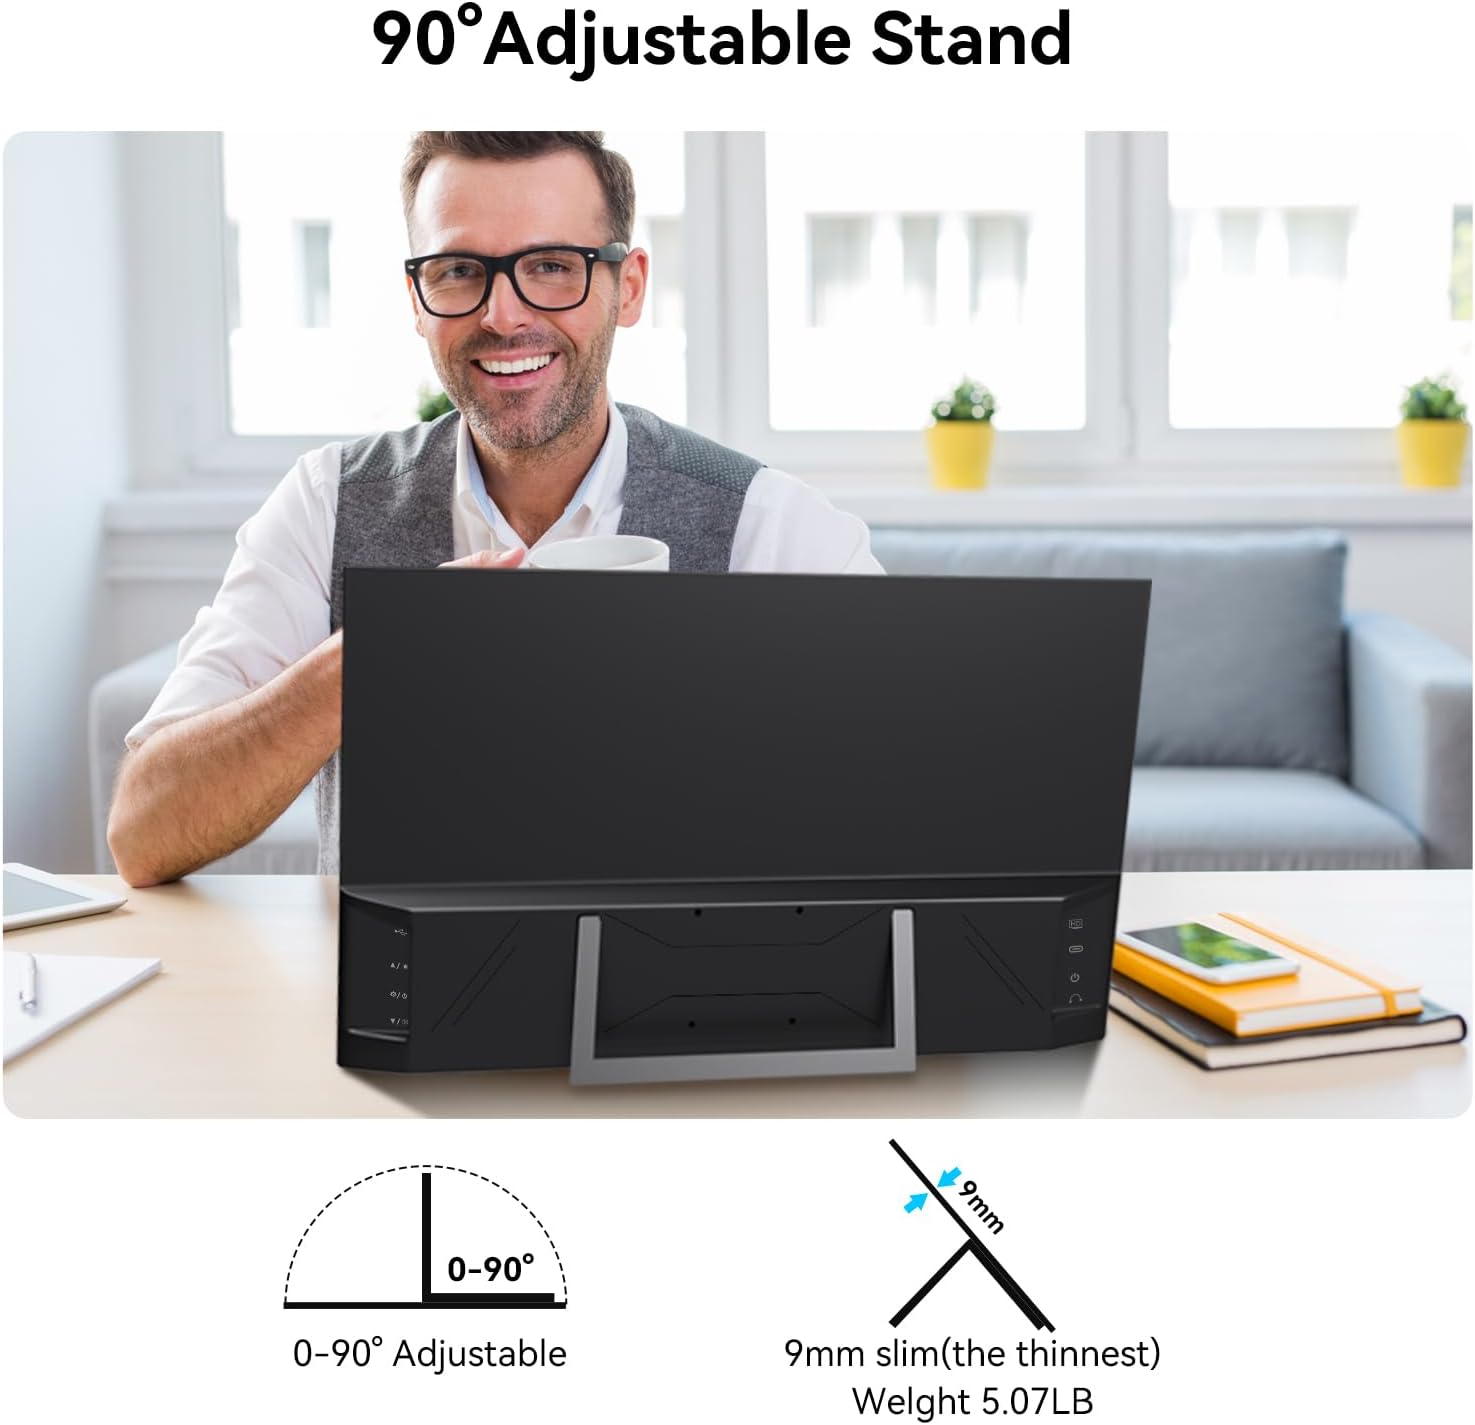
Figure 5.2: 90° Adjustable Stand
6. Maintenance
- Cleaning the Screen: Use a soft, lint-free cloth slightly dampened with water or a screen cleaner. Avoid harsh chemicals or abrasive materials.
- Cleaning the Casing: Wipe with a soft, dry cloth.
- Storage: When not in use for extended periods, store the monitor in a cool, dry place, preferably in its original packaging to protect it from dust and physical damage.
- Avoid Liquids: Do not expose the monitor to excessive moisture or liquids.
7. Troubleshooting
| Problem | Possible Cause | Solution |
|---|---|---|
| No display/"No Signal" message |
|
|
| Touchscreen not responding |
|
|
| Poor image quality/Incorrect colors |
|
|
| No audio from built-in speakers |
|
|
8. Specifications
| Feature | Specification |
|---|---|
| Screen Size | 23.8 Inches |
| Resolution | 1920 x 1080 (FHD 1080p) |
| Aspect Ratio | 16:9 |
| Panel Type | VA |
| Color Gamut | 100% sRGB |
| Contrast Ratio | 4000:1 |
| Refresh Rate | 75Hz |
| Brightness | 300 cd/m² |
| Touchscreen | 10-Point Multi-Touch |
| Connectivity | USB-C 3.1 (Full-featured), HDMI, 3.5mm Headphone, DC Power, USB-A |
| Speakers | Built-in Stereo Speakers |
| Stand | Integrated 0-90° Adjustable Stand |
| VESA Mount | 75x75mm |
| Product Dimensions | 1.29 x 21.25 x 12.59 inches |
| Item Weight | 7.83 pounds |
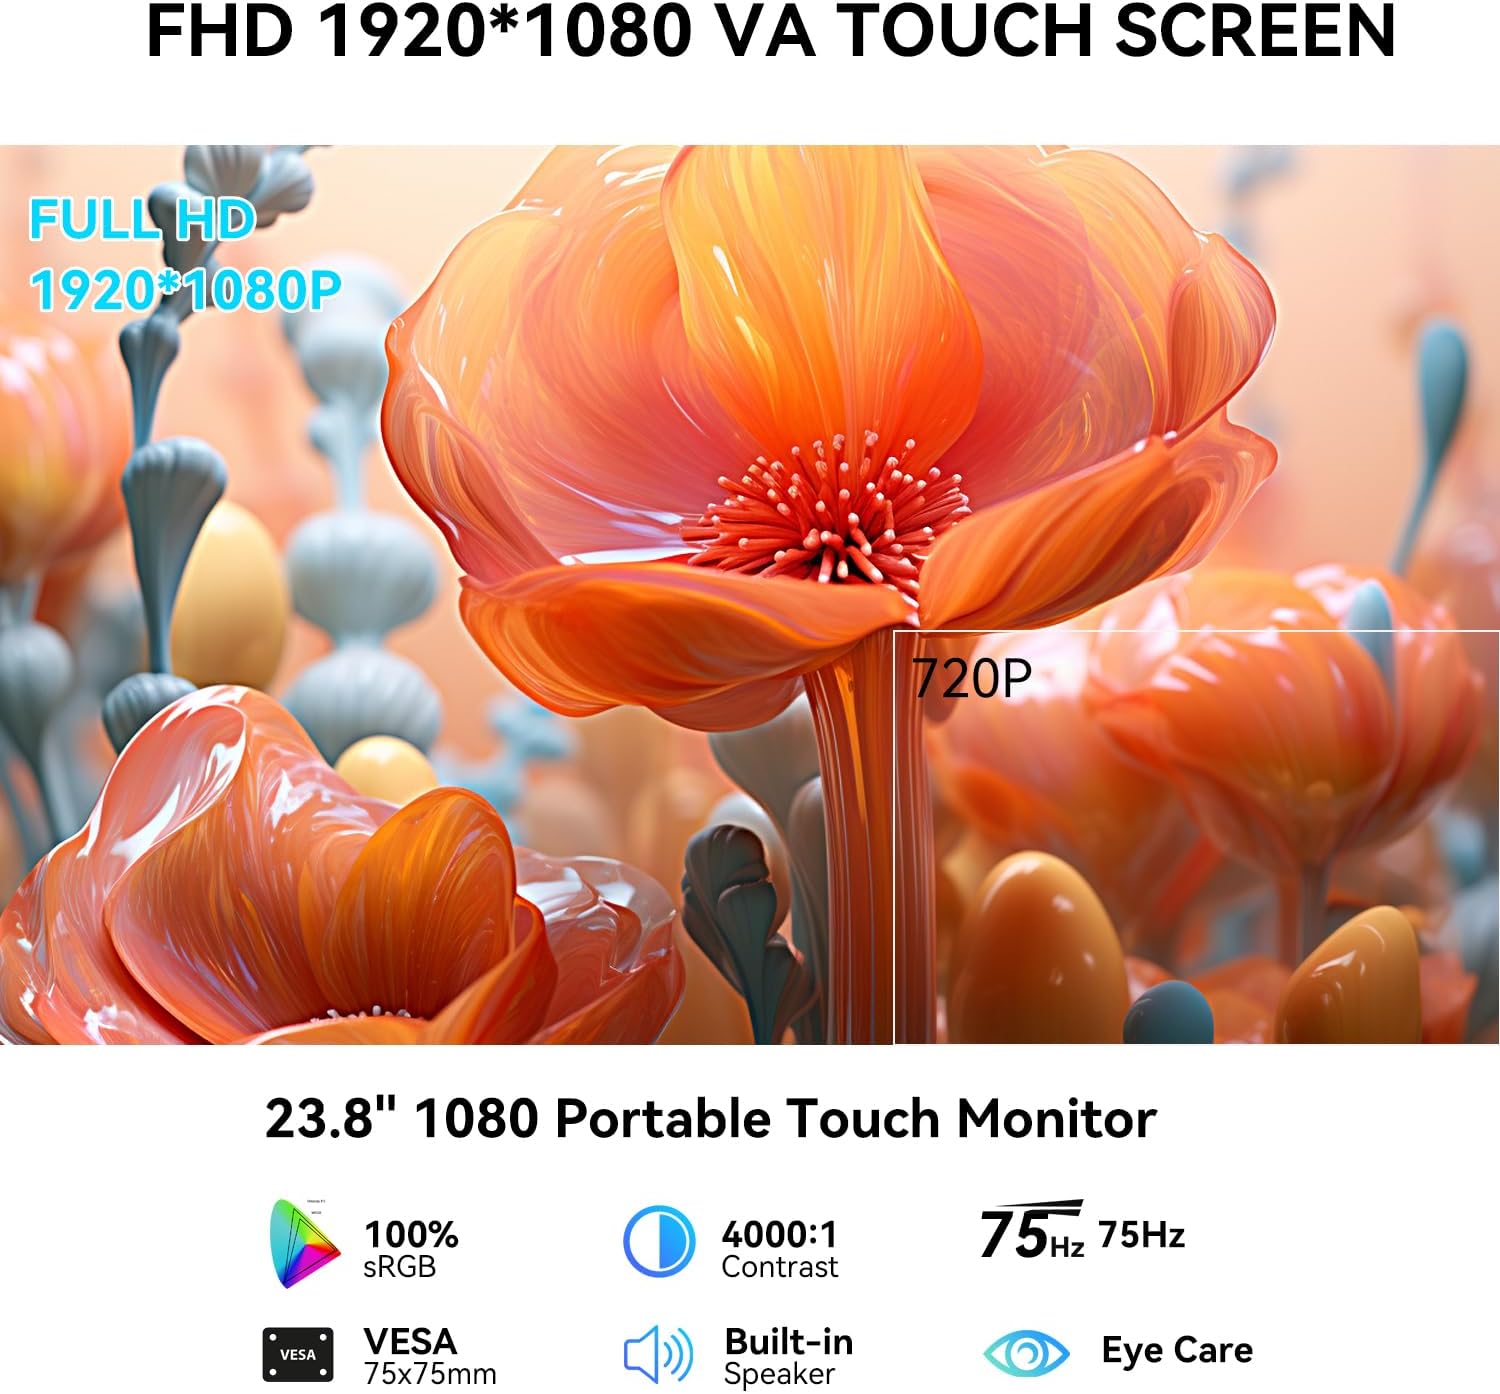
Figure 8.1: Key Features Summary
9. Warranty and Support
For warranty information, please refer to the warranty card included with your product or contact the seller directly. If you encounter any issues not covered in this manual or require further assistance, please contact Prechen customer support through the retailer's platform or the official Prechen website.
Please have your product model number (HD-238) and purchase details ready when contacting support.