
1. Introduction
This manual provides comprehensive instructions for the assembly, operation, and maintenance of your TRIUMPHKEY Fabric Gaming Chair, Model 0757-MS-LDGY. Please read this manual carefully before assembly and use to ensure proper function and safety. Keep this manual for future reference.

Figure 1.1: TRIUMPHKEY Fabric Gaming Chair (Dark Grey). This image displays the complete gaming chair with its ergonomic design, headrest, and lumbar support cushion.
2. Safety Instructions
To prevent injury or damage to your chair, please observe the following safety guidelines:
- Ensure all components are securely fastened before use.
- Do not stand on the chair.
- Do not use the chair on uneven surfaces.
- Avoid exposing the chair to direct sunlight or extreme temperatures for prolonged periods.
- Keep children and pets away from the chair during assembly.
- Do not exceed the maximum weight capacity (refer to specifications).
- Use only original replacement parts if needed.
3. Package Contents
Please verify that all parts are present before beginning assembly. If any parts are missing or damaged, contact customer support.
- Backrest
- Seat Cushion
- Armrests (2)
- Star Base
- Casters (5)
- Gas Lift Cylinder
- Gas Lift Cover
- Mechanism Plate
- Headrest Pillow
- Lumbar Support Cushion with Massage Function
- Footrest Assembly
- Hardware Kit (screws, Allen wrench)
4. Assembly Instructions
Follow these steps to assemble your TRIUMPHKEY Fabric Gaming Chair:
- Attach Casters to Base: Insert the five casters into the holes at the end of each leg of the star base. Push firmly until they click into place.
- Install Gas Lift: Place the gas lift cylinder into the center hole of the star base. Cover it with the gas lift cover.
- Attach Mechanism Plate to Seat: Secure the mechanism plate to the underside of the seat cushion using the provided screws. Ensure the front of the mechanism plate faces the front of the seat.
- Connect Seat to Gas Lift: Place the assembled seat cushion onto the gas lift cylinder, ensuring it is centered and stable.
- Attach Armrests: Secure the armrests to the sides of the seat cushion using the designated screws.
- Attach Backrest: Align the backrest with the seat cushion and armrests, then secure it using the remaining screws.
- Install Footrest: Attach the footrest assembly to the designated slots under the seat.
- Attach Headrest and Lumbar Cushions: Position the headrest pillow and lumbar support cushion on the backrest using their elastic straps. The lumbar cushion should be placed at the curve of your lower back.

Figure 4.1: Assembled TRIUMPHKEY Gaming Chair in a typical usage environment. This image shows the chair ready for use in a gaming setup, highlighting its overall appearance.
5. Operating Instructions
Your TRIUMPHKEY Gaming Chair offers several adjustable features for personalized comfort:
5.1. Height Adjustment
To adjust the chair height, pull the lever located on the right side of the seat upwards. While pulling the lever, lift your weight off the seat to raise it, or remain seated to lower it. Release the lever to lock the height.
5.2. Backrest Recline
To recline the backrest, pull the recline lever (typically on the right side, near the seat) upwards and lean back to your desired angle. Release the lever to lock the backrest in position. The chair supports recline angles from 90° to 135°.

Figure 5.1: Illustration of the adjustable recline function. This image demonstrates the chair's ability to recline from an upright 90-degree position to a relaxed 135-degree angle, along with 360-degree rotation and height adjustment.
5.3. Footrest Operation
To extend the footrest, pull it out from underneath the seat. To retract, push it back in until it is fully stored.
5.4. Lumbar Massage Function
The lumbar support cushion features a 2-point massage function. Connect the USB cable from the cushion to a compatible USB power source (e.g., power bank, computer USB port, or USB wall adapter). The massage function will activate, providing high-frequency vibration to help relax lumbar muscles and promote blood circulation.
5.5. Armrest Linkage
The armrests are designed with a linkage system that moves with the backrest when reclining, providing continuous support. They are not independently adjustable for height or rotation.

Figure 5.2: Depiction of the linkage armrest system. This image illustrates how the armrests adjust with the chair's recline, providing support in both upright (work) and reclined (rest) positions.
5.6. Ergonomic Support
The chair is designed to provide ergonomic support for various body parts, including the head, shoulders, back, and lumbar spine. Adjust the headrest and lumbar cushion positions to best suit your body's contours for optimal comfort and support.

Figure 5.3: Diagram illustrating the ergonomic design features. This image highlights the support points for the nape, shoulders, back, and lumbar spine, designed to reduce fatigue during prolonged sitting.
6. Maintenance
Regular maintenance will prolong the life and appearance of your chair:
- Cleaning: For the fabric, use a soft, damp cloth with mild soap and water. Avoid harsh chemicals or abrasive cleaners. For the base and casters, wipe with a damp cloth.
- Inspection: Periodically check all screws and bolts to ensure they are tight. Retighten if necessary.
- Caster Care: Clean any debris (hair, dust) from the casters to ensure smooth movement.
- Fabric Care: Avoid sharp objects that could tear or snag the fabric.
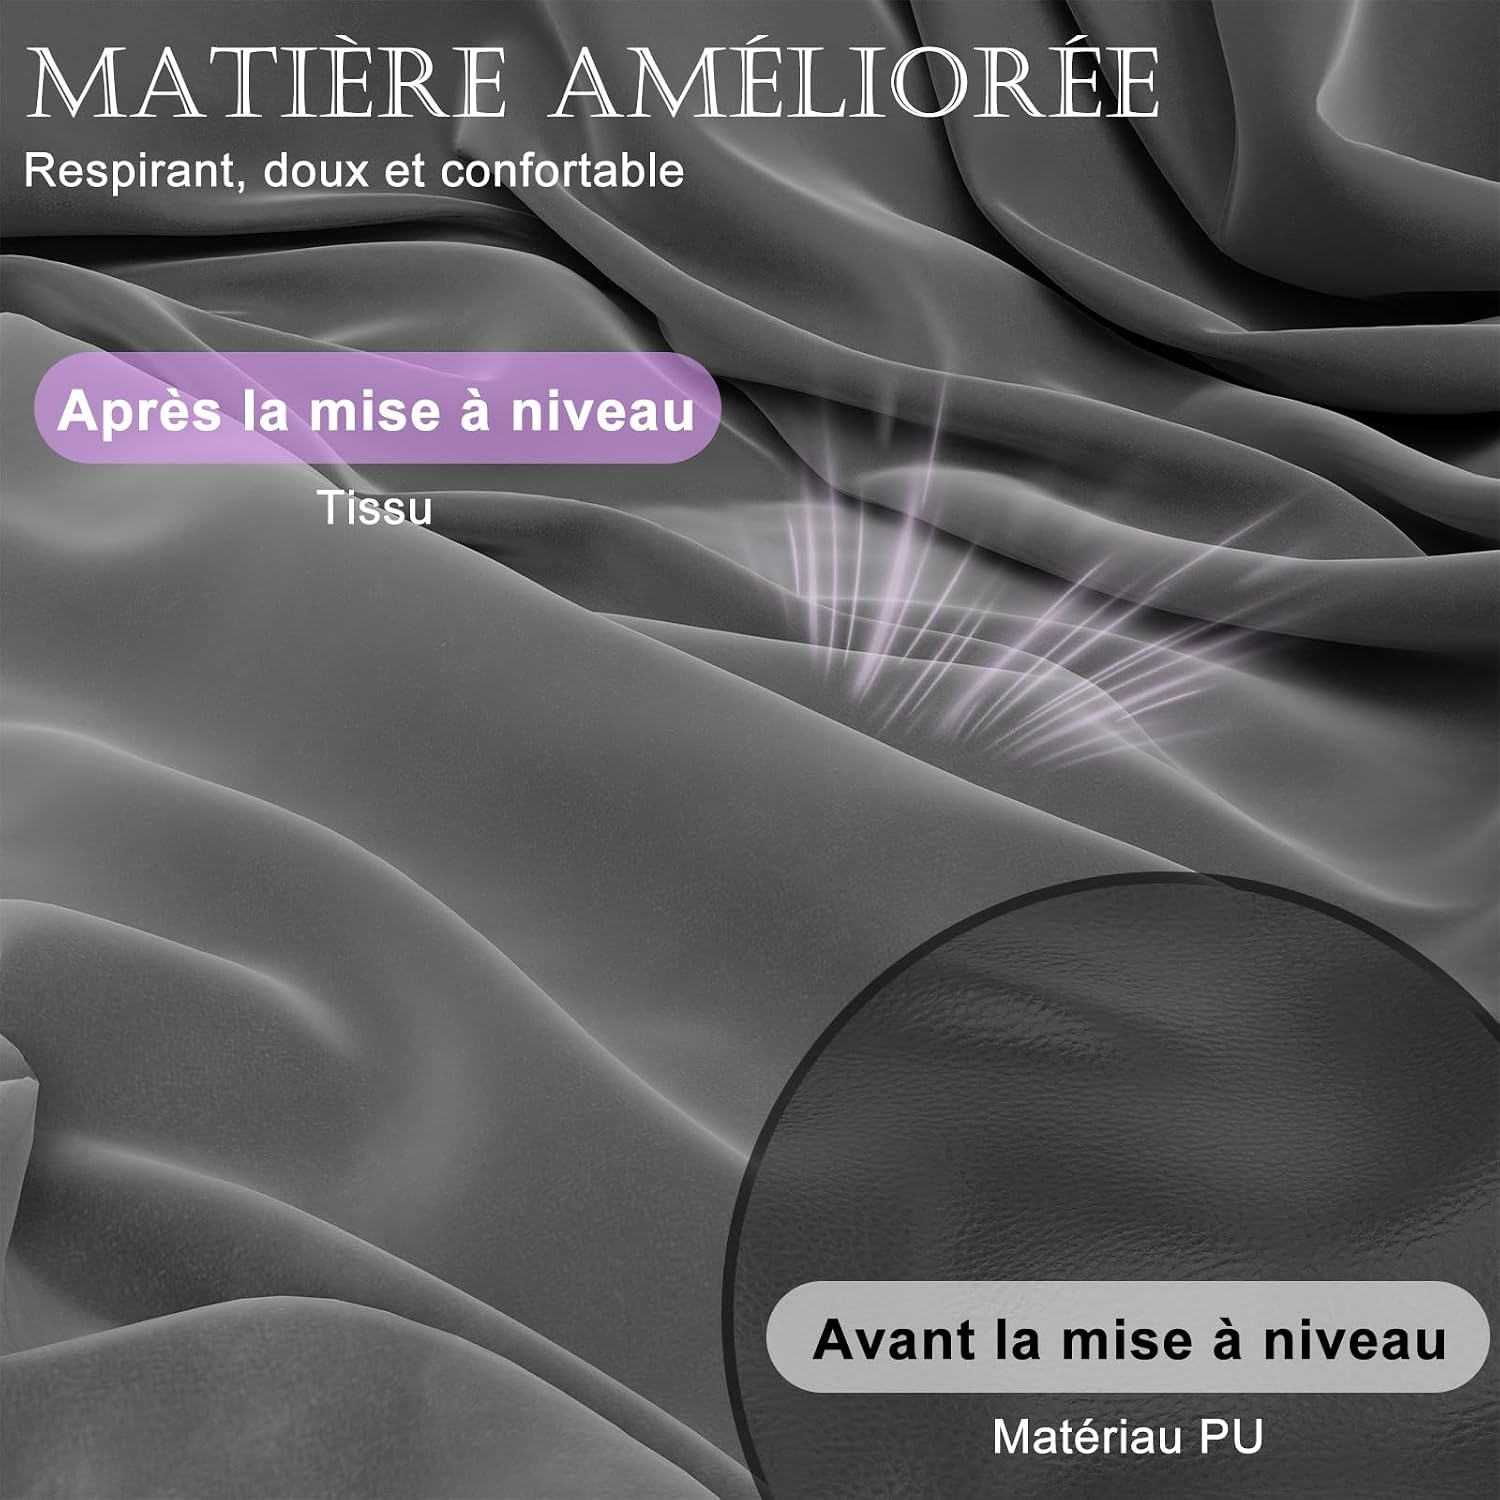
Figure 6.1: Detail of the chair's improved fabric material. This image shows the breathable, soft, and comfortable fabric used, which is easier to maintain than traditional PU materials.
7. Troubleshooting
If you encounter issues with your chair, refer to the following common problems and solutions:
| Problem | Possible Cause | Solution |
|---|---|---|
| Chair does not adjust height. | Gas lift cylinder malfunction or lever not engaged. | Ensure the lever is fully pulled. If issue persists, contact customer support for gas lift replacement. |
| Chair squeaks during movement. | Loose screws or friction between components. | Tighten all assembly screws. Apply a small amount of silicone lubricant to moving parts if necessary. |
| Casters do not roll smoothly. | Debris caught in casters. | Remove any hair, dust, or debris from the caster wheels. |
| Lumbar massage not working. | USB power issue or cable disconnected. | Check USB connection and ensure power source is active. Try a different USB port or power source. |
8. Specifications
| Feature | Detail |
|---|---|
| Brand | TRIUMPHKEY |
| Model Number | 0757-MS-LDGY |
| Color | Dark Grey |
| Product Dimensions (D x W x H) | 17.72"D x 19.69"W x 51.57"H |
| Item Weight | 18.5 Kilograms (40.7 pounds) |
| Included Components | Caster, Headrest, Lumbar Cushion, Footrest |
| Recline Angle | 90° to 135° |
| Lumbar Support | Adjustable with 2-point massage function |

Figure 8.1: Dimensional overview of the TRIUMPHKEY Gaming Chair. This image provides key measurements for the chair's height, width, and depth, including seat and backrest dimensions.

Figure 8.2: Close-up of the seat cushion dimensions. This image highlights the seat's width (50cm) and thickness (10cm), indicating an enhanced design for comfort.
9. Warranty and Support
For warranty information and customer support, please refer to the documentation included with your purchase or contact TRIUMPHKEY directly through their official website or the retailer where the product was purchased. Please have your model number (0757-MS-LDGY) and purchase date available when contacting support.
