
1. Introduction
This manual provides detailed instructions for the safe and efficient operation, installation, and maintenance of your AIKVSXER 20-Inch Low Profile Fandelier. Please read this manual thoroughly before installation and use, and retain it for future reference.
2. Safety Information
- Always disconnect power at the circuit breaker before installation or servicing.
- Ensure all electrical connections comply with local codes and ordinances.
- Do not use with local dimmers or fan switches not provided with the unit. Use only the included remote control or APP for adjustments.
- Mount the fan securely to a ceiling joist or a suitable support structure capable of holding the fan's weight.
- Keep hands and objects clear of the fan blades during operation.
3. Package Contents
Verify that all components are present and undamaged before beginning installation.
- AIKVSXER 20-Inch Low Profile Fandelier Unit
- Remote Control
- Mounting Hardware (screws, wire nuts, hook)
- User Manual

Image: Overview of the fan unit and included accessories, such as the remote control and installation hardware.
4. Specifications
| Feature | Detail |
|---|---|
| Model Name | Modern Ceiling Fan |
| Model Number | KT-8225-500 |
| Dimensions | 19.7"L x 19.7"W x 5.7"H |
| Item Weight | 5.2 Pounds |
| Voltage | 110 Volts |
| Wattage | 52 watts |
| Brightness | 2200 Lumen |
| Color Temperature | 3000K (Warm White), 4500K (Natural White), 6500K (Cool White) |
| Wind Speeds | 6 Speeds |
| Motor Type | DC Motor (Reversible) |
| Control Method | Remote Control, APP Control (Bluetooth) |
| Material | Plastic (ABS Engineering Grade) |
| Noise Level | <35dB (Ultra Quiet) |
5. Setup and Installation
Follow these steps to install your AIKVSXER Fandelier. It is recommended to have a second person assist during installation.
- Prepare the Mounting Location: Remove your old ceiling fan or light fixture. Ensure the electrical box is securely mounted and capable of supporting the fan's weight. Pull the electrical wires through the opening.
- Install the Mounting Bracket: Attach the provided mounting bracket to the ceiling electrical box using the screws. Ensure it is tightly secured.
- Connect Electrical Wires: Carefully connect the fan's electrical wires to the household wiring according to the wiring diagram in the full instruction manual. Use the provided wire nuts to secure connections.
- Assemble the Fan Unit: The fan features a new foldable modular design. Unfold the fan blades and ensure they are properly aligned.
- Mount the Fan: Carefully lift the fan unit and attach it to the installed mounting bracket. Ensure all screws are tightened to secure the fan to the ceiling.
- Wall Switch Compatibility: This fan is designed to be controlled by the included remote or APP. It is not compatible with standard local dimmers or fan switches. Use a regular ON/OFF wall switch for power control only.

Image: The ceiling mounting point after removing the old fixture, showing exposed electrical wires.

Image: A person securing the metal mounting bracket to the ceiling electrical box with a drill.

Image: Visual guide demonstrating the unfolding and installation of the fan blades into the main unit.

Image: The AIKVSXER Fandelier fully installed on a ceiling, demonstrating its low-profile and integrated design.

Image: A visual guide showing that only standard ON/OFF wall switches are compatible, while dimmer or fan control switches are not.
6. Operating Instructions
6.1. Light Control
The integrated LED light offers customizable illumination:
- 3 Color Temperatures (3CCT): Switch between 3000K (Warm White for relaxing ambiance), 4500K (Natural White for general purpose lighting), and 6500K (Cool White for functional and professional lighting).
- Dimmable Brightness: Adjust the light intensity from 10% to 100% to suit your preference.
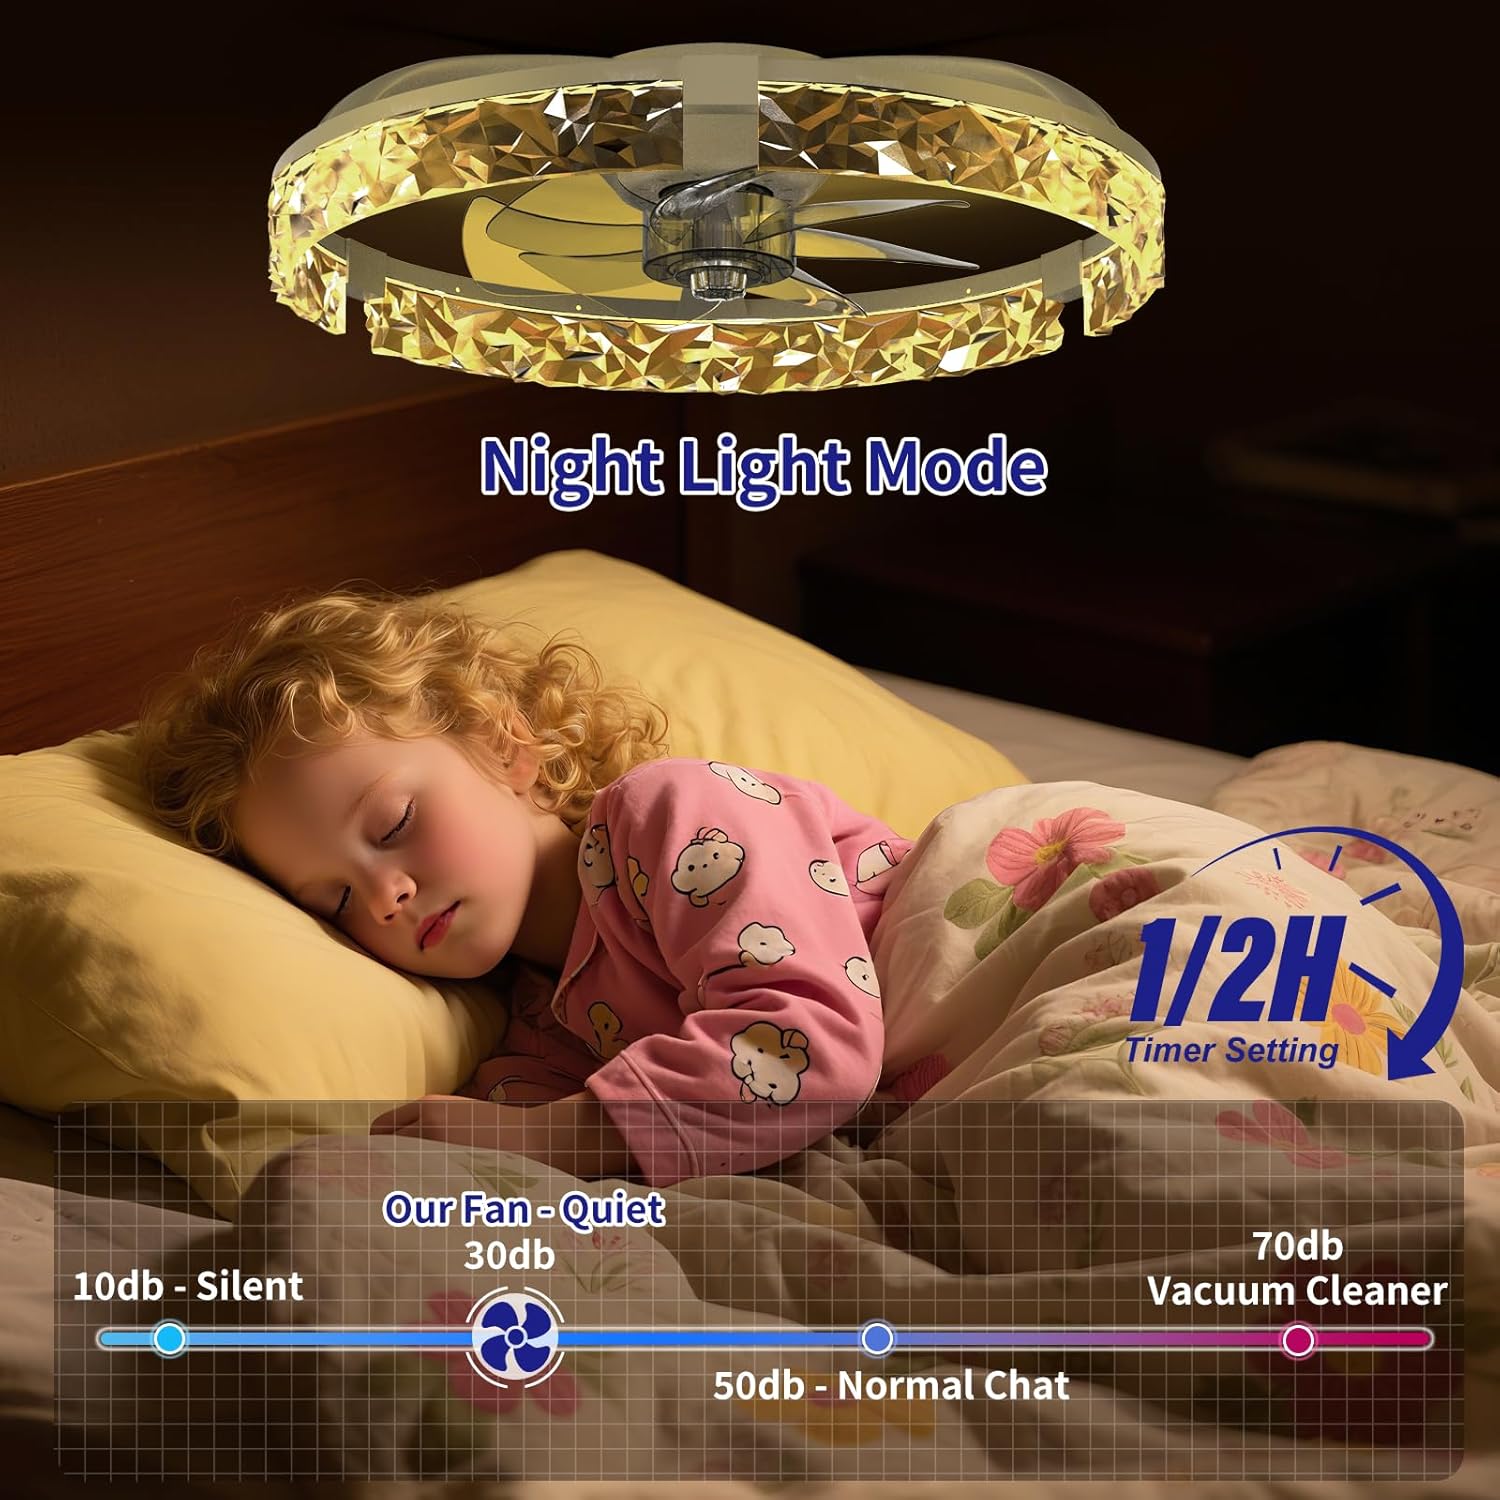
- Night Light Mode: A dedicated setting for a soft, low-intensity light, ideal for bedrooms.

Image: Visual comparison of the three available color temperatures: Warm White, Natural White, and Cool White.

Image: A graphical representation of the flexible dimmable brightness feature, ranging from 5% to 100%.

Image: The fan operating in Night Light Mode, providing a soft glow suitable for sleeping environments.
6.2. Fan Speed Control
The fan offers 6 wind speed settings, powered by an ultra-quiet DC motor (<35dB), ensuring minimal noise disturbance.
- Speed 1-2: Gentle Breeze Wind, ideal for quiet environments like bedrooms.
- Speed 3-4: Balanced Comfort, suitable for everyday use.
- Speed 5-6: Turbo Boost, Powerful Cooling for maximum airflow.

Image: A visual breakdown of the 6 wind speed settings and their recommended uses.
6.3. Reversible Motor
The reversible DC motor allows for year-round use, optimizing air circulation for different seasons:
- Summer (Downward Airflow): Creates a refreshing breeze for direct cooling.
- Winter (Upward Airflow): Redistributes warm air to eliminate cold spots and enhance heating efficiency.

Image: Illustration of the reversible motor's function for both summer cooling and winter heat circulation.
6.4. Timer Function
Set a 1-hour or 2-hour sleep timer for convenience, allowing the fan and light to turn off automatically.

Image: The fan's timer setting feature, showing options for 1 or 2 hours.
6.5. Control Methods: Remote and APP
Your fandelier can be controlled via the included remote control or a dedicated smartphone application (Bluetooth connectivity required).

Image: The included remote control with its various functions clearly labeled.

Image: The smartphone APP interface for controlling the fan, including a QR code to download the app. Download the app here: http://www.mihuansemi.com/zhikong/
7. Maintenance
Regular maintenance ensures optimal performance and longevity of your fandelier.
- Cleaning: Use a soft, damp cloth to wipe down the fan and light fixture. Do not use abrasive cleaners or solvents.
- Blade Cleaning: The fan blades are made of durable plastic. Wipe them gently to remove dust.
- Inspection: Periodically check all connections and mounting hardware to ensure they remain secure.
8. Troubleshooting
If you encounter issues with your fandelier, refer to these common troubleshooting tips:
- Fan Not Operating: Check the power supply at the circuit breaker. Ensure all wiring connections are secure. Verify the remote control batteries are functional.
- Light Not Working: Check power supply. Ensure the light function is activated on the remote or APP.
- Remote/APP Not Responding: Ensure Bluetooth is enabled on your device for APP control. Check remote control batteries. Re-pair the remote/APP if necessary (refer to full manual for pairing instructions).
- Excessive Noise: Ensure all mounting screws are tight. Check that the fan blades are free from obstructions.
9. Warranty and Support
AIKVSXER stands behind the quality of its products.
- Warranty: The motor is covered by a 5-year warranty, and the rest of the fan components are covered by a 2-year warranty.
- Customer Support: We offer 24-hour customer support. If you have any problems with installation or use, please feel free to contact us.
- Contact: For support, please visit the AIKVSXER store on Amazon or contact customer service via the details provided on the product packaging or official website.
10. Versatile Application
The AIKVSXER 20-Inch Low Profile Fandelier is designed for various indoor settings, seamlessly integrating with modern or traditional decor.

Bedroom Use
Living Room Use

Kitchen Use

Office Use

Workshop Use


