
Edvivi A007-12MW
Edvivi 7-inch LED Flush Mount Ceiling Light Instruction Manual
Model: A007-12MW
Introduction
Thank you for purchasing the Edvivi 7-inch LED Flush Mount Ceiling Light. This manual provides detailed instructions for safe installation, operation, and maintenance of your new lighting fixture. Please read all instructions carefully before beginning installation and retain this manual for future reference.
Important Safety Information
- WARNING: RISK OF ELECTRIC SHOCK. Ensure power is turned off at the circuit breaker or fuse box before installation, servicing, or changing any part of the fixture.
- All electrical connections must be in accordance with local codes and the National Electric Code (NEC). If you are unfamiliar with proper electrical wiring connections, consult a qualified electrician.
- Do not install this fixture in wet locations. It is rated for damp locations only.
- Do not attempt to modify the fixture. Any modifications may void the warranty and create a safety hazard.
- Wear safety glasses and gloves during installation.
- Handle the fixture with care to avoid damage.
Package Contents
Verify that all components are present before beginning installation:
- Edvivi 7-inch LED Flush Mount Ceiling Light Fixture (1)
- Mounting Hardware (Screws, Wire Nuts) (1 set)
Setup and Installation
Tools Required (Not Included)
- Phillips Head Screwdriver
- Wire Strippers
- Electrical Tape
- Safety Glasses
- Ladder
Pre-Installation
- Turn off power at the circuit breaker or fuse box to avoid electrical shock.
- Carefully unpack the fixture and its components. Inspect for any damage.
- If replacing an existing fixture, remove it and disconnect its wiring.
Installation Steps
- Attach Mounting Bracket: Secure the mounting bracket to the junction box in the ceiling using the provided screws. Ensure it is firmly attached.
- Make Electrical Connections: Connect the fixture's wires to the corresponding wires from the junction box. Use the provided wire nuts.
- Connect the black wire from the fixture to the black (hot) wire from the junction box.
- Connect the white wire from the fixture to the white (neutral) wire from the junction box.
- Connect the ground wire (bare copper or green) from the fixture to the ground wire from the junction box.
- Secure Fixture: Carefully tuck all wires into the junction box. Align the fixture with the mounting bracket and secure it in place using the provided screws. Ensure the fixture is flush against the ceiling.
- Restore Power: Once the fixture is securely installed, restore power at the circuit breaker.
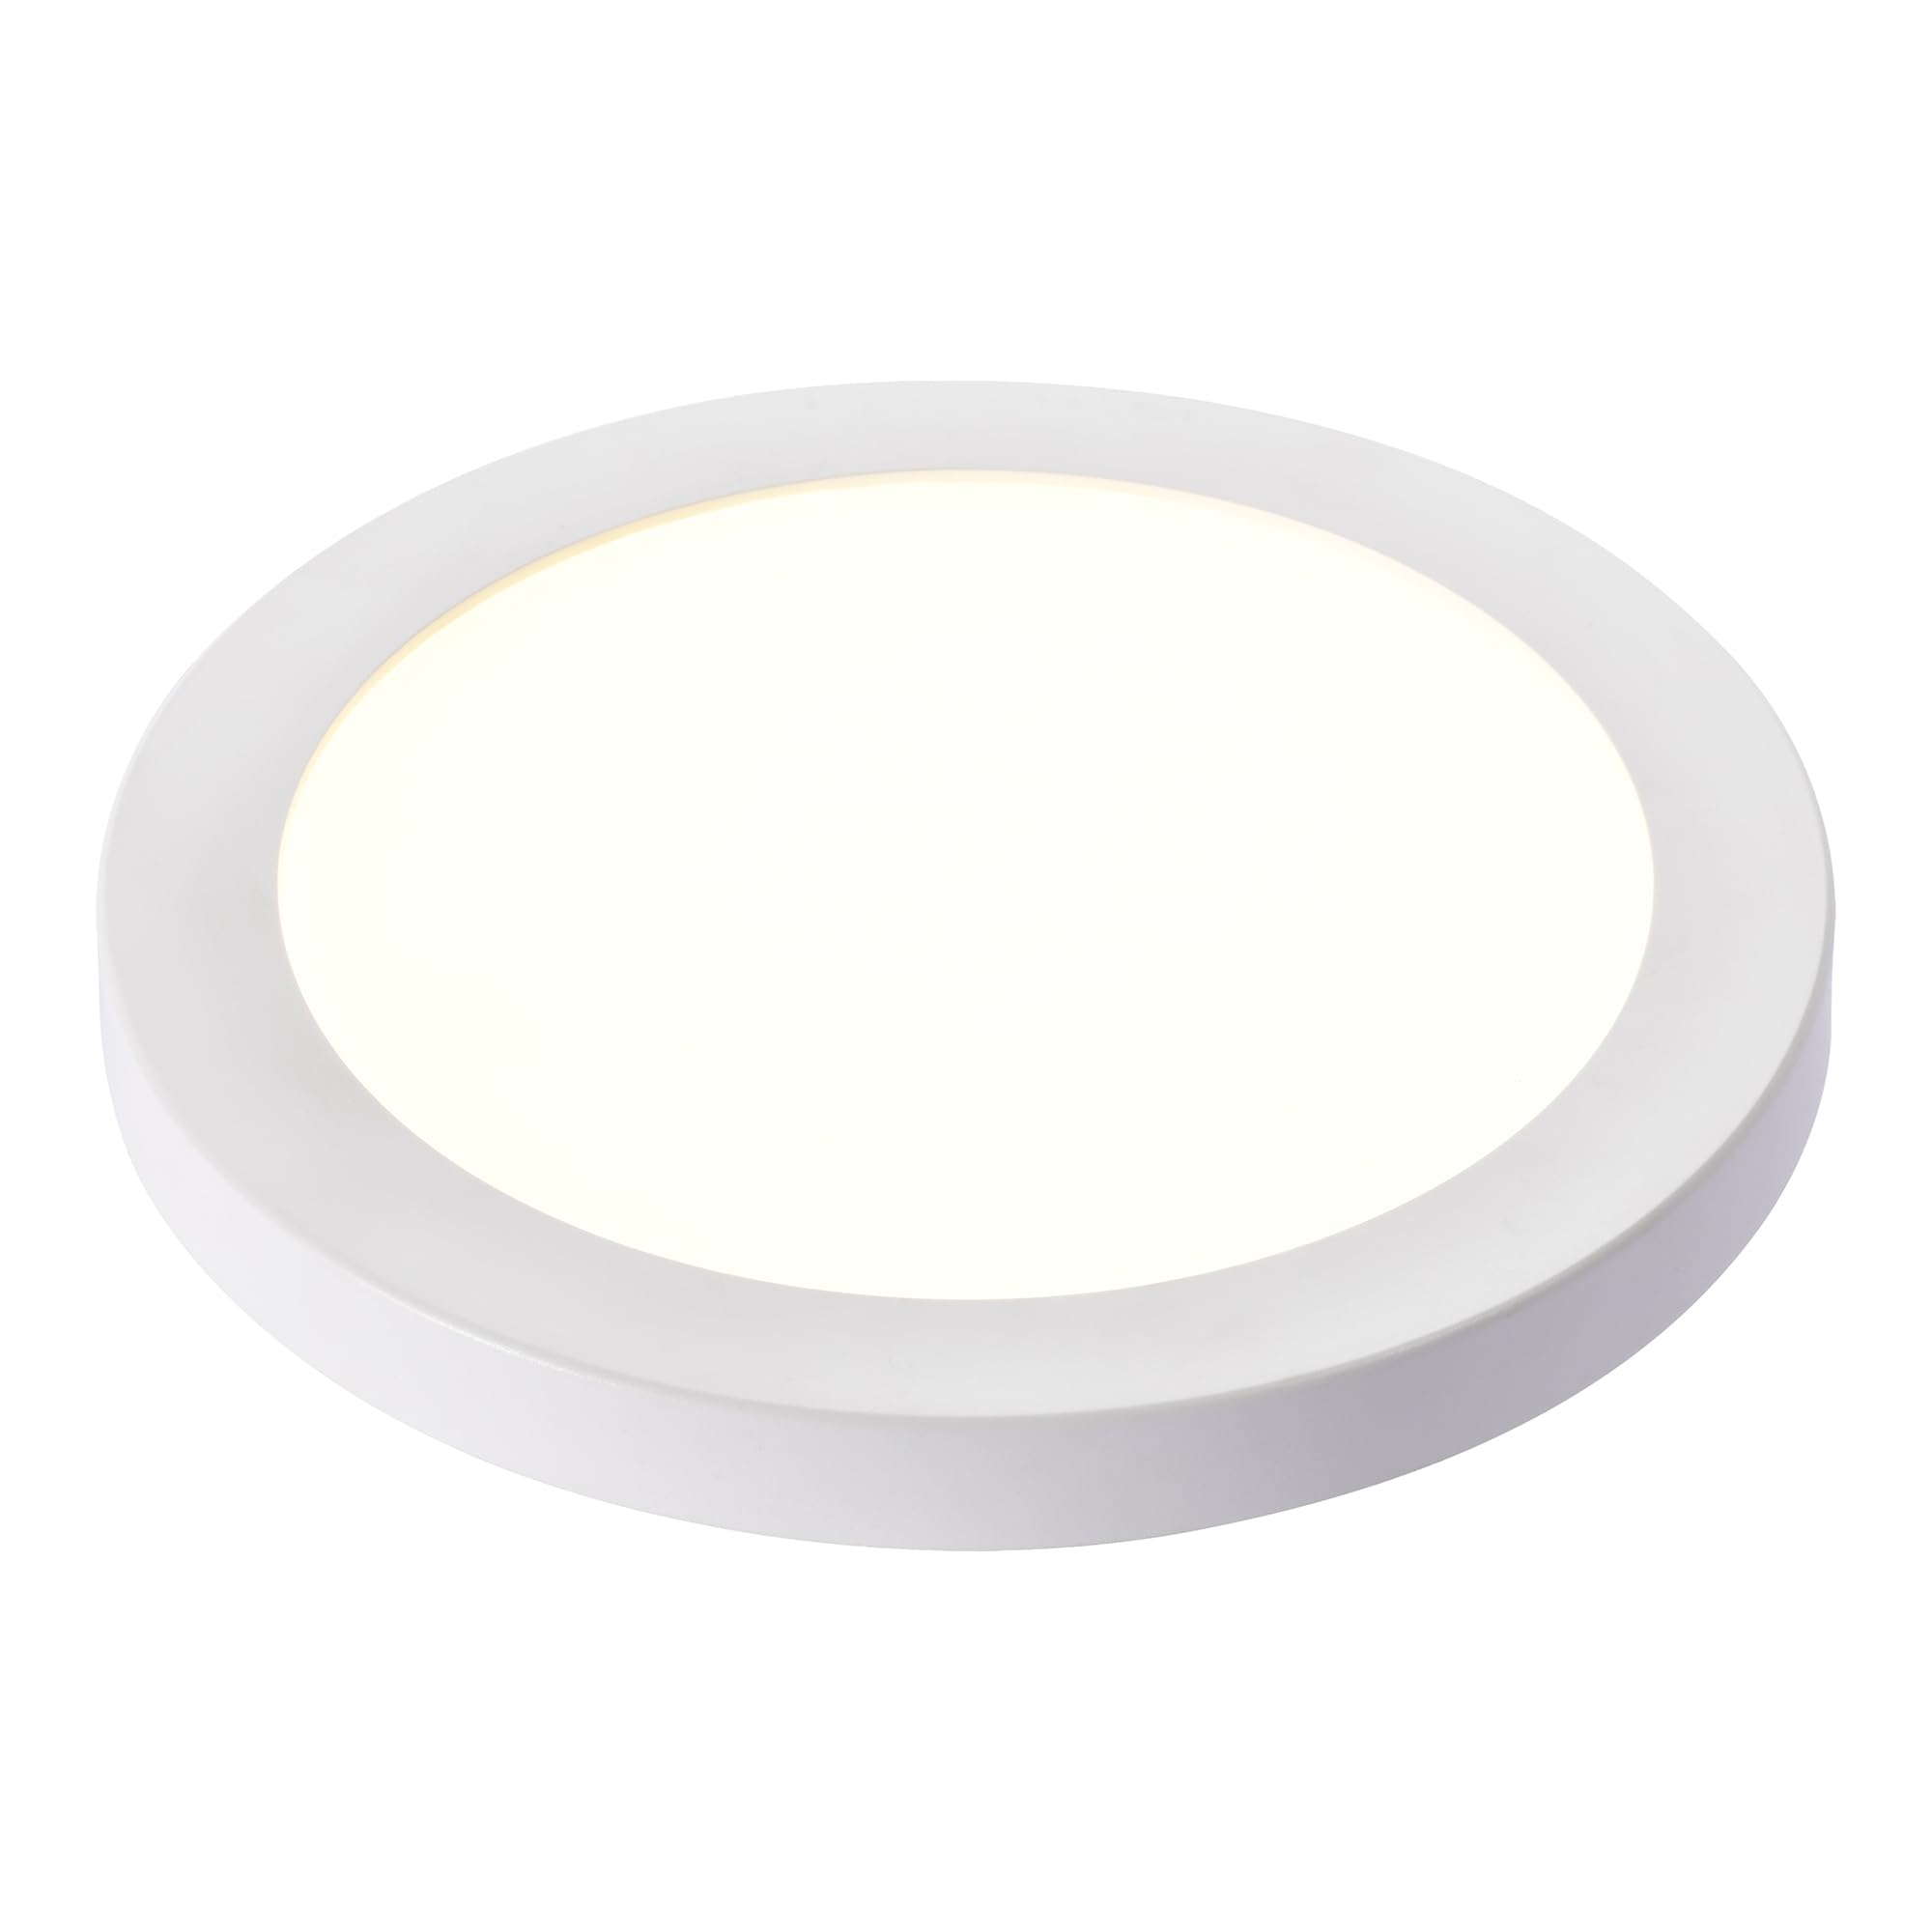
Image: Edvivi 7-inch LED Flush Mount Ceiling Light installed.

Image: Dimensions of the Edvivi 7-inch LED Flush Mount Ceiling Light.
Operating Instructions
Color Temperature (CCT) Adjustment
This fixture features an adjustable color temperature setting. Before final installation, or by carefully removing the fixture if already installed, locate the CCT switch on the back of the light fixture. This switch allows you to select between three color temperatures:
- 3000K (Warm White): Provides a soft, cozy light, ideal for bedrooms or living areas.
- 4000K (Cool White): Offers a neutral, balanced light, suitable for kitchens or offices.
- 5000K (Daylight White): Delivers a bright, crisp light, often preferred for task lighting or utility areas.
Slide the switch to your desired color temperature setting before mounting the fixture flush to the ceiling.

Image: CCT (Color Temperature) selection switch on the back of the fixture.
Dimming Function
This LED flush mount light is dimmable. To utilize the dimming feature, ensure you have a compatible LED dimmer switch installed in your electrical system. Follow the dimmer switch manufacturer's instructions for installation and operation.
Maintenance
The Edvivi LED Flush Mount Ceiling Light requires minimal maintenance.
- Cleaning: To clean the fixture, ensure the power is turned off. Use a soft, dry, or slightly damp cloth. Do not use abrasive cleaners, solvents, or polishes as they may damage the finish or electrical components.
- LED Module: The integrated LED module is designed for long-lasting performance and is not user-serviceable. Do not attempt to replace the LED chips.
Troubleshooting
| Problem | Possible Cause | Solution |
|---|---|---|
| Light does not turn on. | 1. Power is off. 2. Loose wiring connection. 3. Faulty switch. | 1. Check circuit breaker and wall switch. 2. Turn off power, check all wire connections. 3. Test switch with another device or replace. |
| Light flickers or dims inconsistently. | 1. Incompatible dimmer switch. 2. Loose wiring. 3. Voltage fluctuations. | 1. Ensure an LED-compatible dimmer is used. Consult a qualified electrician if unsure. 2. Turn off power, check all wire connections. 3. Consult an electrician to check household voltage. |
| Incorrect color temperature. | CCT switch set incorrectly. | Turn off power, carefully remove fixture, and adjust the CCT switch on the back to the desired setting (3000K, 4000K, or 5000K). Reinstall fixture. |
Specifications
| Brand | Edvivi |
| Model Number | A007-12MW |
| Dimensions | 7" Diameter x 0.63" Height |
| Wattage | 12 Watts |
| Brightness | 800 Lumens |
| Color Temperature (CCT) | 3000K / 4000K / 5000K (Selectable) |
| Voltage | 120 Volts |
| Material | Aluminum, Acrylic |
| Finish | Matte White |
| Installation Type | Flush Mount |
| Dimmable | Yes (with compatible LED dimmer) |
| Location Rating | Damp Location |
| Certifications | ETL Listed |
Warranty
This Edvivi LED Flush Mount Ceiling Light is covered by a 1-year manufacturer's limited warranty from the date of purchase. This warranty covers defects in materials and workmanship under normal use. It does not cover damage resulting from improper installation, accident, misuse, abuse, or unauthorized modifications.
Please retain your proof of purchase for warranty claims.
Customer Support
For technical assistance, warranty claims, or any questions regarding your Edvivi LED Flush Mount Ceiling Light, please contact Edvivi customer support. Refer to the product packaging or the Edvivi website for the most current contact information.
Related documentsA007-12MW


Ask a question about this manual
Ask about setup, troubleshooting, compatibility, parts, safety, or missing instructions. Manuals+ will review the question and use this page’s manual context to help answer it.