
Introduction
This manual provides detailed instructions for the assembly, operation, maintenance, and troubleshooting of your Merax Luxury King Metal Canopy Bed. Please read all instructions carefully before beginning assembly and retain this manual for future reference.
Safety Information
Always follow the assembly instructions carefully to prevent instability or injury. Be cautious of sharp edges and pinch points, especially when assembling or disassembling the bed. Use a compatible mattress to ensure stability and prevent damage to the bed frame.
- Ensure all bolts and screws are securely tightened before use.
- Do not exceed the recommended weight capacity for the bed frame.
- Keep small parts away from children during assembly.
- Assemble on a soft, clean surface to prevent scratching the product or flooring.
Package Contents
Verify that all components are present before beginning assembly. If any parts are missing or damaged, please contact customer support.
- Upholstered Headboard
- Footboard
- Side Rails (Left and Right)
- Canopy Posts (4)
- Canopy Rails (Top, Front, Back, Sides)
- Center Support Beam(s)
- Wooden Slats
- Hardware Pack (Bolts, Washers, Nuts, Allen Wrench)
- Installation Manual
Assembly Instructions
Assembly typically requires two adults. Lay out all parts on a soft, clean surface to prevent damage.
- Unpack and Identify Parts: Carefully remove all components from the packaging. Compare them against the parts list in your included installation manual to ensure everything is present and undamaged.
- Attach Side Rails to Headboard and Footboard: Connect the side rails to the upholstered headboard and footboard using the provided bolts and an Allen wrench. Ensure the connections are secure but do not fully tighten all bolts until the frame is complete.
- Install Center Support System: Place the center support beam(s) into the designated slots or brackets on the side rails. Secure with hardware as instructed. This provides crucial support for the mattress.
- Place Wooden Slats: Lay the wooden slats across the bed frame, ensuring they are evenly spaced and secured to the side rails or center beam as per the manual. Some slats may have pre-drilled holes for screws.
- Assemble Canopy Posts: Attach the four canopy posts to the corners of the bed frame. Ensure they are oriented correctly.
- Install Canopy Rails: Connect the top canopy rails to the four posts to form the upper canopy structure. Tighten all connections securely.
- Final Tightening: Once the entire bed frame and canopy structure are assembled, go back and fully tighten all bolts and screws. Do not overtighten.
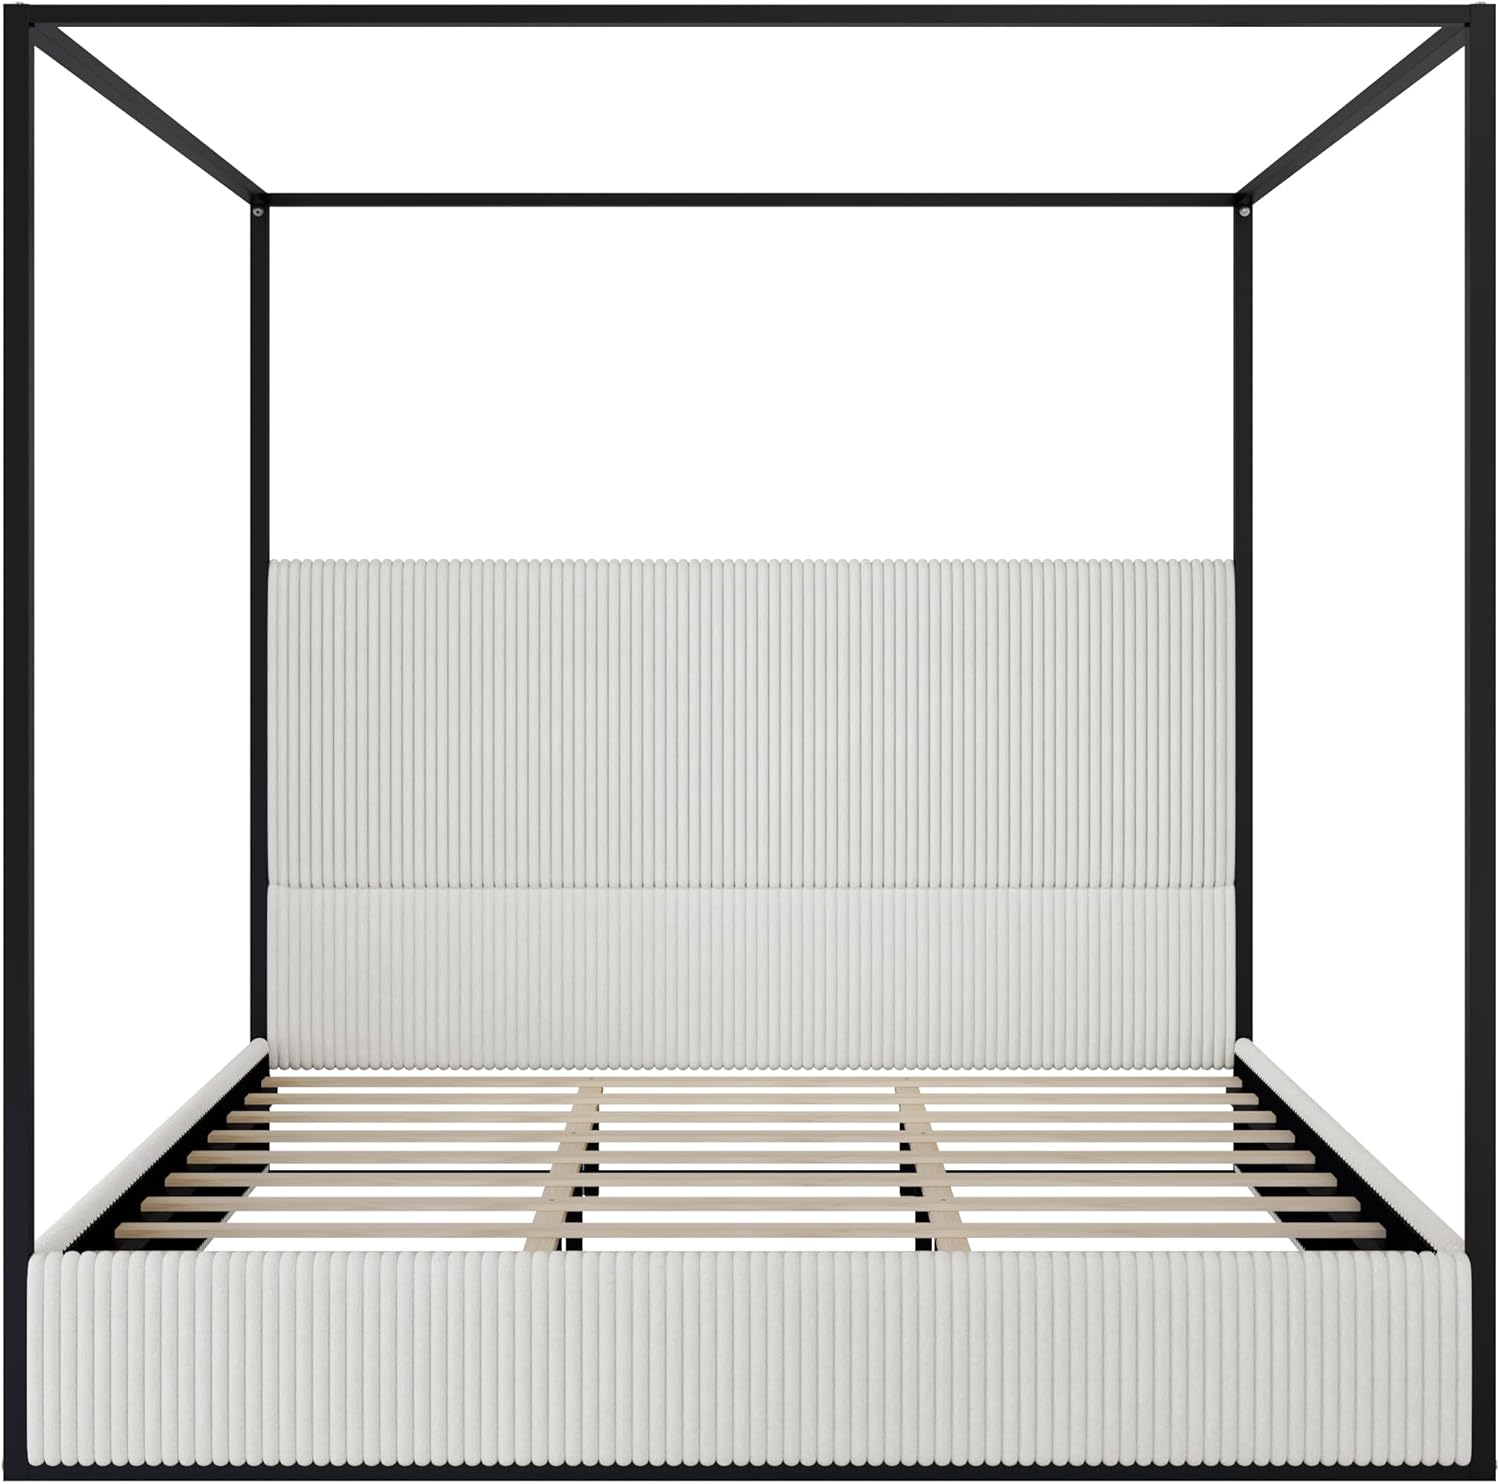
Image: Front view of the bed frame, illustrating the headboard and slat support.
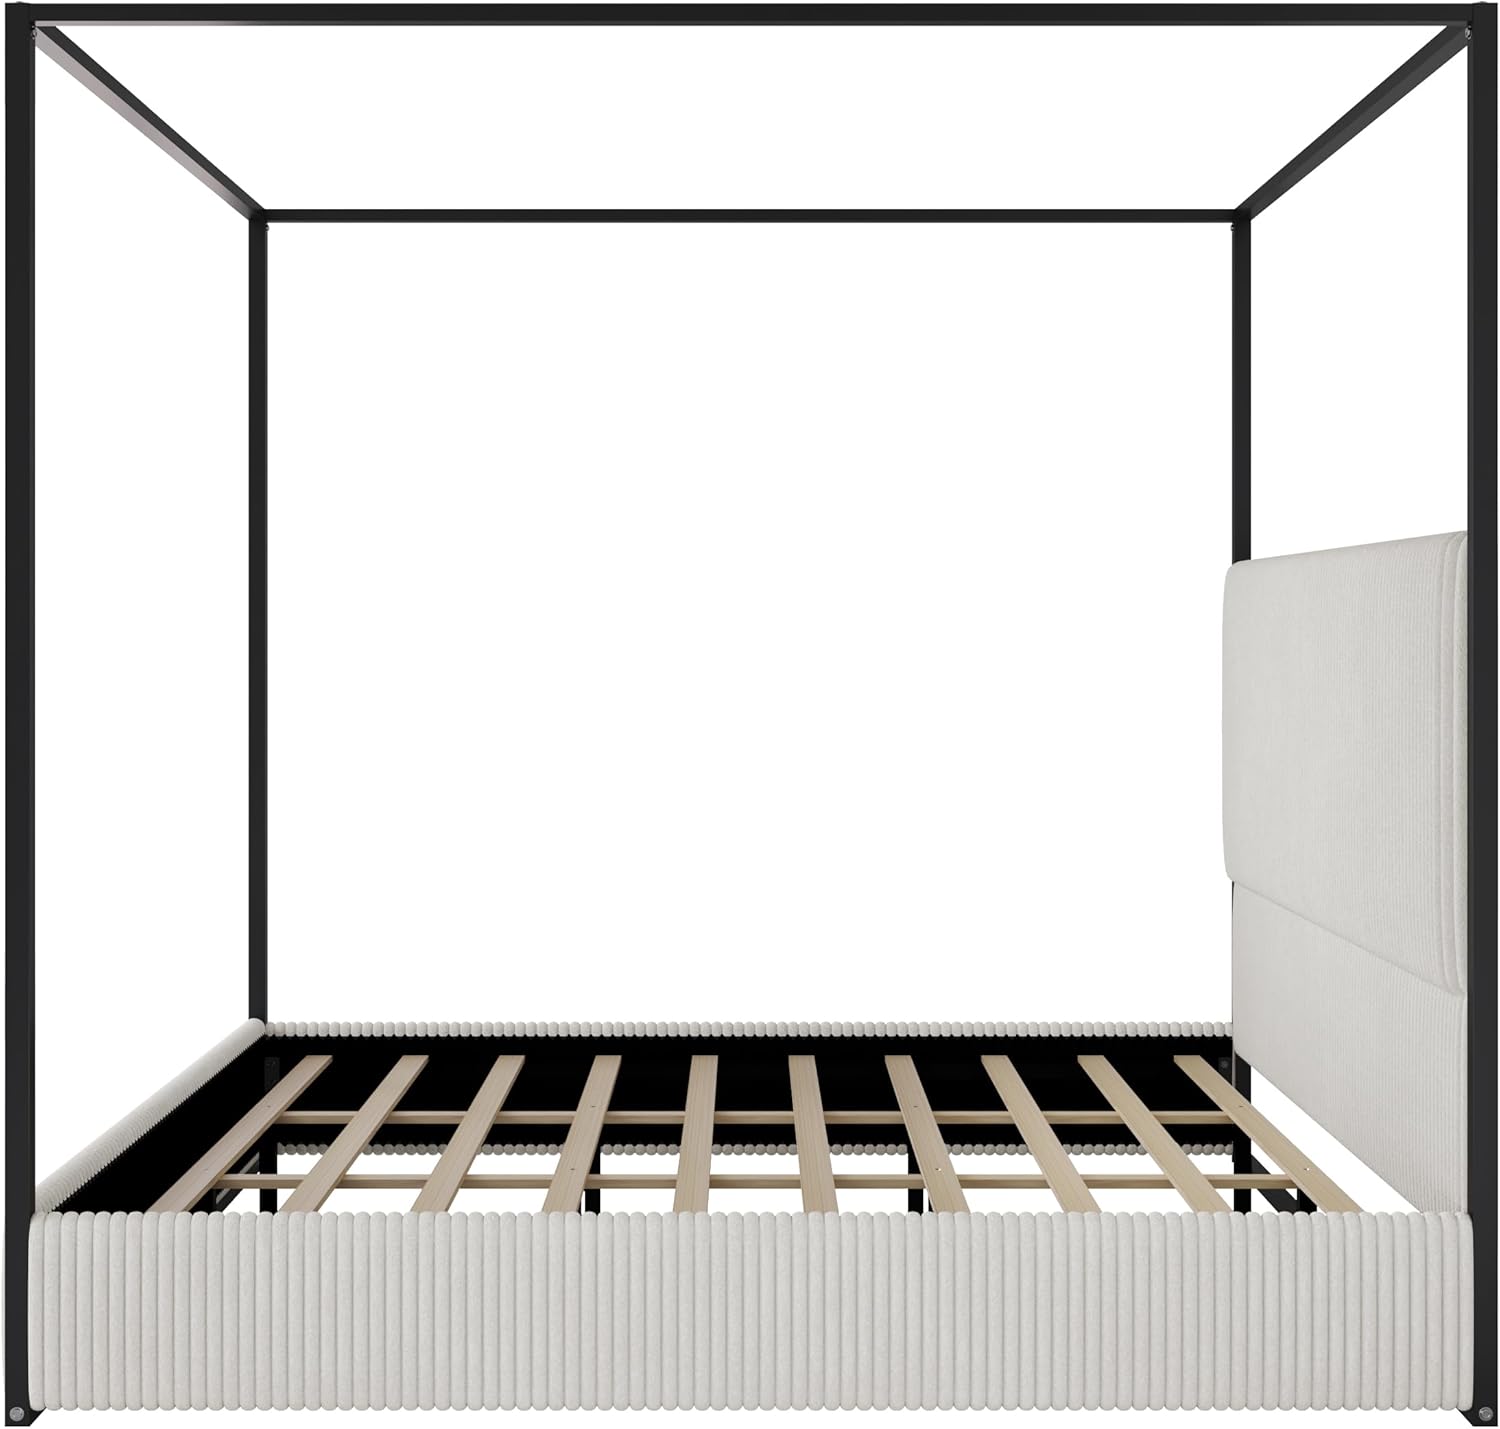
Image: Side view of the bed frame, highlighting the upholstered footboard and metal structure.

Image: Angled view of the assembled bed frame, demonstrating the canopy design.
Operating and Usage
This bed frame is designed to support a King-size mattress without the need for a box spring.
- Mattress Placement: Carefully place your King-size mattress directly onto the wooden slats. Ensure it is centered and fits within the frame.
- Weight Distribution: Distribute weight evenly across the bed. Avoid concentrating heavy loads on a single point.
- Canopy Use: The canopy frame can be used for decorative purposes, such as hanging lightweight drapes or lighting. Do not hang heavy objects from the canopy.

Image: The Merax King Canopy Bed fully assembled and in use.
Maintenance
- Cleaning the Metal Frame: Wipe the metal frame with a soft, damp cloth. Avoid abrasive cleaners or harsh chemicals that could damage the finish.
- Cleaning the Upholstered Headboard: For light cleaning, use a soft brush or vacuum cleaner with an upholstery attachment to remove dust. For spills, blot immediately with a clean, dry cloth. For deeper cleaning, consult a professional upholstery cleaner or use a mild fabric cleaner suitable for corduroy, testing on an inconspicuous area first.
- Regular Checks: Periodically check all bolts and connections to ensure they remain tight. Retighten if necessary to maintain stability and prevent squeaking.
Troubleshooting
- Bed Squeaks:
- Check all bolts and screws. Tighten any loose connections. Ensure slats are properly seated and not rubbing against the frame. Applying felt pads between metal-on-metal contact points can also help.
- Frame Feels Unstable:
- Verify that all components are correctly assembled according to the instructions. Ensure all hardware is fully tightened. Check that the bed is on a level surface.
- Parts Do Not Align During Assembly:
- Double-check the part labels and orientation against the assembly diagram. Sometimes, similar-looking parts may have subtle differences. Loosen previously tightened bolts to allow for minor adjustments, then retighten once aligned.
Specifications
| Size | King |
| Material | Corduroy, Metal |
| Product Dimensions (L x W x H) | 82.3"L x 79.3"W x 78.5"H |
| Headboard Height | 49.5" (from feature bullets) |
| Weight | 131 pounds |
| Color | White |
| Box Spring Required | No |

Image: King size bed dimensions diagram.
Warranty and Support
For any questions, concerns, or assistance with your Merax product, please contact our customer support team.
- Email: csr@merax.com
- Phone: 626-912-8886
- Return Policy: This product is eligible for a 30-day return period from the date of purchase. Please refer to your retailer's specific return policy for details.