1. Introduction
This manual provides essential information for the safe and effective operation of your Ortur Laser Master 2 S2 1064nm Infrared Laser Engraver. Please read this manual thoroughly before assembly and operation to ensure proper usage and to prevent damage or injury. This device is designed for precise engraving on various materials, including metals, plastics, and acrylics.

Image 1.1: The Ortur Laser Master 2 S2 1064nm Infrared Laser Engraver, showcasing its design and examples of engraved items like cutlery, a flask, and a mug.
2. Safety Information
The Ortur Laser Master 2 S2 is a Class 4 laser product. Improper use can result in serious injury, including eye damage, skin burns, and fire. Always adhere to the following safety guidelines:
- Eye Protection: Always wear appropriate laser safety goggles designed for the 1064nm wavelength during operation. Never look directly at the laser beam or its reflection.
- Work Area: Operate the engraver in a well-ventilated area. Ensure the work area is free of flammable materials.
- Supervision: Never leave the machine unattended during operation.
- Material Safety: Engrave only approved materials. Some materials can produce hazardous fumes when engraved.
- Emergency Stop: Familiarize yourself with the location and function of the emergency stop button.
- Children and Pets: Keep children and pets away from the operating area.
- Power Supply: Use only the provided power adapter.

Image 2.1: Overview of the four main safety features integrated into the Ortur Laser Master 2 S2 design.
3. Product Overview
3.1 Components
The Ortur Laser Master 2 S2 consists of a robust frame, a 1064nm infrared laser module, and control electronics. Key components include:
- Laser Module: 1000mW (1W) 1064nm Infrared Laser.
- Frame: Industrial-grade full metal structure for stability and precision.
- Control Board: Manages laser operations and communication.
- Stepper Motors: Drive the X and Y axes for precise movement.
- Limit Switches: Define the engraving area boundaries.
3.2 Key Features
- Multi-Material Compatibility: Capable of engraving various metals (gold, silver, platinum, copper, aluminum, stainless steel), leathers, plastics, acrylics, glass, and stones.
- High Precision: Motion accuracy up to 0.03mm for detailed engravings.
- Large Engraving Area: 390 x 410 mm (approximately 15.35" x 16.14").
- High Speed: Engraving speeds up to 10000mm/min.
- Software Compatibility: Supports LaserGRBL and LightBurn.
- Operating System Support: Compatible with Windows 7/8/XP/10/11 and Mac systems (via LightBurn).
- File Format Support: SVG, DXF, JPG, JPEG, PNG, BMP, TIF, CR2, etc.
- Modular Design: Facilitates easy assembly, repair, and upgrades.

Image 3.1: The powerful 1064nm 1W infrared laser module with dual fan cooling, designed for long operational life.

Image 3.2: The generous 390 x 410 mm (15.35" x 16.14") engraving area of the OLM2S2.
4. Setup
4.1 Unpacking and Inspection
Carefully unpack all components. Verify that all parts listed in the packing list are present and undamaged. If any parts are missing or damaged, contact customer support immediately.
4.2 Assembly
The Ortur Laser Master 2 S2 features a modular design for straightforward assembly. Typical assembly time is 10-15 minutes. Follow the detailed assembly instructions provided in the separate assembly guide or refer to official Ortur assembly videos. Ensure all connections are secure and the frame is rigid.
- Assemble the frame components according to the diagrams.
- Mount the laser module onto the gantry.
- Connect all cables (power, USB, motor cables) securely.
- Ensure the timing belts are properly tensioned.
4.3 Software Installation
Download the latest version of your preferred engraving software (LaserGRBL or LightBurn) from their official websites. Install the software on your computer and follow the on-screen instructions for driver installation and initial setup.
5. Operating Instructions
5.1 Preparing for Engraving
- Place Material: Position the material to be engraved on the work surface.
- Focus the Laser: Adjust the laser module height to achieve the optimal focal point on the material surface. Refer to the laser module's specific focusing instructions.
- Connect to Computer: Connect the engraver to your computer via USB.
- Launch Software: Open LaserGRBL or LightBurn.
- Load Design: Import your desired engraving design (SVG, DXF, JPG, etc.).
- Set Parameters: Configure engraving parameters such as speed, power, and number of passes based on the material type and desired effect.
5.2 Engraving Process
- Wear Safety Goggles: Ensure all individuals in the vicinity are wearing appropriate laser safety goggles.
- Start Engraving: Initiate the engraving process through the software.
- Monitor Operation: Continuously monitor the engraving process. Be prepared to use the emergency stop if any issues arise.
- Completion: Once engraving is complete, the laser will stop. Wait for any fumes to clear before removing the engraved item.
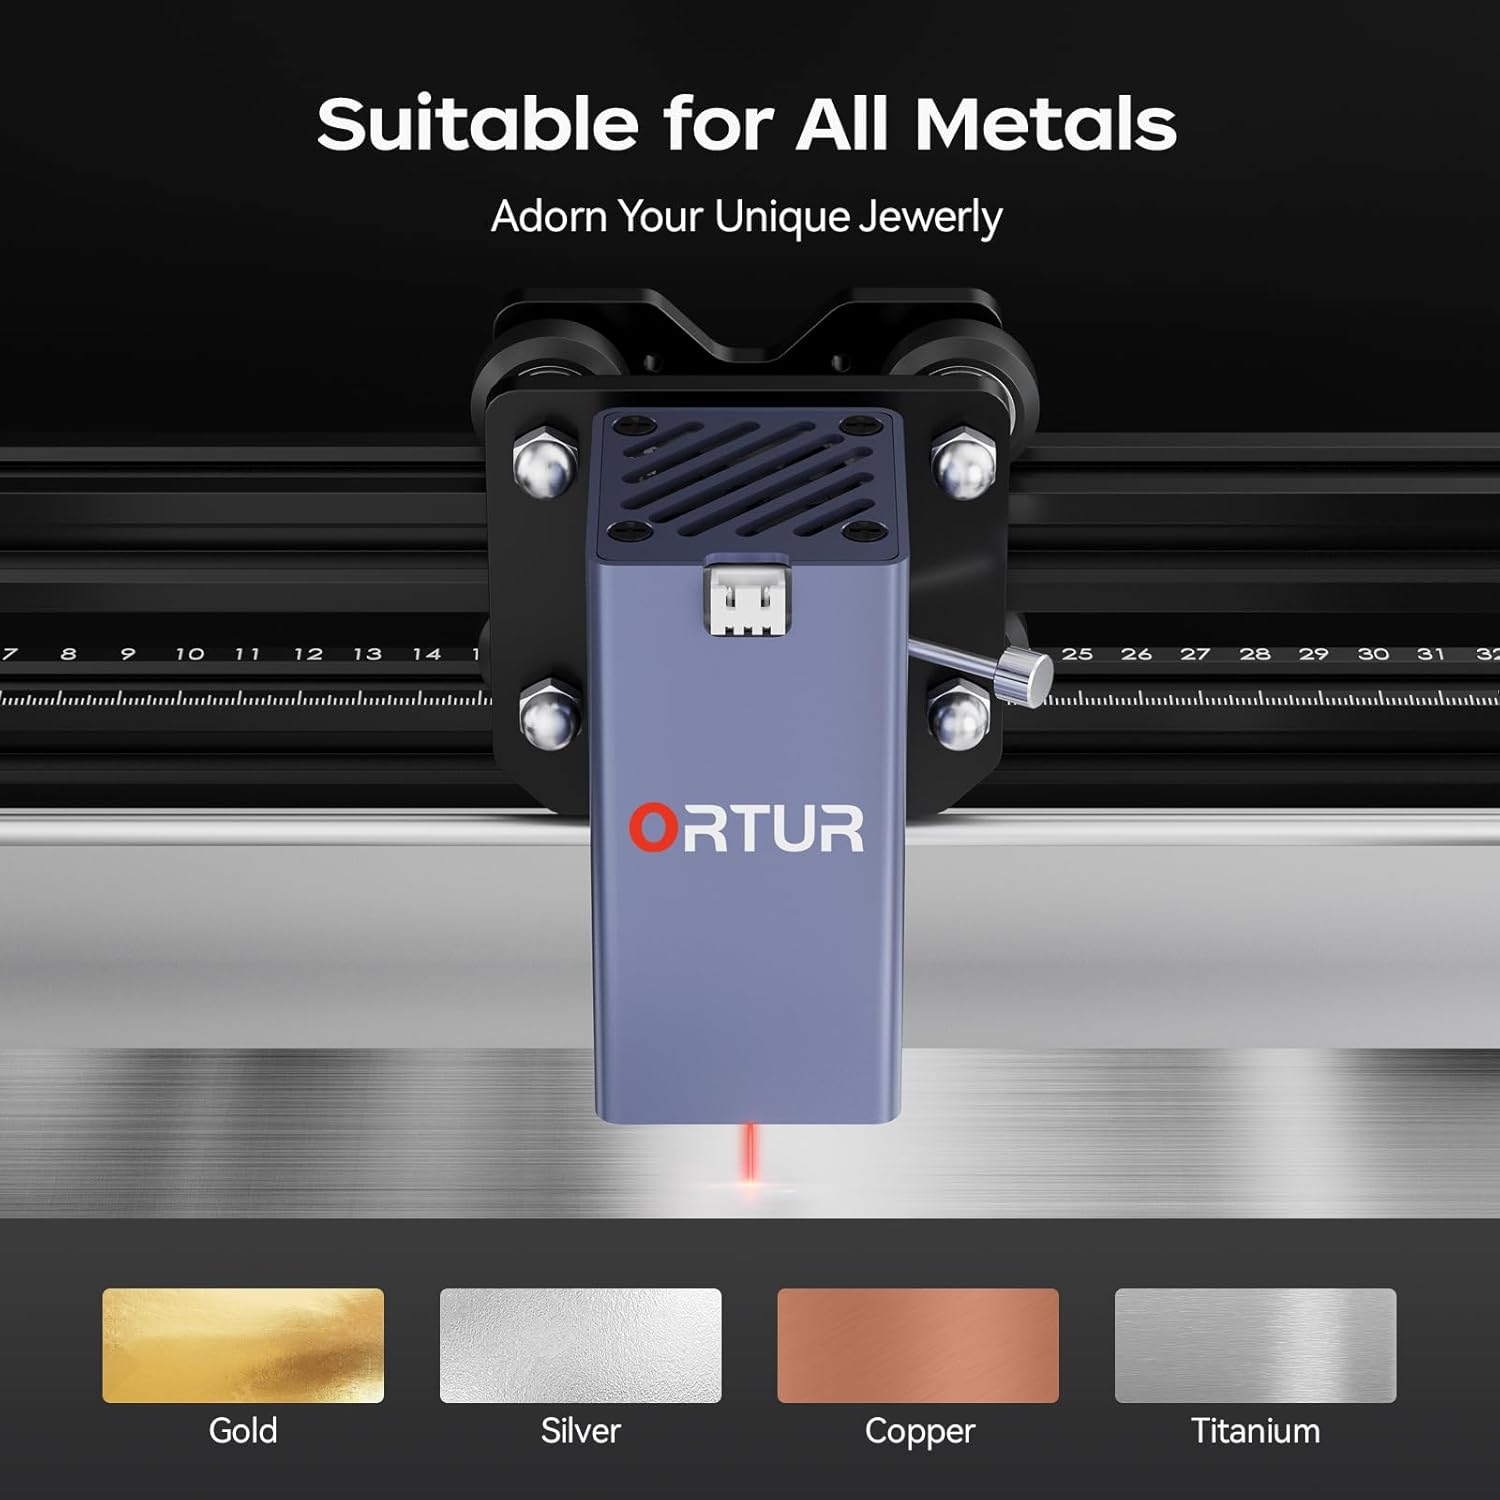
Image 5.1: The Ortur Laser Master 2 S2 is suitable for engraving on various metals, including gold, silver, copper, and titanium.

Image 5.2: Examples of materials that can be engraved, such as various metals, plastics, and acrylics.
6. Software Compatibility
The Ortur Laser Master 2 S2 is compatible with widely used laser engraving software:
- LaserGRBL: A free, open-source software primarily for Windows users. It is suitable for basic engraving tasks and image processing.
- LightBurn: A powerful, paid software compatible with Windows, Mac, and Linux. It offers advanced features for design, layout, and control, making it suitable for more complex projects.
Ensure your software is updated to the latest version for optimal performance and compatibility.

Image 6.1: The laser engraver adapts to common software like LightBurn and LaserGRBL.
7. Maintenance
Regular maintenance ensures the longevity and optimal performance of your laser engraver.
- Cleaning: Regularly clean the lens of the laser module with a lint-free cloth and isopropyl alcohol. Keep the rails and belts free of dust and debris.
- Lubrication: Periodically apply a small amount of lubricant to the linear rails to ensure smooth movement.
- Belt Tension: Check and adjust the tension of the timing belts as needed to prevent skipping or inaccurate engraving.
- Firmware Updates: Check the official Ortur website for any firmware updates for your machine.
8. Troubleshooting
This section addresses common issues you might encounter.
| Problem | Possible Cause | Solution |
|---|---|---|
| Laser not firing or weak output. | Incorrect focus, dirty lens, low power setting, faulty laser module. | Adjust focus, clean lens, increase power in software, contact support if module is faulty. |
| Engraving is inaccurate or distorted. | Loose belts, loose frame components, incorrect software settings, material movement. | Check and tighten belts, ensure frame is rigid, verify software settings, secure material. |
| Machine not connecting to computer. | USB cable issue, driver not installed, incorrect COM port selected. | Try a different USB port/cable, reinstall drivers, select correct COM port in software. |
| Machine powers on but does not move. | Motor cables disconnected, emergency stop engaged, software error. | Check motor connections, disengage emergency stop, restart software and machine. |
9. Specifications
| Feature | Detail |
|---|---|
| Brand | Ortur |
| Model | OLM2S2 |
| Laser Module | 1000mW (1W) 1064nm Infrared Laser |
| Engraving Area | 390 x 410 mm (15.35" x 16.14") |
| Engraving Speed | Up to 10000mm/min |
| Motion Accuracy | 0.03mm |
| Supported Software | LaserGRBL, LightBurn |
| Supported OS | Windows 7/8/XP/10/11, Mac (LightBurn) |
| Supported File Formats | SVG, DXF, JPG, JPEG, PNG, BMP, TIF, CR2, etc. |
| Product Dimensions | 22.4 x 9 x 5.1 inches |
| Item Weight | 8.67 pounds |

Image 9.1: The motion accuracy of 0.03mm ensures clear and detailed engraving patterns.
10. Warranty and Support
Ortur is committed to providing high-quality after-sales service. If you encounter any problems with your product, please contact our customer support team.
- Customer Service: Professional technicians are available to provide solutions and assistance.
- Contact Information: Refer to the official Ortur website or product packaging for current contact methods (email, live chat, Facebook support).

Image 10.1: Ortur offers round-the-clock support via email, live chat, and Facebook.


