
1. Introduction
This manual provides essential instructions for the safe and effective operation of your YONHAN 10A/15A Intelligent Pulse Repair Battery Charger. This device is designed to charge and maintain 12V and 24V lead-acid batteries (STD, AGM/GEL, WET, Motorcycle) and LiFePO4 batteries, offering quick charging, battery maintenance, and repair functions.
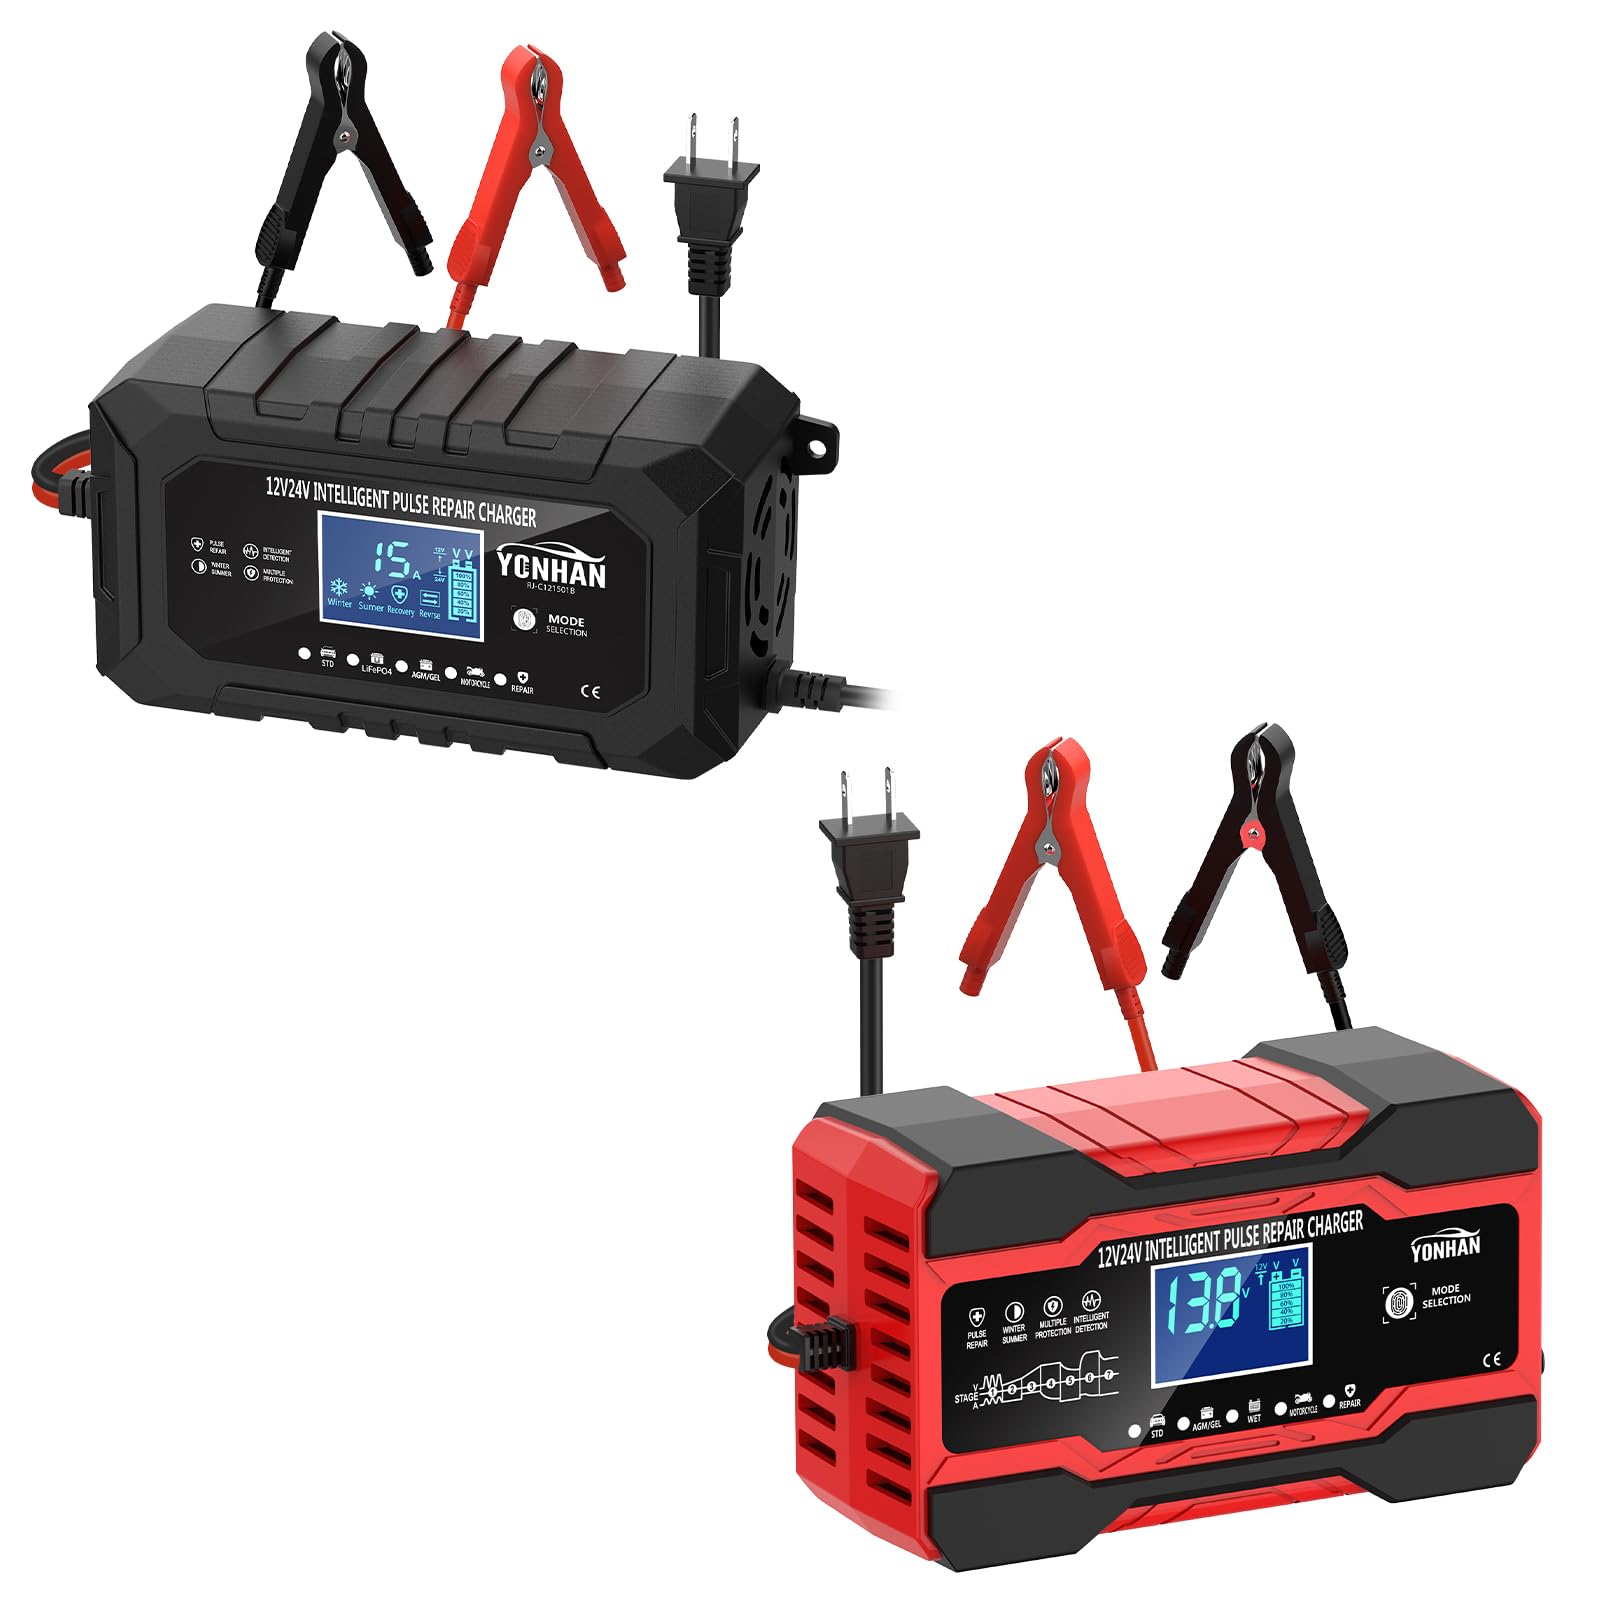
Image 1.1: The YONHAN Intelligent Pulse Repair Battery Charger connected to a car battery, demonstrating its primary function.
2. Safety Information
Read all safety warnings and instructions before using this product. Failure to follow these instructions may result in electric shock, fire, or serious injury.
- Always wear eye protection and protective clothing when working with batteries.
- Ensure the charging area is well-ventilated.
- Do not expose the charger to rain or wet conditions.
- Never charge a frozen battery.
- Connect the charger output clips to the battery terminals in the correct polarity: RED to positive (+), BLACK to negative (-).
- Disconnect the AC power before connecting or disconnecting the battery clips.
- Keep out of reach of children.
- This charger is for 12V and 24V lead-acid and LiFePO4 batteries only. Do not use for other battery types.
3. Product Overview
The YONHAN Intelligent Pulse Repair Battery Charger is a versatile device offering multiple functionalities for battery care.
3.1 Key Features
- Wide Applications: Compatible with cars, motorcycles, ATVs, RVs, marine batteries, and lawn mowers.
- Comprehensive Protections: Includes reverse polarity, short-circuit, overcharge, and overheat protection for safe operation.
- Battery Maintainer: Automatically switches to float/trickle mode to prevent overcharging and maintain optimal battery health.
- LED Display: Clearly shows charging status, voltage, and current.

Image 3.1: The charger's capabilities, including quick charging, battery maintenance, and its role in promoting stronger engine starts and extending battery life.
3.2 Smart Repair Function
This charger features a Smart Repair Function utilizing low-frequency pulse repair technology. This function is designed to address issues such as batteries with long idle times, low voltage, weak power, and aging batteries that may not hold a charge effectively.

Image 3.2: Visual representation of the Smart Repair Function, showing its application for various battery conditions like long idle time, low voltage, and aging.
3.3 User Interface and Display
The charger is equipped with a touch button for precise mode switching and a clear visual display for battery information.
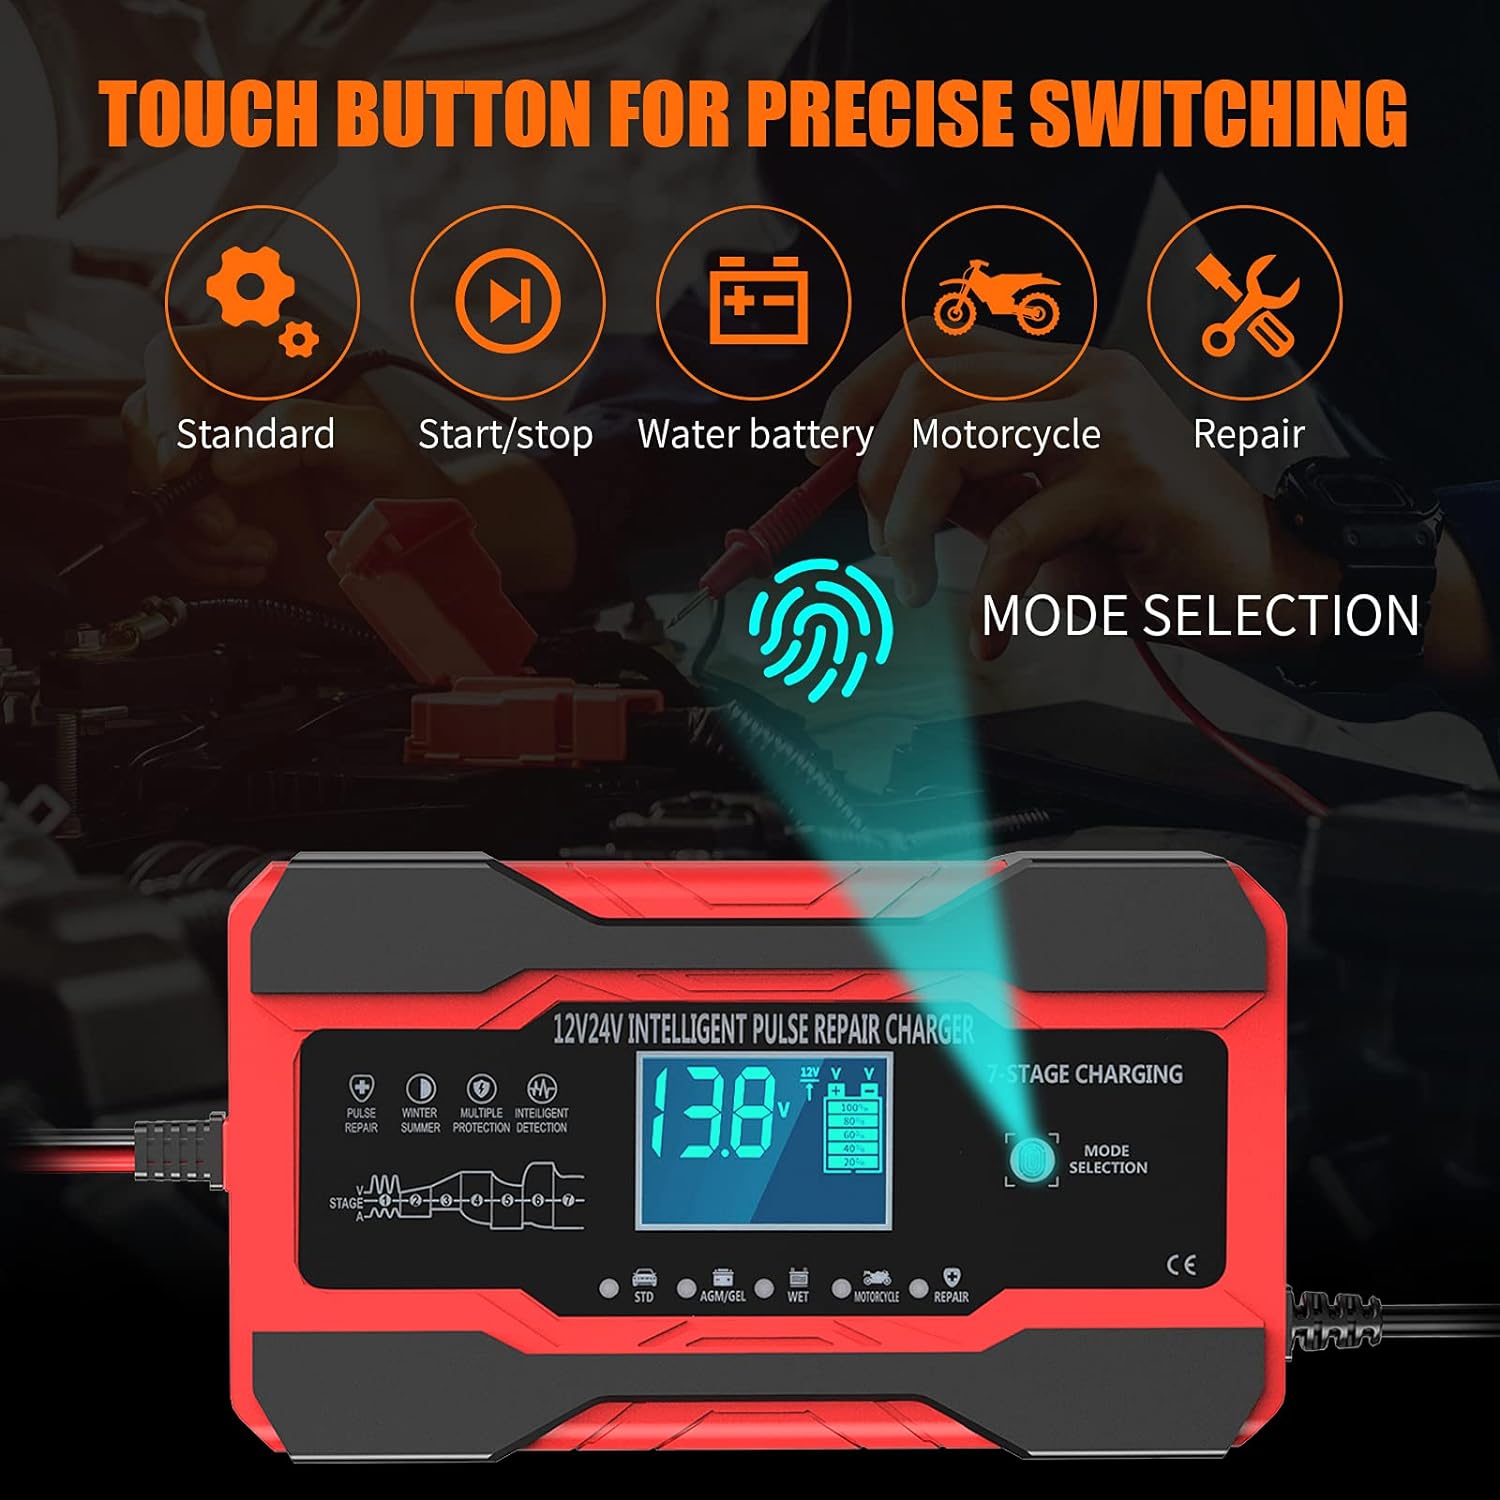
Image 3.3: The touch button interface for selecting different charging modes, including Standard, Start/Stop, Water Battery, Motorcycle, and Repair.

Image 3.4: The visual display indicating temperature, voltage, current, charging completion ('FUL'), pulse repair ('PUL'), power off ('OFF'), reverse/abnormal connection ('Err'), and desulfurization ('dFS').
3.4 Charging Stages
The charger employs a precision 9-stage charging architecture for most battery types and a 5-stage process for LiFePO4 batteries, ensuring optimal and efficient charging.

Image 3.5: Diagram showing the adaptive 9-stage charging architecture, with a note that LiFePO4 models use a 5-stage process.
3.5 Environmental Adaptability
The charger features a weather-resilient charging system designed for enhanced environmental adaptability, operating effectively across various temperature ranges.

Image 3.6: The charger's ability to adapt to different temperatures, with specific ranges for Winter (0-10°C), Summer (>28°C), and Normal (10-27°C).
4. Setup
Follow these steps to set up your YONHAN battery charger:
- Prepare the Battery: Ensure the battery terminals are clean and free of corrosion. If necessary, clean them with a wire brush and baking soda solution.
- Connect to Battery: First, connect the RED positive (+) clamp to the positive battery terminal. Then, connect the BLACK negative (-) clamp to the negative battery terminal. For vehicles, if the battery is still installed, connect the negative clamp to the vehicle chassis away from the battery and fuel line.
- Connect to Power: Plug the charger's AC power cord into a standard electrical outlet (100-240V AC).
- Verify Connection: The charger's display will illuminate, indicating a successful connection.
5. Operating Instructions
Once connected, the charger will automatically detect the battery voltage (12V or 24V). You will then need to select the appropriate charging mode.
- Mode Selection: Use the 'MODE SELECTION' touch button to cycle through the available charging modes:
- STD: Standard lead-acid batteries.
- LiFePO4: Lithium Iron Phosphate batteries.
- AGM/GEL: Absorbed Glass Mat and Gel cell batteries.
- WET: Wet cell batteries.
- Motorcycle: For smaller motorcycle batteries.
- Repair: For pulse repair function (see section 5.2).
- Start Charging: Once the desired mode is selected, the charger will begin the charging process automatically. The display will show real-time information such as voltage, current, and temperature.
- Charging Completion: The display will show 'FUL' when the battery is fully charged. The charger will then automatically switch to float/trickle mode to maintain the battery.
- Disconnecting: First, unplug the charger from the AC power outlet. Then, disconnect the BLACK negative (-) clamp from the battery (or chassis). Finally, disconnect the RED positive (+) clamp from the battery.
5.1 Repair Function Usage
To use the repair function, select the 'Repair' mode using the mode selection button. This function uses low-frequency pulse technology to attempt to restore lost performance in certain types of batteries. Monitor the battery during this process. The repair cycle duration may vary.
6. Maintenance
Proper maintenance ensures the longevity and optimal performance of your charger.
- Cleaning: Disconnect the charger from all power sources before cleaning. Wipe the exterior with a soft, damp cloth. Do not use harsh chemicals or abrasives.
- Storage: Store the charger in a cool, dry place when not in use. Ensure the cables are neatly coiled and not kinked.
- Cable Inspection: Periodically inspect the charging cables and clamps for any signs of damage, wear, or corrosion. Replace if necessary.
7. Troubleshooting
Refer to the following table for common issues and their solutions:
| Problem | Display Indication | Possible Cause | Solution |
|---|---|---|---|
| Charger does not power on | No display | No AC power; faulty outlet; damaged power cord. | Check AC power connection; try a different outlet; inspect power cord for damage. |
| Charger connected but not charging | No current flow, or 'OFF' | Incorrect battery connection; battery voltage too low; incorrect mode selected. | Verify correct polarity (+ to +, - to -); ensure battery voltage is above minimum threshold for charging; select appropriate battery type mode. |
| Error message displayed | 'Err' | Reverse polarity connection; short circuit; internal fault. | Disconnect immediately. Check battery clamp connections for correct polarity. Inspect cables for shorts. If error persists, contact support. |
| Battery not fully charged after extended time | Not 'FUL' | Battery severely discharged or damaged; incorrect mode; charger output insufficient. | Try the 'Repair' mode. Ensure correct mode is selected. Have battery tested by a professional. |
| Desulfurization process active | 'dFS' | Charger detected sulfation on battery plates. | This is a normal function. Allow the charger to complete the process. |
8. Specifications
| Specification | Value |
|---|---|
| Brand | YONHAN |
| Color | Black |
| Output Voltage | 12V / 24V DC (Automatic Detection) |
| Current Rating | 10A (12V) / 5A (24V) and 15A (12V) / 7.5A (24V) models |
| Amperage | 15 A (Max) |
| Compatible Devices | Car, Motorcycle, ATV, RV, Marine Battery, Lawn Mower |
| Number of Ports | 2 (Positive and Negative) |
| Safety Certifications | CE, FCC, UL |
9. Warranty and Support
For warranty information and technical support, please refer to the product packaging or contact YONHAN customer service through the retailer where the product was purchased. Keep your purchase receipt as proof of purchase.