
Introduction
This manual provides detailed instructions for the setup, operation, and maintenance of your Fansbe Direct Digital Alarm Clock, Model btc-A6. Please read this manual thoroughly before using the product to ensure proper function and longevity.
Product Overview
The Fansbe Direct Digital Alarm Clock is a multi-functional device combining an alarm clock, white noise machine, wireless charger, and Bluetooth speaker. It features dual alarms, a 9-minute snooze function, 23 soothing sounds, Bluetooth 5.0 connectivity, AUX and USB playback, 5W wireless charging, and a 5V 1A USB-A output port.
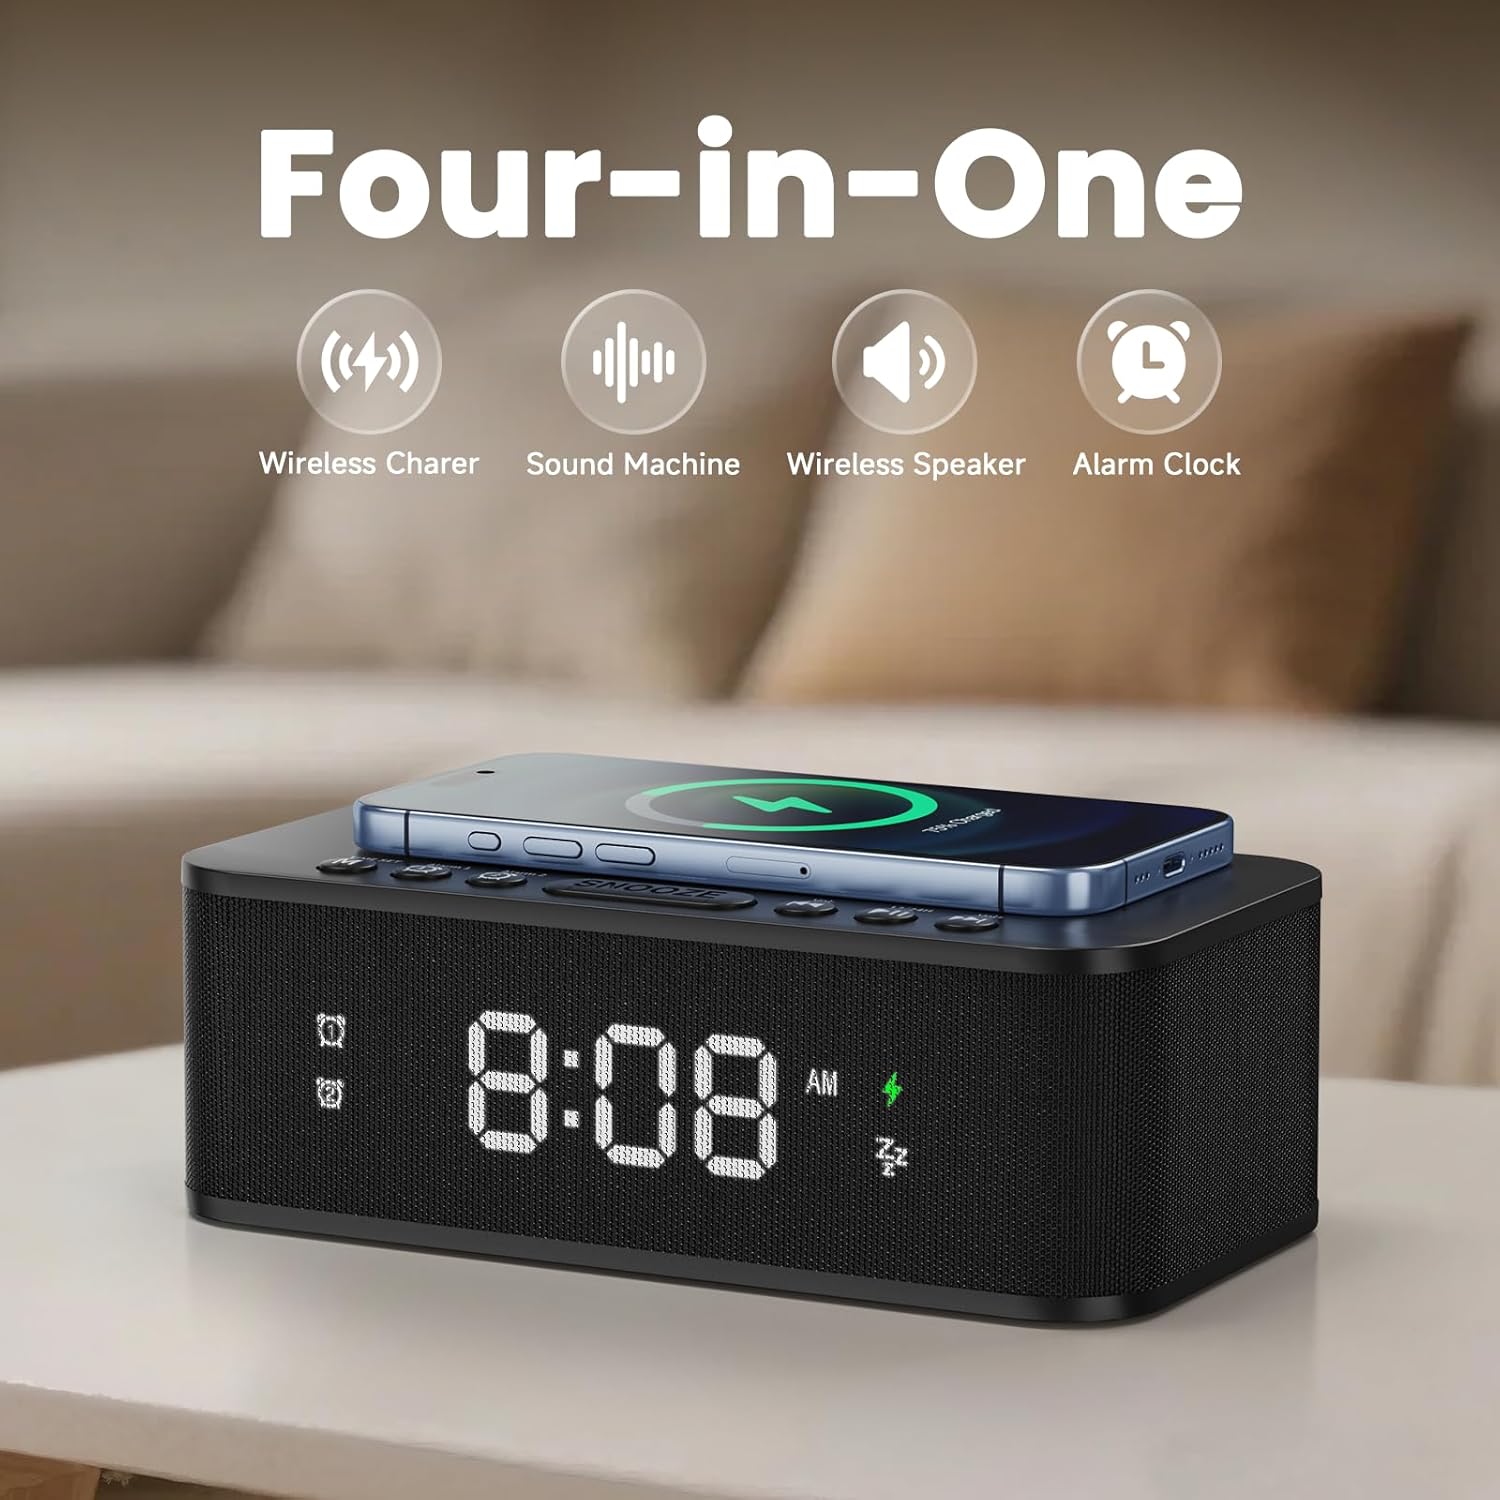
Image: Product overview highlighting its four-in-one functionality: wireless charger, sound machine, wireless speaker, and alarm clock.
Package Contents
- Fansbe Direct Digital Alarm Clock (Model btc-A6)
- Power Adapter
- User Manual (this document)
Controls and Ports
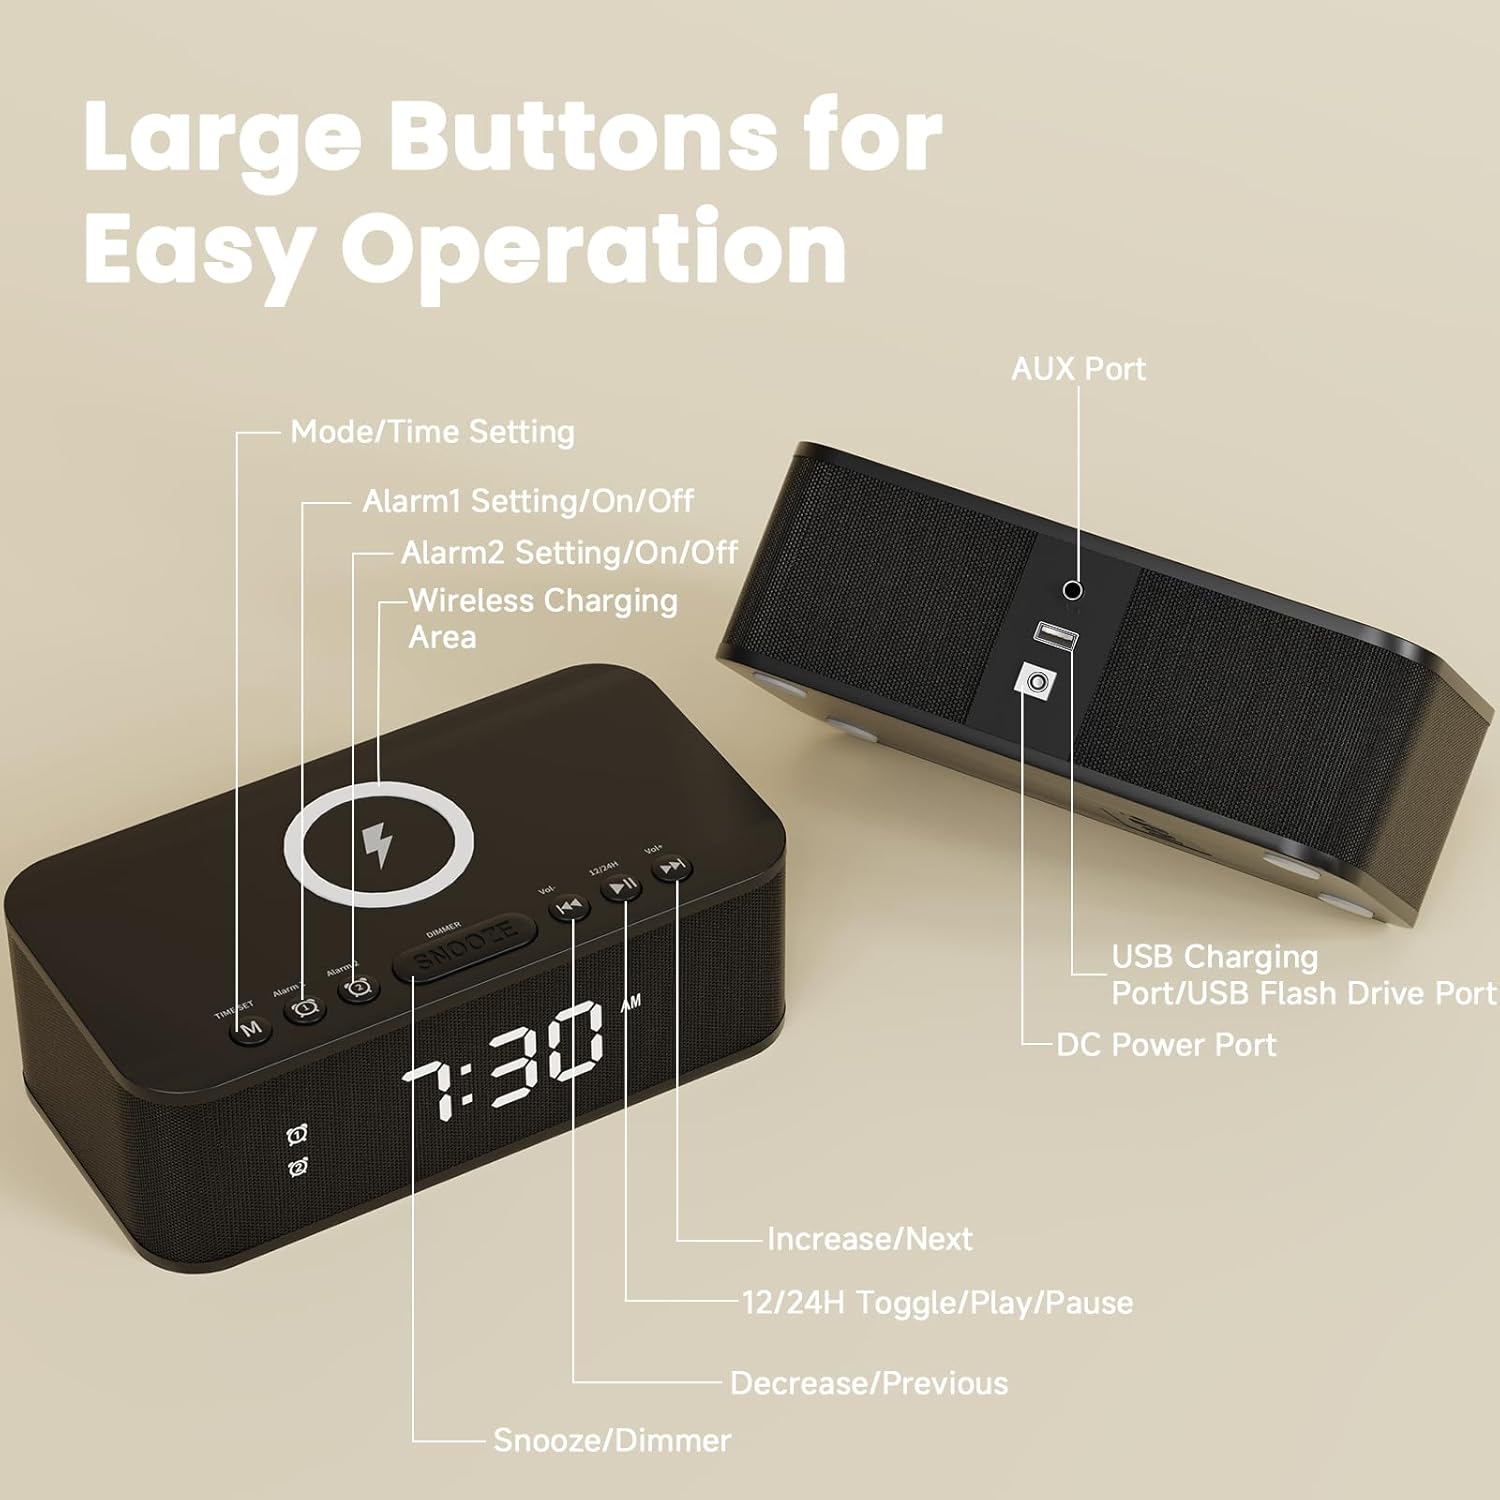
Image: Detailed diagram illustrating the location and function of all buttons and ports on the alarm clock, including Mode/Time Setting, Alarm 1/2, Wireless Charging Area, Snooze/Dimmer, Volume/Track controls, 12/24H Toggle/Play/Pause, AUX Port, USB Charging Port/USB Flash Drive Port, and DC Power Port.
Familiarize yourself with the following controls:
- TIME SET (M) Button: Used for setting time and mode selection.
- Alarm 1 Button: Activates/deactivates and sets Alarm 1.
- Alarm 2 Button: Activates/deactivates and sets Alarm 2.
- SNOOZE/DIMMER Button: Snoozes active alarm or adjusts display brightness.
- Vol-/Previous Button: Decreases volume or navigates to previous track/setting.
- Vol+/Next Button: Increases volume or navigates to next track/setting.
- 12/24H/Play/Pause Button: Toggles time format or controls media playback.
- Wireless Charging Area: Top surface for wireless charging compatible devices.
- AUX Port: 3.5mm audio input.
- USB Charging Port/USB Flash Drive Port: For charging external devices or playing music from a USB drive.
- DC Power Port: Connects to the power adapter.
Setup
- Power Connection: Connect the provided power adapter to the DC Power Port on the back of the alarm clock and plug it into a wall outlet. The display will light up.
- Initial Time Setting:
- Press and hold the TIME SET (M) button. The hour digits will flash.
- Use the Vol+ or Vol- buttons to adjust the hour.
- Press TIME SET (M) again to confirm the hour and move to minutes.
- Use the Vol+ or Vol- buttons to adjust the minutes.
- Press TIME SET (M) again to confirm and exit time setting.
- 12/24 Hour Format: Briefly press the 12/24H/Play/Pause button to switch between 12-hour (with AM/PM indicator) and 24-hour formats.

Image: Comparison of the alarm clock display showing time in 12-hour format (with PM indicator) and 24-hour format.
- Bluetooth Time Sync: The clock can automatically sync time from a connected Bluetooth device. Ensure Bluetooth is enabled on your device and paired with the alarm clock.

Image: The alarm clock displaying time, with a smartphone nearby and a Bluetooth icon, indicating automatic time synchronization.
Operating Instructions
Alarm Settings
- Setting Alarms (Alarm 1 & Alarm 2):
- Press and hold the Alarm 1 or Alarm 2 button. The hour digits will flash.
- Use the Vol+ or Vol- buttons to adjust the alarm hour.
- Press the respective Alarm button again to confirm the hour and move to minutes.
- Use the Vol+ or Vol- buttons to adjust the alarm minutes.
- Press the respective Alarm button again to confirm and move to alarm sound selection.
- Use the Vol+ or Vol- buttons to select one of the 6 built-in alarm sounds.
- Press the respective Alarm button again to confirm the alarm sound and move to alarm volume.
- Use the Vol+ or Vol- buttons to set the desired alarm volume.
- Press the respective Alarm button again to confirm and activate the alarm. An alarm icon will appear on the display.
- Activating/Deactivating Alarms: Briefly press the Alarm 1 or Alarm 2 button to toggle the alarm on or off. The alarm icon will appear/disappear.
- Snooze Function: When an alarm sounds, press the SNOOZE/DIMMER button to activate a 9-minute snooze. The alarm will sound again after 9 minutes.

Image: The alarm clock with its snooze button prominently displayed, indicating the 9-minute snooze feature.
- Stopping an Alarm: To stop an alarm completely, press any button other than SNOOZE/DIMMER. The alarm will reset for the next day.
Display Brightness
The display has 6 brightness levels. Briefly press the SNOOZE/DIMMER button (when no alarm is active) to cycle through the brightness settings.
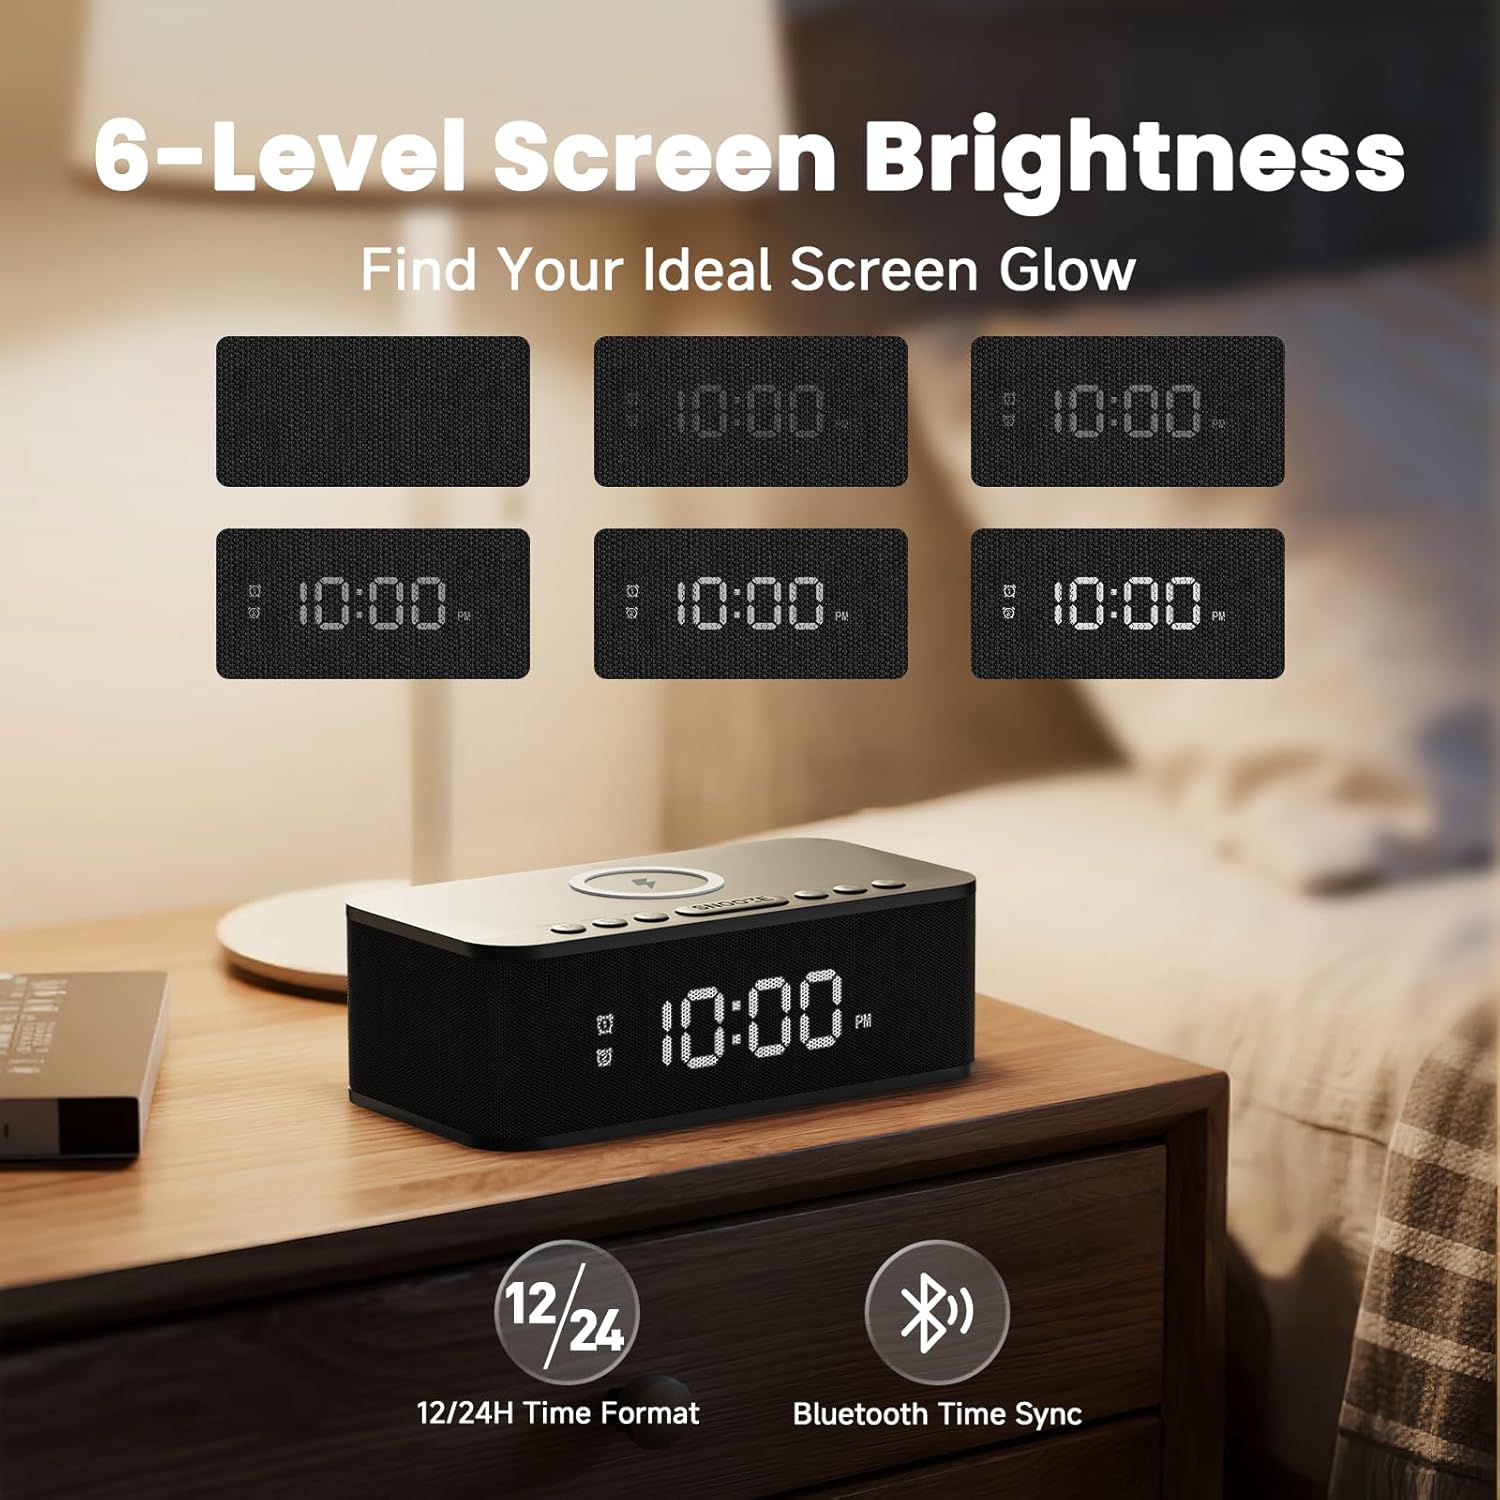
Image: The alarm clock display demonstrating its six adjustable brightness levels, from off to maximum intensity.
White Noise Machine
The alarm clock features 23 soothing sounds, including white noise, fan sounds, and natural ambient noises, to aid sleep or focus.

Image: A visual representation of the 23 soothing sounds, including various fan, white noise, rain, and nature sounds like wind, thunderstorm, lapping water, crackling fire, chirps, birds, and waves.
- Activating Sound: Press the TIME SET (M) button repeatedly until the sound mode is selected (indicated by a specific icon or display text).
- Selecting Sound: Use the Vol+ or Vol- buttons to cycle through the 23 available sounds.
- Adjusting Volume: Use the Vol+ or Vol- buttons to adjust the playback volume of the selected sound.
- Deactivating Sound: Press the TIME SET (M) button until you exit the sound mode, or press the Play/Pause button to pause.
Bluetooth Speaker Function
The alarm clock can connect to your device via Bluetooth 5.0 for audio playback.
- Pairing:
- Press the TIME SET (M) button repeatedly until the Bluetooth mode is selected (indicated by a flashing Bluetooth icon).
- On your device, enable Bluetooth and search for "Fansbe Direct" (or similar name).
- Select the device to pair. Once paired, the Bluetooth icon on the alarm clock will stop flashing and remain solid.
- Playback Control:
- Press the 12/24H/Play/Pause button to play or pause music.
- Press the Vol+ button to skip to the next track.
- Press the Vol- button to go to the previous track.
- Press and hold Vol+ or Vol- to adjust the volume.
AUX Input
Connect an external audio device using a 3.5mm audio cable (not included) to the AUX Port on the back of the alarm clock. The clock will automatically switch to AUX mode. Control playback and volume from your connected device.
USB Playback
Insert a USB flash drive containing audio files into the USB Charging Port/USB Flash Drive Port. The clock will automatically detect and begin playing audio files. Use the Vol+, Vol-, and 12/24H/Play/Pause buttons to control playback.
Wireless Charging
Place your Qi-compatible smartphone on the Wireless Charging Area on top of the alarm clock. Ensure the phone is centered for optimal charging. A charging indicator may appear on the clock's display or your phone's screen.

Image: A smartphone placed on the top surface of the alarm clock, indicating active wireless charging with a glowing blue light effect.
USB Output Charging
Connect your earbuds, smartwatch, or other small USB-powered devices to the USB Charging Port/USB Flash Drive Port on the back of the alarm clock using a USB cable (not included) for charging.
Maintenance
- Cleaning: Use a soft, dry cloth to clean the surface of the alarm clock. Do not use liquid cleaners or abrasive materials.
- Storage: If storing the device for an extended period, disconnect it from power and store it in a cool, dry place.
- Avoid Water: Keep the device away from water and high humidity.
- Avoid Extreme Temperatures: Do not expose the device to extreme heat or cold.
Troubleshooting
| Problem | Possible Cause | Solution |
|---|---|---|
| Clock display is off or not working. | No power connection. | Ensure the power adapter is securely connected to the clock and a working power outlet. |
| Alarm does not sound. | Alarm is not activated or volume is too low. | Check if the alarm icon is displayed. Re-set the alarm and ensure the volume is set appropriately. |
| Wireless charging is not working. | Phone not Qi-compatible, not centered, or phone case is too thick. | Ensure your phone supports Qi wireless charging. Re-position the phone on the charging area. Remove thick phone cases. |
| Bluetooth device cannot pair. | Clock not in pairing mode, or device is too far. | Ensure the clock is in Bluetooth pairing mode (flashing icon). Move your device closer to the clock. |
| Sound quality is poor. | Low quality audio source, or interference. | Try a different audio source. Move the clock away from other electronic devices that may cause interference. |
Specifications
- Brand: Fansbe Direct
- Model Number: btc-A6
- Color: Black
- Display Type: Digital
- Special Features: Adjustable Volume, Dual Alarm, White Noise Machine, Snooze, Wireless Charging, Bluetooth Speaker, AUX Input, USB Playback/Charging
- Product Dimensions: 10"W x 3"H
- Power Source: Corded Electric
- Frame Material: Plastic
- Item Weight: 2.01 pounds (0.91 Kilograms)
- Bluetooth Version: 5.0
- Wireless Charging Output: 5W
- USB Output: 5V 1A
Warranty and Support
For warranty information and customer support, please refer to the documentation included with your purchase or visit the official Fansbe Direct website. You may also contact the seller directly through the platform where the product was purchased.
For additional assistance, please visit: Fansbe Direct Store on Amazon