
PowerSmart Mower1
PowerSmart 80V MAX 26-Inch Self-Propelled Lawn Mower User Manual
Model: Mower1
1. Introduction
Thank you for choosing the PowerSmart 80V MAX 26-Inch Self-Propelled Lawn Mower. This manual provides essential information for the safe and efficient operation, maintenance, and troubleshooting of your new lawn mower. Please read this manual thoroughly before initial use and keep it for future reference.

Figure 1.1: PowerSmart 80V MAX 26-Inch Self-Propelled Lawn Mower. This image shows the complete lawn mower unit, including the battery and charger, highlighting its compact design.
2. Safety Information
Always observe basic safety precautions to reduce the risk of fire, electric shock, and personal injury. Familiarize yourself with all controls and proper use of the equipment before operation.
General Safety Rules:
- Read and understand all instructions before operating the mower.
- Wear appropriate personal protective equipment (PPE), including eye protection, hearing protection, and sturdy footwear.
- Keep children and bystanders away from the operating area.
- Do not operate the mower in wet conditions or rain.
- Inspect the area for objects that could be thrown by the blades before mowing.
- Never place hands or feet near rotating parts.
- Disconnect the battery before performing any maintenance or cleaning.
3. Product Components
The PowerSmart 80V MAX Lawn Mower consists of several key components designed for optimal performance and user convenience.
Key Components:
- 80V Brushless Motor: Provides efficient and quiet operation.
- 26-Inch Cutting Deck: Features a dual-blade system for wide coverage.
- 6.0Ah Lithium-Ion Battery: Powers the mower for extended runtime.
- Self-Propelled Drive System: Assists with effortless mowing.
- Adjustable Handle: Foldable for compact storage.
- Water Pipe Joint: For easy deck cleaning.

Figure 3.1: 80V 6.0Ah Lithium-Ion Battery System. This image illustrates the powerful 80V 6.0Ah battery and its charger, indicating a runtime of up to 40 minutes.

Figure 3.2: 80V Brushless Motor. This graphic highlights the brushless motor technology, emphasizing its benefits of more power, longer runtimes, quiet operation, and extended motor life.

Figure 3.3: 26-Inch Dual-Force Cutting System. This image shows the underside of the mower, revealing the two blades that provide a wide cutting path and efficient dual-force cutting action.
4. Setup
Follow these steps to set up your PowerSmart lawn mower before its first use.
Assembly:
- Unpack: Carefully remove all components from the packaging.
- Handle Assembly: Attach the upper handle to the lower handle, ensuring all locking mechanisms are secure. The handle is designed to be foldable for storage.
- Grass Bag (if applicable): Assemble the grass collection bag according to the instructions provided with the bag.
- Battery Installation: Insert the fully charged 80V 6.0Ah battery into the battery compartment until it clicks into place.
Battery Charging:
Before first use, fully charge the battery. Connect the charger to a standard power outlet and then connect the battery to the charger. The indicator lights on the charger will show the charging status. A full charge typically takes several hours.
5. Operating Instructions
Proper operation ensures efficient mowing and extends the life of your equipment.
Starting and Stopping:
- Ensure the battery is securely installed.
- Press and hold the safety button, then pull the bail lever towards the handle. The motor will start.
- To stop the mower, release the bail lever.
Self-Propelled Operation:
Engage the self-propelled drive system for easier maneuvering, especially on inclines.
- While the motor is running, engage the self-propel lever (if separate) or push the self-propel button on the handle.
- Adjust the speed as needed using the control on the handle. The self-propelled feature allows for easy climbing of hills with up to a 20-degree incline.

Figure 5.1: LED Lights and One-Button Easy Control. This image shows the control panel on the mower's handle, featuring LED indicators and simple buttons for operation.
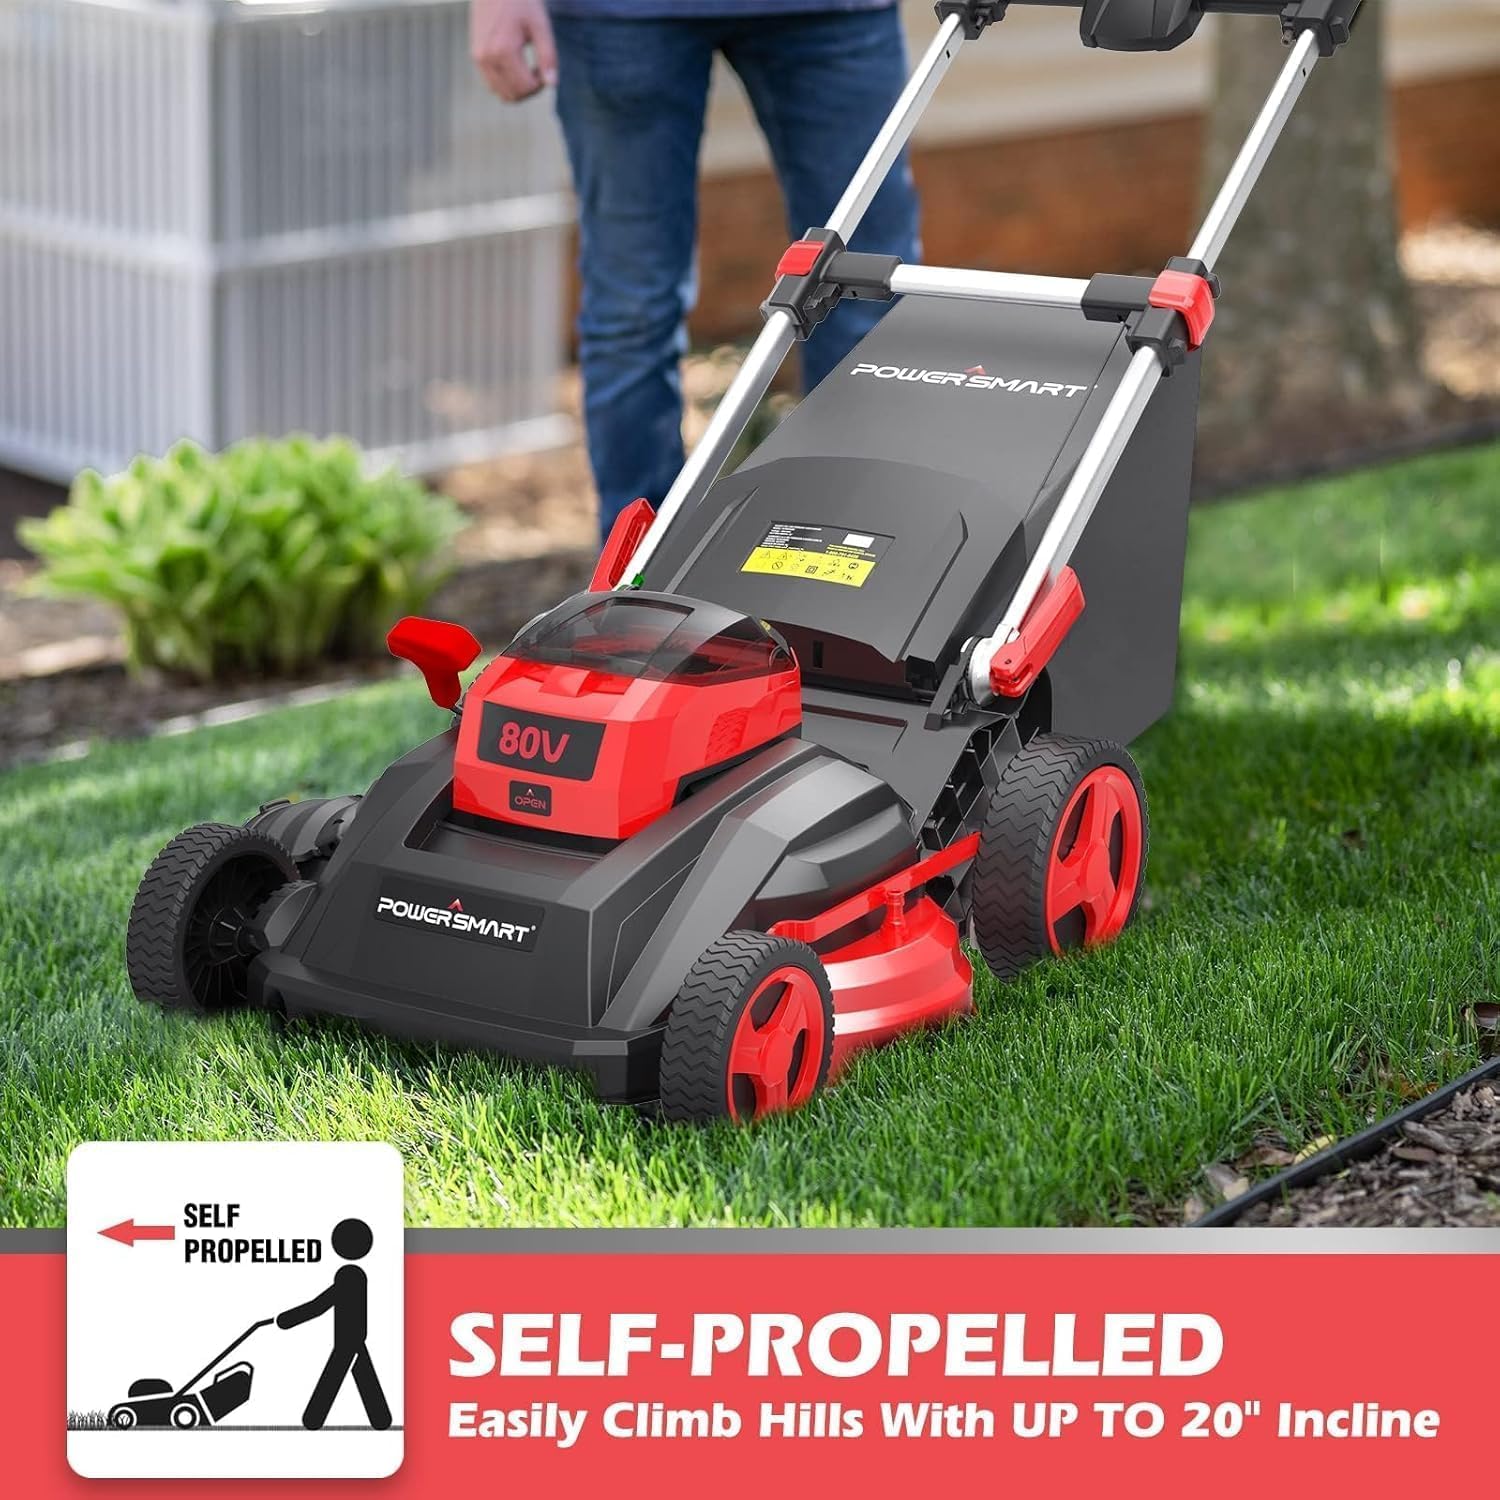
Figure 5.2: Self-Propelled Operation. This image depicts the mower in use, demonstrating its self-propelled capability to easily climb hills.
Cutting Height Adjustment:
The mower features 5 cutting height positions, adjustable from 1.18 inches to 3.0 inches.
- To adjust the cutting height, locate the height adjustment lever on the mower deck.
- Pull the lever outwards and move it to the desired position. Ensure all wheels are set to the same height.

Figure 5.3: 5-Position Height Adjustment. This image illustrates the height adjustment mechanism on the mower deck, showing the five available settings from 1.18 inches to 3.0 inches.
Mowing Versatility (3-in-1):
Your mower offers three versatile mowing options:
- Mulching: Recycles grass clippings back into the lawn as natural fertilizer. Ensure the mulching plug is installed.
- Rear Bagging: Collects grass clippings in the rear bag for easy disposal. Attach the grass bag securely.
- Side Discharge: Disperses clippings out of the side of the mower. Attach the side discharge chute.

Figure 5.4: Mulching Mode. This image shows the mower configured for mulching, where grass clippings are finely cut and returned to the lawn.

Figure 5.5: Rear Bagging Mode. This image displays the mower with the rear grass collection bag attached, ready to collect clippings.

Figure 5.6: Side Discharge Mode. This image shows the mower with the side discharge chute in place, allowing clippings to be expelled from the side.
6. Maintenance
Regular maintenance is crucial for the longevity and performance of your lawn mower.
Deck Cleaning:
The built-in water pipe joint allows for simple deck cleaning after each use.
- After each use, disconnect the battery.
- Attach a standard garden hose to the water pipe joint on the mower deck.
- Turn on the water and start the mower (briefly, with caution) to allow the rotating blades to clean the underside of the deck.
- Turn off the mower and water, then disconnect the hose.

Figure 6.1: Water Pipe Joint for Easy Cleaning. This image highlights the water pipe joint located on the mower deck, designed for convenient hose attachment to clean the underside.
Blade Care:
- Regularly inspect the blades for sharpness and damage. Dull blades can tear grass, leading to an unhealthy lawn.
- If blades are dull or damaged, have them sharpened or replaced by a qualified service technician. Always use genuine PowerSmart replacement parts.
Battery Storage:
- Store the battery in a cool, dry place away from direct sunlight and extreme temperatures.
- For long-term storage, charge the battery to approximately 50% capacity.
7. Troubleshooting
This section addresses common issues you might encounter with your lawn mower.
| Problem | Possible Cause | Solution |
|---|---|---|
| Mower does not start | Battery not charged or improperly installed; Safety key not inserted; Bail lever not engaged. | Charge battery fully and ensure it is clicked into place; Insert safety key; Pull bail lever towards handle. |
| Mower loses power during operation | Battery charge is low; Mowing thick or wet grass; Blades are dull or obstructed. | Recharge battery; Mow at a slower pace or raise cutting height; Inspect and clean/sharpen blades (with battery removed). |
| Uneven cutting | Blades are dull or bent; Cutting height not set evenly on all wheels. | Inspect and replace/sharpen blades; Ensure all wheels are set to the same cutting height. |
| Excessive vibration | Bent or unbalanced blade; Loose components. | Inspect blade for damage and replace if necessary; Check all fasteners for tightness. |
If you encounter issues not listed here or if solutions do not resolve the problem, please contact PowerSmart customer support.
8. Specifications
Detailed technical specifications for the PowerSmart 80V MAX 26-Inch Self-Propelled Lawn Mower.
| Feature | Specification |
|---|---|
| Brand | PowerSmart |
| Model Number | Mower1 |
| Power Source | Battery Powered (80V) |
| Battery Type | Lithium Ion (6.0Ah included) |
| Cutting Width | 26 Inches |
| Cutting Height Positions | 5 (1.18" to 3.0") |
| Operation Mode | Automatic, Self-Propelled |
| Item Weight | 76 Pounds |
| Product Dimensions | 54"D x 26"W x 41"H |
| Material | Alloy Steel |
| Color | Red-Black |
| Country of Origin | China |
9. Warranty and Support
PowerSmart is committed to providing reliable products and dependable service.
Warranty Information:
This product comes with a 2-year warranty. This warranty covers manufacturing defects and ensures parts coverage.
Technical Support:
PowerSmart offers free lifetime technical support and 24-hour online service. For any issues or inquiries, please feel free to contact us.
Service Centers:
PowerSmart has over 500 certified repair centers located throughout the U.S. and provides full replacement parts through its IL headquarters. For service or parts, please contact customer support to locate the nearest authorized service center.
Related documentsMower1


Ask a question about this manual
Ask about setup, troubleshooting, compatibility, parts, safety, or missing instructions. Manuals+ will review the question and use this page’s manual context to help answer it.