
1. Introduction
Thank you for choosing the WERHY H7 Electric Scooter. This manual provides essential information for the safe operation, assembly, maintenance, and troubleshooting of your new electric scooter. Please read this manual thoroughly before your first ride to ensure optimal performance and safety.

Figure 1: WERHY H7 Electric Scooter (Unfolded and Folded)
2. Safety Guidelines
Your safety is paramount. Always adhere to the following guidelines to prevent injury or damage.
- Always wear a helmet and other protective gear (knee pads, elbow pads) when riding.
- Obey all local traffic laws and regulations.
- Do not ride under the influence of alcohol or drugs.
- Avoid riding in heavy rain, snow, or on slippery surfaces.
- Maintain a safe distance from other vehicles and pedestrians.
- Do not perform stunts or sudden maneuvers.
- Ensure the scooter is fully charged and all components are secure before each ride.
- The maximum weight capacity for this scooter is 120 kg. Do not exceed this limit.
3. Package Contents
Carefully unpack your WERHY H7 Electric Scooter and check that all items are present and in good condition.
- WERHY H7 Electric Scooter
- Power Adapter/Charger
- User Manual
- Necessary Tools (if applicable for minor assembly)
4. Product Overview
Familiarize yourself with the main components of your WERHY H7 Electric Scooter.

Figure 2: WERHY H7 Electric Scooter in use
- Handlebars: For steering and control.
- Smart LED Screen: Displays speed, battery level, and riding mode.
- Throttle: Accelerates the scooter.
- Brake Levers: Activates the electronic and mechanical brakes.
- Folding Mechanism: Allows for quick and easy folding.
- Front & Rear Lights: For visibility and safety.
- 8.5-inch Honeycomb Solid Tires: Durable and puncture-resistant.
- Deck: Standing platform.
- Kickstand: For parking the scooter.

Figure 3: 350W Powerful Brushless Motor and Honeycomb Tire
5. Setup and Assembly
5.1 Unfolding the Scooter
- Place the scooter on a flat surface.
- Locate the folding latch near the base of the handlebar stem.
- Release the latch and carefully lift the handlebar stem until it locks into the upright position. Ensure it clicks securely.
5.2 Handlebar Installation
The handlebars are typically pre-installed or require minimal attachment. If detached, align the handlebar with the stem and secure it using the provided screws and tools.
5.3 Initial Charge
Before your first ride, fully charge the scooter's battery. Refer to Section 6 for detailed charging instructions.
6. Charging the Battery
The WERHY H7 is equipped with a 280.8Wh battery, offering a range of up to 30 km. A full charge takes approximately 4 hours.
- Ensure the scooter is powered off.
- Locate the charging port, usually covered by a rubber flap, on the side of the scooter's deck.
- Connect the charger to the charging port, then plug the charger into a standard wall outlet.
- The indicator light on the charger will typically turn red during charging and green when fully charged.
- Once charging is complete, disconnect the charger from the scooter and the outlet, and securely close the charging port flap.

Figure 4: High Capacity Battery and Charging Information
7. Operating Your Scooter
7.1 Power On/Off
Press and hold the power button on the Smart LED Screen to turn the scooter on or off.

Figure 5: Smart LED Screen Display
7.2 Riding Modes
The scooter features 3 riding modes. Press the power button briefly to cycle through the modes (e.g., Eco, Standard, Sport). Each mode offers different speed limits and power output.
7.3 Riding the Scooter
- Place one foot firmly on the deck.
- Push off with your other foot to gain initial momentum.
- Once moving, gently press the throttle to accelerate.
- Maintain balance and keep both hands on the handlebars.
7.4 Braking
The WERHY H7 is equipped with both front electronic brakes and rear mechanical brakes for reliable stopping power.
- To slow down or stop, gently squeeze the brake levers.
- Apply both brakes simultaneously for optimal stopping performance.
- Avoid sudden or harsh braking, especially at high speeds.

Figure 6: Dual Protection Braking System
7.5 Folding for Storage/Transport
The scooter can be folded in approximately three seconds for easy portability and storage.
- Ensure the scooter is powered off.
- Locate the folding latch/lever at the base of the handlebar stem.
- Engage the release mechanism and carefully fold the handlebar stem downwards until it locks into place with the rear fender.
- Ensure the folding mechanism is securely latched before carrying or storing.

Figure 7: Easy Folding for Portability
8. Maintenance and Care
Regular maintenance will extend the life of your scooter and ensure safe operation.
- Cleaning: Wipe the scooter with a damp cloth. Do not use high-pressure water jets or immerse the scooter in water.
- Tires: Although solid tires, regularly inspect them for wear or damage.
- Brakes: Periodically check the brake levers and cables for proper function and adjustment.
- Battery: Store the scooter in a cool, dry place and charge it at least once every three months if not in regular use to maintain battery health.
- Fasteners: Regularly check all screws and bolts to ensure they are tight.
9. Troubleshooting
This section addresses common issues you might encounter with your WERHY H7 Electric Scooter.
| Problem | Possible Cause | Solution |
|---|---|---|
| Scooter does not power on | Low battery; Loose connections; Faulty power button | Charge the battery; Check all visible connections; Contact customer support if issue persists. |
| Reduced range/speed | Low battery; Overload; Riding uphill; Extreme temperatures | Fully charge battery; Ensure rider weight is within limits; Ride on flat terrain; Operate within recommended temperature range. |
| Brakes not effective | Brake cable loose (mechanical); Electronic brake issue | Inspect and adjust brake cables; Contact customer support for electronic brake issues. |
| Unusual noises | Loose parts; Debris in wheels; Motor issue | Check all fasteners; Inspect wheels for obstructions; Contact customer support. |
10. Technical Specifications
Detailed specifications for the WERHY H7 Electric Scooter.
| Feature | Specification |
|---|---|
| Model | H7 |
| Motor Power | 350W |
| Max Speed | 31 km/h |
| Battery Capacity | 280.8Wh (36V) |
| Max Range | Up to 30 km |
| Charging Time | Approx. 4 hours |
| Tire Type | 8.5-inch Honeycomb Solid Tires |
| Brake System | Front Electronic Brake + Rear Mechanical Brake |
| Max Load Capacity | 120 kg |
| Material | Aluminum |
| Item Weight | 15 kg |
| Color | Gray |
| Dimensions (Unfolded) | Approx. 106 cm (L) x 47 cm (W) x 111 cm (H) |
| Dimensions (Folded) | Approx. 106 cm (L) x 47 cm (W) x 45 cm (H) |
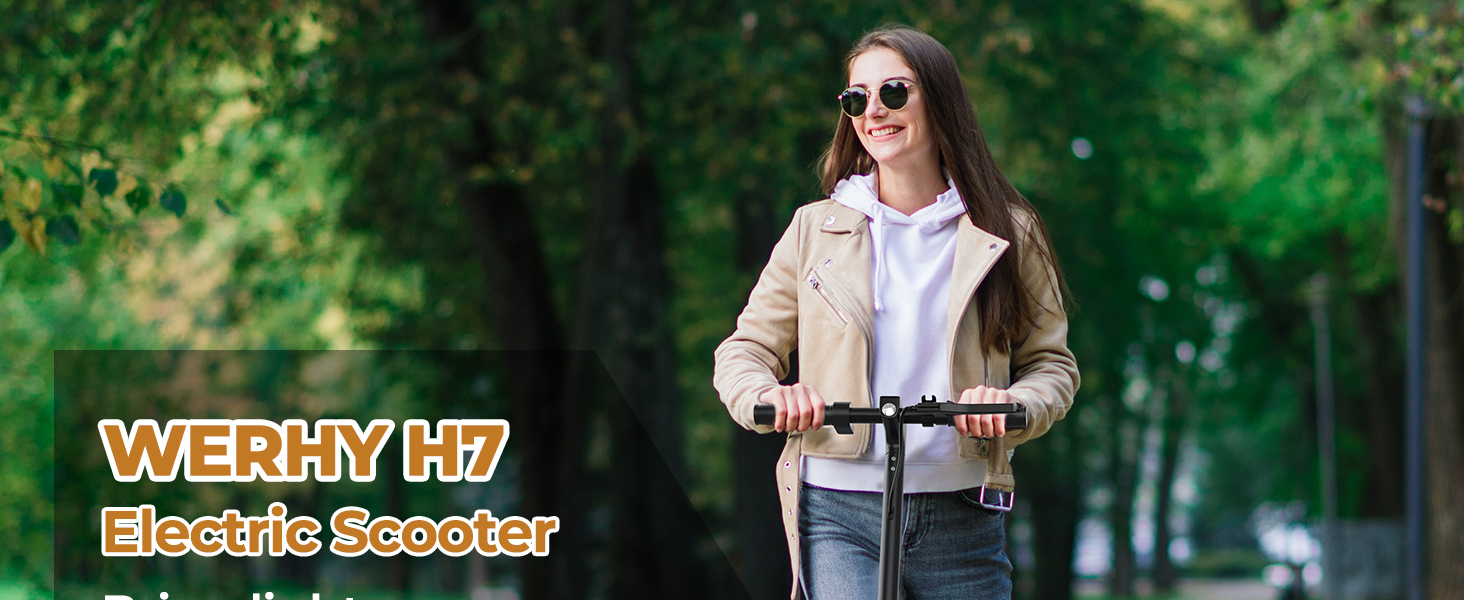
Figure 8: Product Dimensions
11. Warranty and Customer Support
WERHY is committed to providing high-quality products. We offer a warranty for different parts of the scooter:
- Main Components: 12 months warranty
- Other Parts: 180 days warranty
If you have any questions, concerns, or require technical assistance, please contact WERHY customer support. Refer to your purchase documentation or the WERHY official website for contact information.