1. Important Safety Information
Please read all instructions carefully before using the MERIOR Electric Composter. Retain this manual for future reference.
- Do not compost meat, dairy, oily foods, or bones. These items are not suitable for this composting method and may damage the unit or produce undesirable results.
- Avoid direct contact with hot surfaces during and immediately after operation. The internal components can reach high temperatures.
- Always unplug the composter from the power outlet before cleaning or performing any maintenance.
- Use protective gloves when handling processed compost material to ensure hygiene.
- Ensure the composter is placed on a stable, level surface away from water sources.
- Do not immerse the main unit in water or other liquids.
- Keep out of reach of children and pets.
2. Product Overview
The MERIOR 3L Electric Kitchen Composter is designed to efficiently process daily household food waste into a dry, usable material. It features an odor-absorbing activated carbon filter, automatic cleaning, and a user-friendly LED display.

Image: The MERIOR Electric Composter with its lid open, showing a hand adding kitchen scraps from a bowl into the internal bucket. A small plant growing from compost is visible at the bottom right, illustrating the end product.
Key Features:
- One-Touch Composting: Easily switch between Quick and Standard modes for processing.
- Odorless Operation: Equipped with an activated carbon filter to neutralize odors during the composting cycle.
- Compact Design: 3-liter capacity, suitable for countertops in kitchens and pantries.
- Quiet Operation: Designed to operate with minimal noise, allowing for overnight cycles.
- Auto-Clean Function: Automatically cleans residue, and the internal bucket is dishwasher safe.
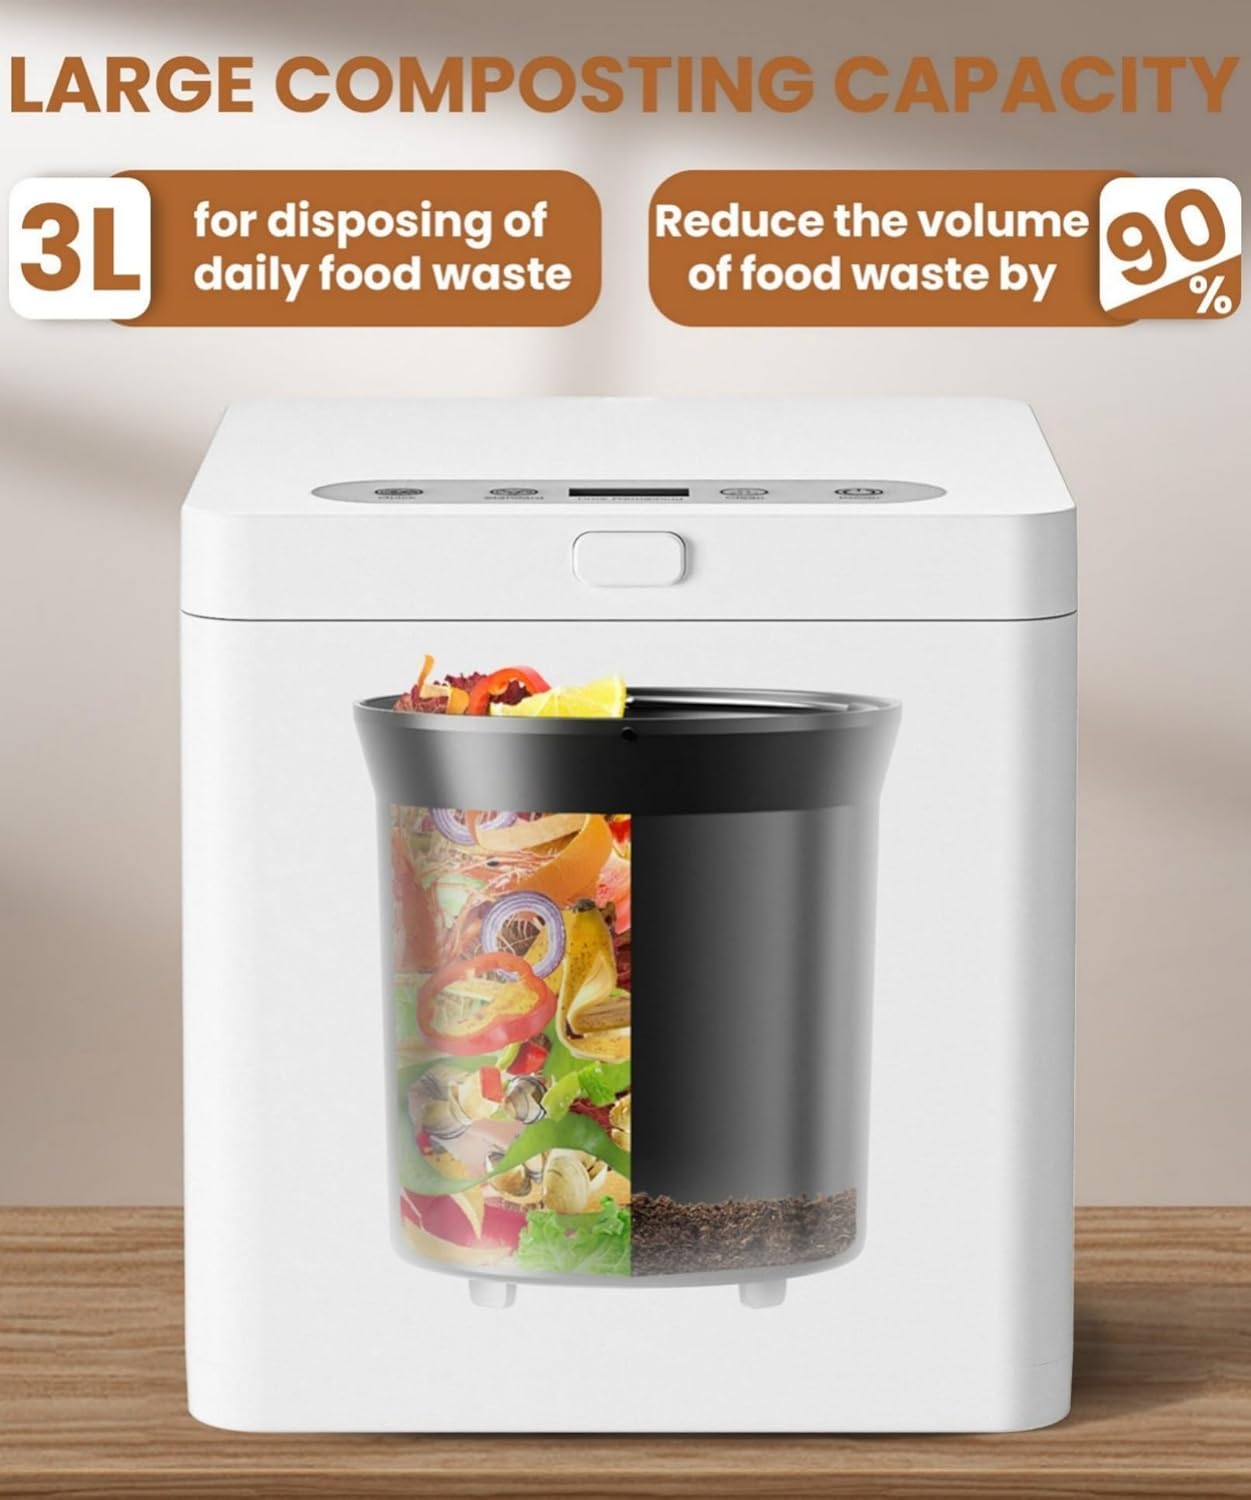
Image: A visual representation of the composter's capacity. It highlights '3L for disposing of daily food waste' and 'Reduce the volume of food waste by 90%', with an illustration of the internal bucket showing food scraps before and after processing.
3. Setup
Follow these steps to set up your MERIOR Electric Composter:
- Unpack: Carefully remove all components from the packaging. Ensure all parts are present: the main unit, internal bucket, lid, and activated carbon filter.
- Placement: Place the composter on a flat, stable, and dry surface in your kitchen or pantry. Ensure there is adequate ventilation around the unit.
- Insert Bucket: Place the internal processing bucket securely into the main unit.
- Install Filter: Open the filter compartment (usually located on the lid or side) and insert the activated carbon filter. Ensure it is properly seated.
- Power Connection: Plug the power cord into a standard electrical outlet. The LED display should illuminate.

Image: A clear front view of the MERIOR Electric Composter, showcasing its minimalist design and compact form factor.

Image: A side view of the MERIOR Electric Composter with its lid open, revealing the internal bucket and the filter compartment on the side of the lid.

Image: A rear view of the MERIOR Electric Composter, showing the power cord connection point and ventilation grilles.
4. Operating Instructions
The MERIOR Electric Composter simplifies food waste processing into three main steps:
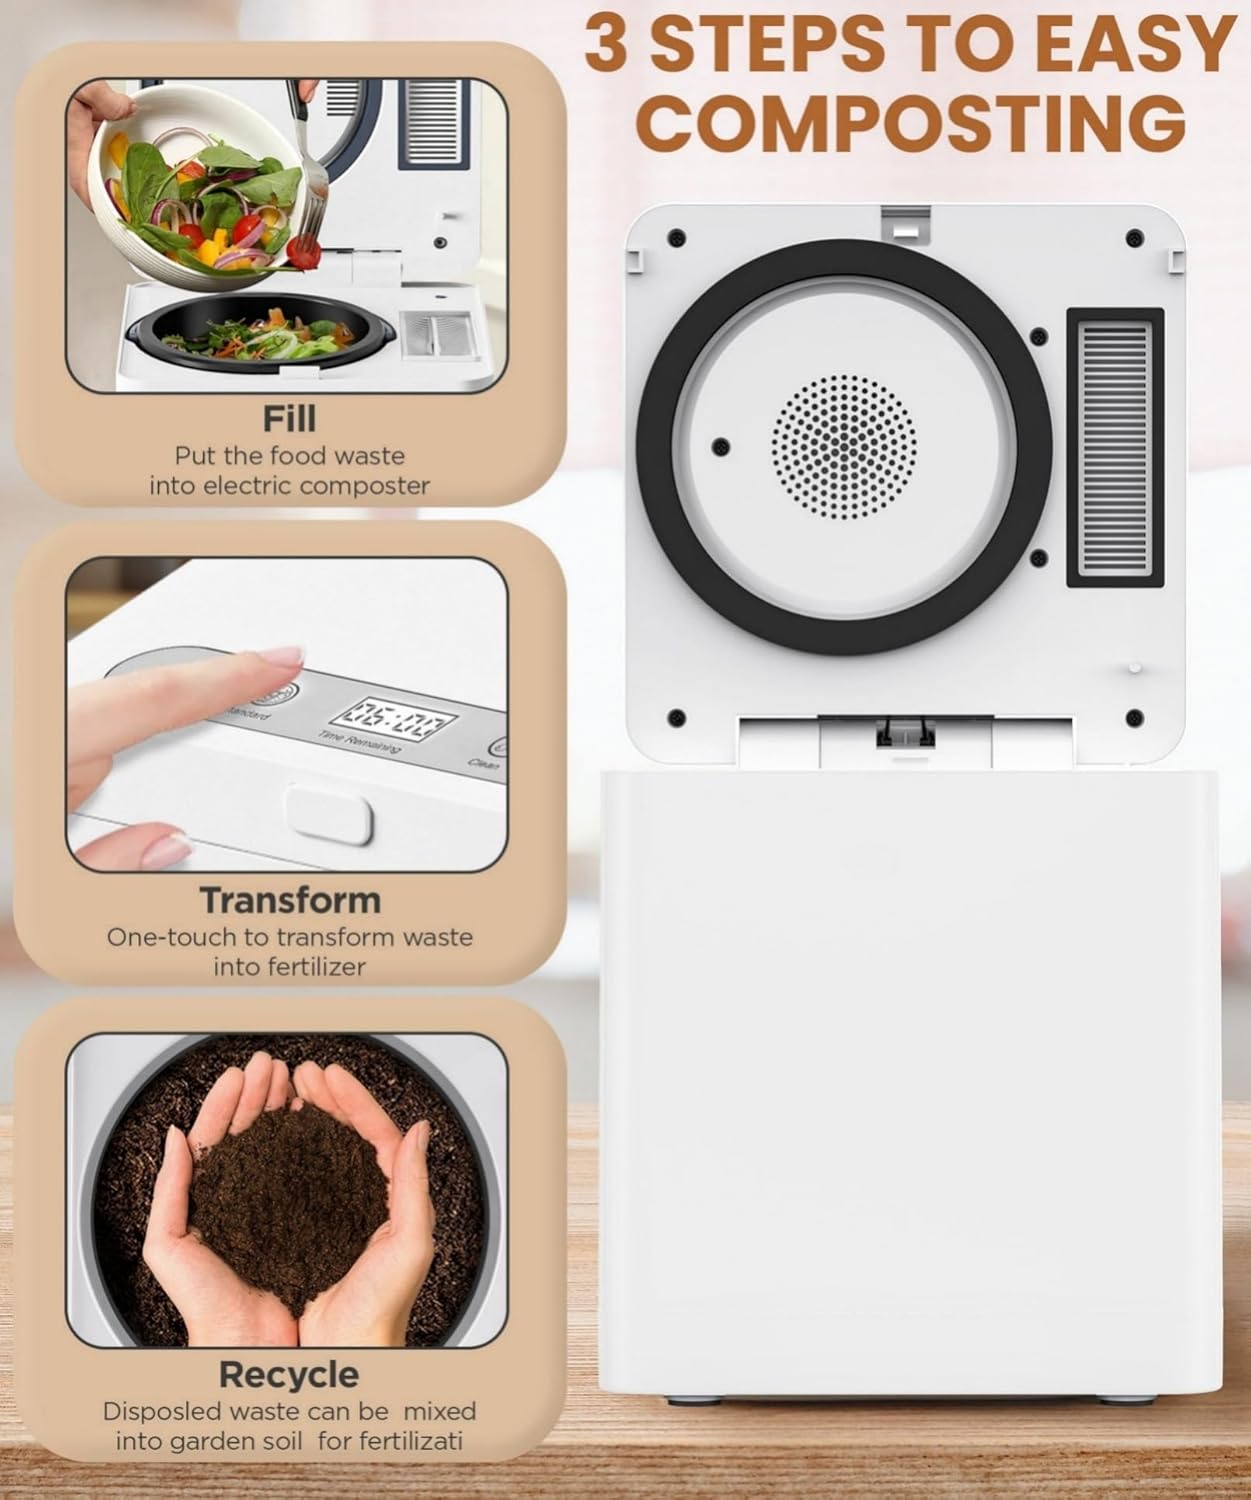
Image: A visual guide illustrating the three steps of composting: 1. Fill: Put food waste into the composter. 2. Transform: One-touch operation to convert waste. 3. Recycle: Disposed waste can be mixed into garden soil.
4.1 Adding Food Waste
- Open the lid of the composter.
- Add suitable food waste into the internal bucket. Do not overfill beyond the maximum fill line.
- Close the lid securely. The composter will not operate if the lid is not properly closed.
4.2 Suitable Food Waste:
The composter can handle a variety of kitchen waste, including:
- Fruit and vegetable scraps
- Eggshells
- Coffee grounds and tea bags
- Bread and grains
- Small amounts of fish bones and meat scraps (refer to safety guidelines for items to avoid)
- Fallen leaves
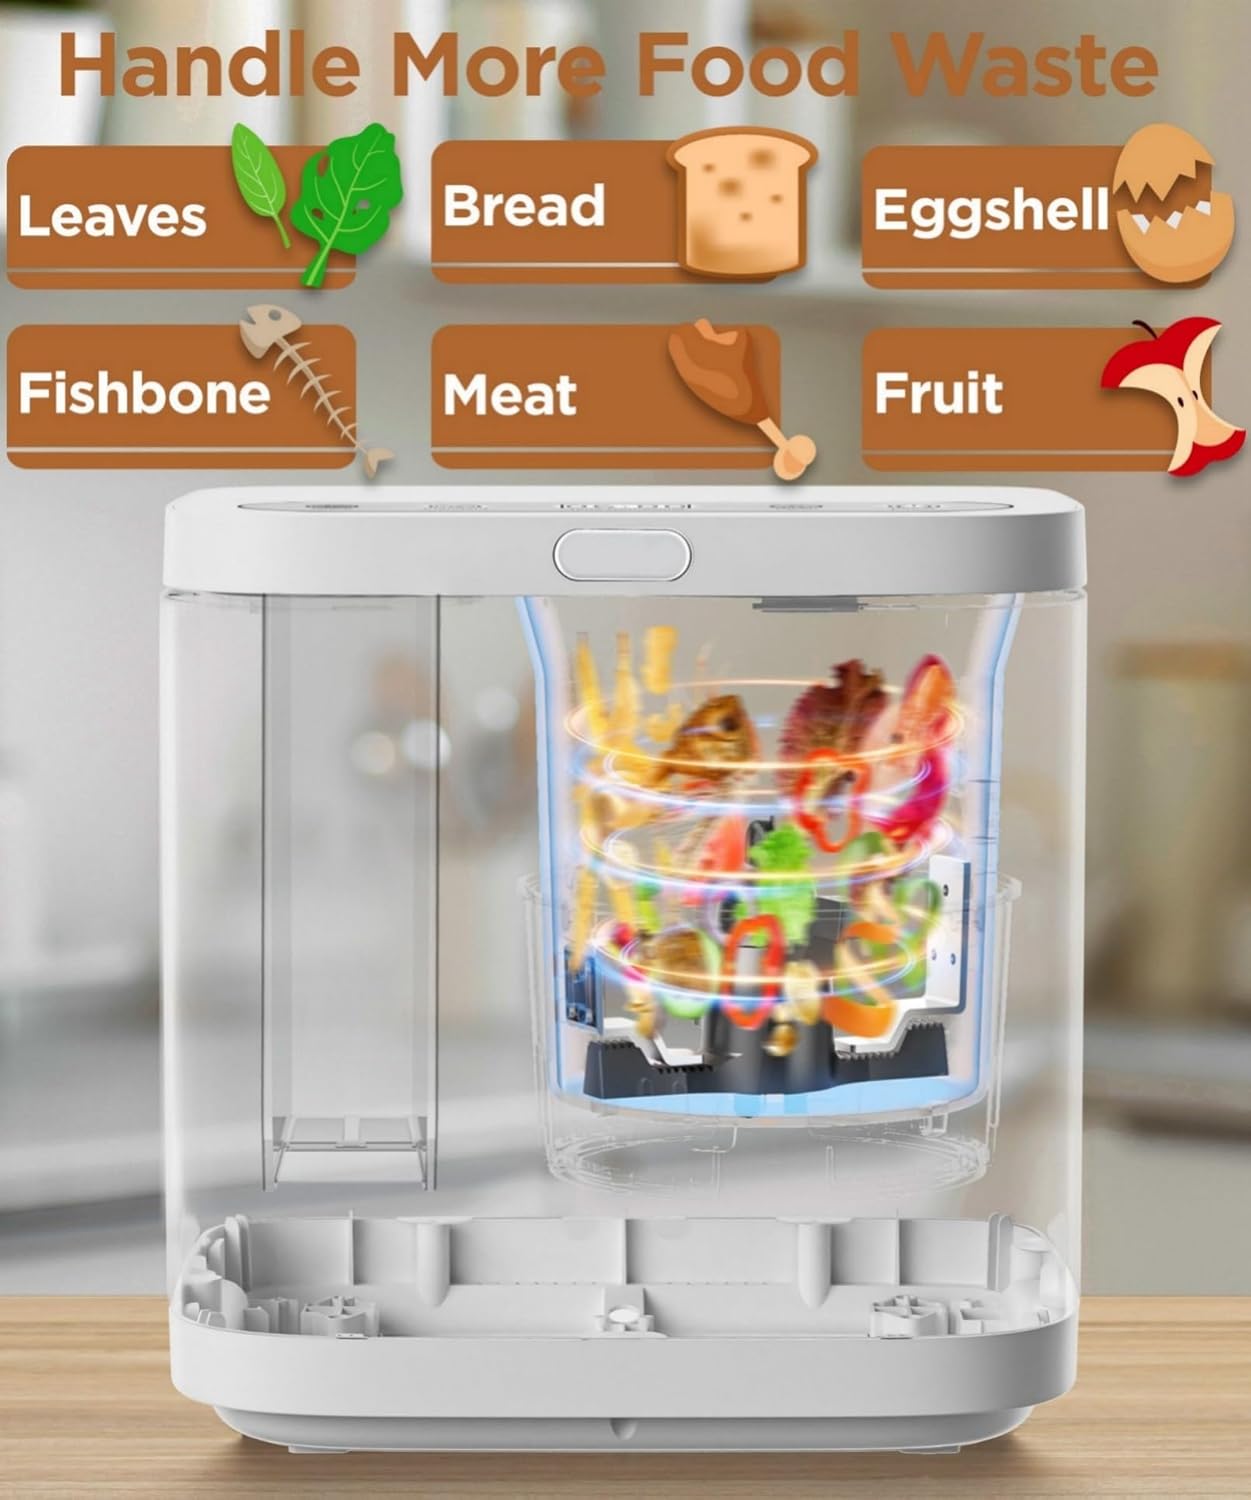
Image: An illustration showing various types of food waste that can be processed by the composter, including leaves, bread, eggshells, fishbones, meat, and fruit.
4.3 Selecting a Composting Mode
The control panel allows for easy selection of composting modes:
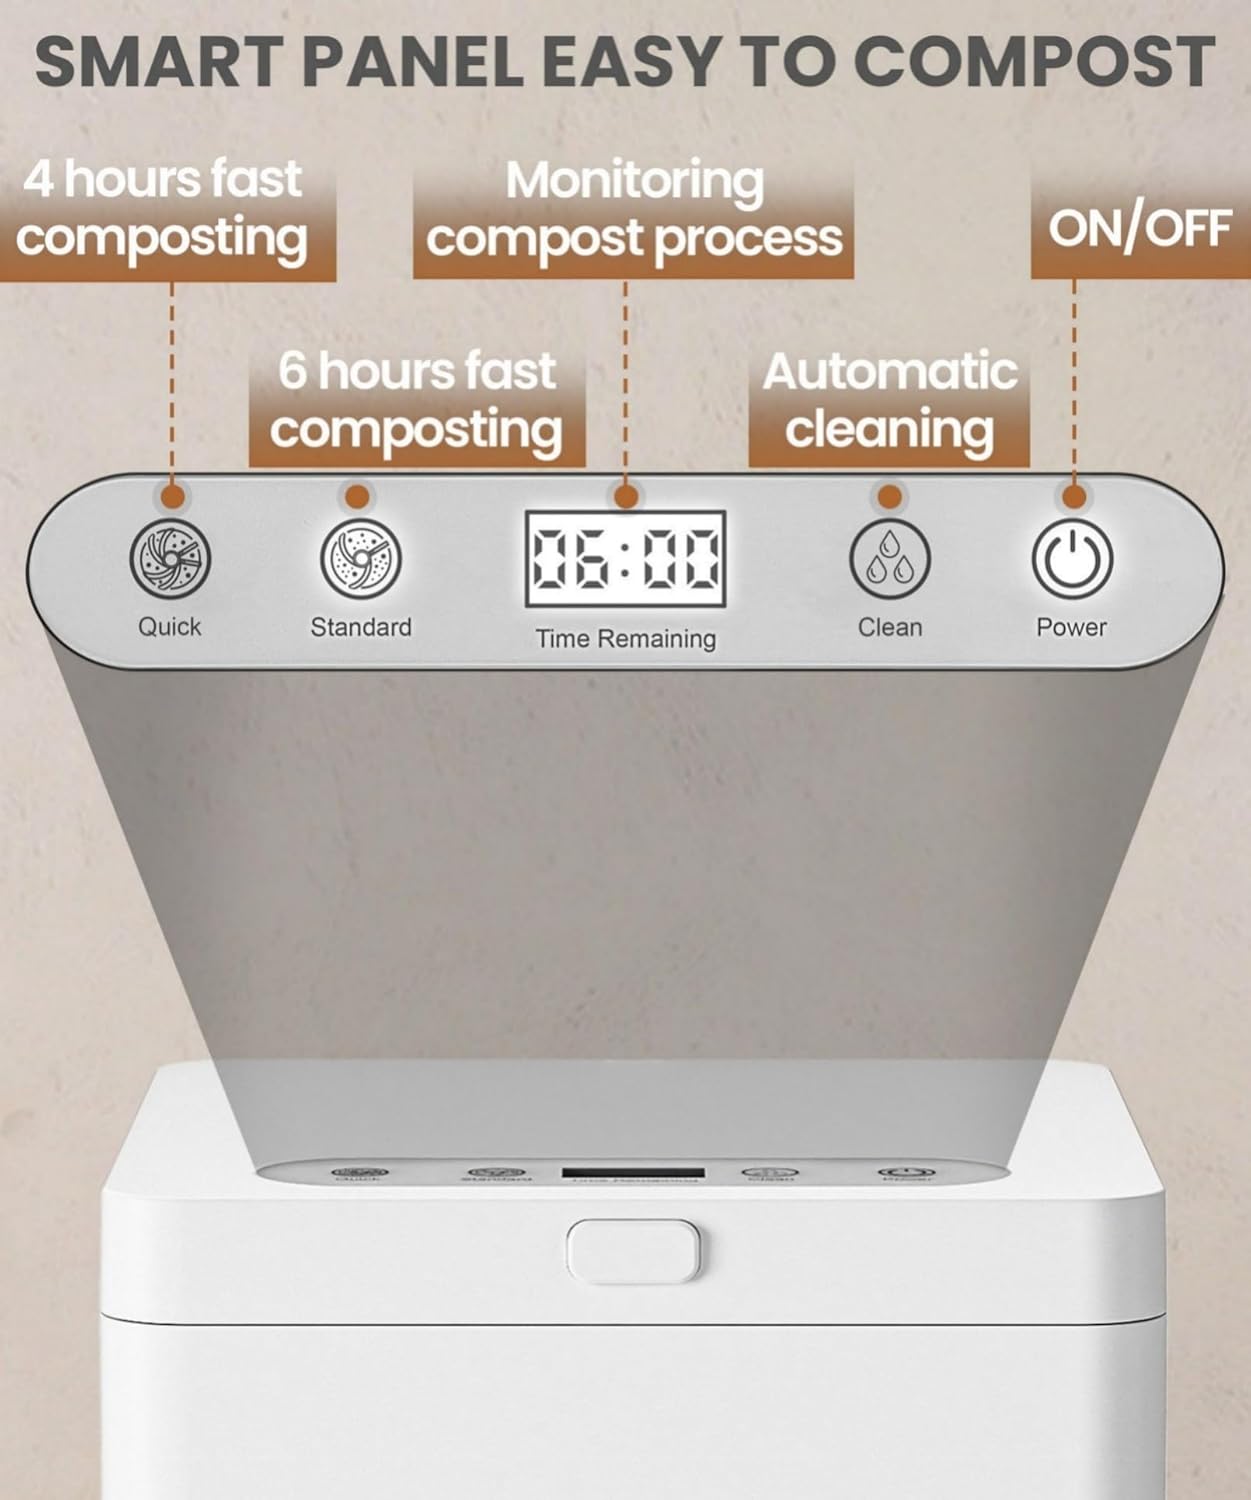
Image: A close-up of the composter's smart control panel, featuring buttons for 'Quick' (4 hours), 'Standard' (6 hours), 'Clean', and 'Power', along with an LED display showing 'Time Remaining'.
- Quick Mode: Press the 'Quick' button for a 4-hour composting cycle, suitable for smaller loads or less dense waste.
- Standard Mode: Press the 'Standard' button for a 6-hour composting cycle, recommended for typical daily household food waste.
- The LED display will show the remaining time for the selected cycle.
- Press the 'Power' button to turn the unit on or off.
4.4 Post-Cycle
Once a cycle is complete, the composter will indicate completion. The processed material will be dry and significantly reduced in volume. This material can then be mixed with soil for gardening or added to traditional compost piles for further decomposition.
5. Maintenance
Regular maintenance ensures optimal performance and longevity of your composter.
5.1 Automatic Cleaning
- The composter features an auto-clean function. After emptying the bucket, add a small amount of water to the internal bucket.
- Press the 'Clean' button on the control panel to initiate the automatic cleaning cycle.
- The unit will heat and agitate the water to clean the interior.

Image: An internal view of the composter, illustrating the automatic cleaning process with heating elements and water circulation. Icons for 'At regular time', 'Overheat protection', and 'Heating and cleaning' are displayed.
5.2 Manual Cleaning
- Always unplug the composter before manual cleaning.
- The internal processing bucket is removable and dishwasher safe for thorough cleaning.
- Wipe the exterior of the unit with a damp cloth. Do not use abrasive cleaners or immerse the main unit in water.
5.3 Activated Carbon Filter Replacement
- The activated carbon filter should be replaced approximately every 6 months, depending on usage frequency.
- To replace, open the filter compartment, remove the old filter, and insert a new one.
- Replacement filters can be purchased from authorized MERIOR retailers or customer support.
6. Troubleshooting
If you encounter issues with your MERIOR Electric Composter, refer to the following common problems and solutions:
| Problem | Possible Cause | Solution |
|---|---|---|
| Unit does not power on. | Not plugged in; power outlet issue; unit malfunction. | Ensure power cord is securely plugged into a working outlet. Test the outlet with another appliance. If problem persists, contact customer support. |
| Composting cycle does not start. | Lid not closed properly; internal bucket not seated correctly. | Ensure the lid is fully closed and latched. Verify the internal bucket is correctly placed. |
| Unpleasant odors during operation. | Activated carbon filter needs replacement; unsuitable food waste added. | Replace the activated carbon filter. Review the 'Suitable Food Waste' section and avoid prohibited items. |
| Processed material is not dry enough. | Too much moisture in the load; composter overloaded. | Reduce the amount of very wet food waste. Do not exceed the maximum fill line. Run a longer cycle if available or a second cycle. |
| Unit makes unusual noise. | Hard object in the bucket; internal mechanism obstruction. | Unplug the unit and check the internal bucket for any foreign objects. Remove them carefully. If noise persists, contact customer support. |
For issues not listed here, please contact MERIOR customer support.
7. Specifications
| Feature | Detail |
|---|---|
| Brand | MERIOR |
| Model Number | HQD-r260 |
| Capacity | 3 Liters |
| Material | Aluminum |
| Color | White |
| Product Dimensions (L x W x H) | 9.6" x 9.6" x 10.23" |
| Item Weight | 13.42 pounds (6.1 Kilograms) |
| Composting Modes | Quick (4 hours), Standard (6 hours) |
| Noise Level | Less than 40dB |
| Manufacturer | Shenzhen Beeco Environmental Technology Co., Ltd |
8. Warranty and Support
MERIOR products are manufactured to high-quality standards. For warranty information or technical support, please contact MERIOR customer service through the retailer where the product was purchased or visit the official MERIOR website.
Please have your model number (HQD-r260) and purchase date available when contacting support.


