
1. Introduction
Thank you for choosing the KNKA 19-Pint Dehumidifier. This manual provides important information for the proper operation, maintenance, and troubleshooting of your new appliance. Please read it thoroughly before use and retain it for future reference.
1.1 Safety Information
- Always keep the dehumidifier upright.
- Allow the unit to stand upright for 24 hours after delivery before first use to ensure proper internal balance.
- Keep doors and windows closed for optimal efficiency when the dehumidifier is running.
- Ensure the water pipe switch is tightly secured to avoid leakage when using the water tank drainage option.
- Do not remove the wheels once installed.
2. Included Components
Your KNKA 19-Pint Dehumidifier package includes the following items:
- KNKA 19 Pints Dehumidifier x 1
- Detachable & Washable Filter x 1
- Drain Hose x 1 (2.13 ft)
- Power Cord x 1
- Visible Water Tank x 1
- Rotatable Wheels (pre-installed or in water tank)
- Non-slip Base (alternative to wheels)

Figure 2.1: KNKA 19-Pint Dehumidifier with included drain hose.
3. Setup
Follow these steps to set up your dehumidifier for first use:
- Unpacking: Carefully remove the dehumidifier and all accessories from the packaging.
- Initial Placement: Place the dehumidifier upright on a stable, level surface. Ensure there is at least 8 inches of space around the unit for proper airflow.
- Allow to Settle: After transportation, allow the unit to stand upright for at least 24 hours before plugging it in. This allows the refrigerant to settle.
- Wheel/Feet Installation: The bag with wheels and feet is placed inside the water tank for transportation. Remove it before use. Attach the rotatable wheels or non-slip feet to the bottom of the unit as desired. Note: The wheels are not removable once installed.

Figure 3.1: Illustration of wheel and non-slip base options.
- Power Connection: Plug the power cord into a grounded electrical outlet.
4. Operating Instructions
4.1 Control Panel Overview
The smart touch panel allows for easy control of all dehumidifier functions. The real-time humidity display shows the current ambient humidity.
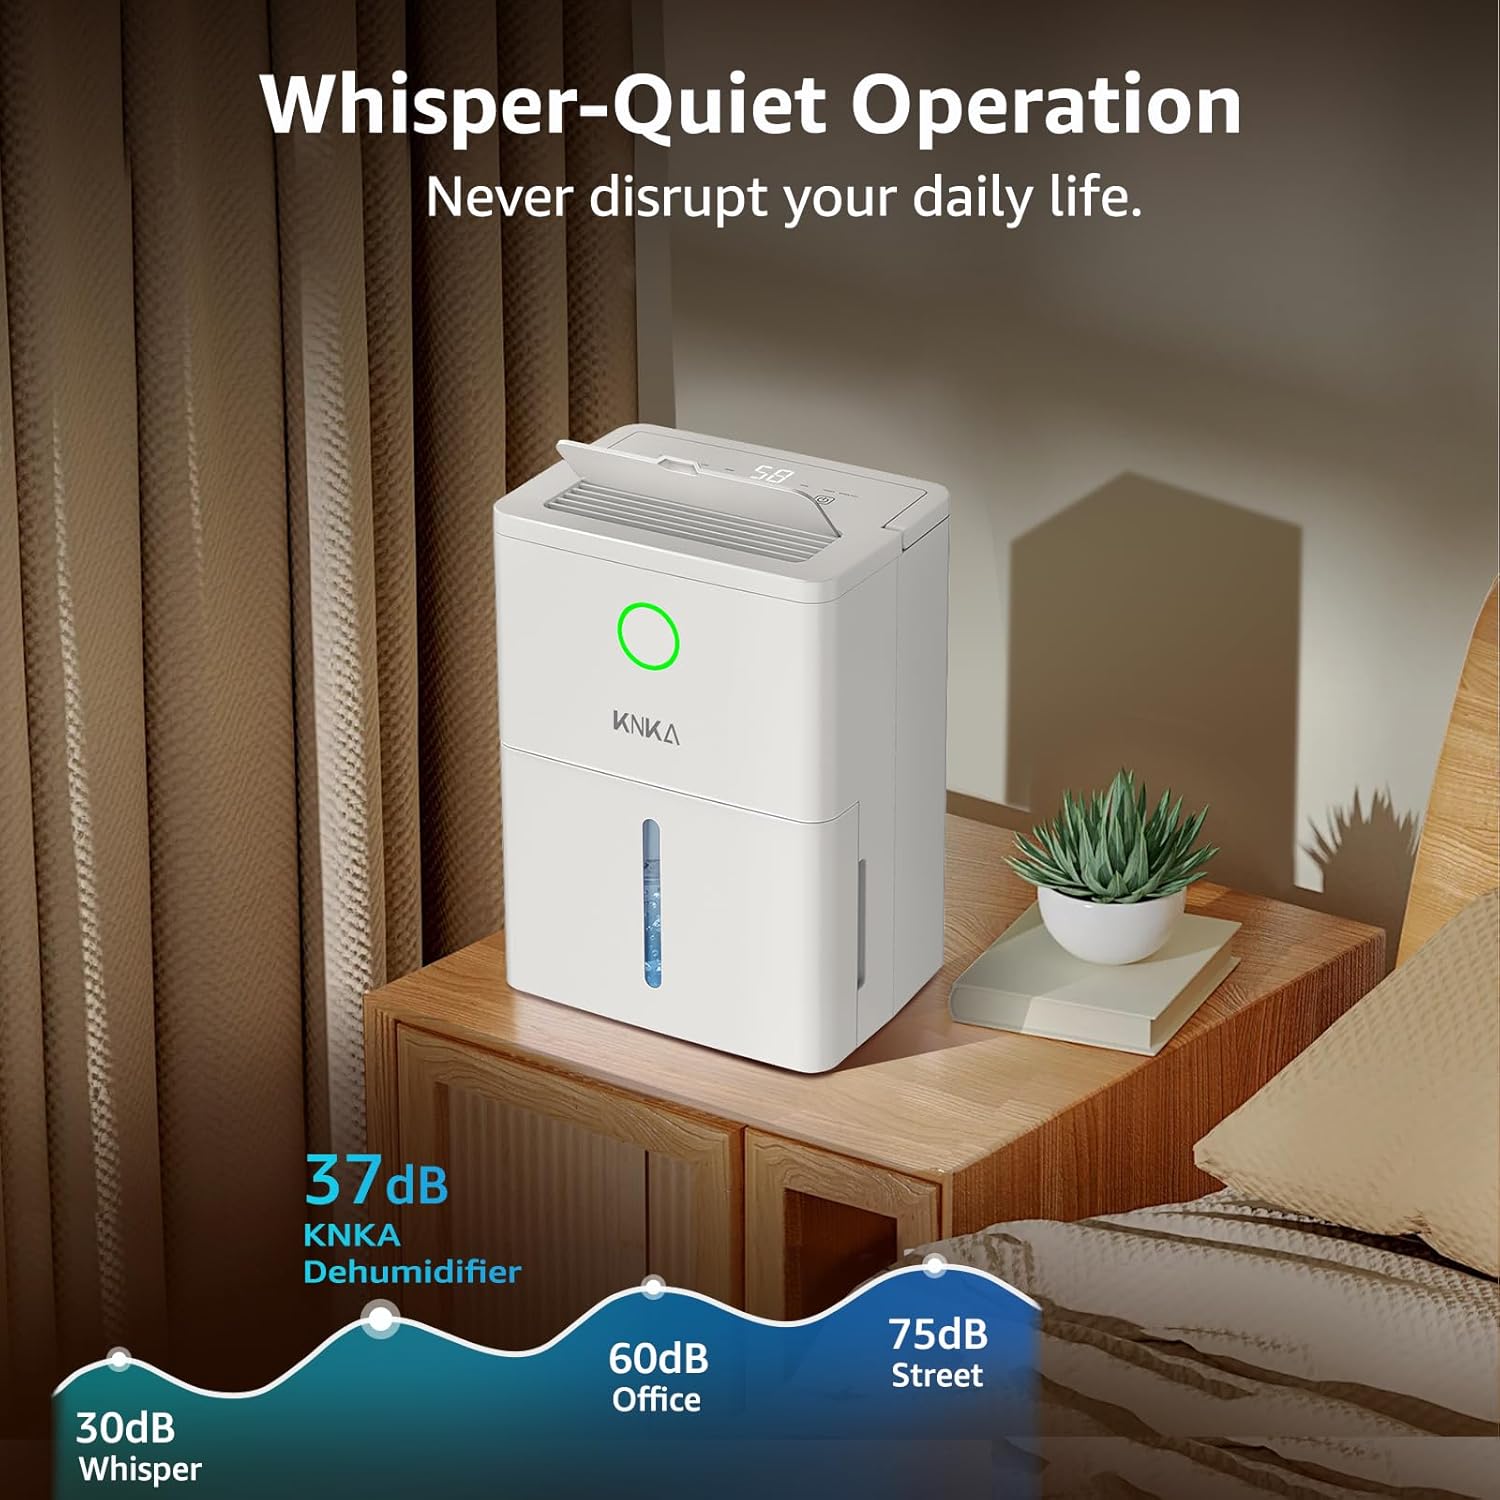
Figure 4.1: Smart Control Panel and Display Screen.
- Power Button: Turns the unit on or off.
- Humidity Setting: Adjusts the desired humidity level (30% to 80%). The unit will automatically start and stop to maintain this level.
- Fan Speed: Selects between high and low fan speeds.
- Timer: Sets a 24-hour timer for preset operation and energy savings.
- Mode: Cycles through different operating modes (e.g., Daily, Sleep).
- Child Lock: Press and hold for 3 seconds to activate/deactivate. Prevents accidental changes to settings.

Figure 4.2: Child Lock feature prevents unintended operation.
- Water Full Indicator: Illuminates when the water tank is full, and the unit automatically shuts off.
4.2 Operating Modes
- Daily Mode: Standard operation for continuous dehumidification. Noise level as low as 37 dB.
- Sleep Mode: Lights turn off automatically, and the unit runs at a lower power setting for quieter operation, ideal for nighttime.
4.3 Smart Humidity Indicator LED Light
The LED light on the unit changes color based on the current humidity level, providing a quick visual reference:
- Blue: Humidity ≤ 45%
- Green: Humidity 45% - 65%
- Red: Humidity ≥ 65%

Figure 4.3: Smart Humidity Indicator LED Light.
4.4 90° Adjustable Air Deflector
The air deflector can be adjusted by 90 degrees to direct airflow, accelerating room drying.
Figure 4.4: 90° Adjustable Air Outlet.
5. Drainage Options
Your dehumidifier offers two convenient drainage methods:
5.1 Manual Drainage (Water Tank)
The unit features a 1.7L (0.45 Gallon) removable water tank. When the tank is full, the dehumidifier will automatically shut off, and the "Water Full" indicator light will illuminate. The front-facing, visible tank allows for easy monitoring of water levels.
- Gently pull out the water tank from the front of the unit.
- Empty the collected water.
- Slide the empty water tank back into the unit until it clicks into place. The unit will resume operation.
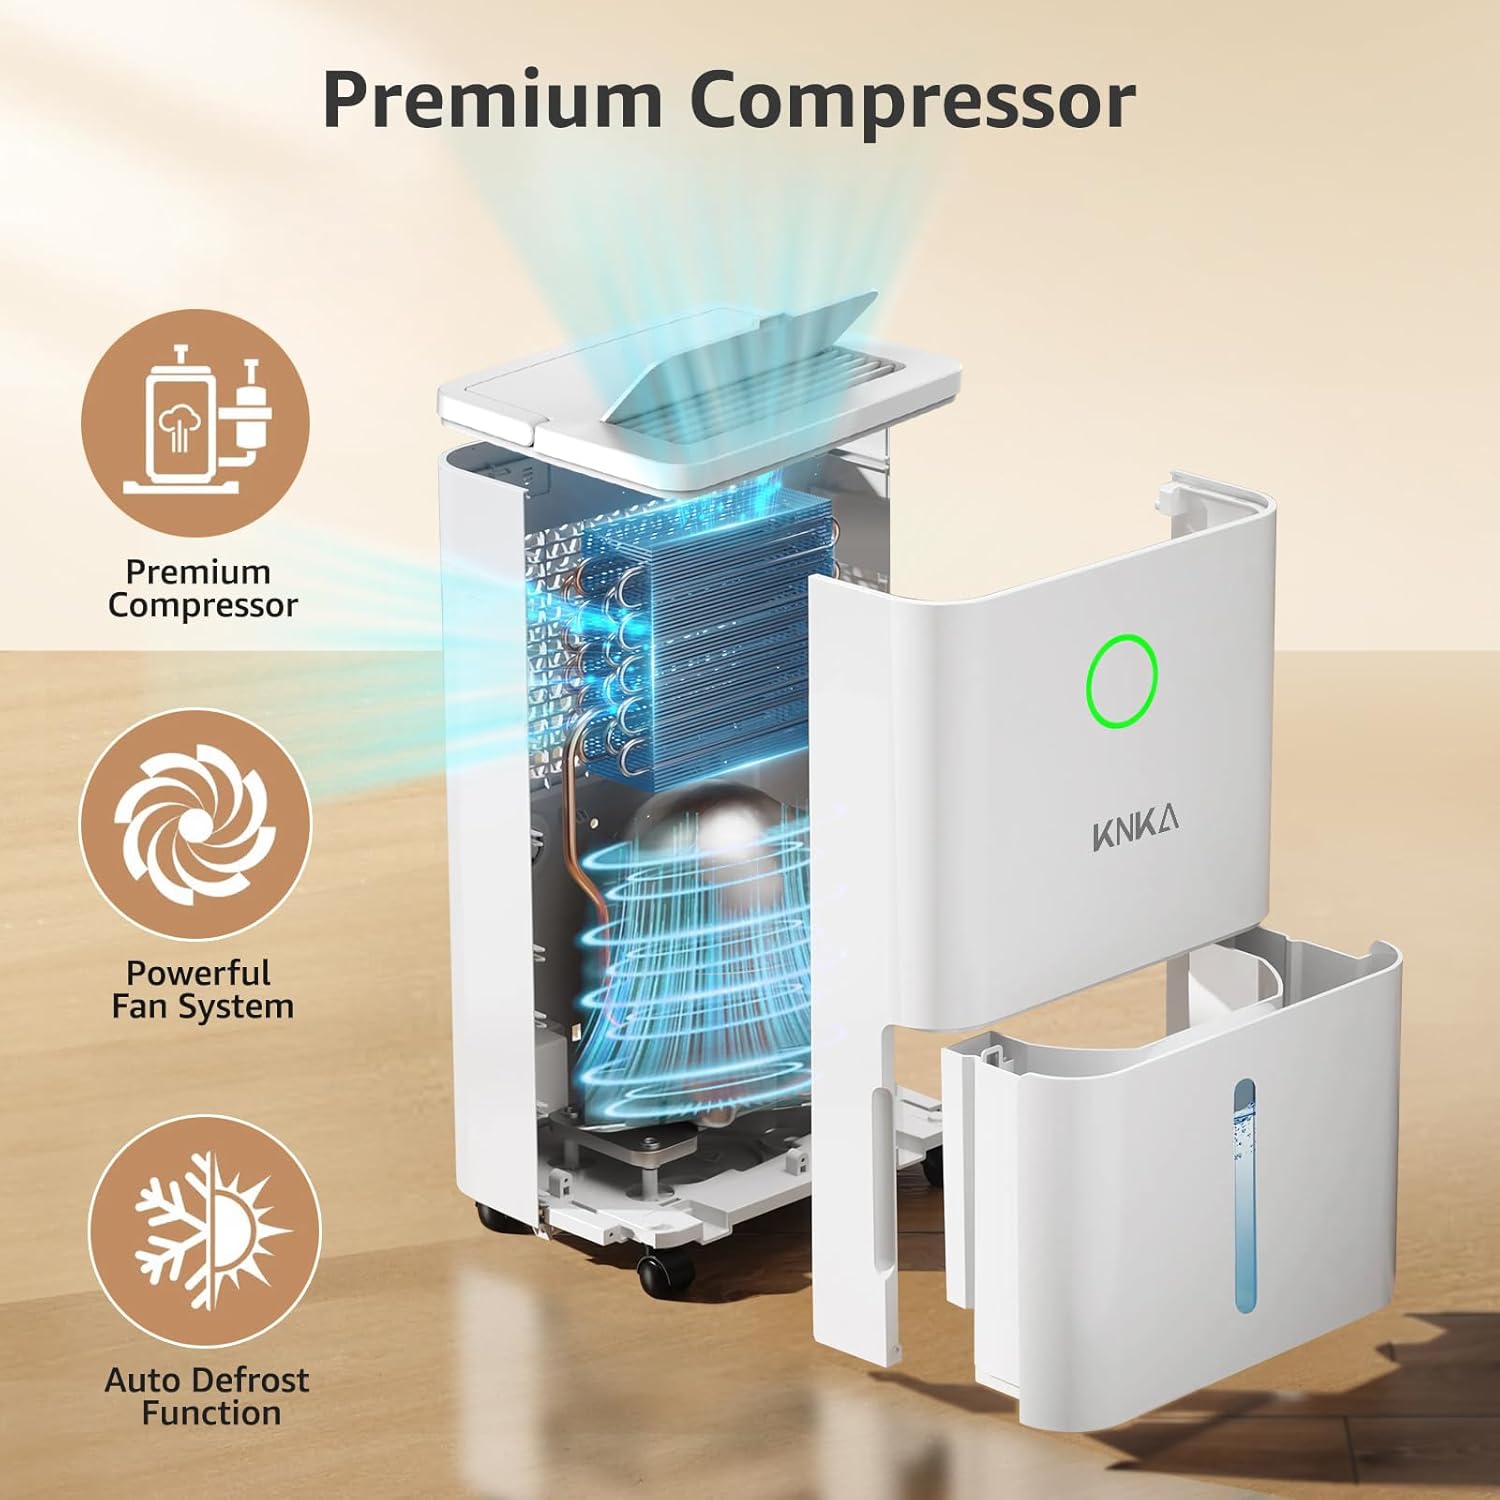
Figure 5.1: Manual Drainage using the 1.7L water tank.

Figure 5.2: Full Tank Protection and Alert.
5.2 Continuous Drainage (Drain Hose)
For continuous operation without needing to empty the water tank, connect the included 2.13 ft drain hose.
- Locate the continuous drainage outlet at the back of the unit.
- Connect one end of the provided drain hose to this outlet. Ensure it is tightly secured to prevent leakage.
- Direct the other end of the hose to a suitable drain (e.g., floor drain, sink, large bucket). Ensure the hose is sloped downwards to allow gravity drainage.

Figure 5.3: Continuous Drainage setup with drain hose.
6. Maintenance
6.1 Cleaning the Washable Filter
The dehumidifier features a detachable and washable filter to ensure fresh, clean air. Regular cleaning is recommended for optimal performance.
- Turn off the dehumidifier and unplug it from the power outlet.
- Locate the filter at the back of the unit.
- Gently pull out the filter.
- Wash the filter with clean water and a mild detergent.
- Allow the filter to air dry completely before reinserting it.
- Slide the dry filter back into its slot.

Figure 6.1: Detachable and Washable Filter.
6.2 General Cleaning
- Wipe the exterior of the unit with a soft, damp cloth.
- Do not use harsh chemicals or abrasive cleaners.
7. Troubleshooting
If you encounter issues with your dehumidifier, please refer to the following common problems and solutions:
| Problem | Possible Cause | Solution |
|---|---|---|
| Dehumidifier does not turn on. | No power; Water tank full or not properly seated; Child lock activated. | Check power connection; Empty and re-seat water tank; Deactivate child lock (press and hold lock button for 3s). |
| Unit is running but not collecting water. | Humidity setting is higher than ambient humidity; Room temperature too low; Air filter clogged. | Lower the humidity setting; Ensure room temperature is above 41°F (5°C); Clean the air filter. |
| Unit is noisy. | Unit not on a level surface; Air filter clogged. | Place unit on a flat, stable surface; Clean the air filter. |
| Water leakage. | Water tank not properly seated; Drain hose not securely connected or kinked. | Re-seat water tank; Check drain hose connection and ensure it's not kinked and sloped downwards. |
If the problem persists after trying these solutions, please contact customer support.
8. Specifications
| Feature | Detail |
|---|---|
| Brand | KNKA |
| Model Name | D032-05PtA2/A1-D Dehumidifier |
| Dehumidification Capacity | 19 Pints per Day (at 95°F, 90% RH) |
| Coverage Area | Up to 1300 Square Feet |
| Water Tank Volume | 1.7L (0.45 Gallons) |
| Adjustable Humidity Range | 30% to 80% |
| Noise Level | As low as 37 dB (Daily Mode) |
| Power Consumption | 110 watts |
| Product Dimensions (DxWxH) | 7.28"D x 9.98"W x 13.39"H |
| Item Weight | 16.5 Pounds |
| Drain Hose Length | 2.13 ft |
| Special Features | Adjustable Humidity Control, Automatic Defrost, Automatic Shutoff, Child Lock, Continuous Draining, Digital Display, Quiet Operation, Sleep Mode, Washable Filter, Hidden Handle, Removable 360° Universal Wheels |
9. Warranty and Support
For warranty information and customer support, please refer to the documentation included with your purchase or visit the official KNKA website. Keep your purchase receipt as proof of purchase.
KNKA Official Store: Visit the KNKA Store on Amazon