
1. Introduction
This manual provides essential information for the safe assembly, operation, maintenance, and troubleshooting of your MFSTUDIO 7-Burner Gas Propane Grill with Searing Side Burner and Dual-Side Griddle. Please read all instructions carefully before using the grill to ensure proper function and safety.

Image 1.1: The MFSTUDIO 7-Burner Gas Propane Grill, featuring a main cooking area, side burner, and side tables.
2. Safety Information
WARNING: Failure to follow these instructions could result in fire, explosion, or burn hazard, which could cause property damage, personal injury, or death.
- Outdoor Use Only: This grill is for outdoor use only. Do not operate indoors or in an enclosed area.
- Clearance: Maintain a minimum distance of 36 inches (91 cm) from the back and sides of the grill to any combustible materials.
- LP Gas Only: Use only liquid propane (LP) gas. Do not connect to a natural gas supply.
- Leak Testing: Always perform a leak test on all gas connections before initial use and after any cylinder change. Refer to the 'Setup and Assembly' section for instructions.
- Ventilation: Ensure adequate ventilation around the LP cylinder.
- Children and Pets: Keep children and pets away from the grill at all times.
- Hot Surfaces: Grill surfaces become extremely hot during operation. Use heat-resistant gloves and appropriate tools.
- Grease Fires: In case of a grease fire, turn off the gas supply immediately. Do not use water to extinguish.
- Carbon Monoxide Hazard: Burning charcoal or gas indoors can kill you. It gives off carbon monoxide, which has no odor. NEVER burn charcoal or gas inside homes, vehicles, or tents.
3. Product Overview
The MFSTUDIO 7-Burner Gas Propane Grill is designed for versatile outdoor cooking, featuring a large cooking area, multiple burners, and a combination of grates and griddle surfaces.
Key Features:
- 7 Burners: Six main burners and one searing side burner for diverse cooking needs.
- 740 sq.in. Cooking Area: Ample space for grilling various foods simultaneously.
- Porcelain-Enameled Cast Iron Grates: Durable and provide even heat distribution.
- Dual-Side Griddle: Reversible griddle with smooth and ribbed surfaces for different cooking styles.
- Integrated Thermometer: Built-in lid thermometer for monitoring internal grill temperature.
- Push-Out Grease Tray: Designed for easy cleaning and maintenance.
- Side Tables: Convenient workspace and tool hooks.

Image 3.1: Close-up of the grill's cooking area, highlighting the grates, griddle, and side burner.

Image 3.2: The versatile cooking surfaces: cast iron grates, smooth griddle, and ribbed griddle.
4. Setup and Assembly
Assembly of this grill is required. Please follow the instructions provided in the separate assembly guide included with your product. Ensure all components are present and undamaged before beginning assembly.
4.1 Unpacking and Component Check
- Carefully remove all packaging materials.
- Verify all parts listed in the assembly guide are present.
- Inspect for any shipping damage. Contact customer support if any parts are missing or damaged.
4.2 Gas Connection
- Ensure the LP cylinder valve is closed.
- Connect the regulator hose to the LP cylinder valve. Hand-tighten firmly.
- Perform a leak test: Mix a solution of equal parts water and liquid dish soap. With the LP cylinder valve open, apply the solution to all gas connections. If bubbles appear, there is a leak. Close the LP cylinder valve immediately and tighten connections. Repeat the test. If leaks persist, do not use the grill and contact customer support.

Image 4.1: Product dimensions for planning placement.
5. Operating Instructions
5.1 Pre-Use Checks
- Ensure the grill is on a level, stable surface.
- Check that the grease tray is properly installed.
- Confirm all gas connections are secure and leak-free.
5.2 Lighting Main Burners
- Open the grill lid.
- Ensure all burner control knobs are in the 'OFF' position.
- Open the LP cylinder valve slowly.
- Push and turn one main burner control knob to the 'HIGH' position.
- Press the electronic igniter button repeatedly until the burner ignites.
- Once lit, turn the adjacent burner knobs to 'HIGH' to light them.
- If a burner does not light within 5 seconds, turn the knob to 'OFF', wait 5 minutes, and repeat the process.
5.3 Lighting Side Burner
- Open the side burner lid.
- Push and turn the side burner control knob to the 'HIGH' position.
- Press the electronic igniter button until the burner ignites.
- If the burner does not light within 5 seconds, turn the knob to 'OFF', wait 5 minutes, and repeat.
5.4 Temperature Control and Cooking
Adjust burner control knobs to achieve desired cooking temperatures. The built-in thermometer provides an approximate internal grill temperature. Utilize the grates for direct grilling and the dual-sided griddle for searing, frying, or delicate items.

Image 5.1: Enameled flame tamers and stainless steel burners ensure even heat.

Image 5.2: Key operational features including the built-in thermometer and ignition knob.
6. Maintenance and Cleaning
Regular cleaning and maintenance will extend the life of your grill and ensure optimal performance.
6.1 General Cleaning
- Allow the grill to cool completely before cleaning.
- Wipe exterior surfaces with a damp cloth and mild detergent. Avoid abrasive cleaners.
- For stainless steel parts, use a stainless steel cleaner and polish in the direction of the grain.
6.2 Grease Tray Cleaning
The pull-out grease tray should be emptied and cleaned regularly to prevent grease fires.
- Ensure the grill is off and cool.
- Carefully pull out the grease tray from the front of the grill.
- Empty accumulated grease into a suitable container.
- Wash the tray with warm, soapy water. Rinse thoroughly and dry before reinserting.

Image 6.1: The convenient pull-out grease tray for easy cleaning.
6.3 Grates and Griddle Care
- After each use, while the grates are still warm, use a grill brush to remove food residue.
- For stubborn residue, remove grates and griddle and wash with warm, soapy water.
- For cast iron grates, lightly coat with cooking oil after cleaning to prevent rust.
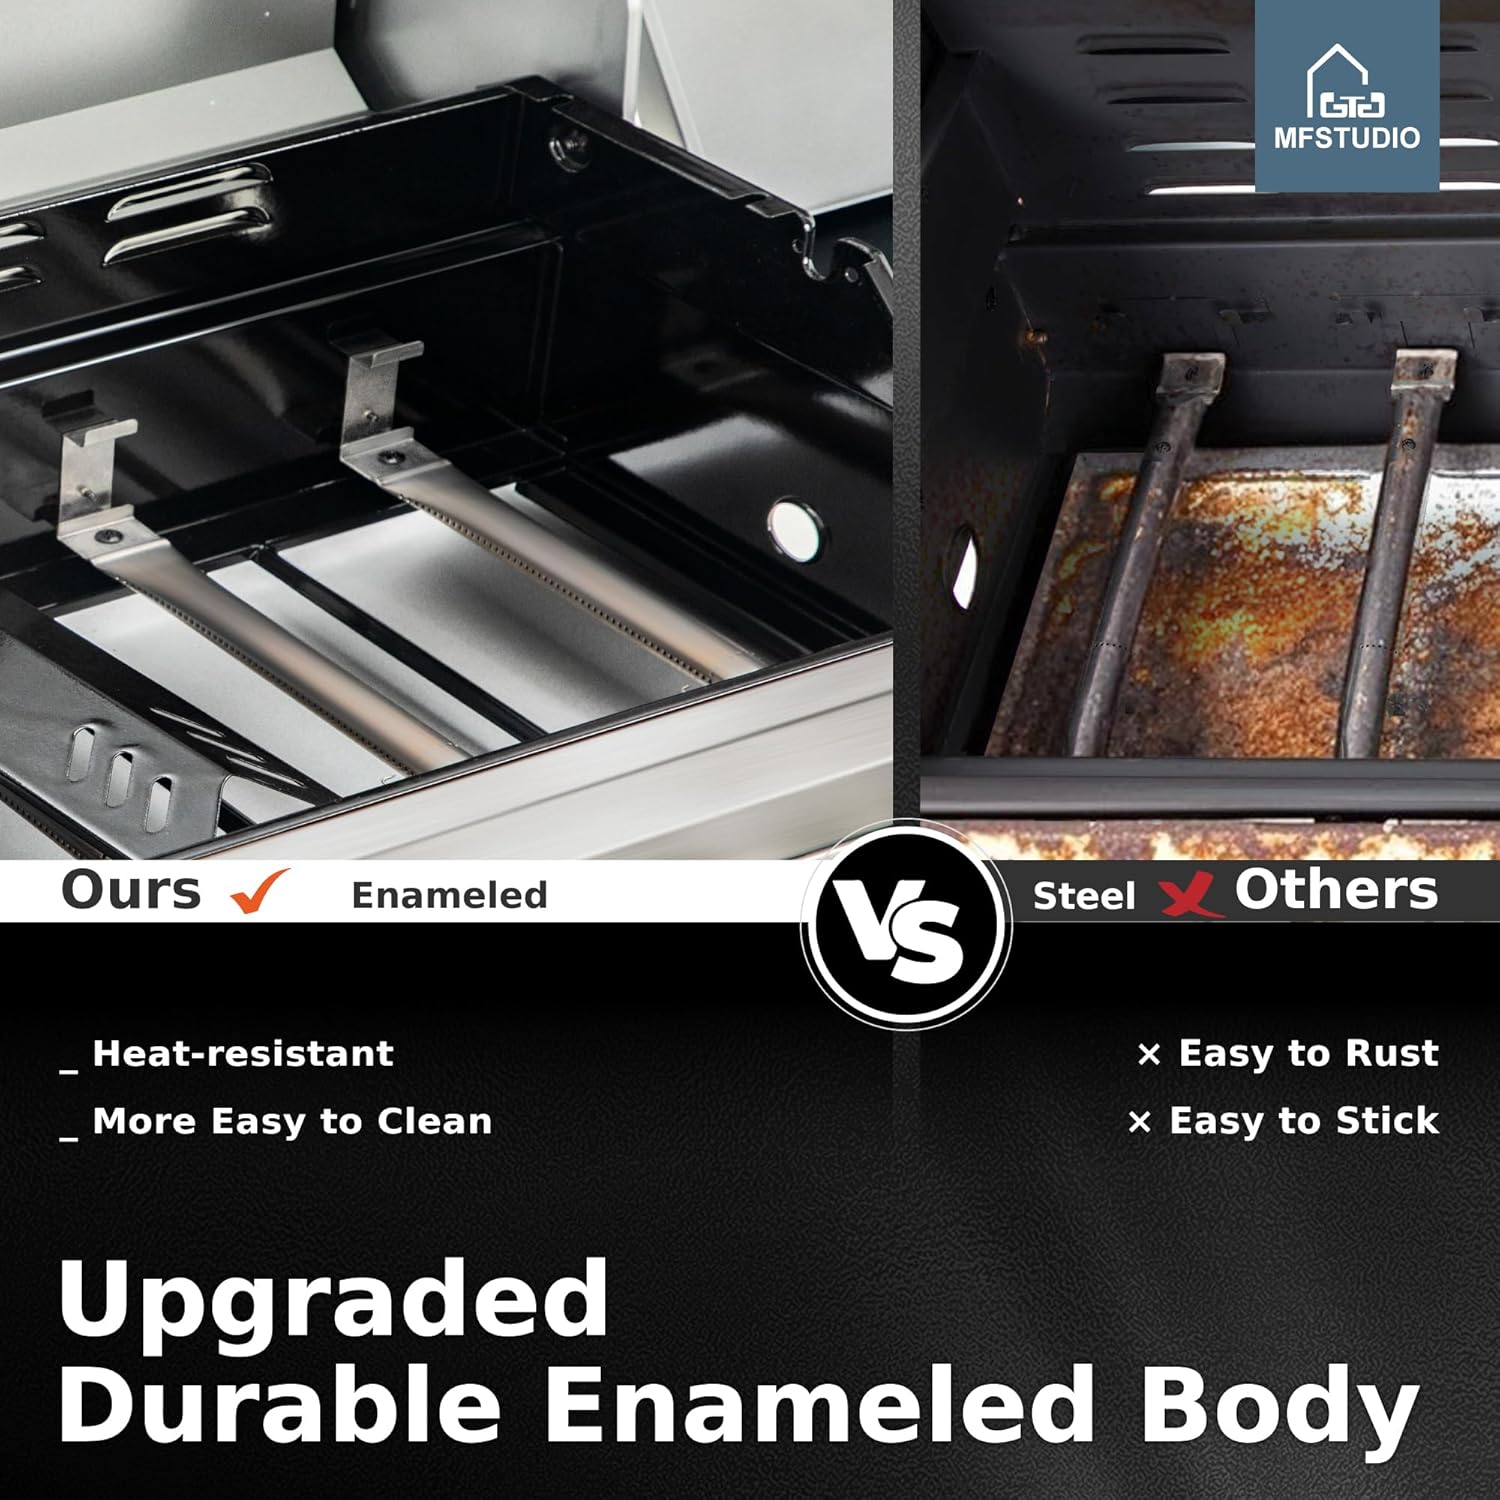
Image 6.2: The durable enameled body is designed for easier cleaning and heat resistance.
7. Troubleshooting
Refer to the table below for common issues and their solutions.
| Problem | Possible Cause | Solution |
|---|---|---|
| Burner does not light | No gas flow, clogged burner port, faulty igniter. | Check LP cylinder valve, ensure gas hose is not kinked. Clean burner ports. Check igniter electrode for spark. |
| Uneven heating | Clogged burner ports, damaged flame tamers. | Clean burner ports. Inspect and replace damaged flame tamers if necessary. |
| Gas odor | Gas leak. | Immediately turn off gas supply. Perform a leak test on all connections. If odor persists, do not use and contact qualified service personnel. |
| Low flame or yellow flame | Low gas pressure, clogged burner ports, spider webs in burner tubes. | Check LP cylinder level. Clean burner ports and burner tubes. |
8. Specifications
Detailed specifications for the MFSTUDIO 7-Burner Gas Propane Grill, Model E02GR024-Up.
| Feature | Specification |
|---|---|
| Brand | MFSTUDIO |
| Model Name | E02GR024-Up |
| Product Dimensions (D x W x H) | 20.7" x 62.2" x 44.5" |
| Fuel Type | Gas (Liquid Propane) |
| Main Burner Count | 6 |
| Side Burner Count | 1 |
| Cooking Surface Area | 740 Square Inches |
| Material | Porcelain-Enameled Cast Iron, Stainless Steel, Metal |
| Assembly Required | Yes |
| Item Weight | 123.5 pounds |
| Included Components | Adapter Hose, Lid, Pan, Thermometer, User Manual |
9. Warranty and Support
9.1 Warranty Information
This MFSTUDIO grill comes with a 1-year limited warranty from the date of purchase. This warranty covers manufacturing defects in materials and workmanship. It does not cover damage resulting from misuse, improper assembly, lack of maintenance, accidents, or normal wear and tear. Please retain your proof of purchase for warranty claims.
9.2 Customer Support
For technical assistance, missing parts, or warranty inquiries, please contact MFSTUDIO customer support. Refer to the contact information provided in your product packaging or visit the official MFSTUDIO website for support details.
Note: No official product videos were available from the seller for embedding in this manual.