
1. Introduction
This manual provides detailed instructions for the installation, operation, and maintenance of your PHEZEN 9-inch Car Stereo Radio. Please read this manual thoroughly before using the product to ensure proper function and safety. Keep this manual for future reference.
2. Safety Information
- Professional Installation Recommended: Due to the complexity of car electrical systems, professional installation is highly recommended to prevent damage to the unit or your vehicle.
- Power Supply: Ensure the unit is connected to a 12V DC power supply with a negative ground. Incorrect voltage can cause damage.
- Wiring: Connect all wires correctly according to the wiring diagram. Improper wiring can lead to malfunctions or electrical hazards.
- Driving Safety: Do not operate the unit in a way that distracts you from driving. Always prioritize road safety.
- Temperature: Avoid exposing the unit to extreme temperatures or direct sunlight for prolonged periods.
- Moisture: Keep the unit away from water and moisture to prevent electrical shock or damage.
3. Package Contents
Verify that all items are present in the package before installation.

Image: All components included in the PHEZEN Car Stereo Radio package. This includes the main Android stereo unit, power cables, a GPS antenna, a rear camera input cable, an RCA cable, two USB cables, an AHD camera, a microphone, a Canbus box, a radio adapter, and the instruction manual.
- 1 x Android Stereo Radio
- 1 x Power Cable
- 1 x GPS Antenna
- 1 x Rear Camera Input Cable
- 1 x RCA Cable
- 2 x USB Cable
- 1 x AHD Camera
- 1 x Microphone
- 1 x Canbus Box
- 1 x Radio Adapter
- 1 x Instruction Manual
4. Setup and Installation
4.1 Physical Installation
The PHEZEN car stereo is designed for a direct fit in Honda CRV models from 2001-2006. Carefully remove the original car radio and dashboard trim. Connect the provided wiring harness to the vehicle's existing harness. Secure the new stereo unit into the dashboard opening. Ensure all connections are firm before reassembling the dashboard.
4.2 Wiring Connections
Refer to the detailed wiring diagram included in the separate wiring guide for specific connections. Key connections include:
- Power Cable: Connect to the vehicle's power supply (12V DC, negative ground).
- GPS Antenna: Mount in a location with a clear view of the sky for optimal signal reception.
- Rear Camera Input: Connect the AHD camera to this input for backup camera functionality.
- USB Cables: For connecting external devices or charging.
- Microphone: Connect for hands-free calling and voice commands.
- Canbus Box: If your vehicle requires it for steering wheel controls or other integrated functions.
4.3 Initial Power On
After installation, turn on your vehicle's ignition. The car stereo should power on automatically. Follow any on-screen prompts for initial setup, such as language selection and time zone.
5. Operating Instructions
5.1 Basic Operations
The unit features a 9-inch IPS touch screen with a resolution of 1024*600 for sensitive and clear display. Navigate through menus and applications by touching the screen. Physical buttons or steering wheel controls may also be available for common functions like volume and mode selection.

Image: The 9-inch IPS touchscreen displaying a high-definition 1080P image, demonstrating the clarity and vibrant colors of the display.
5.2 Bluetooth Connection
To connect your mobile device via Bluetooth for hands-free calling and music playback:
- On the car stereo, navigate to the 'Bluetooth' application.
- On your mobile device, enable Bluetooth and search for available devices.
- Select 'CarBT' from the list of devices on your phone.
- Enter the default PIN '0000' if prompted.
- Once connected, the car stereo will display 'Phone audio, music audio' indicating a successful connection. If not, restart Bluetooth on both devices.

Image: The car stereo interface demonstrating Bluetooth 5.2 functionality, including hands-free calling with a dial pad and music playback controls.
5.3 Wireless CarPlay & Android Auto (ZLINK)
This unit supports both wireless iOS CarPlay and Android Auto via the ZLINK application. This allows you to display your phone's content on the main unit's screen for navigation, calls, messages, and music.
- Ensure your phone's Bluetooth and Wi-Fi are enabled.
- On the car stereo, open the 'ZLINK' application.
- The system will attempt to connect to your phone. For iOS CarPlay, a prompt may appear on your phone to 'Use CarPlay'.
- If the connection is not successful, manually connect to your phone's Wi-Fi hotspot from the car stereo's Android settings. After connecting to Wi-Fi, delete the Wi-Fi history record on the car stereo, then reopen the ZLINK app.

Image: The car stereo displaying various functions accessible through Wireless CarPlay, Android Auto, and Mirror Link, including calls, messages, navigation, and music.
Video: This video demonstrates the process of connecting your mobile phone to the car stereo via Bluetooth and the ZLINK application for CarPlay/Android Auto functionality. It covers both initial Bluetooth pairing and troubleshooting steps for Wi-Fi connection if ZLINK does not connect automatically.
5.4 GPS Navigation & WiFi Connectivity
The unit features a dual navigation system supporting both offline and online maps. Connect to Wi-Fi to access online maps and other internet-dependent applications.
- Online Maps: Connect to a Wi-Fi hotspot (e.g., from your mobile phone) to use real-time navigation and traffic updates.
- Offline Maps: Pre-download maps for navigation in areas with limited or no mobile signal.
- Wi-Fi Hotspot: Access various phone functions directly on the radio when connected to Wi-Fi.
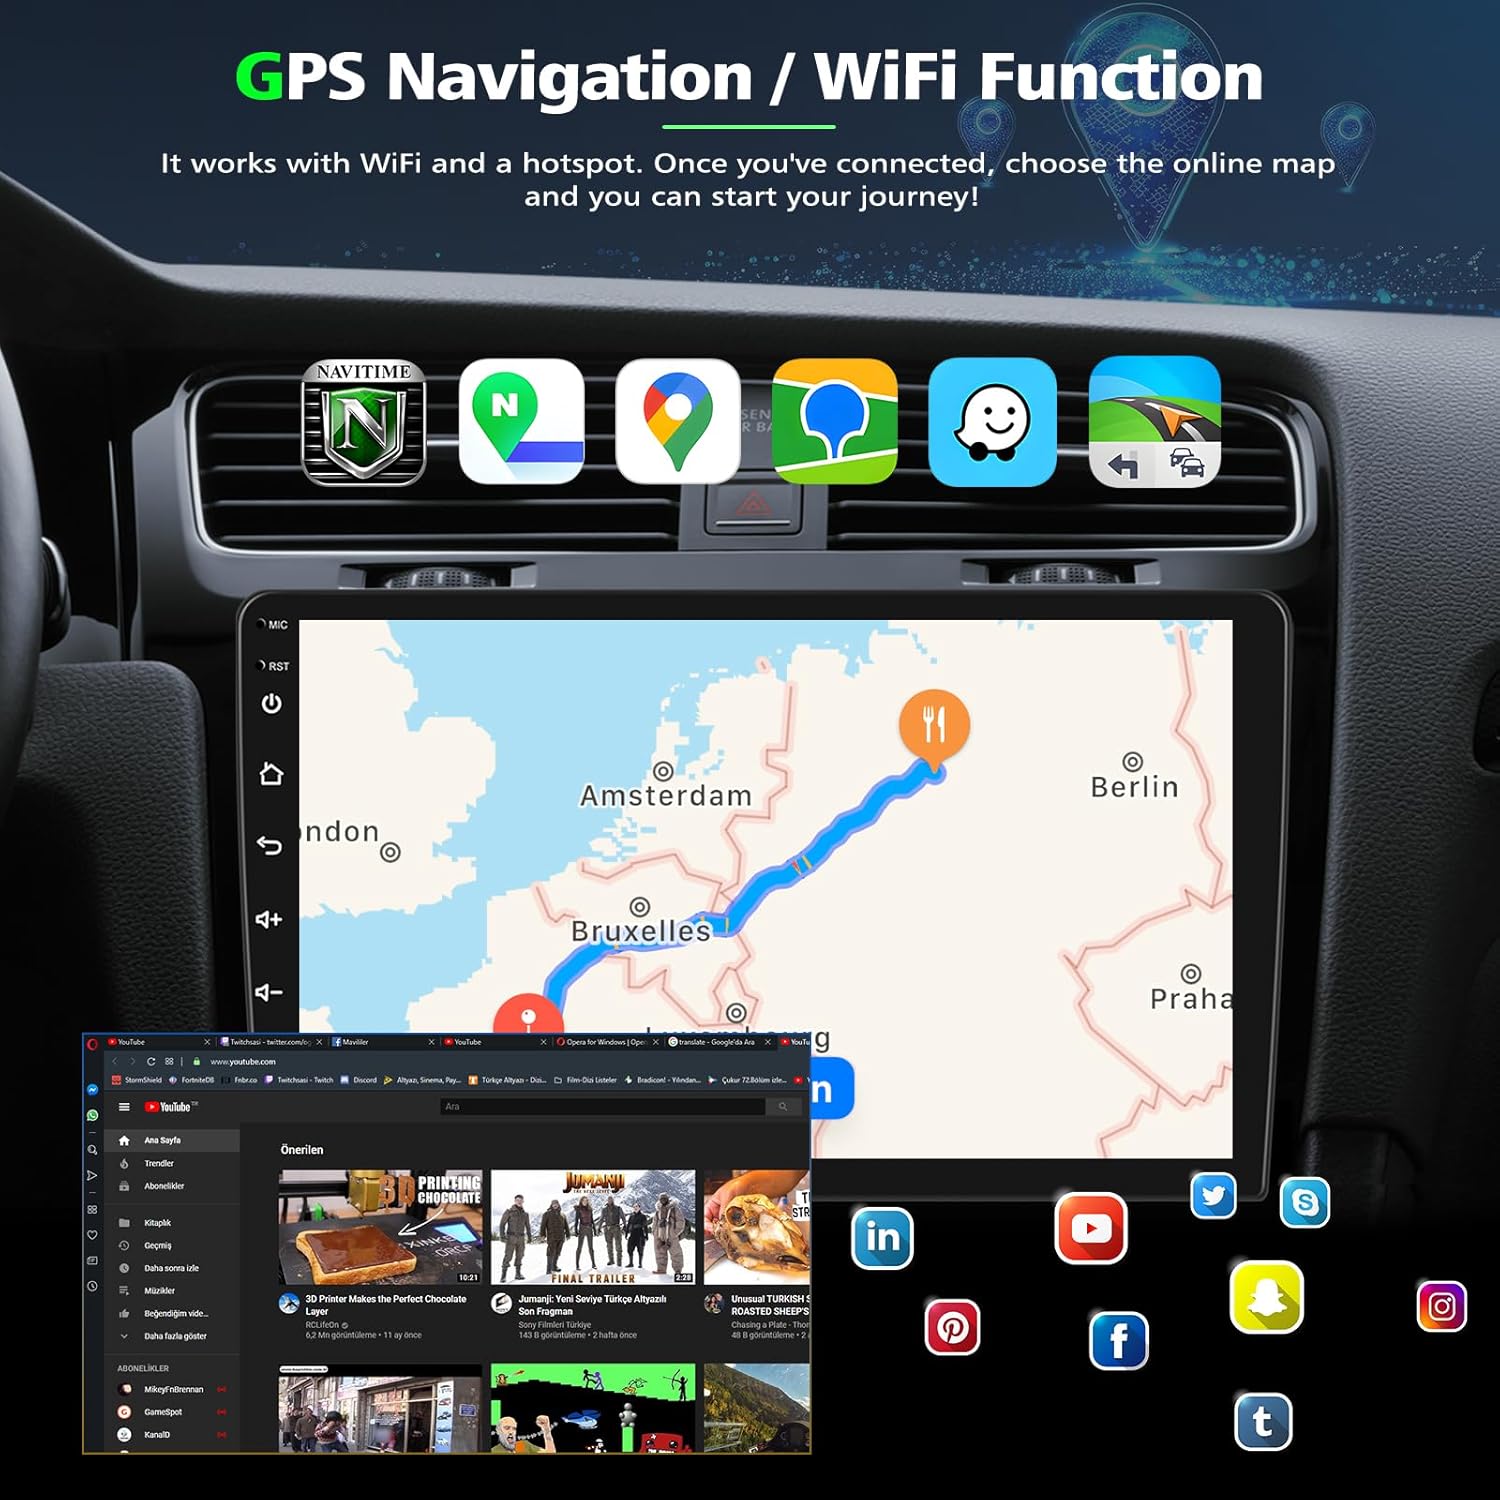
Image: The car stereo displaying GPS navigation with a map view and various applications accessible via Wi-Fi, such as YouTube and social media apps.
5.5 Steering Wheel Control (SWC)
The car stereo supports steering wheel controls for convenient operation. If your vehicle has SWC, you may need to configure them through the unit's settings menu. Navigate to 'Steering Learn' in the settings to map your vehicle's steering wheel buttons to the stereo's functions.

Image: The car stereo interface showing the 'Steering Learn' option within the settings menu, allowing users to configure their steering wheel controls. Also shown is the reverse display feature.
5.6 Backup Camera
The included AHD backup camera provides a clear view of the area behind your vehicle, assisting with safe parking. The camera features a 170° wide-angle lens, IP68 waterproof rating, and night vision for optimal visibility in various conditions. When the vehicle is shifted into reverse, the display will automatically switch to the camera view.

Image: The car stereo displaying the reverse camera view with dynamic parking guidelines, highlighting features like 1080P HD image, waterproof design, night vision, and reference lines.
5.7 FM/RDS Radio
Enjoy your favorite radio stations with the built-in FM radio function. The unit supports RDS (Radio Data System) for displaying station information where available.
- Scanning: Use the auto-scan feature to find and save available radio stations.
- Presets: Save your preferred stations for quick access.
- RDS: Displays information such as station name, song title, and artist if broadcasted by the radio station.

Image: The car stereo interface displaying the FM/RDS radio tuner, showing frequency and station information.
5.8 Mirror Link
The Mirror Link function allows you to mirror your smartphone's screen directly onto the car stereo display. This is compatible with both iOS and Android devices, providing an alternative way to access phone applications on the larger screen.
5.9 Voice Control
Utilize voice commands through Siri or Google Assistant (when connected via CarPlay/Android Auto) to control your phone's functions, such as making calls, navigating, or playing music, enhancing convenience and safety while driving.
5.10 Split Screen
The split-screen feature allows you to run two applications simultaneously on the 9-inch display. For example, you can have navigation running on one side and music playback on the other, improving multitasking capabilities.
6. Maintenance
- Cleaning: Use a soft, dry cloth to clean the screen and exterior of the unit. Avoid abrasive cleaners or solvents.
- Software Updates: Periodically check for software updates to ensure optimal performance and access to new features. Updates can typically be found on the manufacturer's website or through the unit's settings if connected to Wi-Fi.
- Avoid Impact: Protect the screen from sharp objects or heavy impact to prevent damage.
7. Troubleshooting
| Problem | Possible Cause | Solution |
|---|---|---|
| Unit does not power on | Incorrect wiring; Blown fuse; Power supply issue | Check power connections; Inspect vehicle fuse box; Consult a professional. |
| No sound | Volume too low; Mute activated; Speaker wiring issue | Increase volume; Check mute status; Verify speaker connections. |
| Bluetooth/CarPlay/Android Auto not connecting | Bluetooth/Wi-Fi off; Incorrect pairing; Software glitch | Ensure Bluetooth/Wi-Fi is on; Re-pair device; Restart unit and phone; Follow manual Wi-Fi connection steps for ZLINK. |
| GPS signal weak or inaccurate | Antenna obstruction; Poor satellite reception | Ensure GPS antenna has a clear view of the sky; Check antenna connection. |
| Backup camera not displaying | Camera wiring issue; Reverse trigger not connected | Check camera power and video connections; Verify reverse trigger wire. |
8. Specifications
| Feature | Detail |
|---|---|
| Model | B0F8VMSL9D |
| Compatible Vehicles | Honda CRV 2001-2006 |
| Operating System | Android 13 |
| RAM | 2GB |
| ROM | 32GB |
| Screen Size | 9-inch IPS Touch Screen |
| Screen Resolution | 1024*600 |
| Connectivity | Wireless CarPlay, Android Auto, Mirror Link, WiFi, GPS, Bluetooth, FM RDS |
| Included Accessories | AHD Camera, Microphone, Power Cable, GPS Antenna, RCA Cable, USB Cables, Canbus Box, Radio Adapter |
| Special Features | Steering Wheel Control (SWC), Split Screen, Voice Control |
9. Warranty and Support
PHEZEN products are designed for reliability and performance. For warranty information or technical support, please refer to the warranty card included with your product or contact PHEZEN customer service directly. You can typically find contact information on the manufacturer's official website or through your purchase platform.