
1. Product Overview
The MSI Aegis Z2 is a high-performance gaming desktop designed for demanding applications and gaming. It features an AMD Octa-core Ryzen 7 8700F processor, NVIDIA GeForce RTX 5070 graphics, 32GB of RAM, and a 4TB SSD, running on Windows 11 Home. This manual provides essential information for setting up, operating, maintaining, and troubleshooting your system.

Image: Front view of the MSI Aegis Z2 Gaming Desktop, showcasing its transparent side panel and internal ARGB lighting.
2. Setup Guide
2.1 Unboxing and Initial Inspection
Carefully remove the desktop from its packaging. Inspect for any visible damage. Ensure all accessories are present, including the power cable, gaming keyboard, gaming mouse, and the iCarp Type-C 3-in-1 Hub.

Image: The iCarp Type-C 3-in-1 Hub, an included accessory for connectivity.
2.2 Connecting Peripherals
- Monitor: Connect your monitor to the graphics card's DisplayPort 1.4a or HDMI 2.1 ports located at the rear of the desktop.
- Keyboard and Mouse: Connect the included gaming keyboard and mouse to any available USB-A ports.
- Power: Connect the power cable to the desktop's power supply unit (PSU) and then to a wall outlet.
- Network: For wired internet, connect an Ethernet cable to the RJ45 port. For wireless, ensure Wi-Fi 6E is enabled in Windows settings.
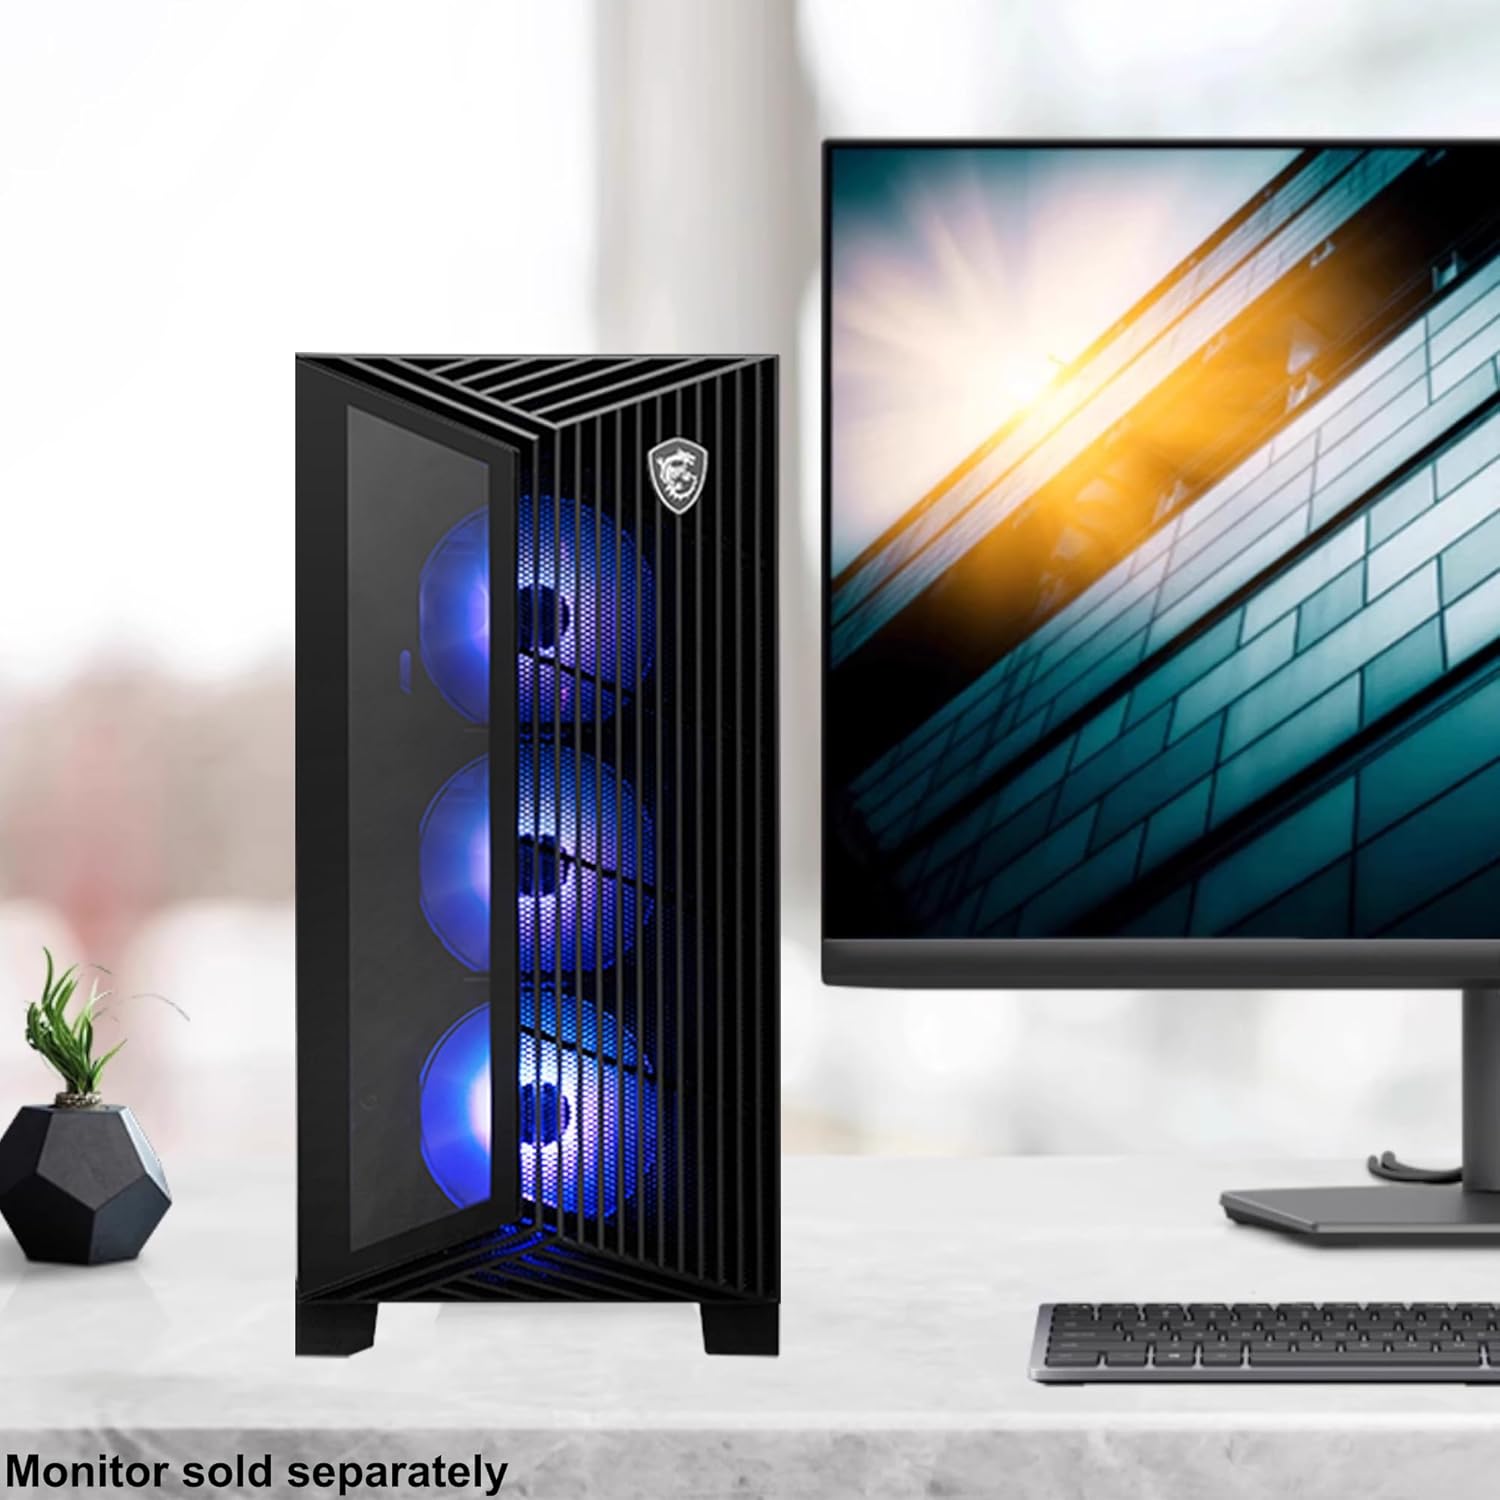
Image: The MSI Aegis Z2 desktop positioned next to a monitor (monitor sold separately), illustrating a typical setup.
2.3 Initial Boot-Up
Press the power button on the front panel. The system will boot into Windows 11 Home. Follow the on-screen instructions to complete the initial Windows setup, including language, region, and network configuration.
3. Operating Instructions
3.1 Power On/Off and Restart
- Power On: Press the power button on the front panel.
- Power Off: Click the Start button in Windows, then select Power > Shut down. Alternatively, press and hold the power button for 5 seconds to force a shutdown (use only when necessary).
- Restart: Click the Start button in Windows, then select Power > Restart.
3.2 Front Panel Ports

Image: Close-up view of the MSI Aegis Z2 front panel, highlighting the LED switch, USB 3.2 Gen 2x2 Type-C, USB 3.2 Gen 1 Type-A, Mic-In/Audio-Out, Reset Button, and Power Button.
- LED Switch: Controls the ARGB lighting effects.
- USB 3.2 Gen 2x2 Type-C: High-speed data transfer and power delivery.
- USB 3.2 Gen 1 Type-A: Standard USB ports for peripherals.
- Mic-In / Audio-Out: For connecting headphones and microphones.
- Reset Button: Restarts the system.
- Power Button: Turns the system on or off.
3.3 Rear Panel Ports
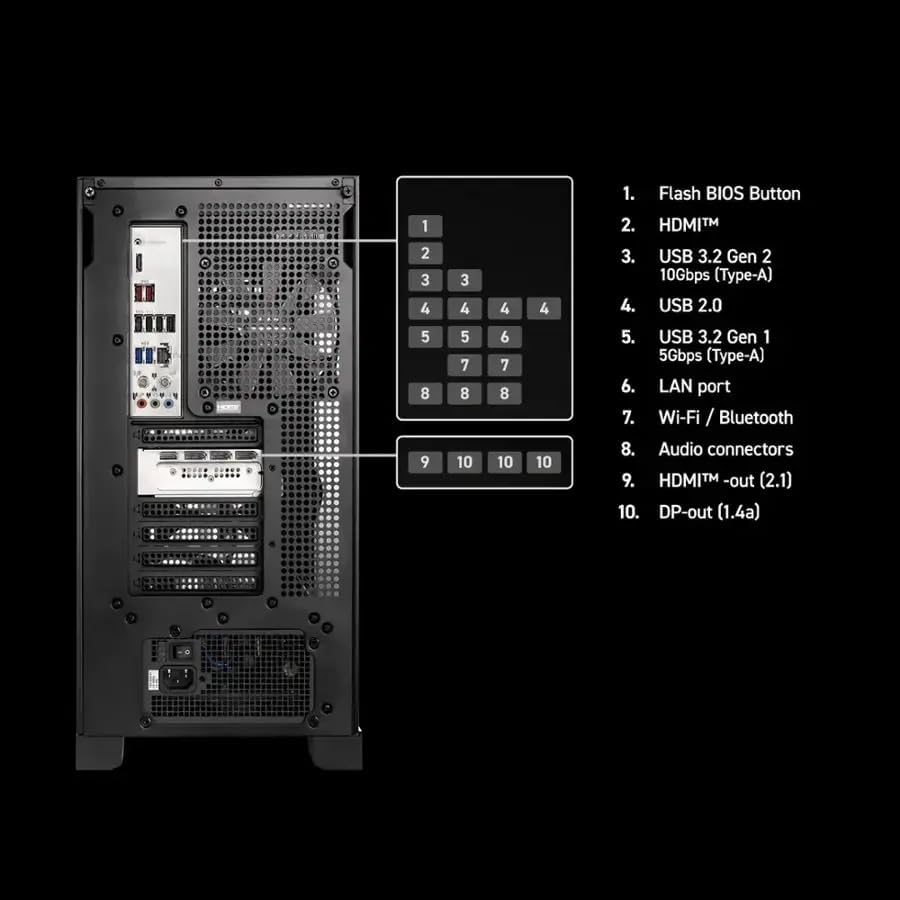
Image: Diagram of the MSI Aegis Z2 rear panel, indicating Flash BIOS Button, HDMI, USB 3.2 Gen 2, USB 2.0, USB 3.2 Gen 1, LAN port, Wi-Fi/Bluetooth, Audio connectors, HDMI-out (2.1), and DP-out (1.4a).
- Flash BIOS Button: For updating BIOS without a CPU or RAM installed.
- HDMI™-out (2.1) & DP-out (1.4a): Video outputs from the NVIDIA GeForce RTX 5070 graphics card.
- USB 3.2 Gen 2 (Type-A): High-speed USB ports.
- USB 3.2 Gen 1 (Type-A): Standard USB ports.
- USB 2.0: Legacy USB ports.
- LAN port: For wired network connection.
- Wi-Fi / Bluetooth: Antenna connections for wireless connectivity.
- Audio connectors: For connecting speakers or other audio devices.
4. Maintenance
4.1 Cleaning
Regularly clean the exterior of the desktop with a soft, dry cloth. Use compressed air to clear dust from vents and fans to ensure optimal airflow and prevent overheating. Ensure the system is powered off and unplugged before cleaning.
4.2 Software Updates
Keep your operating system (Windows 11) and drivers updated. Windows Update will handle OS updates. For graphics drivers (NVIDIA GeForce RTX 5070) and other system drivers, visit the official MSI support website or NVIDIA's website.
4.3 Data Backup
Regularly back up important data to an external drive or cloud storage to prevent data loss.
5. Troubleshooting
5.1 No Power
- Check if the power cable is securely connected to both the desktop and the wall outlet.
- Verify the wall outlet is functional by plugging in another device.
- Ensure the power supply unit (PSU) switch at the rear of the desktop is in the 'On' position.
5.2 No Display
- Confirm the monitor is powered on and its input source is correctly selected.
- Ensure the video cable (HDMI or DisplayPort) is securely connected to both the graphics card on the desktop and the monitor.
- Try a different video cable or monitor if available.
5.3 Network Connectivity Issues
- For wired connections, check the Ethernet cable and router status.
- For Wi-Fi, ensure the Wi-Fi adapter is enabled in Windows settings and you are connected to the correct network.
- Restart your router and modem.
6. Specifications

Image: Overview of MSI Aegis Z2 Gaming Desktop highlighting CPU, Graphics, OS, RAM, and Storage.
| Component | Detail |
|---|---|
| Brand | MSI |
| Model | Aegis Z2 |
| Operating System | Windows 11 Home |
| CPU | AMD Octa-core Ryzen 7 8700F (4.1 GHz) |
| Graphics Card | NVIDIA GeForce RTX 5070 12GB (DLSS 4) |
| RAM | 32GB DDR5 |
| Storage | 4TB SSD |
| Power Supply | 750W 80+ Gold PSU |
| Cooling | ARGB Fan CPU Air Cooling |
| Connectivity | Wi-Fi 6E, Bluetooth, RJ45 Ethernet |
| Front Ports | USB-C 3.2 Gen 2x2, USB-A 3.2 Gen 1, Mic-In, Audio-Out, LED Switch, Power, Reset |
| Rear Ports | HDMI 2.1, DisplayPort 1.4a (x3), USB-A 3.2 Gen 2 (x2), USB-A 3.2 Gen 1 (x2), USB 2.0 (x4), LAN, Audio Connectors, Flash BIOS Button |

Image: Dimensions of the MSI Aegis Z2 desktop: 19.4" (L) x 9.1" (W) x 19" (H), with a weight of 36.9 lbs.
6.1 Processor Details

Image: Diagram detailing the AMD Ryzen 7 8700F processor, highlighting its 8 Cores, 16 Threads, and 32MB Intel Smart Cache.
6.2 Graphics Card Details
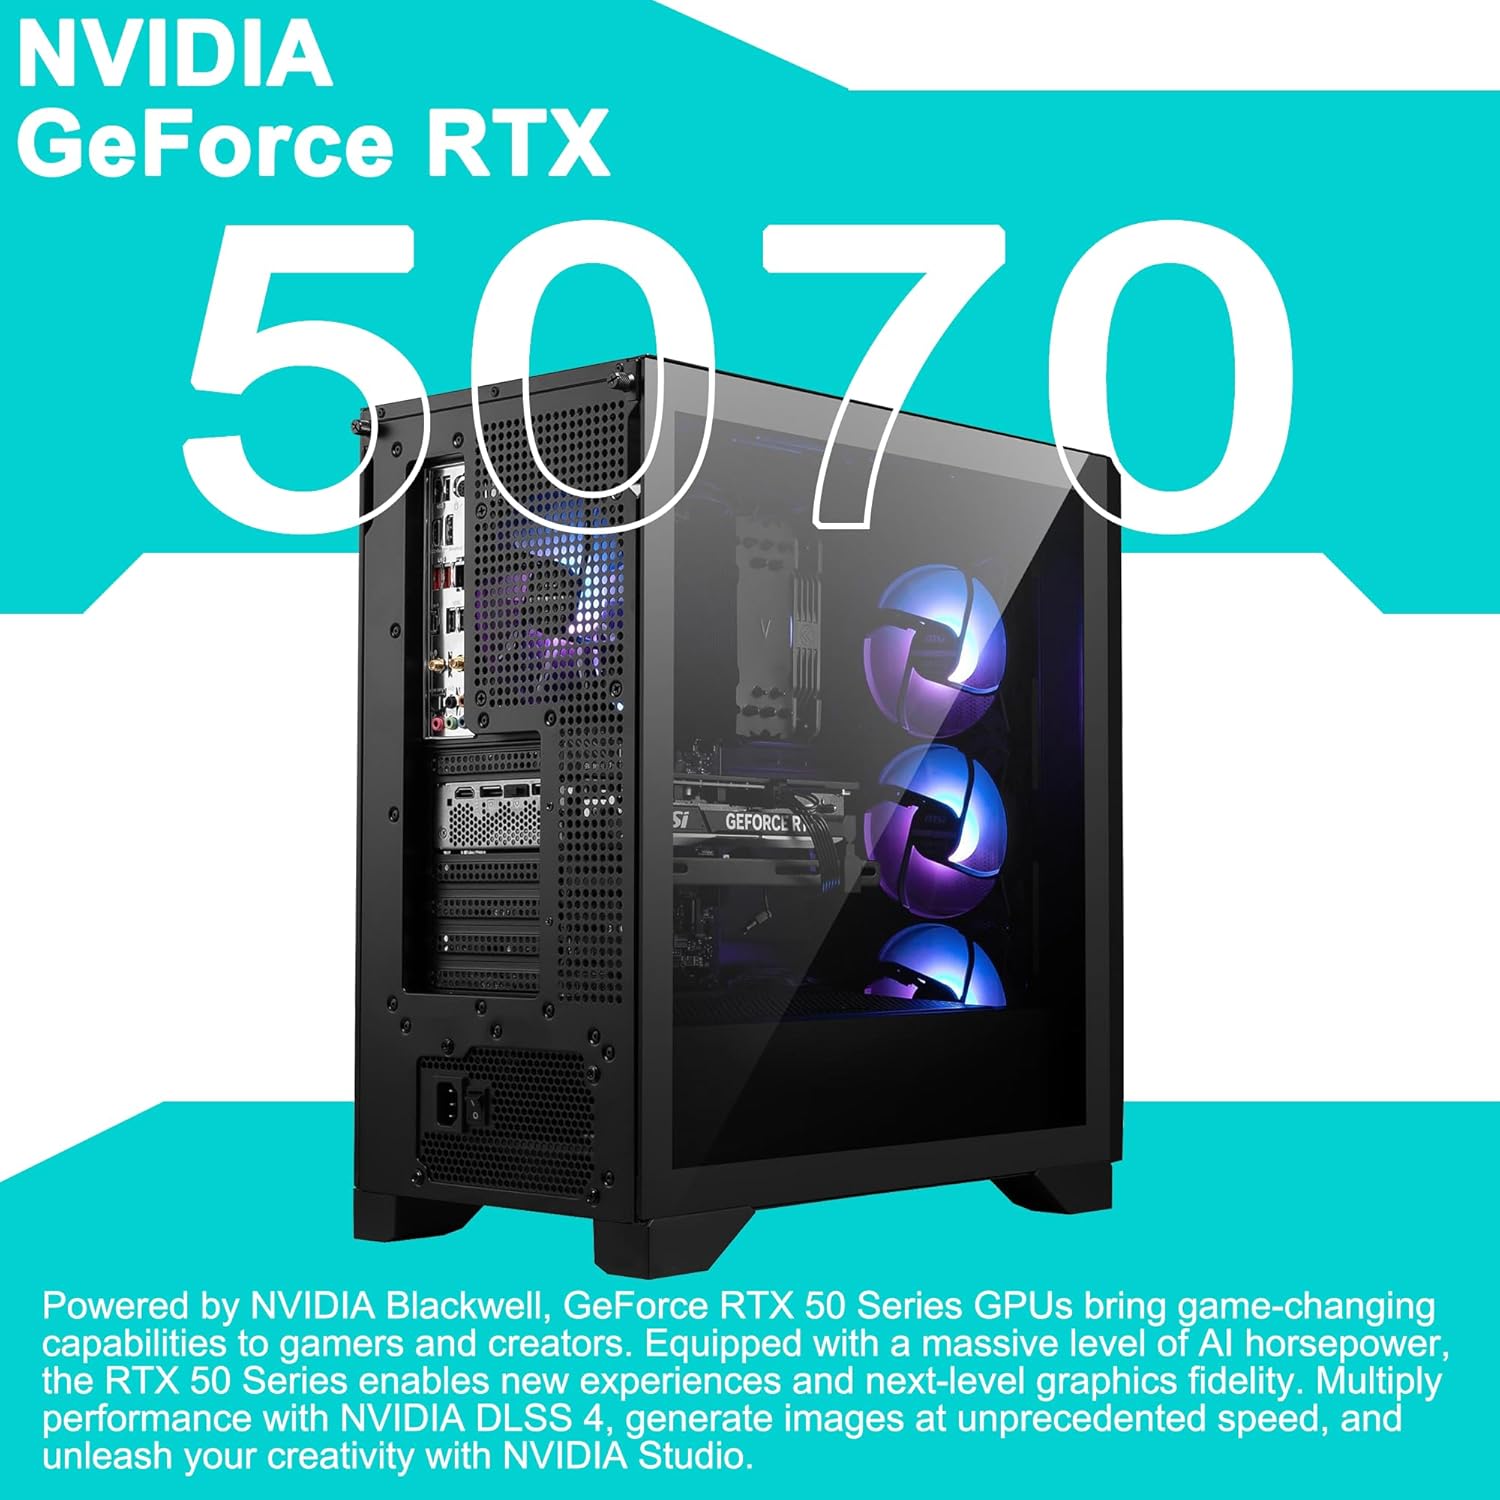
Image: Visual representation of the NVIDIA GeForce RTX 5070, emphasizing its capabilities for gaming and content creation with DLSS 4.
7. Warranty and Support
Your MSI Aegis Z2 Gaming Desktop is covered by a manufacturer's warranty. For detailed warranty terms, conditions, and duration, please refer to the warranty card included with your product or visit the official MSI support website.
For technical support, driver downloads, and further assistance, please visit the official MSI support portal: