
1. Introduction
This manual provides essential instructions for the installation, operation, and maintenance of your INXING LH100 Electric Scooter Throttle with LCD Display. Please read this manual thoroughly before use to ensure proper function and safety. The LH100 display is designed for 48V and 60V electric scooters and is compatible with TF-100 electric scooter throttles and controllers using control protocol 2, such as Jingbo and Yunli 6000W electric scooter controllers.
2. Safety Information
- Always wear appropriate safety gear when operating an electric scooter.
- Ensure all connections are secure and waterproof before riding.
- Do not attempt to modify the throttle or display, as this may void the warranty and create safety hazards.
- Regularly inspect the throttle and display for any signs of damage or wear.
- Adhere to local traffic laws and regulations when operating your electric scooter.
3. Product Overview
The INXING LH100 Electric Scooter Throttle integrates a thumb throttle with an LCD display, providing essential riding information and control features. It features a durable, waterproof design for reliable performance.

Figure 3.1: Front view of the INXING LH100 Electric Scooter Throttle with LCD Display.

Figure 3.2: The LH100 throttle and display mounted on a handlebar, showing the screen interface.
Key Features:
- LCD Display: Provides real-time information such as speed, battery level, mileage (single and cumulative), and gear selection.
- Thumb Throttle: Ergonomically designed for comfortable and precise speed control.
- 5-Pin Connector: Ensures secure and waterproof connection to compatible controllers.
- Adjustable Settings: Customize backlight levels, enable auto or timer sleep mode, and set speed limits.
- Safety Functions: Includes electronic brake assist and low voltage protection.
- USB Port: For potential charging or data transfer (specific functionality may vary by controller).
4. Installation
Proper installation is crucial for the safe and effective operation of your electric scooter throttle.
4.1 Components
- LH100 Electric Scooter Throttle with LCD Display (5-pin waterproof cable)
- Extension cable (if included)

Figure 4.1: The 5-pin connector and associated wiring for the LH100 throttle.
4.2 Mounting the Throttle
- Ensure your scooter is powered off and the battery is disconnected.
- Loosen the mounting screws on the throttle clamp.
- Position the throttle on your scooter's handlebar in a comfortable and accessible location. The clamp is designed for a standard handlebar diameter of approximately 22.2mm.
- Securely tighten the mounting screws. Do not overtighten.

Figure 4.2: Top-down technical drawing with dimensions (in mm) of the LH100 throttle.

Figure 4.3: Side technical drawing with dimensions (in mm) of the LH100 throttle, including handlebar clamp diameter.
4.3 Electrical Connection
- Locate the 5-pin connector on your scooter's controller wiring harness.
- Align the 5-pin connector from the LH100 throttle with the corresponding connector on the controller. Ensure the pins are correctly oriented.
- Firmly push the connectors together until they click into place, creating a secure and waterproof seal. If an extension cable is provided, connect it between the throttle and the controller.
- Verify that the connection is tight and free from any exposed wires.

Figure 4.4: Close-up view of the 5-pin waterproof connector.
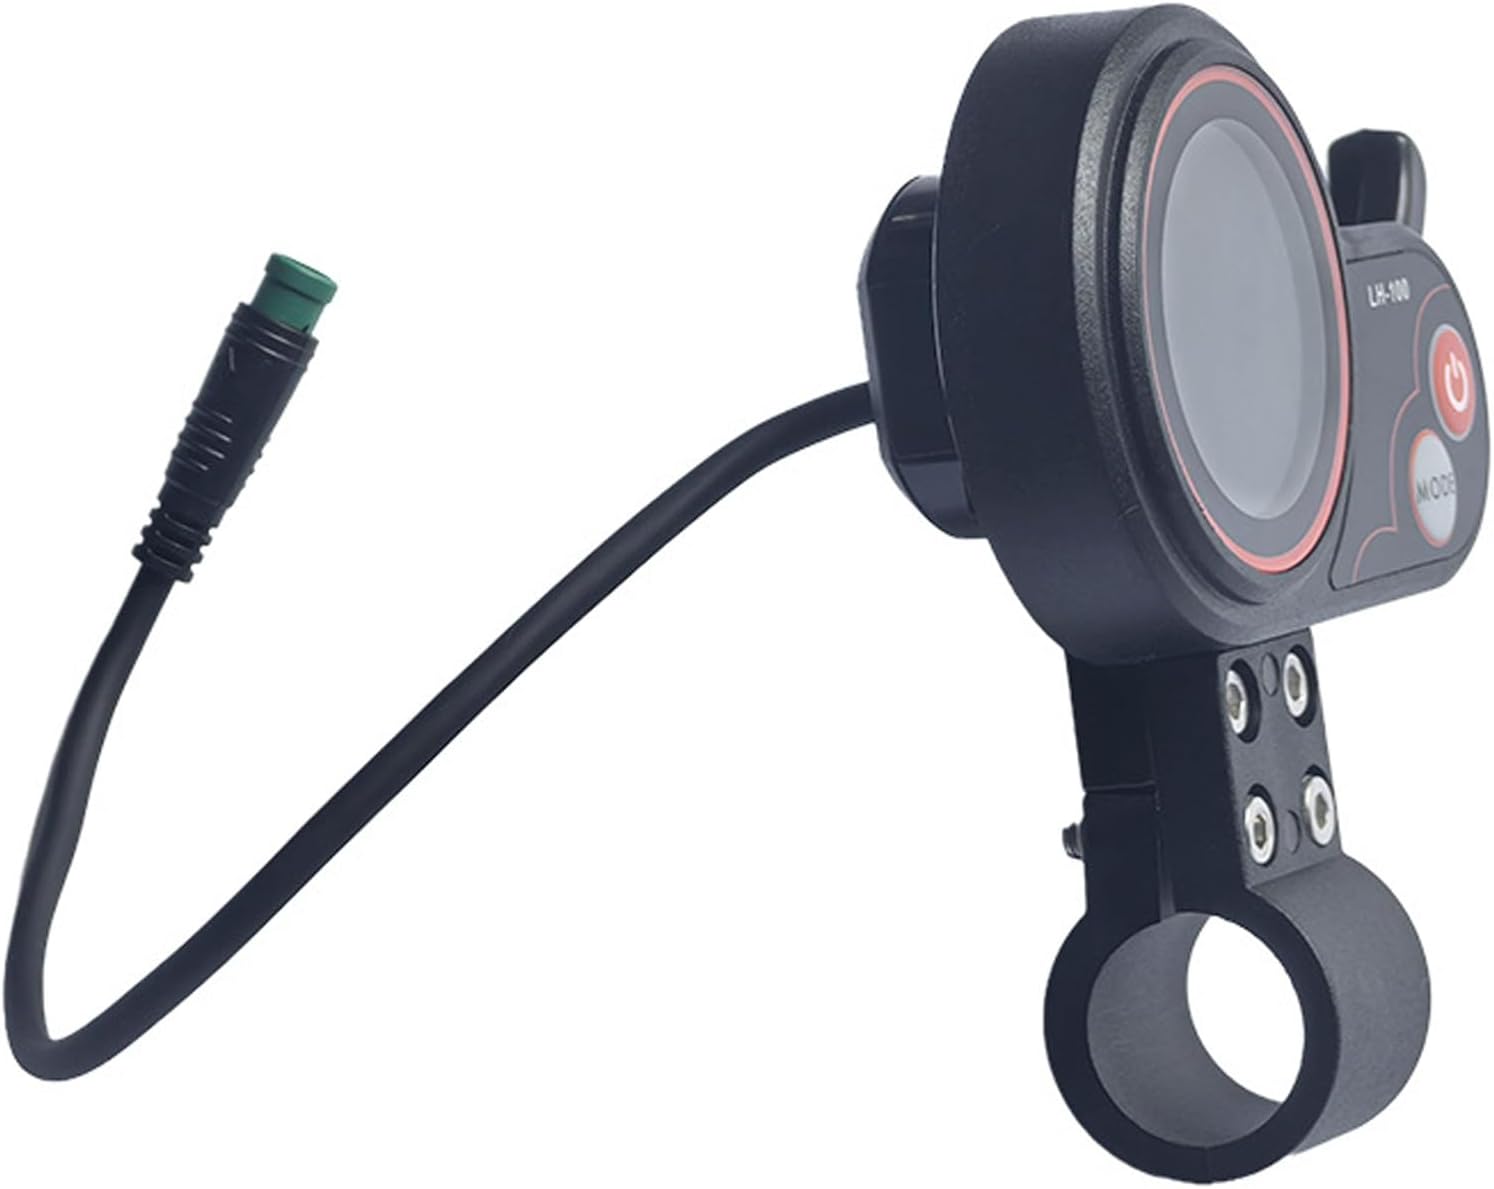
Figure 4.5: Side view of the LH100 throttle, highlighting the cable and the USB port cover.
5. Operation
The LH100 display provides intuitive controls for managing your electric scooter's performance.
5.1 Powering On/Off
- To power on the display, press and hold the Power button (red button with power symbol).
- To power off, press and hold the Power button again.
5.2 Display Functions
The LCD screen shows various parameters:
- Speed: Current riding speed.
- Battery Level: Indication of remaining battery charge.
- Gear: Current power assist level (P1, P2, P3).
- Mileage: Short press the MODE button to switch between single trip mileage and cumulative total mileage.
- Time: Current riding time.
5.3 Adjusting Settings
The LH100 display supports various customizable settings. Consult your scooter's main controller manual for detailed instructions on accessing and modifying advanced settings, as these often depend on the controller's capabilities.
- Gear Adjustment: Use the MODE button to cycle through P1, P2, and P3 gears, which typically correspond to different speed or power levels.
- Backlight Levels: Adjust the brightness of the display backlight.
- Sleep Mode: Configure auto-sleep or timer-based sleep modes to conserve battery.
- Speed Limits: Set maximum speed limits according to your preference or local regulations.
5.4 Throttle Usage
The thumb throttle controls the acceleration of the electric scooter. Gently press the thumb lever to increase speed and release it to decelerate. The display will show the current speed and gear.
Video 5.1: Demonstration of the TF-100 display and throttle operation, including gear adjustment. This video illustrates the functionality of a compatible system.
6. Maintenance
Regular maintenance helps ensure the longevity and optimal performance of your LH100 throttle and display.
- Cleaning: Wipe the display and throttle housing with a soft, damp cloth. Avoid using abrasive cleaners or solvents.
- Connection Check: Periodically inspect the 5-pin connector for dirt, corrosion, or damage. Ensure it remains securely connected.
- Cable Inspection: Check the cable for any cuts, kinks, or fraying. Replace if damaged.
- Storage: When not in use for extended periods, store the scooter and its components in a dry, cool place away from direct sunlight.
7. Troubleshooting
If you encounter issues with your LH100 throttle and display, refer to the following common problems and solutions:
| Problem | Possible Cause | Solution |
|---|---|---|
| Display does not power on | Loose connection, low battery, faulty unit | Check 5-pin connection. Ensure scooter battery is charged. If problem persists, contact support. |
| Throttle not responding | Loose connection, controller issue, throttle fault | Verify 5-pin connection. Check scooter controller for error codes. |
| Inaccurate speed reading | Incorrect wheel size setting (in controller), sensor issue | Consult your scooter controller manual to verify wheel size settings. |
| Display shows error code | Specific system fault | Refer to your scooter's main controller manual for error code definitions and troubleshooting steps. |
8. Specifications
- Model Name: LH100 Display 60V 5 Pin Electric Scooter Throttle
- Compatibility: 5-pin LH100 display, compatible with TF-100 electric scooter throttle, control protocol 2, Jingbo and Yunli 6000W electric scooter controllers.
- Voltage: 48V / 60V (as per product title, specifications mention 60V)
- Connector Type: 5-pin waterproof cable
- Material: Plastic
- Color: Black
- Item Dimensions (LxWxH): Approximately 5.1 x 5.1 x 1.4 inches (129.2 x 129.2 x 35.4 mm)
- Package Weight: 7.04 ounces
- Included Components: 1 unit LH100 display 60V 5 pin (waterproof cable) with extension cable
9. Warranty and Support
This product does not include a manufacturer's warranty. For any operational questions or technical assistance, please refer to the seller's support channels or the documentation provided with your electric scooter's main controller.
