Introduction
This manual provides essential information for the installation, operation, maintenance, and troubleshooting of your new FTYHFEFH carburetor. This carburetor is designed as a direct replacement for Briggs & Stratton 675, 675E, 190cc, and 6.75 series engines, ensuring compatibility and reliable performance. Please read these instructions carefully before proceeding with installation or maintenance.
The FTYHFEFH carburetor is engineered for precision and constructed with quality materials to ensure durable and lasting performance. Its design facilitates a straightforward replacement process for average users.
Package Contents
Verify that all components are present in your package. The package includes the carburetor exactly as pictured in the product images.
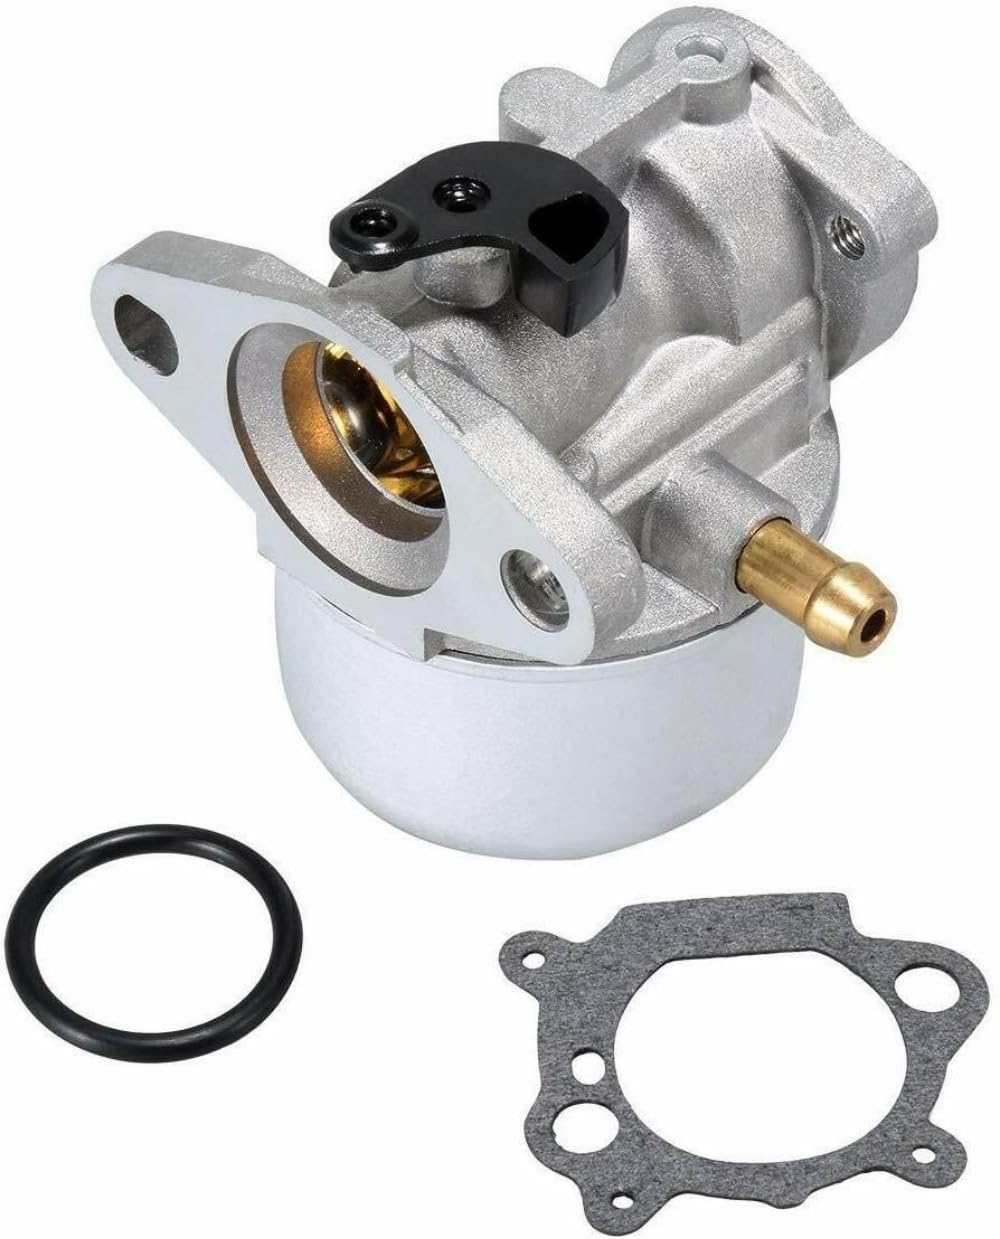
Figure 1: Front view of the FTYHFEFH carburetor, showing the air intake and fuel inlet.
Setup and Installation
Proper installation is crucial for optimal performance. If you are unsure about any step, it is recommended to consult a qualified technician.
- Safety First: Before beginning any work, ensure the engine is cool. Disconnect the spark plug wire to prevent accidental starting. If possible, drain the fuel tank or clamp the fuel line to prevent spills.
- Access the Carburetor: Remove any air filter housings, shrouds, or other components that obstruct access to the existing carburetor.
- Disconnect Components: Carefully disconnect the fuel line, throttle linkage, and choke linkage from the old carburetor. Note their positions for reassembly.
- Remove Old Carburetor: Unbolt the old carburetor from the engine. Pay attention to any gaskets between the carburetor and the engine block or intake manifold. These gaskets are critical for proper sealing.
- Prepare for New Carburetor: Clean the mounting surfaces on the engine block and intake manifold to ensure a good seal.
- Install New Carburetor: Place new gaskets (if provided or required) onto the mounting studs. Carefully position the new FTYHFEFH carburetor onto the studs.
- Secure Carburetor: Install the mounting bolts and tighten them evenly to the manufacturer's specifications (refer to your engine's service manual for torque values). Do not overtighten.
- Reconnect Components: Reattach the fuel line, throttle linkage, and choke linkage to their correct positions on the new carburetor. Ensure all connections are secure and move freely.
- Final Checks: Reinstall any removed air filter housings or shrouds. Reconnect the spark plug wire.

Figure 2: Side view of the carburetor, highlighting the mounting holes and fuel inlet for installation reference.
Operating Considerations
After installation, the engine should be ready for operation. The carburetor is pre-set for standard engine conditions. No adjustments are typically required for this replacement unit.
- Fuel: Use fresh, clean fuel as recommended by your engine manufacturer. Stale or contaminated fuel can cause carburetor issues.
- Initial Start-up: After installation, it may take a few pulls or cranks for the fuel system to prime and the engine to start.
- Choke Operation: Operate the choke according to your engine's specific starting procedure.
Maintenance
Regular maintenance helps ensure the longevity and performance of your carburetor and engine.
- Fuel System Cleanliness: Always use a fuel filter and ensure it is clean. Replace the fuel filter regularly as per your engine's maintenance schedule.
- Fuel Quality: Use fuel stabilizer if the engine will be stored for extended periods (over 30 days) to prevent fuel degradation and gumming in the carburetor.
- Air Filter: A clean air filter is essential for proper engine operation and carburetor function. Inspect and clean/replace the air filter regularly.
- Visual Inspection: Periodically inspect the carburetor for any signs of fuel leaks, loose connections, or damage.

Figure 3: View of the carburetor, showing the fuel bowl area which may require inspection during maintenance.
Troubleshooting
If you encounter issues after installing the new carburetor, consider the following common problems and solutions:
- Engine Will Not Start:
- No Fuel: Check fuel tank level. Ensure fuel valve is open.
- Clogged Fuel Filter: Inspect and replace if necessary.
- Spark Plug: Check for spark. Clean or replace the spark plug if fouled.
- Improper Choke Use: Ensure choke is set correctly for starting.
- Air Leaks: Verify all gaskets and mounting bolts are secure, preventing air leaks around the carburetor.
- Engine Runs Rough or Idles Poorly:
- Stale Fuel: Drain old fuel and refill with fresh fuel.
- Dirty Air Filter: Clean or replace the air filter.
- Minor Air Leak: Recheck carburetor mounting and gasket integrity.
- Loss of Power or Engine Surges:
- Fuel Delivery Issue: Check fuel filter and fuel lines for obstructions.
- Air Filter Restriction: Ensure air filter is clean.
For persistent issues, it is advisable to consult your engine's service manual or a professional mechanic.

Figure 4: Top-down view of the carburetor, illustrating the throttle and choke linkage points for troubleshooting connection issues.
Specifications
| Attribute | Detail |
|---|---|
| Brand | FTYHFEFH |
| Compatible Engines | Briggs & Stratton 675, 675E, 190cc, 6.75 Series Engines |
| Item Weight | Approximately 1 pound |
| Product Dimensions | Approximately 1 x 1 x 1 inches (L x W x H) - Note: These dimensions may refer to packaging and are approximate. |
| Manufacturer Part Number | 1 - Note: This is the manufacturer's internal part number. |
| UPC | 779824703748 |
Warranty and Support
Specific warranty details for this FTYHFEFH carburetor are not provided in the product information. For warranty inquiries or technical support, please contact the seller or manufacturer directly through your purchase platform.


