
1. Introduction
Thank you for choosing the ReHisk 27 Inch Curved Gaming Monitor. This manual provides essential information for setting up, operating, maintaining, and troubleshooting your new monitor. Designed for an immersive visual experience, this QHD 1440P monitor features a 165Hz refresh rate and 1ms response time, making it ideal for both gaming and professional use.
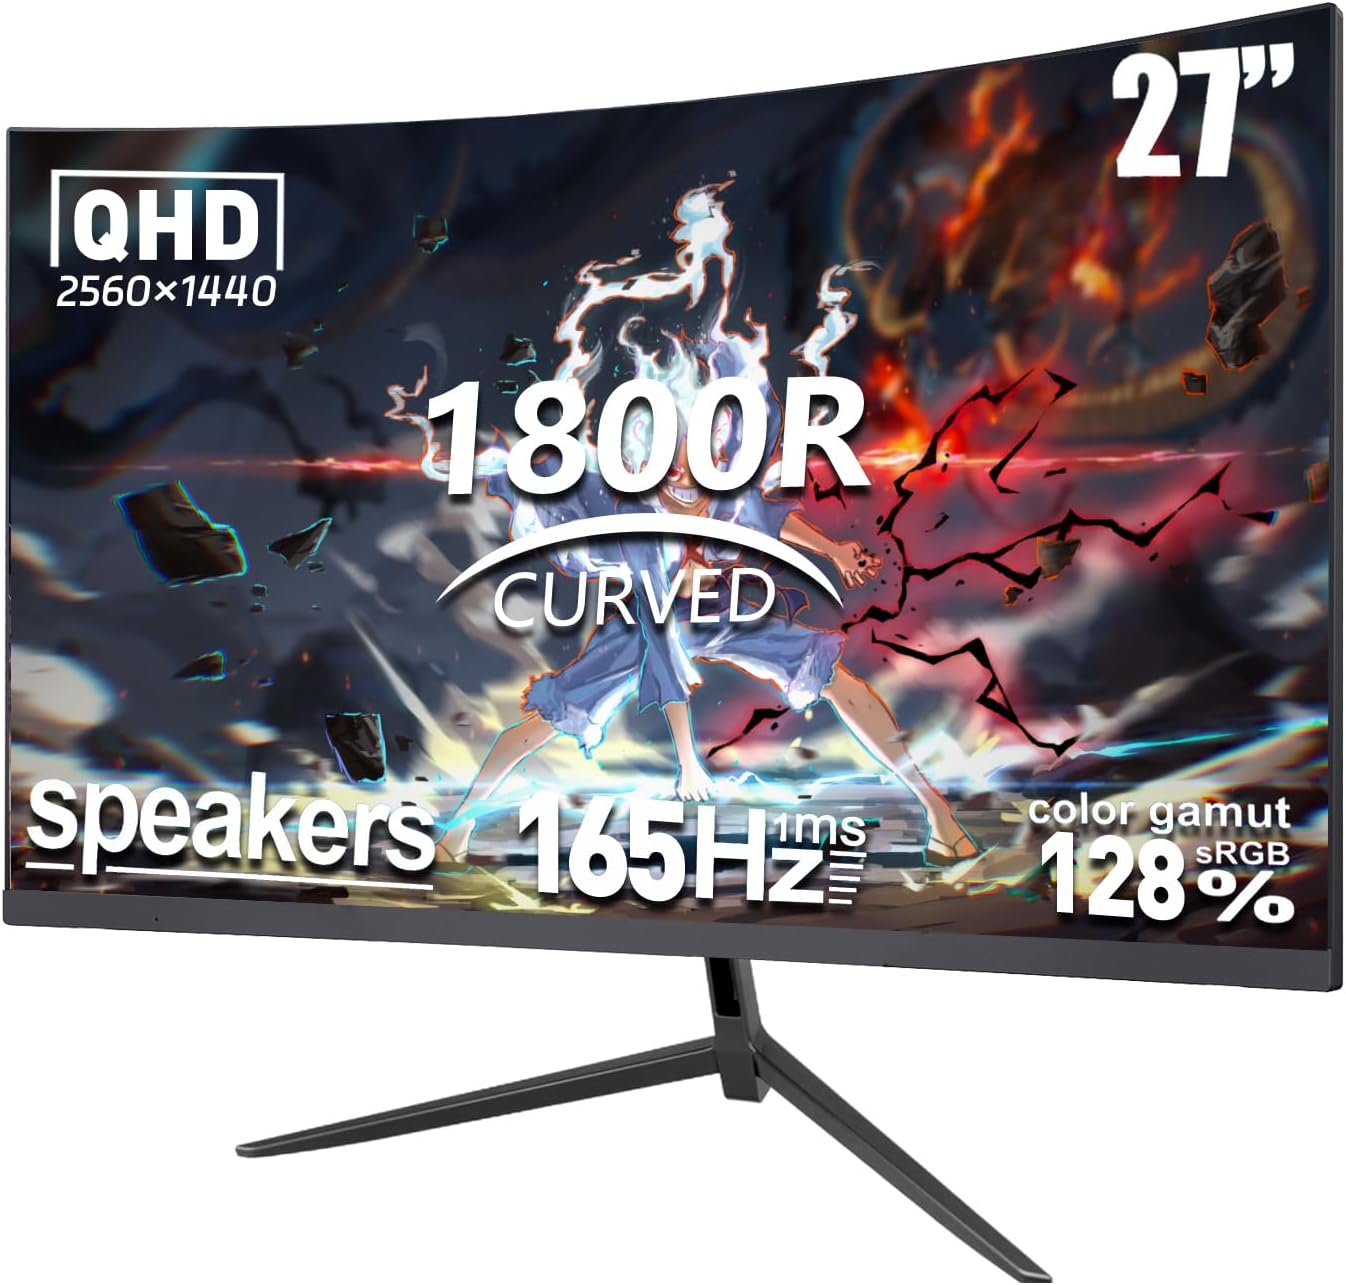
Figure 1.1: ReHisk 27 Inch Curved Gaming Monitor
This image displays the ReHisk 27-inch curved gaming monitor from a front-facing angle, highlighting its slim bezels and sturdy stand.
2. What's in the Box
Carefully unpack the box and ensure all items are present:
- ReHisk 27 Inch Curved Gaming Monitor
- Bracket Base
- Bracket
- HDMI Cable
- DP Data Cable
- Power Line
- Product Manual (this document)
- Screws for assembly
Video 2.1: Unboxing and Initial Setup Guide
This video demonstrates the unboxing process and initial assembly steps for the ReHisk 27 Inch Curved Gaming Monitor, including identifying all components and attaching the stand.
3. Setup
3.1 Physical Assembly
- Carefully remove the monitor from its packaging.
- Attach the bracket to the monitor by aligning it with the groove on the back of the monitor and inserting it firmly.
- Secure the bracket to the monitor using the provided screws.
- Attach the bracket base to the bracket and tighten the screws at the bottom of the bracket base.
The monitor supports VESA 75mm x 75mm installation, allowing for wall mounting or use with compatible monitor arms for flexible space management.

Figure 3.1: Monitor Dimensions and VESA Mount Compatibility
This image illustrates the physical dimensions of the 27-inch monitor and highlights the 75mm x 75mm VESA mounting points on the rear.
3.2 Connecting to Devices
This monitor offers a wide range of ports for versatile connectivity:
- HDMI Ports: Connect to PCs, gaming consoles, and other HDMI-enabled devices.
- DP (DisplayPort) Ports: Connect to PCs for optimal refresh rates and resolution.
- Audio Out: Connect external speakers or headphones.
- DC Power: Connect the power adapter.

Figure 3.2: Rear Ports of the Monitor
This image provides a clear view of the monitor's rear panel, showing the HDMI, DisplayPort, Audio Out, and DC Power input ports.
Important Note for Console Users:
- When connected to a PS4, the refresh rate is limited to a maximum of 60Hz due to PS4 limitations.
- When connected to a PS5, the refresh rate is limited to a maximum of 120Hz due to PS5 limitations.
- When connected to an Xbox, the refresh rate is limited to a maximum of 144Hz due to Xbox limitations.
To utilize the full 165Hz refresh rate and 1440P resolution, it is recommended to connect the monitor to a PC using a DisplayPort cable.

Figure 3.3: Refresh Rate Limitations with Gaming Consoles
This image visually explains the maximum refresh rates achievable when connecting the monitor to various gaming consoles (PS4, PS5, Xbox) compared to a PC.
4. Operating Instructions
4.1 Key Features
- 1800R Curved VA Panel: The 1800R curvature wraps around your field of view, providing a more natural and comfortable experience that allows you to immerse yourself more deeply in content.
- High Refresh Rate & Response Time: Enjoy smooth visuals with a 165Hz refresh rate and a rapid 1ms (MPRT) response time, effectively preventing tearing and ghosting for clear video playback.
- Adaptive Sync Technology: Compatible with AMD FreeSync and NVIDIA G-Sync, this technology synchronizes the monitor's refresh rate with your GPU's frame rate, eliminating screen tearing and stuttering for fluid gameplay.
- Professional Color Gamut: Features 128% sRGB color gamut, 16.7 million colors, 250cd/m² brightness, and a 3000:1 static contrast ratio for vibrant and true-to-life colors.
- Eye Care Technology: Built-in flicker-free and low blue light features help reduce eye strain during prolonged use.
- Crosshair Function: An on-screen crosshair can be activated to assist with aiming in compatible games.

Figure 4.1: Immersive Panoramic Experience
This image demonstrates the immersive viewing experience provided by the monitor's curved design, ideal for gaming and multimedia.

Figure 4.2: Visualizing 1ms Response Time
This image compares the visual clarity of a 1ms response time at 165Hz versus a slower response time at 60Hz, showing reduced motion blur.

Figure 4.3: Crosshair Function in Action
This image illustrates the monitor's built-in crosshair function, showing how it appears on screen to assist with aiming in games.

Figure 4.4: Comprehensive Monitor Features
This collage highlights several key features of the monitor, including FreeSync/G-Sync compatibility, built-in audio, DCI-P3 color space, 165Hz refresh rate, and 1ms response time.
4.2 On-Screen Display (OSD) Menu
The OSD menu allows you to adjust various monitor settings. Use the buttons located on the back or bottom of the monitor to navigate the menu.
- Input Source: Select between HDMI and DisplayPort inputs.
- Picture Settings: Adjust brightness, contrast, sharpness, and gamma.
- Color Settings: Fine-tune color temperature, hue, and saturation.
- Display Settings: Adjust aspect ratio and enable/disable features like FreeSync/G-Sync.
- Audio Settings: Control volume for the built-in speakers or connected external audio devices.
- OSD Settings: Customize OSD language, transparency, and timeout.
5. Maintenance
Proper maintenance ensures the longevity and optimal performance of your monitor.
- Cleaning the Screen: Use a soft, lint-free cloth lightly dampened with water or a non-abrasive screen cleaner. Avoid using alcohol, ammonia, or abrasive cleaners.
- Cleaning the Casing: Wipe the monitor casing with a soft, dry cloth.
- Ventilation: Ensure the monitor's ventilation openings are not blocked to prevent overheating.
- Power Off: Always turn off the monitor and unplug it from the power outlet before cleaning or when not in use for extended periods.
6. Troubleshooting
If you encounter issues with your monitor, refer to the following common troubleshooting steps:
- No Power: Ensure the power cable is securely connected to both the monitor and a working power outlet. Check if the power adapter's indicator light is on.
- No Signal: Verify that the video cable (HDMI or DP) is correctly connected to both the monitor and your computer/device. Ensure the correct input source is selected in the OSD menu.
- Flickering Screen: Check the video cable connection. Ensure your graphics card drivers are up to date. Try adjusting the refresh rate in your computer's display settings.
- Image Distortion/Blurry: Ensure the monitor's native resolution (2560 x 1440) is selected in your computer's display settings.
- No Audio: Check the audio cable connection if using external speakers. Ensure the volume is not muted on the monitor or your connected device.
If the problem persists after trying these steps, please contact customer support.
7. Specifications
| Feature | Specification |
|---|---|
| Brand | ReHisk |
| Item Model Number | RE-271KV2 |
| Screen Size | 27 Inches |
| Standing Screen Display Size | 27 Inches |
| Resolution | 2560 x 1440 Pixels (QHD Wide 1440p) |
| Aspect Ratio | 16:9 |
| Screen Surface Description | Matte |
| Product Dimensions | 6.4 x 24 x 13.6 inches |
| Item Weight | 7.04 pounds |
| Manufacturer | ReHisk |
8. Warranty and Support
As a professional monitor manufacturer, ReHisk is committed to providing high-quality products and excellent customer service.
- Warranty: We offer a 360-day replacement service for any damage, malfunction, or missing accessories.
- Technical Support: Lifetime technology support is available for all our products.
If you have any questions, encounter issues, or require assistance, please do not hesitate to contact our customer support team. Refer to the contact information provided on the product packaging or our official website.