
1. Introduction
This manual provides instructions for the Breeze Bay KUJCE10311/KUJCE10712 Universal Ceiling Fan Remote Control Kit. This kit is designed for 3-speed AC ceiling fans and offers control over fan speeds (high, medium, low, and off) and light functions (on/off and dimming). It is compatible with various ceiling fan brands including Harbor Breeze, Honeywell, Hampton Bay, Hunter, Allen+Roth, Litex, Kichler, and Westinghouse.
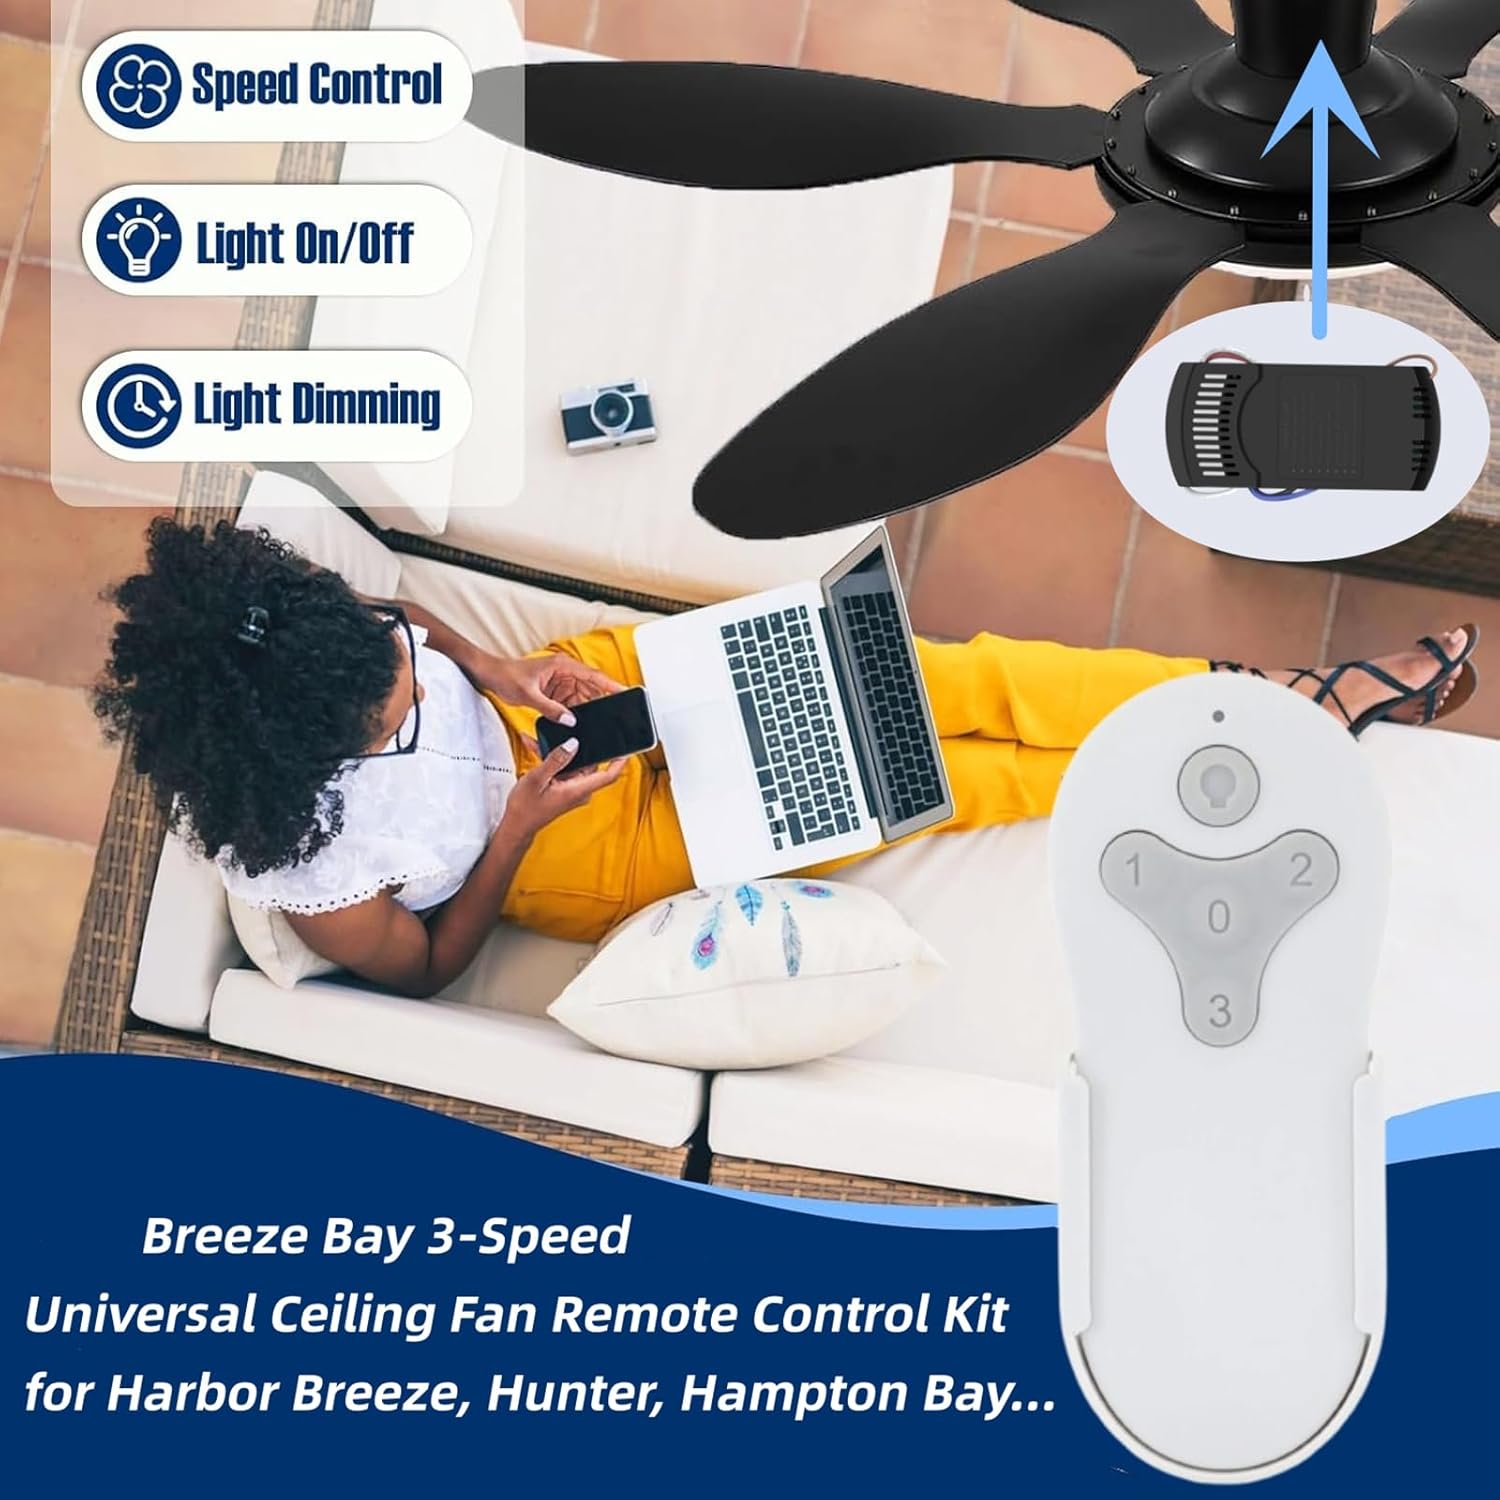
Image 1.1: The Breeze Bay universal ceiling fan remote control kit, showing the remote and receiver, with a ceiling fan in a room setting. This kit provides speed control, light on/off, and light dimming functionalities.
2. Package Contents
Verify that all items listed below are included in your package:
- 1 x Remote Control (RC-93T)
- 1 x Receiver (RC-93R)
- 1 x Wall Bracket for Remote
- 6 x Wire Nuts
- 2 x Screws
- 2 x Sleeves
- 1 x User Manual
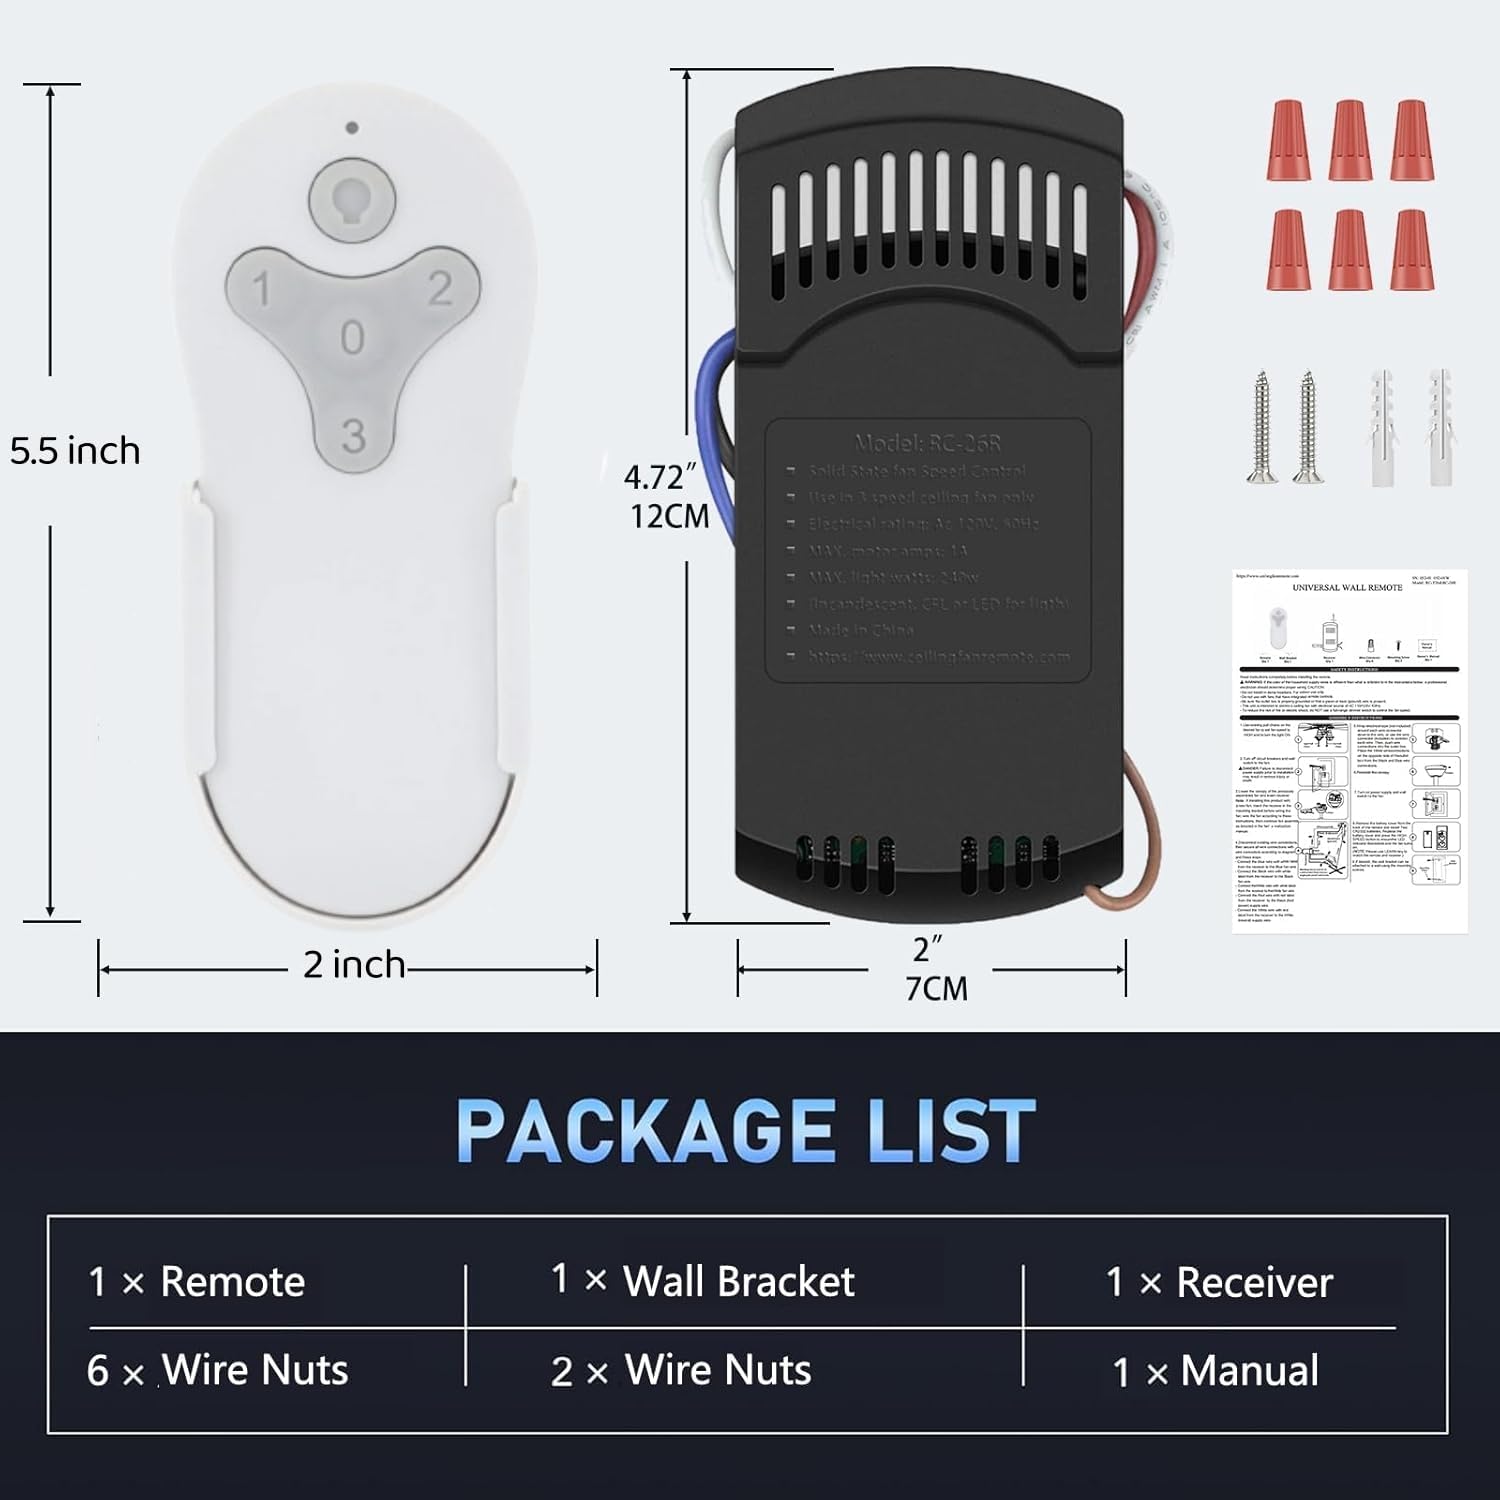
Image 2.1: Visual representation of the package contents, including the remote, receiver, wall bracket, wire nuts, screws, sleeves, and the user manual. Dimensions of the remote and receiver are also shown.
3. Specifications
| Feature | Specification |
|---|---|
| Model Number | RC-93T+RC-93R |
| Item Weight | 6.7 ounces |
| Package Dimensions | 5.2 x 4.33 x 1.62 inches |
| Brand | Breeze Bay |
| Special Feature | Light Dimmer |
| Color | White |
| Max Supported Devices | 2 |
| Compatible Devices | 3-speed AC ceiling fan |

Image 3.1: The remote control and receiver unit. The receiver unit displays model information and electrical ratings.
4. Compatibility
This universal ceiling fan remote control kit is compatible with a wide range of 3-speed AC ceiling fans and specific remote models. It is designed to replace or upgrade existing remote systems.
4.1 Compatible Remote Models:
- KUJCE10311/TR214A
- KUJCE10712/TR214B
- 2BB78-ITL-F304C
- A25-FA0138
- KUJCE10610
- 2AQZU-18018/TR214D
- A25-TX00I
- A25-TX001-R1
- A25-TX005R
- KUJCE9603
- CHQ7202T
- CHQ7202T1
- L3HFAN35T
- 2AAZPFAN35TI
- FAN-53T
4.2 Compatible Harbor Breeze Ceiling Fan Models:
This kit works with various Harbor Breeze ceiling fan models, including but not limited to:
- Beach Creek/Mazon series
- TG44XXX3D1RC, TG44XXX3D1RS, TG52XXX3D1RC, TG52LW3D1RCS
- BRD48XXX6LR, BRD60XXX6LR
- CAF48XXX5L, E-CAF56OSB5CRC
- CHA52MBK5LR
- FW60XXX3LR, FWH60BNK3LRS
- RS54xxx6LR, WE52XXX5LR, MZ44XXX3LR
- Item numbers: 1145471, 923049, 803772, 883810, 1145470, 1117023, 883809, 2599780, 4143804, 1117039, 4057329, 1596999, 1117034, 4057327, 1117035, 1117038, 1117022, 649729, 4057326, 1145466
5. Setup and Installation
Proper installation of the receiver unit is crucial for the remote control kit to function correctly. Always ensure power is off before beginning installation.
5.1 Wiring Instructions:
- Disconnect Power: Turn off the power to the ceiling fan at the circuit breaker or wall switch.
- Access Wiring: Carefully lower the ceiling fan canopy to expose the wiring connections.
- Disconnect Fan Wiring: Disconnect the existing wiring from the ceiling fan. Note the connections for input (from ceiling) and output (to fan and light).
- Install Receiver: Connect the receiver according to the wiring diagram provided below. Ensure all connections are secure using the included wire nuts.
- Input from Ceiling: Connect the Red wire from the ceiling to the Red input wire of the receiver (Live). Connect the White wire from the ceiling to the White input wire of the receiver (Neutral).
- Output to Fan: Connect the Black output wire from the receiver to the fan motor's power wire.
- Output to Light: Connect the Blue output wire from the receiver to the light fixture's power wire.
- Neutral Connection: Connect the White output wire from the receiver to the fan's neutral wire and the light's neutral wire.
- Antenna: Position the antenna wire for optimal signal reception.
- Secure Receiver: Carefully tuck the receiver into the fan canopy, ensuring no wires are pinched.
- Reattach Canopy: Secure the fan canopy back in place.

Image 5.1: Detailed wiring diagram illustrating how to connect the receiver unit between the ceiling wiring and the fan/light fixture. It shows connections for input neutral, input live, output neutral, output to fan, and output to light.
6. Pairing Instructions
After installation, the remote control needs to be paired with the receiver. There are two methods for pairing:
Method 1: Using the "0" (FAN OFF) Key
- Turn off the power to the ceiling fan using either the wall switch or the circuit breaker, then turn it back on.
- Within 30 seconds of restoring power, press and hold the "0" (FAN OFF) key on the remote control for 5 seconds.
- The indicator light on the remote will flash. If pairing is successful, the fan will turn on at a low speed, and the light will be off.
Method 2: Using the Built-in Learning Key
- Turn off the power to the ceiling fan using either the wall switch or the circuit breaker, then turn it back on.
- Install a 12V battery (not included) into the remote control.
- Within 30 seconds of restoring power, press the learning key located inside the battery compartment of the remote control.
- The indicator light on the remote will flash. If pairing is successful, the fan will turn on at a low speed, and the light will be off.

Image 6.1: Visual guide for the two pairing methods: pressing the '0' (FAN OFF) key or using the 'LEARN' button located in the battery compartment.
7. Operating Instructions
The remote control provides comprehensive control over your ceiling fan and light functions.
7.1 Fan Speed Control:
- Press "1" for Low fan speed.
- Press "2" for Medium fan speed.
- Press "3" for High fan speed.
- Press "0" to turn the fan off.

Image 7.1: The remote control with clearly labeled buttons for High (3), Medium (2), Low (1) fan speeds, and Off (0).
7.2 Light Control and Dimming:
- Press the Light button (bulb icon) to turn the light on or off.
- When the light is on, press and hold the Light button to dim or brighten the light. Release the button when the desired brightness is reached.
- Compatibility Note: This dimmer function is compatible with incandescent light bulbs and some dimmable LED lights. Most LED lights and all CFL lamps are non-dimmable; for these, the light button will only support ON/OFF functionality.

Image 7.2: Illustration of the light dimming capability, showing different brightness levels suitable for various activities like dinner (70% brightness) or rest (10% brightness).
8. Troubleshooting
If you encounter issues with your remote control kit, please refer to the following common problems and solutions:
- Fan or Light Not Responding:
- Ensure the power to the fan is on at the wall switch and circuit breaker.
- Check the battery in the remote control and replace if necessary.
- Re-attempt the pairing process (refer to Section 6).
- Verify all wiring connections in the fan canopy are secure and correct (refer to Section 5.1).
- Light Dimming Not Working:
- Confirm that the light bulbs installed are dimmable (incandescent or dimmable LED). Non-dimmable LED or CFL bulbs will only function as ON/OFF.
- Intermittent Operation:
- Ensure the remote control is within range of the receiver.
- Check for any obstructions between the remote and the fan.
- Interference from other electronic devices might occur. Try repositioning the fan or receiver if possible.
If problems persist after attempting these solutions, please contact customer support.
9. Maintenance
The Breeze Bay Ceiling Fan Remote Control Kit requires minimal maintenance.
- Cleaning: Wipe the remote control with a soft, dry cloth. Do not use abrasive cleaners or allow moisture to enter the remote.
- Battery Replacement: Replace the 12V battery in the remote control when its performance diminishes. Ensure correct polarity when inserting the new battery.
- Environmental Conditions: Avoid exposing the remote and receiver to extreme temperatures, humidity, or direct sunlight.
10. Warranty and Support
For warranty information or technical support, please refer to the documentation included with your purchase or contact the manufacturer directly. Keep your purchase receipt as proof of purchase.


