TOWILD CL2000 Bicycle Light User Manual
Model: CL2000
Brand: TOWILD
1. Introduction
Thank you for choosing the TOWILD CL2000 Bicycle Light. This manual provides essential information for the safe and effective operation, maintenance, and troubleshooting of your new bicycle light. Please read this manual thoroughly before use and retain it for future reference.
2. Product Features
- Professional 2000 Lumen Illumination: The CL2000 front light delivers 2000 lumens of power with a 200-meter beam range, suitable for dark roads, mountain trails, and complex urban environments.
- Anti-Glare Optical Design: Features a new Gen 2 anti-glare lens with a cut-off line to prevent dazzling oncoming vehicles and pedestrians, enhancing safety.
- Versatile Installation: Supports both normal (above handlebar) and inverted (below handlebar) mounting. Compatible with various bike computers like Garmin and XOSS when mounted underneath.
- USB-C Rechargeable with Power Bank Function: Equipped with a high-capacity 5000mAh rechargeable battery and USB-C charging. Provides up to 2 hours at 2000 lumens, 8 hours at 400 lumens, and up to 12 hours in slow flashing mode. Can also function as a power bank to charge smartphones in emergencies.
- Intelligent Vibration Sensor: Features a smart mode where the light automatically turns off after 2 minutes of inactivity and reactivates upon detecting vibrations within an hour.
- IPX6 Waterproof Rating: Designed to withstand adverse weather conditions, allowing confident use during rain without risk of damage.
- Multiple Lighting Modes: Offers 5 illumination modes (High, Medium, Low, Night Travel Warning, Day Travel Warning) to adapt to different cycling conditions.

The TOWILD CL2000 bicycle light with its mounting bracket.

Illustration of the new anti-glare optical design (Gen 2 Lens) with improved visibility and safety.

Demonstration of the automatic on/off function via vibration sensor. The light turns off when static and on when vibrating.

The CL2000 light shown on a bicycle handlebar in rainy conditions, highlighting its IPX6 waterproof capability.

The CL2000 light being used to charge a smartphone, demonstrating its power bank function.

Table illustrating the 5 lighting modes, their luminosity, and corresponding battery life (up to 12 hours).
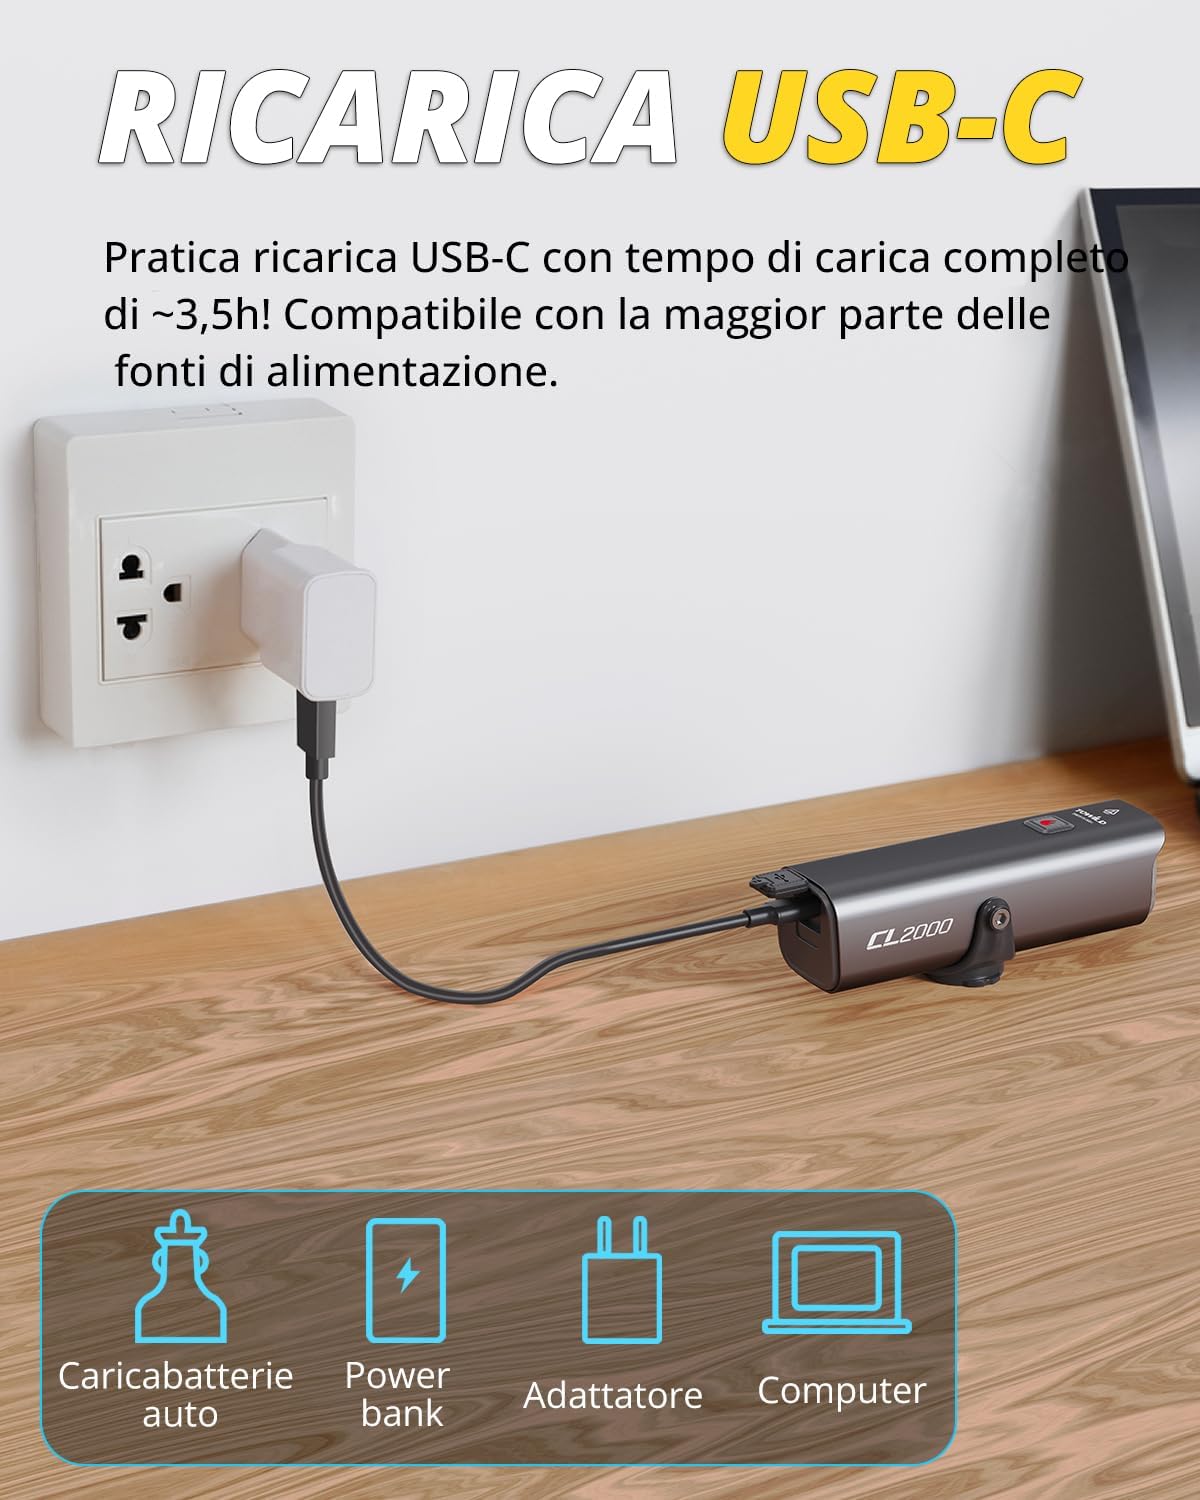
The CL2000 light connected for USB-C charging, compatible with various power sources.

Image showing the versatile mounting options, including suspension mounting under the handlebar or on a helmet.
3. Package Contents
The TOWILD CL2000 Bicycle Light package includes:
- 1 x CL2000 Bicycle Light
- 1 x USB-C Charging Cable
- Mounting Bracket (for handlebar)
- User Manual
- Hex Key (for mount adjustment)

Visual representation of the CL2000 package contents, including the light, cable, mount, and manual.
4. Specifications
| Feature | Specification |
|---|
| Model Number | CL2000 |
| Dimensions (Product) | 10.8 x 3.1 x 3.1 cm |
| Weight | 270 grams |
| Battery Type | 1 Lithium Ion battery (included) |
| Battery Capacity | 5000mAh |
| Charging Port | USB-C |
| Charging Time | Approx. 3.5 hours |
| Luminosity | Up to 2000 lumens |
| Illumination Distance | 200 meters |
| Water Resistance Level | IPX6 (Impermeabile) |
| Material | Aluminum |
| Mounting Type | Handlebar mount |
| Number of Settings | 4 (modes, excluding warning modes) |
| Color | Black |
5. Setup
5.1 Initial Charging
Before first use, fully charge the CL2000 bicycle light. Connect the provided USB-C cable to the light's charging port (located at the rear, under the rubber flap) and to a USB power source (e.g., computer, wall adapter, power bank). The battery indicator LED will show charging status. A full charge takes approximately 3.5 hours.
5.2 Mounting the Light
The CL2000 offers versatile mounting options:
- Handlebar Mount (Standard): Attach the mounting bracket to your bicycle's handlebar. Ensure it is securely fastened. Slide the CL2000 light onto the bracket until it clicks into place.
- Handlebar Mount (Inverted): The light can be mounted underneath the handlebar for a cleaner look or to accommodate other accessories. Use the hex key to adjust the light's attachment point on the bracket if needed to ensure the beam is correctly oriented.
- Helmet Mount: (If applicable, requires separate helmet mount accessory) Secure the light to a compatible helmet mount.
Ensure the light is firmly attached and pointed correctly to illuminate the path ahead without blinding oncoming traffic. The anti-glare design helps, but proper aiming is crucial.

Illustrates various installation methods: under handlebar, above handlebar, and on helmet.
6. Operating Instructions
6.1 Power On/Off and Mode Selection
The CL2000 has a single main button for control.
- Power On: Press and hold the main button for 1-2 seconds to turn the light on.
- Change Modes: Short press the button to cycle through the available lighting modes (High, Medium, Low, Night Travel Warning, Day Travel Warning).
- Power Off: Press and hold the main button for 1-2 seconds to turn the light off.
6.2 Smart Mode (Vibration Sensor)
The CL2000 features an intelligent mode that utilizes a vibration sensor to conserve battery life.
- Activating Smart Mode: When the light is on, short press the button until the indicator LED turns blue.
- Automatic Shut-off: In Smart Mode, if no movement or vibration is detected for more than 2 minutes, the light will automatically turn off.
- Automatic Reactivation: If the light detects vibrations within one hour of automatic shut-off, it will automatically turn back on to the last used mode.
6.3 Battery Indicator
The LED indicator on the light provides real-time battery status:
- Manual Mode:
- Solid Green: 100-30% battery
- Flashing Green: 29-10% battery
- Alternating Green/Red Flash: Below 10% battery
- Smart Mode:
- Solid Blue: 100-30% battery
- Flashing Blue: 29-10% battery
- Alternating Blue/Red Flash: Below 10% battery

Visual guide to the battery charge indicator in both Smart and Manual modes.
7. Maintenance
7.1 Cleaning
Regularly clean the light's body and lens with a soft, damp cloth. Do not use abrasive cleaners or solvents, as they may damage the surface or optical components. Ensure the USB-C port's rubber flap is securely closed after charging to maintain IPX6 water resistance.
7.2 Battery Care
- To prolong battery life, avoid fully discharging the battery frequently.
- Charge the light at least once every three months if not in regular use to prevent deep discharge.
- Store the light in a cool, dry place away from direct sunlight and extreme temperatures.
8. Troubleshooting
| Problem | Possible Cause | Solution |
|---|
| Light does not turn on | Low battery; Malfunction | Charge the light fully. If problem persists, contact customer support. |
| Light turns off unexpectedly | Low battery; Smart mode activated and no movement detected; Overheating protection | Recharge the battery. Check if in Smart Mode and if the bike is stationary. Allow light to cool down if hot. |
| Light not charging | Faulty cable/charger; Loose connection; Damaged port | Try a different USB-C cable and charger. Ensure connection is secure. Inspect charging port for damage. |
| Smart mode not working | Not in Smart Mode; Sensor obstruction | Ensure the indicator LED is blue (Smart Mode). Check for any physical obstructions around the light. |
9. Warranty and Support
TOWILD products are manufactured to high-quality standards. For warranty information, technical support, or service inquiries, please refer to the warranty card included with your product or visit the official TOWILD website. Please have your model number (CL2000) and purchase details ready when contacting support.
For further assistance, you may also contact the seller directly through the platform where the product was purchased.


