
1. Introduction
1.1 Safety Information
Before operating your Jasion X-Hunter ST/PRO electric bike, please read this manual thoroughly. Familiarize yourself with all components, functions, and safety precautions. Always wear a helmet and appropriate safety gear. Ensure all parts are correctly assembled and secured before each ride. Adhere to local traffic laws and regulations. Regular maintenance is crucial for safe operation.
1.2 Package Contents
Carefully check the package contents upon arrival. If any items are missing or damaged, please contact Jasion customer support.
- Manual Flyer x1
- Front Wheel Axle x1
- Pedals x2
- Front Wheel x1
- Keys x2
- Charger x1
- Tools x9
- Seat x1
- Front Fender x1
- Stem x1
- Rear Rack x1
- Front Fork Cover x2
- Headlight x1
- Cable Tie x3
- Electric Bike (main frame) x1
1.3 Product Overview
The Jasion X-Hunter ST/PRO is a foldable electric bike designed for versatile riding. Key components include:
- Brakes: Dual hydraulic disc brakes for reliable stopping power.
- LCD Display: Shows speed, battery level, trip distance, and more.
- Shifter: 7-speed gear control.
- Throttle: For electric assistance.
- Saddle & Seat Post: Adjustable for rider comfort.
- Battery: Removable 48V 13Ah battery.
- Front Light & Taillight: For visibility.
- Front Suspension Fork: Absorbs shocks for a smoother ride.
- 20"x4" Fat Tires: Provides superior traction on various terrains.
- Rear Rack: For carrying cargo.
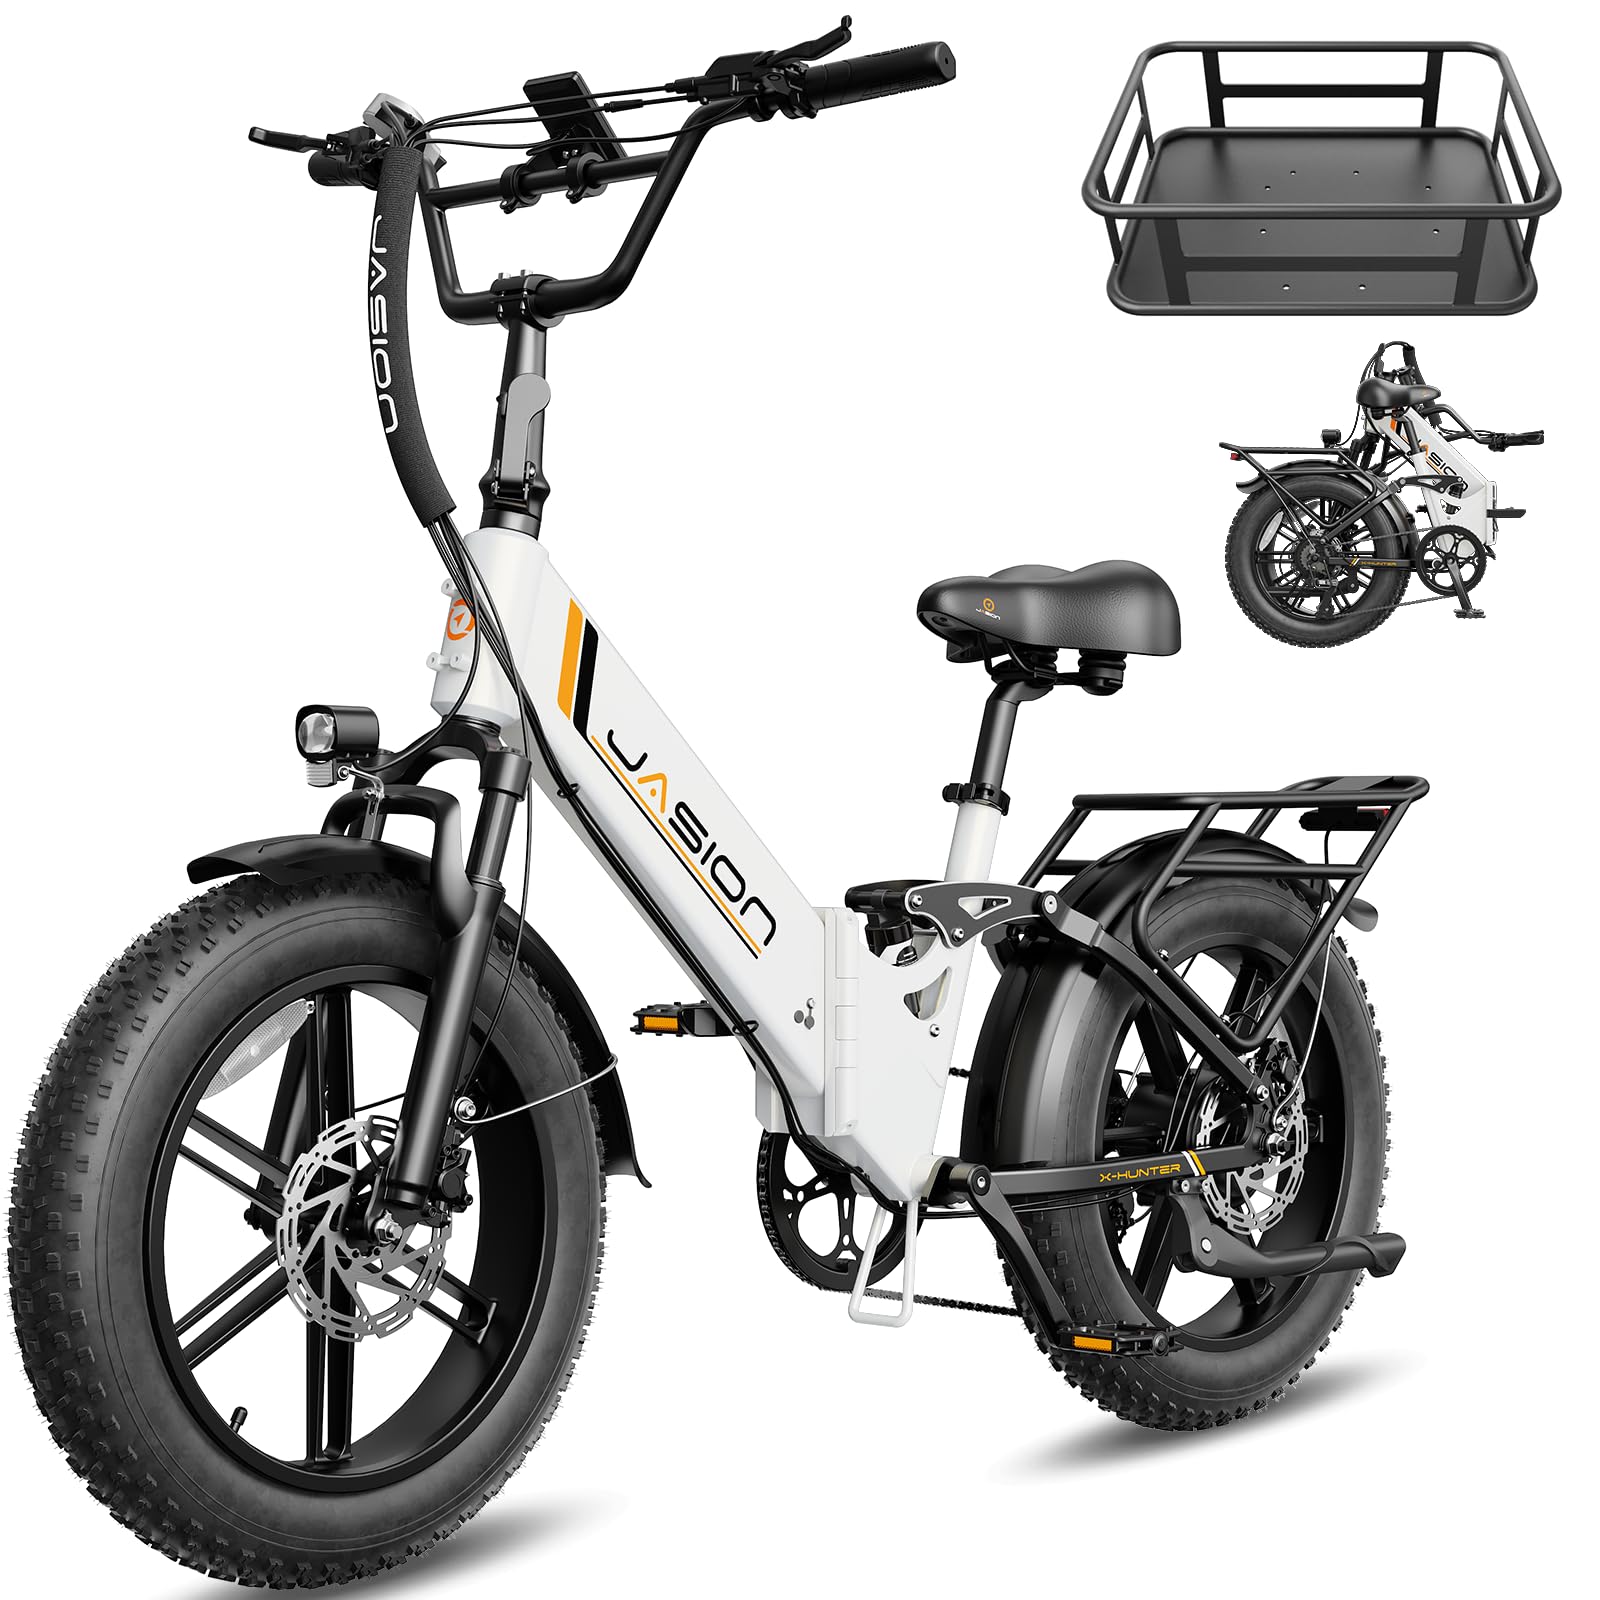
Image: Overview of the Jasion X-Hunter ST/PRO electric bike, highlighting key components such as the handlebars, display, seat, battery, motor, and wheels.
2. Setup & Assembly
Your Jasion X-Hunter ST/PRO electric bike arrives 90% pre-assembled. Follow these steps for final assembly. For a comprehensive visual guide, please refer to the assembly video below.
Video: Step-by-step assembly guide for the Jasion X-Hunter ST/PRO electric bike, covering all installation procedures.
2.1 Step 1 – Head Tube Installation
Insert the upright pipe into the head tube. Unlock the mechanism, pull up the handle post, tighten it with the hex key, and secure the lock handle. (Refer to the assembly video from 0:15 to 0:25 for visual guidance).
2.2 Step 2 – Handlebar Installation
Use the 5mm hex key to remove the cover and screws from the handle post. Align the handlebar symmetrically with the post and adjust it to your desired position. Unfold the post by lifting the lock and pulling outward. Secure the cover and tighten the screws. Ensure the wiring harness is on the right side of the handlebar. (Refer to the assembly video from 0:29 to 0:57 for visual guidance).
2.3 Step 3 – Front Wheel & Front Disc Brake Caliper Installation
Use the included wrench to remove the rod and bolt. Insert the bolt through the front wheel axle, starting from the brake side. Install the wheel onto the dropouts using the bolt, then tighten the nut. Finally, attach the axle caps. (Refer to the assembly video from 1:01 to 1:48 for visual guidance).

Image: A person installing the front wheel, aligning the disc brake rotor with the caliper, and securing the axle.
2.4 Step 4 – Front Light & Fender Installation
Remove the fender and the nut, washers, and bolt at the top and bottom of the front fork. These hold the fender and headlight onto the frame. Tighten with the screw. Then, tighten the screw on the side and connect the headlight cable as indicated. (Refer to the assembly video from 1:52 to 2:07 for visual guidance).

Image: A person attaching the front fender and headlight to the front fork of the electric bike.
2.5 Step 5 – Rear Fender & Rear Rack Installation
Remove the screws from the fender stays on the left and right. Attach them to their mounting points and tighten. Remove the four screws from the seat stays on both sides of the frame. Install the rear rack by loosely securing the mounting screws, then tighten them diagonally. (Refer to the assembly video from 2:11 to 2:32 for visual guidance).

Image: A person securing the rear fender and then attaching the rear cargo rack to the bike frame.
2.6 Step 6 – Taillight Installation
Remove the nut from the taillight. Install the taillight onto the mounting point on the rear rack (wrapping the cable first), tighten the nut, and tie the cable with cable ties. (Refer to the assembly video from 2:36 to 2:52 for visual guidance).
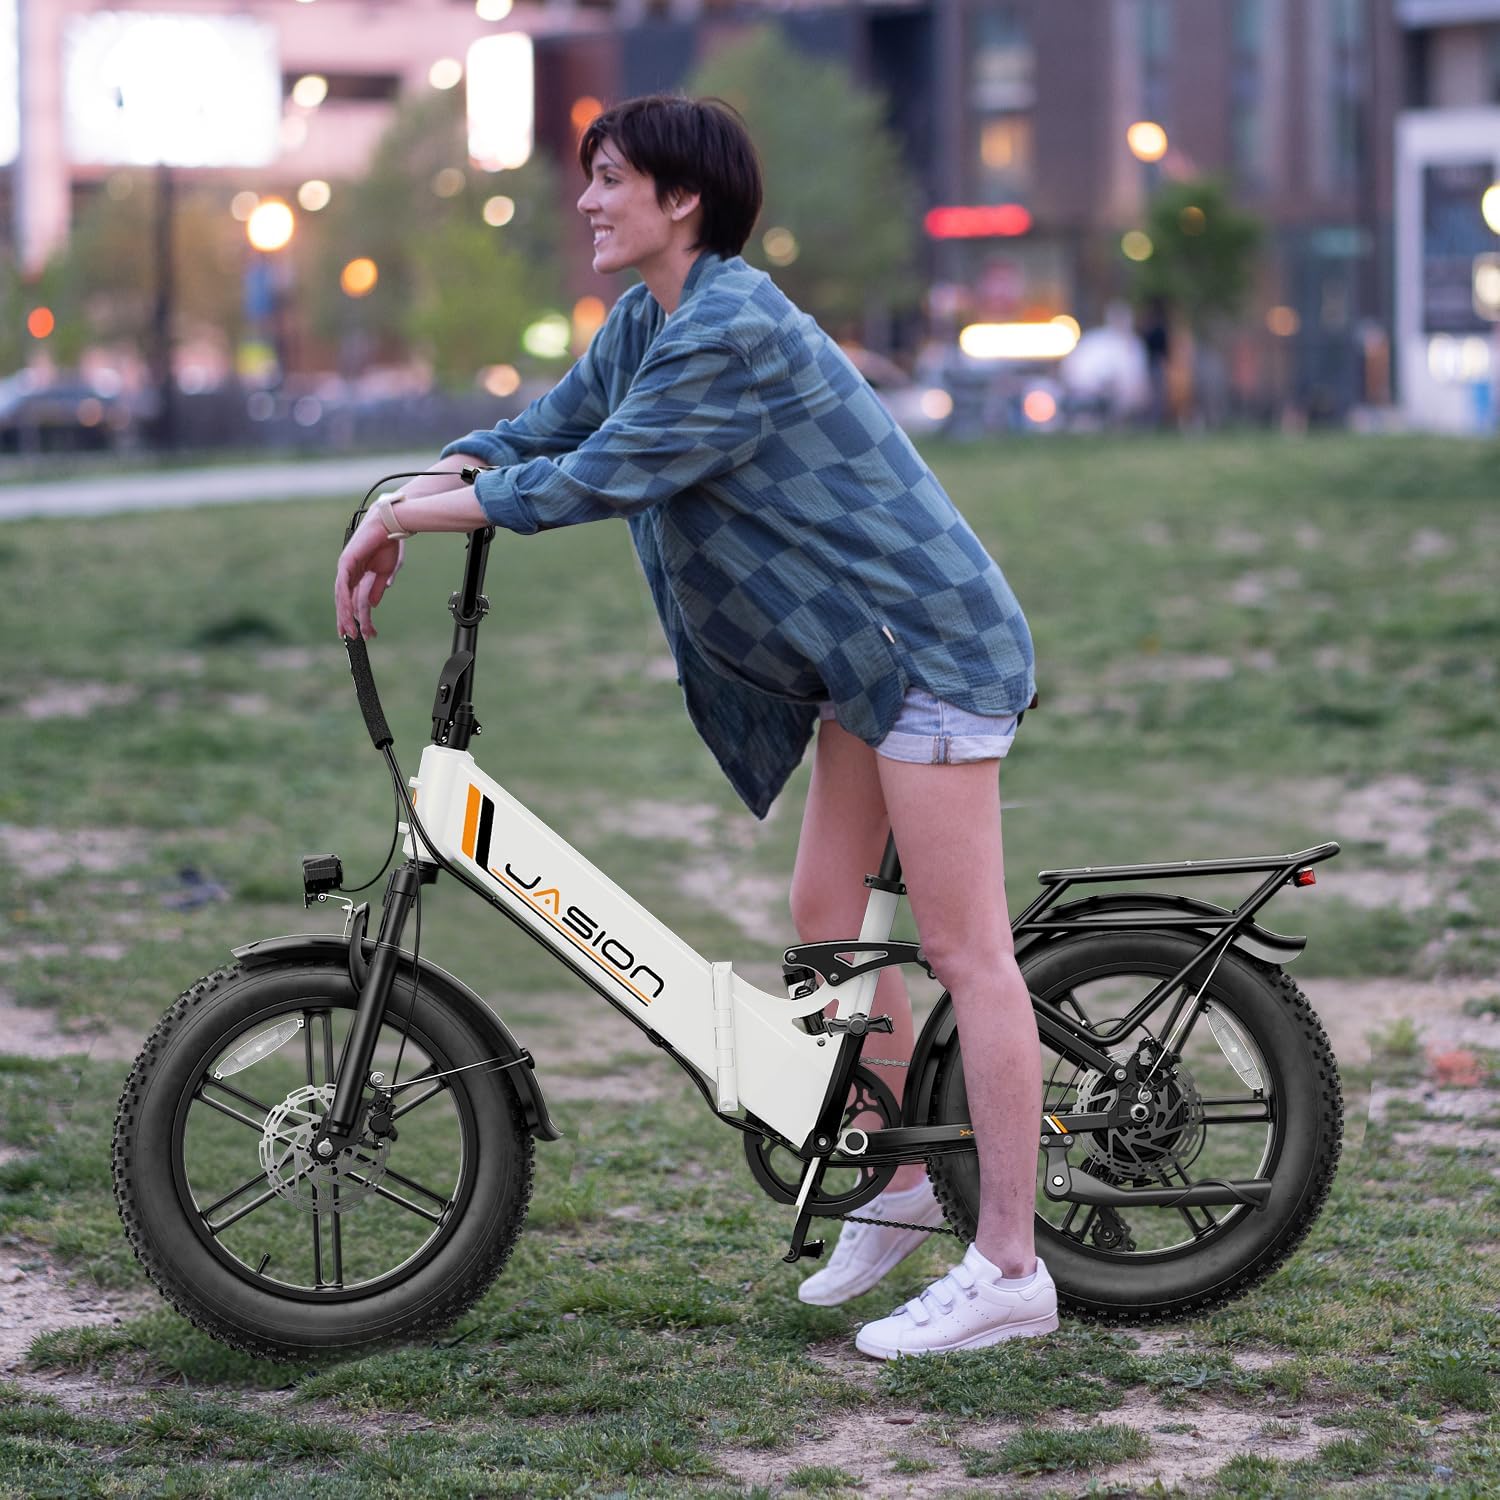
Image: A person attaching the taillight to the rear rack and managing its cable with ties.
2.7 Step 7 – Kickstand Installation
Attach the kickstand to the designated mounting points on the bike frame. Secure it firmly with the provided screws and hex key. (Refer to the assembly video from 2:56 to 3:09 for visual guidance).

Image: A person installing the kickstand onto the electric bike frame using a hex key.
2.8 Step 8 – Pedal Installation
Identify the right and left pedals, marked "R" and "L" respectively. Thread the right pedal onto the right crankarm clockwise and the left pedal onto the left crankarm counter-clockwise. Tighten both securely with an open-end wrench. After installation, check the chain, shifting, and freewheel by rotating the pedals backwards to ensure smooth operation. (Refer to the assembly video from 3:14 to 3:29 for visual guidance).

Image: A person attaching the pedals to the crankarms of the electric bike, ensuring correct threading and tightness.
2.9 Step 9 – Seat Installation & Adjustment
Open the quick release lever fully and adjust the seatpost up or down to your preferred riding height, ensuring you do not exceed the minimum insertion marking. Tighten the nuts on both sides once the seat is at the correct height. Ensure the quick release lever is securely closed. (Refer to the assembly video from 3:33 to 3:40 for visual guidance).
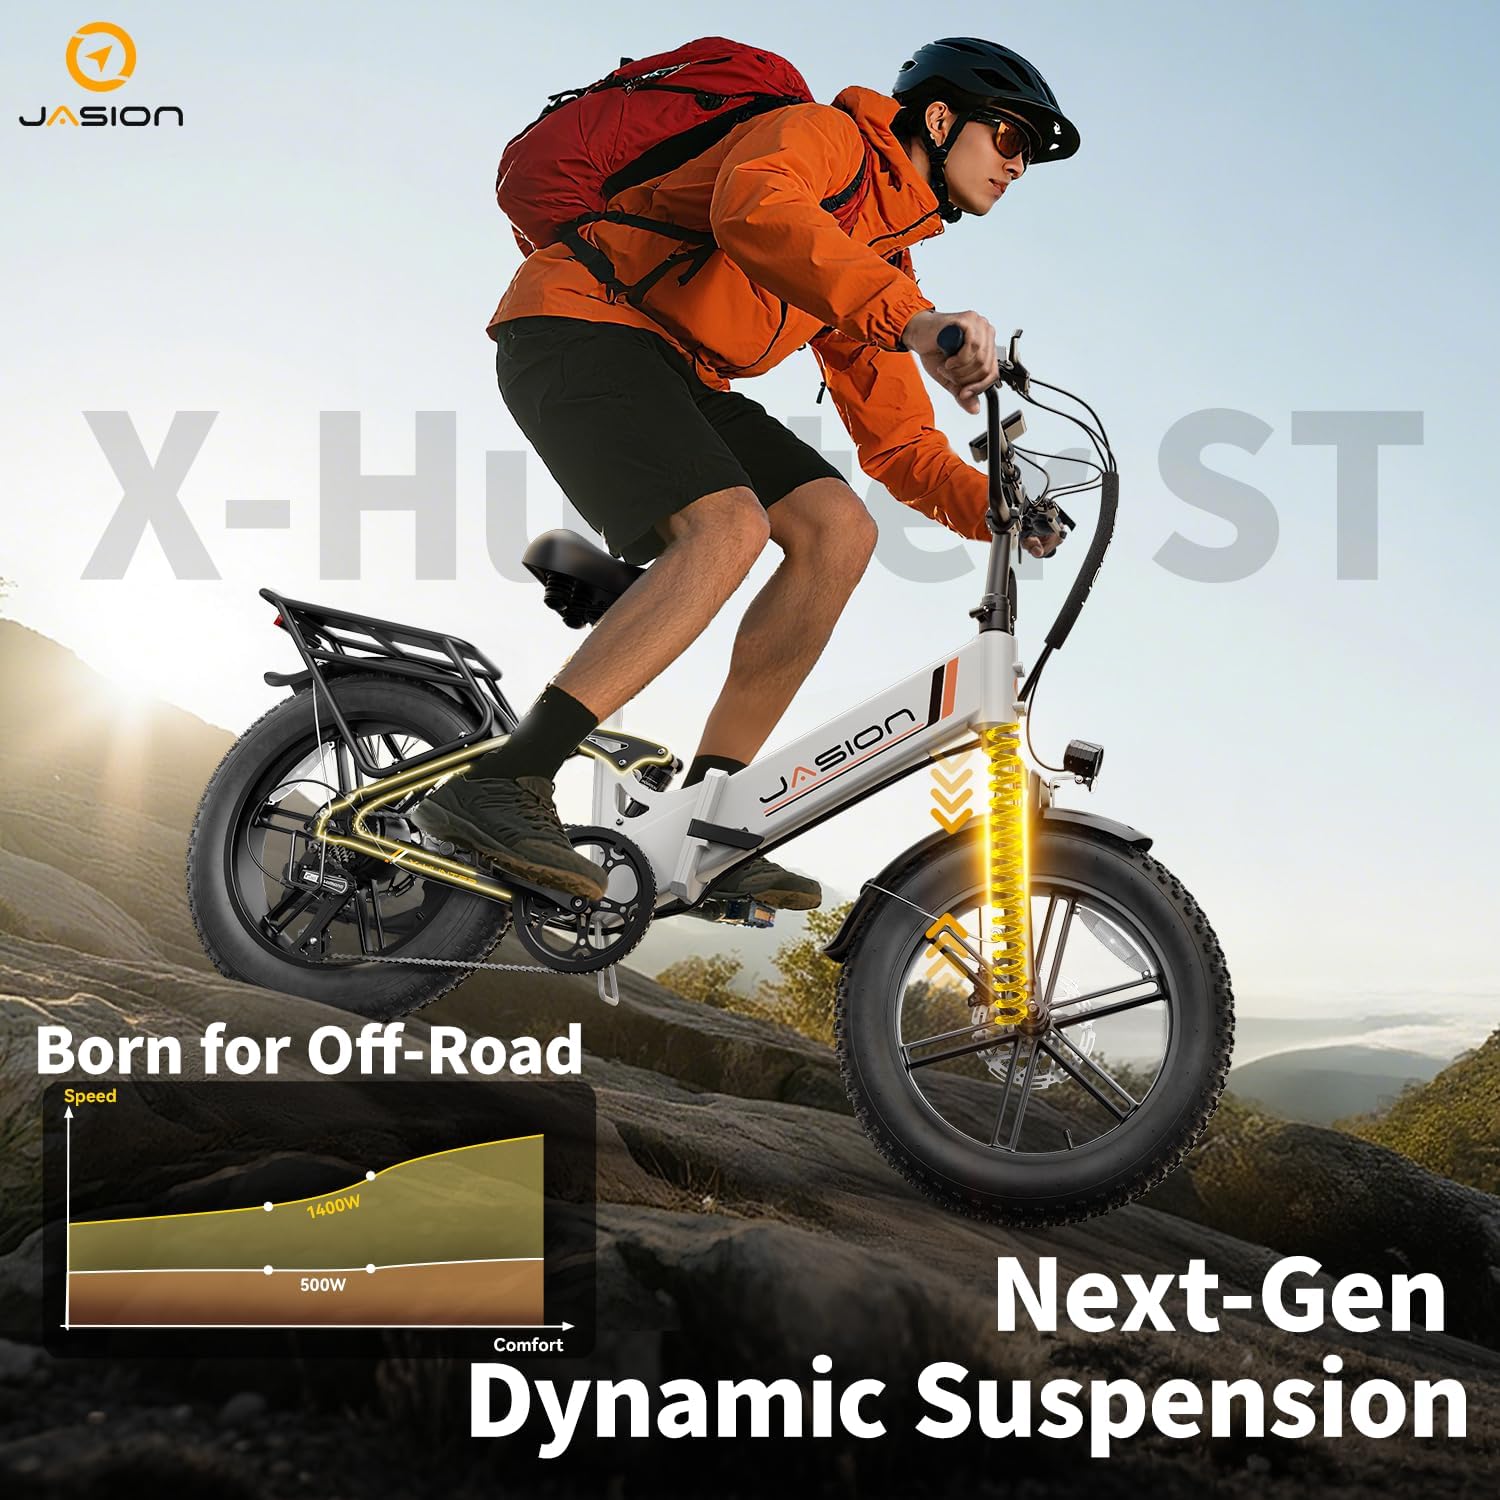
Image: A person adjusting the seatpost height and securing the seat with the quick release lever.
3. Operation
3.1 Battery Installation & Removal
To install the battery, align it with the frame's battery compartment and slide it in until it clicks securely. Use the key to lock it in place. To remove, unlock the battery with the key, fold the bike slightly if necessary for access, and slide the battery out. This integrated lock design enhances theft protection. (Refer to the assembly video from 3:43 to 3:51 for visual guidance).
3.2 Charging Your E-Bike
Connect the charger to a power outlet, then plug the charging cable into the bike's charging port. The indicator light on the charger will show the charging status (red for charging, green for fully charged). You can charge the battery while it's installed on the bike or remove it for convenient off-bike charging. (Refer to the assembly video from 3:55 to 4:03 for visual guidance).
Image: A person connecting the charger to the electric bike's battery port, showing the charging process.
3.3 Display Functions
The LCD display provides essential riding information. It shows battery level, current speed, trip distance, and pedal-assist mode. Use the controls on the handlebar to cycle through different display modes and adjust settings. The display also indicates error monitoring. (Refer to the assembly video from 4:07 to 4:11 for visual guidance).
3.4 Hydraulic Oil Disc Brakes - Static Feel Test
To perform a static feel test for the hydraulic disc brakes, ensure the bike is stationary. Squeeze the brake levers firmly. The levers should feel solid and engage the brakes effectively without excessive travel. This confirms proper brake function before riding. (Refer to the assembly video from 4:15 to 4:18 for visual guidance).
4. Maintenance
Regular maintenance ensures the longevity and safe operation of your electric bike.
- Tires: Check tire pressure before each ride. Maintain recommended PSI for optimal performance and safety.
- Brakes: Inspect brake pads for wear and ensure brake levers engage smoothly. Adjust as needed.
- Chain: Keep the chain clean and lubricated to prevent rust and ensure smooth shifting.
- Battery: Store the battery in a cool, dry place and charge it regularly, even when not in use, to prolong its lifespan. Avoid fully discharging the battery.
- General Cleaning: Wipe down the bike with a damp cloth after rides. Avoid high-pressure washing directly on electrical components.
- Fasteners: Periodically check all bolts and nuts for tightness, especially on critical components like the handlebars, wheels, and seatpost.
5. Troubleshooting
Here are some common issues and their potential solutions:
- Bike not powering on: Check if the battery is fully charged and properly installed. Ensure the key is in the "ON" position.
- Motor not assisting: Verify the pedal-assist level on the display. Check if the brake levers are fully released, as some systems cut motor power when brakes are applied.
- Brakes feel spongy: This may indicate air in the hydraulic lines or worn brake pads. Consult a professional bike mechanic for hydraulic brake maintenance.
- Unusual noises: Inspect the chain, gears, and wheels for any obstructions or loose components. Lubricate the chain if it's dry.
For persistent issues, please contact Jasion customer support.
6. Specifications
| Feature | Detail |
|---|---|
| Brand | Jasion |
| Color | Arctic White |
| Size | Medium-Large |
| Style | X-hunter Step Through |
| Power Source | Electric motor |
| Wheel Material | Rubber |
| Lithium Battery Energy Content | 864 Watt Hours |
| Warranty Type | Standard Manufacturer's Warranty |
| Assembly Required | Yes |
| Bicycle Gear Shifter Type | Twist Grip |
7. Warranty & Support
Your Jasion X-Hunter ST/PRO electric bike comes with a Standard Manufacturer's Warranty. For detailed warranty terms and conditions, please refer to the included warranty card or contact Jasion customer support.
Should you require any assistance with assembly, operation, maintenance, or have any after-sales service inquiries, our customer service team is available 24/7 via phone and email. Please refer to your product packaging or the official Jasion website for contact details.
