
1. Introduction
This manual provides detailed instructions for the installation, operation, and maintenance of your HEATIT ET-85W Black Touchscreen Programmable Thermostat. This thermostat is designed for electric radiant floor heating systems, offering advanced control and energy efficiency.
The HEATIT ET-85W thermostat allows for remote management via the Warmme app, voice control through Alexa and Google Assistant, and features intelligent 7-day programming with Adaptive Learning technology. It is compatible with various electric radiant floor heating systems and includes dual sensing capabilities for both room and floor temperatures.

Image 1.1: The HEATIT ET-85W thermostat alongside its smartphone application interface, demonstrating remote control capabilities.
2. Product Features
The HEATIT ET-85W thermostat is equipped with several features to enhance comfort and energy management:
- Smart & Voice Control: Manage your heating system remotely using the Warmme app (iOS/Android) or voice commands via Alexa and Google Assistant.
- Intelligent 7-Day Programming: Customize heating schedules for each day of the week, or use 5+1+1 day programming, with Adaptive Learning technology to optimize energy use.
- Universal Compatibility: Designed for most electric radiant floor heating systems (tile, wood, laminate) with a wide voltage range (85V-265V).
- Dual Sensing: Monitors both room and floor temperatures, with a floor temperature limit of 95°F (35°C) for material protection.
- Sleek Design: Modern touchscreen interface that integrates seamlessly into contemporary home decor.
- Safety & Convenience: Includes Child Lock, Vacation Mode, and Open Window Detection features.
- High Capacity: Supports up to 16A load.

Image 2.1: Overview of key features such as Child Lock, Anti-frozen function, APP Remote control, and Holiday Mode, designed for electric underfloor heating systems.
3. Installation
Important: Installation should be performed by a qualified electrician in accordance with local electrical codes. Ensure power is disconnected before beginning installation.
3.1. Mounting Steps
- Gently press your fingers under the side of the front part of the thermostat and pull it toward you to separate the display module from the backplate.
- Connect the thermostat wiring according to the wiring instructions provided in Section 3.2.
- Mount the backplate to the wall or socket by screwing it through the designated holes on each side.
- Carefully put the display module back onto the mounted backplate until it clicks into place.

Image 3.1: Visual guide for the physical installation of the thermostat, from separating components to final assembly.
3.2. Wiring Instructions
Refer to the wiring diagram below for proper connection. Ensure all connections are secure and comply with electrical safety standards. For installations in bathrooms or wet locations, it is recommended to use a floor sensor, a room-out sensor, or both. A room-out sensor is used to detect the temperature in the entire room and is sold separately.
Suggestion: To prolong the lifetime of the thermostat, keep the maximum load around 90% of 16A.

Image 3.2: Detailed wiring diagram illustrating connections for power (N1, L1, N, L), floor sensor (S1, S2), and room-out sensor (COM, S1).
4. Operation
4.1. Thermostat Symbols and Controls
Familiarize yourself with the symbols and controls on your thermostat's touchscreen for effective operation.

Image 4.1: Explanation of thermostat symbols, including buttons for confirmation, parameter selection, and icons for WiFi, heating, modes, and sensor types.
4.2. Startup Wizard
When the unit is activated for the first time, the startup wizard will guide you through initial settings:
- Clock Settings: Set the day, hour, and minute. If connected to Wi-Fi, the thermostat will automatically update time.
- Sensor Selection: Choose from five options for temperature sensing:
- Floor sensor only (default)
- Room sensor only (built-in)
- Room sensor and floor sensor (with floor temperature limit)
- External room sensor only
- External room sensor and floor sensor (with floor temperature limit)
- Floor Temperature Limit: If using a floor sensor, set the maximum floor temperature to protect your flooring material.
- Home or Office Mode: Select the environment type for optimized default settings.
4.3. Programming Schedules
The thermostat offers flexible programming options to suit your lifestyle:
- 7-Day Programming: Each day from Monday to Sunday can be set individually.
- 5+1+1 Day Programming: Monday to Friday share the same schedule, while Saturday and Sunday can be set individually.
Default parameters for Home and Office modes are pre-set but can be customized.

Image 4.2: Illustration of the programmable schedule interface, detailing options for daily and weekly temperature adjustments.
4.4. Control Modes
The thermostat supports multiple operating modes to tailor your comfort:
- Auto Mode: Follows the programmed schedule.
- Manual Mode: Allows for constant temperature setting, overriding the schedule.
- Holiday Mode: Maintains a set temperature for an extended period, ideal for energy saving when away.
- Child Lock: Prevents unauthorized changes to settings.
- Anti-Frozen: Activates heating if the temperature drops below a set minimum to prevent freezing.
- Open Window Detection: Automatically pauses heating if a sudden temperature drop (indicating an open window) is detected, saving energy.
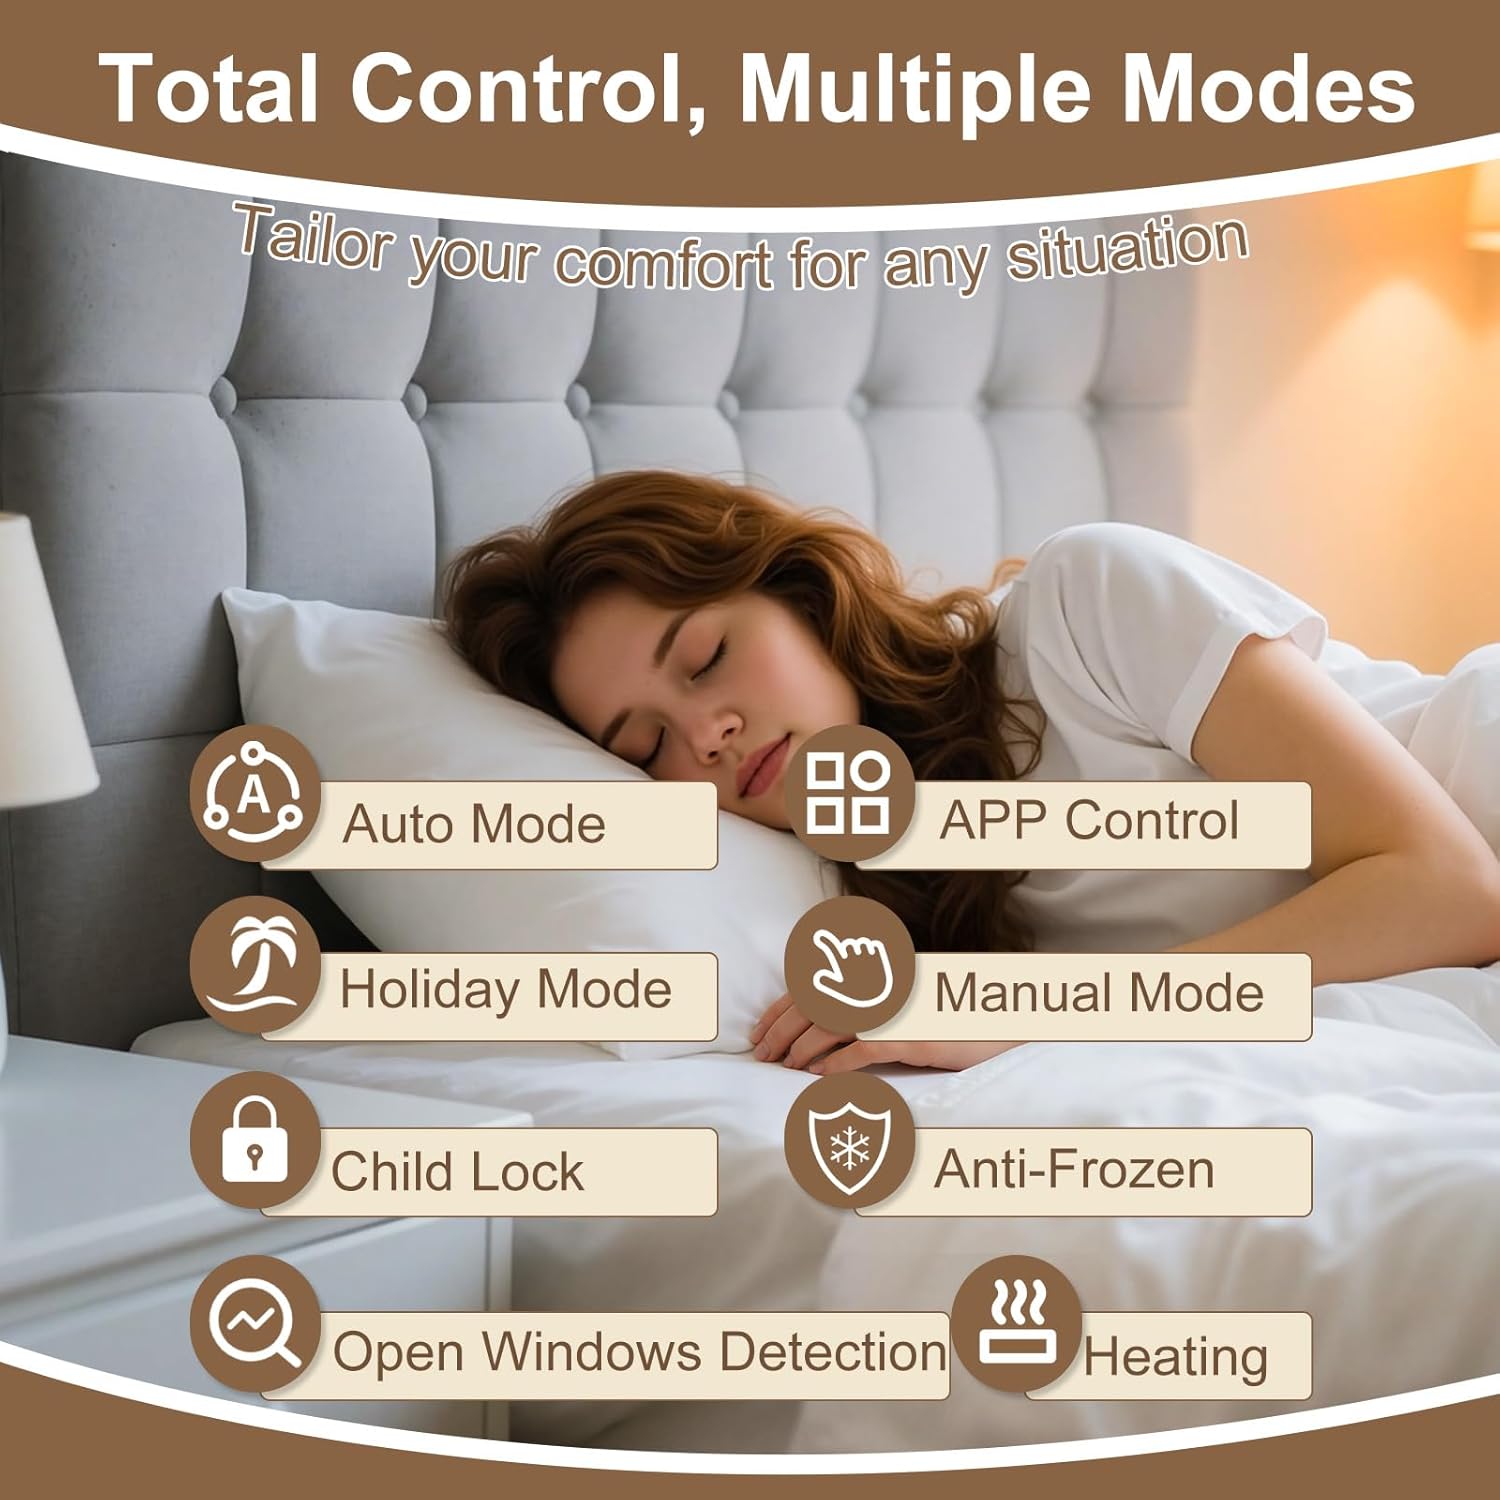
Image 4.3: Visual representation of the various control modes and functions for comprehensive temperature management.
4.5. Smart & Voice Control
Connect your thermostat to your home Wi-Fi network to unlock smart control features:
- Warmme App: Download the Warmme app (available on iOS and Android) to remotely manage your thermostat, adjust settings, monitor temperature, and view energy usage reports from anywhere.
- Voice Assistants: Integrate with Amazon Alexa and Google Assistant for convenient hands-free temperature adjustments.

Image 4.4: Demonstrates voice control capabilities with popular smart home assistants, allowing users to manage temperature hands-free.

Image 4.5: Overview of the smartphone app's interface for manual control, remote adjustments, and personalized programming.
5. Maintenance
The HEATIT ET-85W thermostat requires minimal maintenance. Follow these guidelines to ensure optimal performance:
- Cleaning: Gently wipe the touchscreen with a soft, dry cloth. Avoid using abrasive cleaners or solvents, as these can damage the screen and finish.
- Software Updates: Ensure your Warmme app is up to date to receive the latest features and performance improvements. The thermostat's firmware may also receive updates via Wi-Fi.
- Sensor Care: Ensure the floor sensor and any external room sensors are free from obstructions and debris to maintain accurate temperature readings.
6. Troubleshooting
If you encounter issues with your HEATIT ET-85W thermostat, consider the following common solutions:
- No Power/Display Off: Check the circuit breaker for your heating system. Ensure the thermostat is properly connected to the power supply as per the wiring instructions.
- Incorrect Temperature Reading: Verify that the selected sensor (room, floor, or both) is appropriate for your setup and is not obstructed. Ensure the floor sensor is correctly installed beneath the flooring.
- Wi-Fi Connection Issues: Ensure your home Wi-Fi network is active and the thermostat is within range. Re-enter Wi-Fi credentials in the Warmme app if necessary. The thermostat supports 2.4 GHz Wi-Fi networks.
- Thermostat Not Responding: Try restarting the thermostat by turning off the power at the circuit breaker for a few minutes, then turning it back on.
- Programming Not Working: Double-check your programmed schedules in the app or on the thermostat. Ensure the thermostat is in Auto Mode to follow the schedule.
- Floor Overheating/Underheating: Verify the floor temperature limit setting. If set too low, it may prevent adequate heating; if too high, it may cause overheating.
For persistent issues, refer to the detailed troubleshooting section in the full product manual or contact customer support.
7. Specifications
| Feature | Detail |
|---|---|
| Brand | HEATIT |
| Model Number | ET-85W BLACK |
| Controller Type | Touchscreen, Amazon Alexa, Google Assistant |
| Special Feature | Programmable, Smart & Voice Control |
| Color | Black |
| Temperature Control Type | Digital, Programmable, Smart/Remote |
| Connectivity Technology | Wi-Fi (2.4 GHz) |
| Included Components | Floor Sensor |
| Power Source | Corded Electric |
| Voltage | 85V-265V (AC) |
| Max Load | 16A |
| Display Type | Touchscreen |
| Control Method | App, Voice |
| Mounting Type | Floor Mount (intended for wall installation to control floor heating) |
| Package Dimensions | 6.46 x 4.88 x 2.6 inches |
| Item Weight | 12 ounces |
8. Warranty and Support
The HEATIT ET-85W Touchscreen Programmable Thermostat is backed by a 4-year limited warranty. This warranty covers defects in materials and workmanship under normal use.
For warranty claims, technical assistance, or any questions regarding your thermostat, please contact HEATIT customer support. Refer to the product packaging or the official HEATIT website for the most current contact information.