
Introduction
This manual provides detailed instructions for the safe and effective use of your DatsenAAA 12-inch chainsaw chain. This chain is specifically designed for compatibility with KOBALT KCS 1224A-03 and KCS 1224B-03 24V chainsaws. Please read all instructions carefully before installation and operation to ensure proper performance and safety.
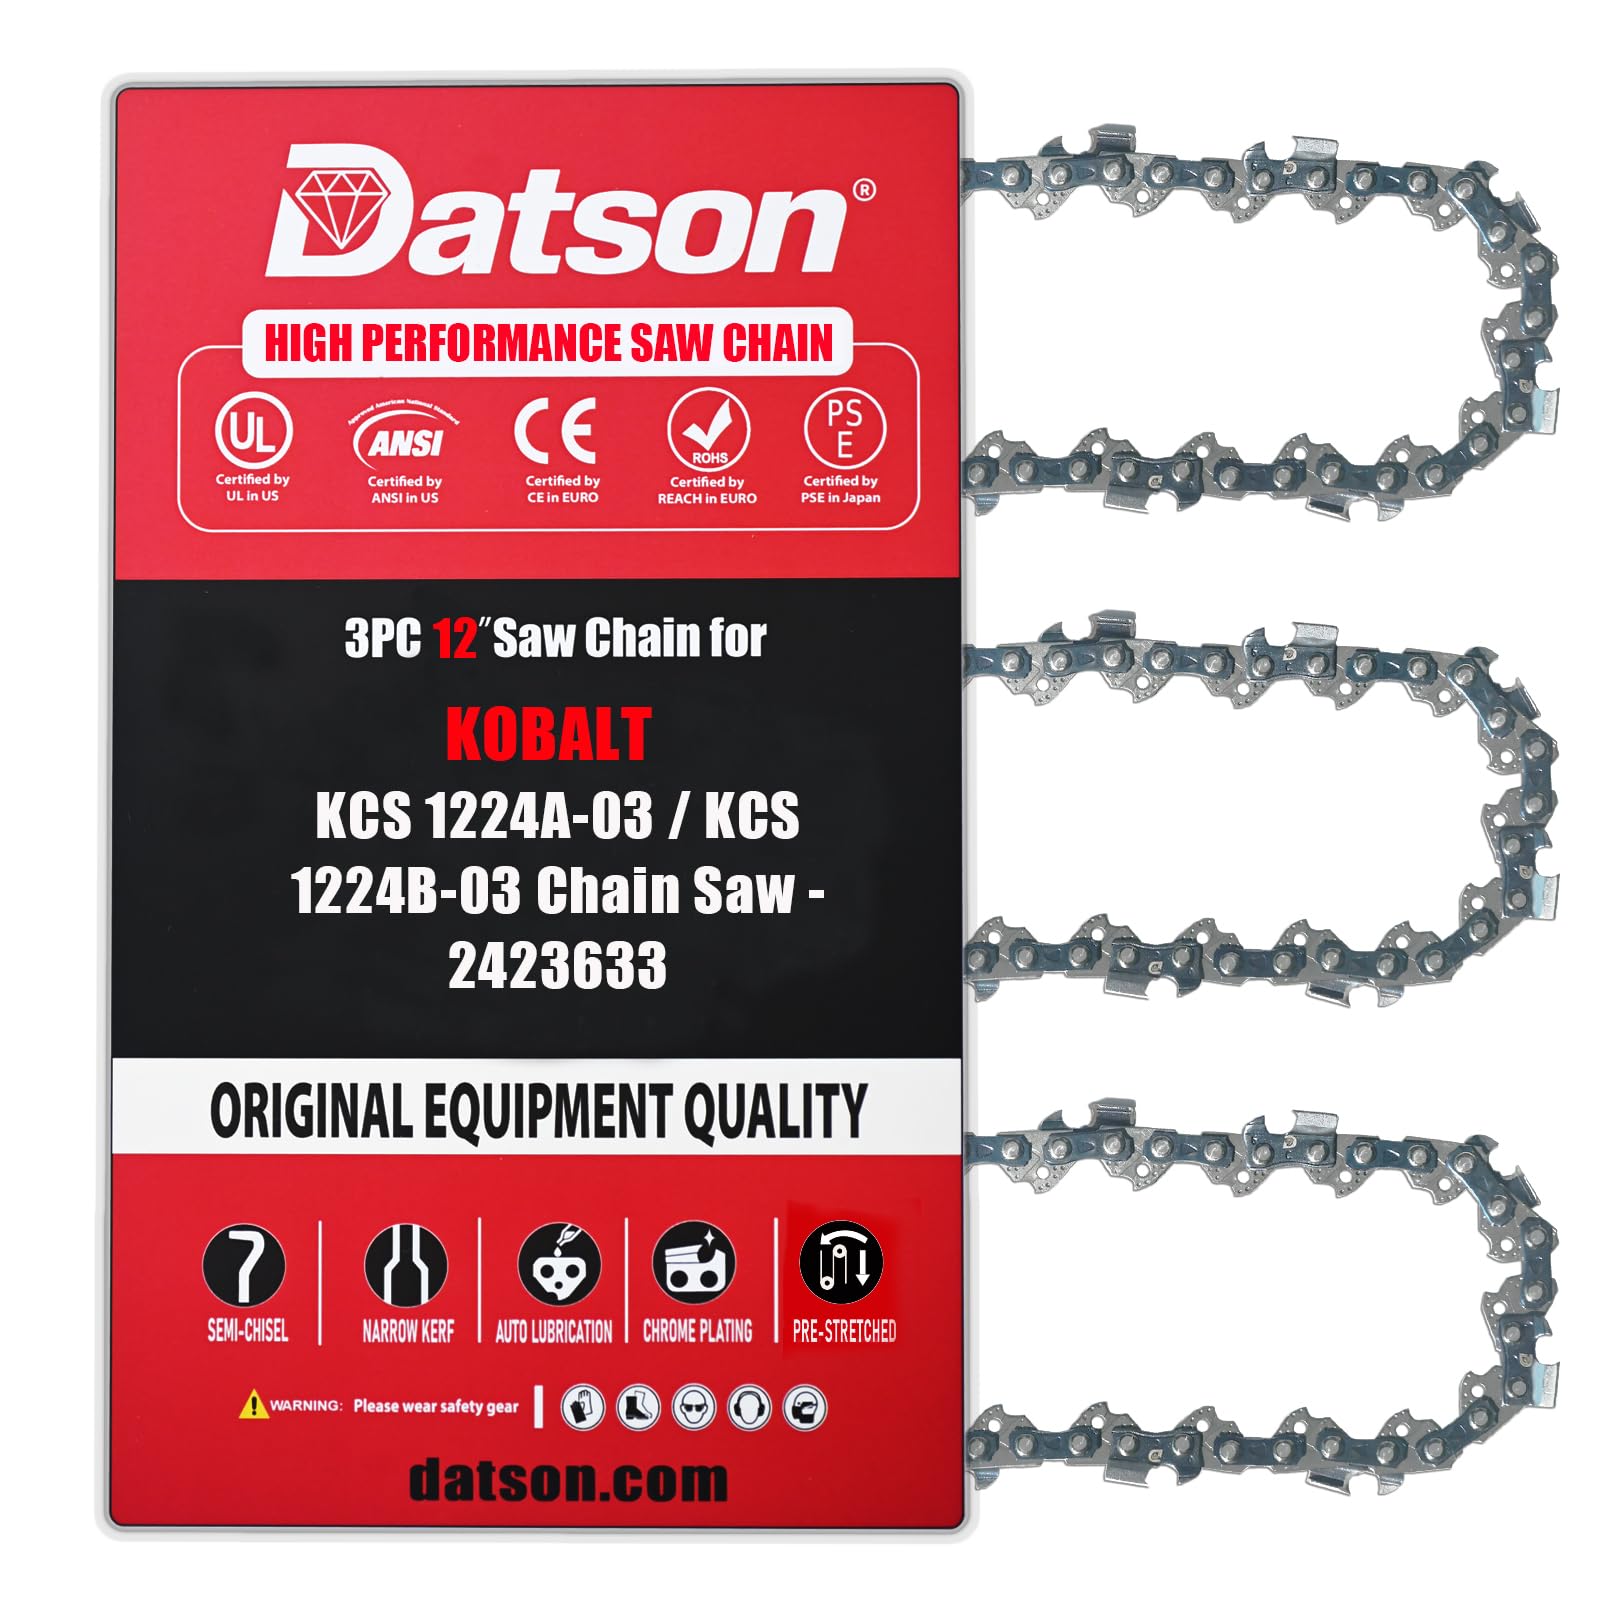
Figure 1: DatsenAAA 12-inch Chainsaw Chain for Kobalt KCS 1224A-03 / KCS 1224B-03
Setup and Installation
Proper installation of the chainsaw chain is crucial for both performance and safety. Always refer to your chainsaw's original manufacturer manual for specific installation procedures and safety warnings before proceeding.
- Safety First: Ensure the chainsaw is turned off, unplugged (if electric), and the battery is removed (if cordless) before handling the chain. Wear heavy-duty gloves to protect your hands from sharp edges.
- Remove Old Chain: Loosen the bar nuts and chain tensioning screw on your chainsaw. Carefully remove the old chain and guide bar.
- Clean: Clean any sawdust or debris from the guide bar groove, sprocket, and chain brake area.
- Install New Chain: Place the new DatsenAAA chain around the drive sprocket and guide bar. Ensure the cutting edges of the chain are facing the correct direction (usually indicated by an arrow on the chain or guide bar).
- Position Guide Bar: Slide the guide bar back into position, ensuring the chain fits properly in the guide bar groove and around the sprocket.
- Adjust Tension: Hand-tighten the bar nuts. Adjust the chain tensioning screw until the chain is snug but can still be pulled freely around the guide bar by hand. The chain should not sag on the underside of the bar.
- Final Tightening: While holding the tip of the guide bar up, fully tighten the bar nuts. Recheck chain tension.

Figure 2: Close-up of DatsenAAA Chainsaw Chain Links
Operating Instructions
Always prioritize safety when operating a chainsaw. This DatsenAAA chain is designed for smooth cutting and wear resistance, but proper technique is essential.
- Personal Protective Equipment (PPE): Always wear appropriate PPE, including safety glasses, hearing protection, gloves, and sturdy footwear.
- Pre-Operation Check: Before each use, inspect the chain for sharpness, proper tension, and any damage. Ensure the chain brake is functional.
- Lubrication: Verify that the chainsaw's automatic oiling system is functioning and the oil reservoir is filled with appropriate bar and chain oil. The DatsenAAA chain features a built-in lubrication system to extend its life.
- Cutting Technique: Maintain a firm grip on the chainsaw with both hands. Keep your body balanced and avoid overreaching. Let the chain do the work; do not force it through the material.
- Kickback Prevention: Be aware of the kickback danger zone at the tip of the guide bar. Avoid cutting with this area. The chain's design helps reduce kickback, but vigilance is still required.
- Smooth Cutting: The Germany steel construction and Japanese chrome-plated technology of this chain contribute to smooth and efficient cutting.

Figure 3: Anti-Kickback Feature on Chainsaw Chain
Maintenance
Regular maintenance extends the life of your DatsenAAA chainsaw chain and ensures optimal performance.
- Lubrication System: The DatsenAAA chain incorporates a built-in automatic oiling system with multiple oil collection grooves and L-shaped oil passages. These features ensure continuous lubrication and cooling, reducing friction and heat-induced deformation. Regularly check your chainsaw's oil reservoir and ensure the oiler is functioning correctly.
- Sharpening: A sharp chain is safer and more efficient. Sharpen the chain regularly using the appropriate file size and angle for your chain type. If you are unsure, consult a professional or refer to your chainsaw's manual.
- Cleaning: After each use, clean sawdust, resin, and debris from the chain and guide bar. A clean chain runs smoother and reduces wear.
- Chain Tension: Check chain tension frequently, especially during initial use and after extended cutting. A properly tensioned chain prevents premature wear and improves safety.
- Inspection: Periodically inspect the chain for damaged or missing links, cracked rivets, or excessive wear. Replace the chain if any significant damage is found.

Figure 4: DatsenAAA Patent Lubrication System

Figure 5: DatsenAAA Premium Raw Material for Durability
Troubleshooting
Here are some common issues and their potential solutions:
| Problem | Possible Cause | Solution |
|---|---|---|
| Chain not cutting efficiently | Dull chain, incorrect tension, insufficient oil | Sharpen chain, adjust tension, check oil reservoir and oiler function |
| Excessive vibration | Incorrect chain tension, damaged chain, worn sprocket | Adjust tension, inspect chain for damage and replace if necessary, check sprocket for wear |
| Chain binds or stops | Incorrect chain tension, lack of lubrication, debris in guide bar groove | Adjust tension, ensure proper lubrication, clean guide bar groove |
| Chain wears quickly | Lack of lubrication, improper sharpening, cutting abrasive materials | Ensure continuous lubrication, sharpen correctly, avoid cutting materials beyond the chain's capability |

Figure 6: DatsenAAA Chain Features for Reduced Vibration and Durability
Specifications
Key specifications for the DatsenAAA 12-inch Chainsaw Chain:
| Feature | Detail |
|---|---|
| Brand | DatsenAAA |
| Compatible Models | KOBALT KCS 1224A-03, KOBALT KCS 1224B-03 |
| Chain Type | Full Chisel |
| Chain Length | 12 Inches |
| Drive Link Count | 45 |
| Included Components | 3 chains |
| Material | Germany steel, Japanese chrome-plated technology |
| Special Features | Lubrication System, Wear Resistant, Low Vibration Design, Hardened Rivets |

Figure 7: Chainsaw Chain Parameter Diagram
Warranty Information
For specific warranty details regarding your DatsenAAA chainsaw chain, please refer to the product packaging or contact the retailer from whom the product was purchased. Warranty terms typically cover manufacturing defects under normal use conditions.
Customer Support
If you have any questions, require assistance with installation, or encounter issues not covered in this manual, please contact DatsenAAA customer support or the retailer where you purchased the product. Provide your product model number and purchase date for faster service.