
1. Important Safety Information
Please read all instructions carefully before installation and use. Failure to follow these instructions may result in injury or product damage. Keep this manual for future reference.
- Glass Handling: Tempered glass is strong but can break if impacted at the edges. Handle glass panels with extreme care. Always wear safety glasses and gloves during installation.
- Professional Installation: Due to the weight and complexity, professional installation is highly recommended. If installing yourself, ensure you have adequate assistance.
- Wall Preparation: Ensure the wall structure is capable of supporting the weight of the shower door. Reinforcement may be necessary.
- Explosion-Proof Film: This shower door features an explosion-proof film for added safety, which helps contain glass shards in the unlikely event of breakage.
- Measurements: Double-check all measurements before drilling or cutting. Incorrect measurements can lead to installation issues.
2. Product Overview
The Clovis Frameless Single Sliding Shower Door offers a modern and functional design for your bathroom. It features 3/8-inch (10mm) clear SGCC certified tempered glass, a smooth roller disk system, and a damping buffer for soft closing. The design is rust-resistant and allows for adjustable installation width.

Figure 2.1: Clovis Frameless Single Sliding Shower Door installed in a modern bathroom setting.

Figure 2.2: Detail of the widened and thickened square top track, ensuring smooth and quiet sliding.
3. Package Contents
Please verify that all components are present and undamaged before beginning installation. If any parts are missing or damaged, contact customer support immediately.
- Fixed Glass Panel
- Sliding Glass Panel
- Top Track Bar (Anodized Aluminum)
- Rollers and Roller Disk System
- Door Handle
- Wall Mount Brackets
- Sealing Strips and Gaskets
- Bottom Guide
- Installation Hardware (screws, anchors, etc.)
4. Specifications
Refer to the table below for detailed product specifications.
| Feature | Description |
|---|---|
| Brand | Clovis |
| Model | 68-72W x76H-Single Sliding |
| Dimensions (W x H) | Adjustable 68-72 inches x 76 inches |
| Glass Thickness | 3/8 inch (10MM) |
| Glass Type | Clear SGCC Certified Tempered Glass with Explosion-Proof Film |
| Door Type | Frameless Single Sliding |
| Material | Glass, 304 Stainless Steel, Anodized Aluminum |
| Color | Nickel Brushed |
| Item Weight | 148 Pounds |
| Required Assembly | Yes |

Figure 4.1: Detailed dimensions and components of the shower door.

Figure 4.2: Features of the 3/8-inch (10mm) tempered glass, including SGCC certification and easy-clean properties.
5. Installation Guide
This section provides a general overview of the installation process. Always refer to the detailed instructions provided with your product packaging for specific steps and diagrams. Professional installation is highly recommended.
5.1 Pre-Installation Checks
- Measure Opening: Confirm your shower opening width is within the adjustable range of 68-72 inches and height is 76 inches.
- Wall Type: Ensure walls are plumb and capable of supporting the door's weight. Use appropriate anchors for your wall material.
- Tools Required: Gather all necessary tools, including a drill, level, tape measure, screwdriver, caulk gun, and safety gear.
5.2 General Installation Steps
- Prepare the Area: Clear the shower area and protect the shower base.
- Mount Wall Brackets: Carefully measure and mark the positions for the wall mount brackets. Drill pilot holes and secure the brackets to the wall, ensuring they are level.
- Install Top Track: Attach the anodized aluminum top track to the wall brackets. Ensure it is level and securely fastened.
- Install Fixed Glass Panel: Position the fixed glass panel into its designated channel and secure it according to the specific instructions.
- Attach Rollers to Sliding Glass Panel: Install the roller disk system onto the top edge of the sliding glass panel.
- Hang Sliding Glass Panel: Carefully lift and hang the sliding glass panel onto the top track rollers.
- Install Bottom Guide: Secure the bottom guide to the shower base, ensuring the sliding panel moves smoothly within it.
- Install Door Handle: Attach the handle to the sliding glass panel.
- Apply Sealing Strips: Install all necessary sealing strips and gaskets to prevent water leakage.
- Caulk: Apply silicone caulk to all exterior seams where the frame meets the wall and shower base to ensure a watertight seal.
Video 5.1: Overview of the sliding shower door mechanism and general installation principles. This video demonstrates the functionality and components of a similar Clovis shower door.
6. Operating Instructions
The Clovis Single Sliding Shower Door is designed for smooth and quiet operation.
- Opening/Closing: Gently grasp the door handle and slide the glass panel along the top track.
- Soft Closing: The integrated damping buffer system ensures the door closes softly and quietly, minimizing impact and enhancing safety.
- Reversible Installation: The door can be installed to slide open from either the left or right side, depending on your preference and bathroom layout.
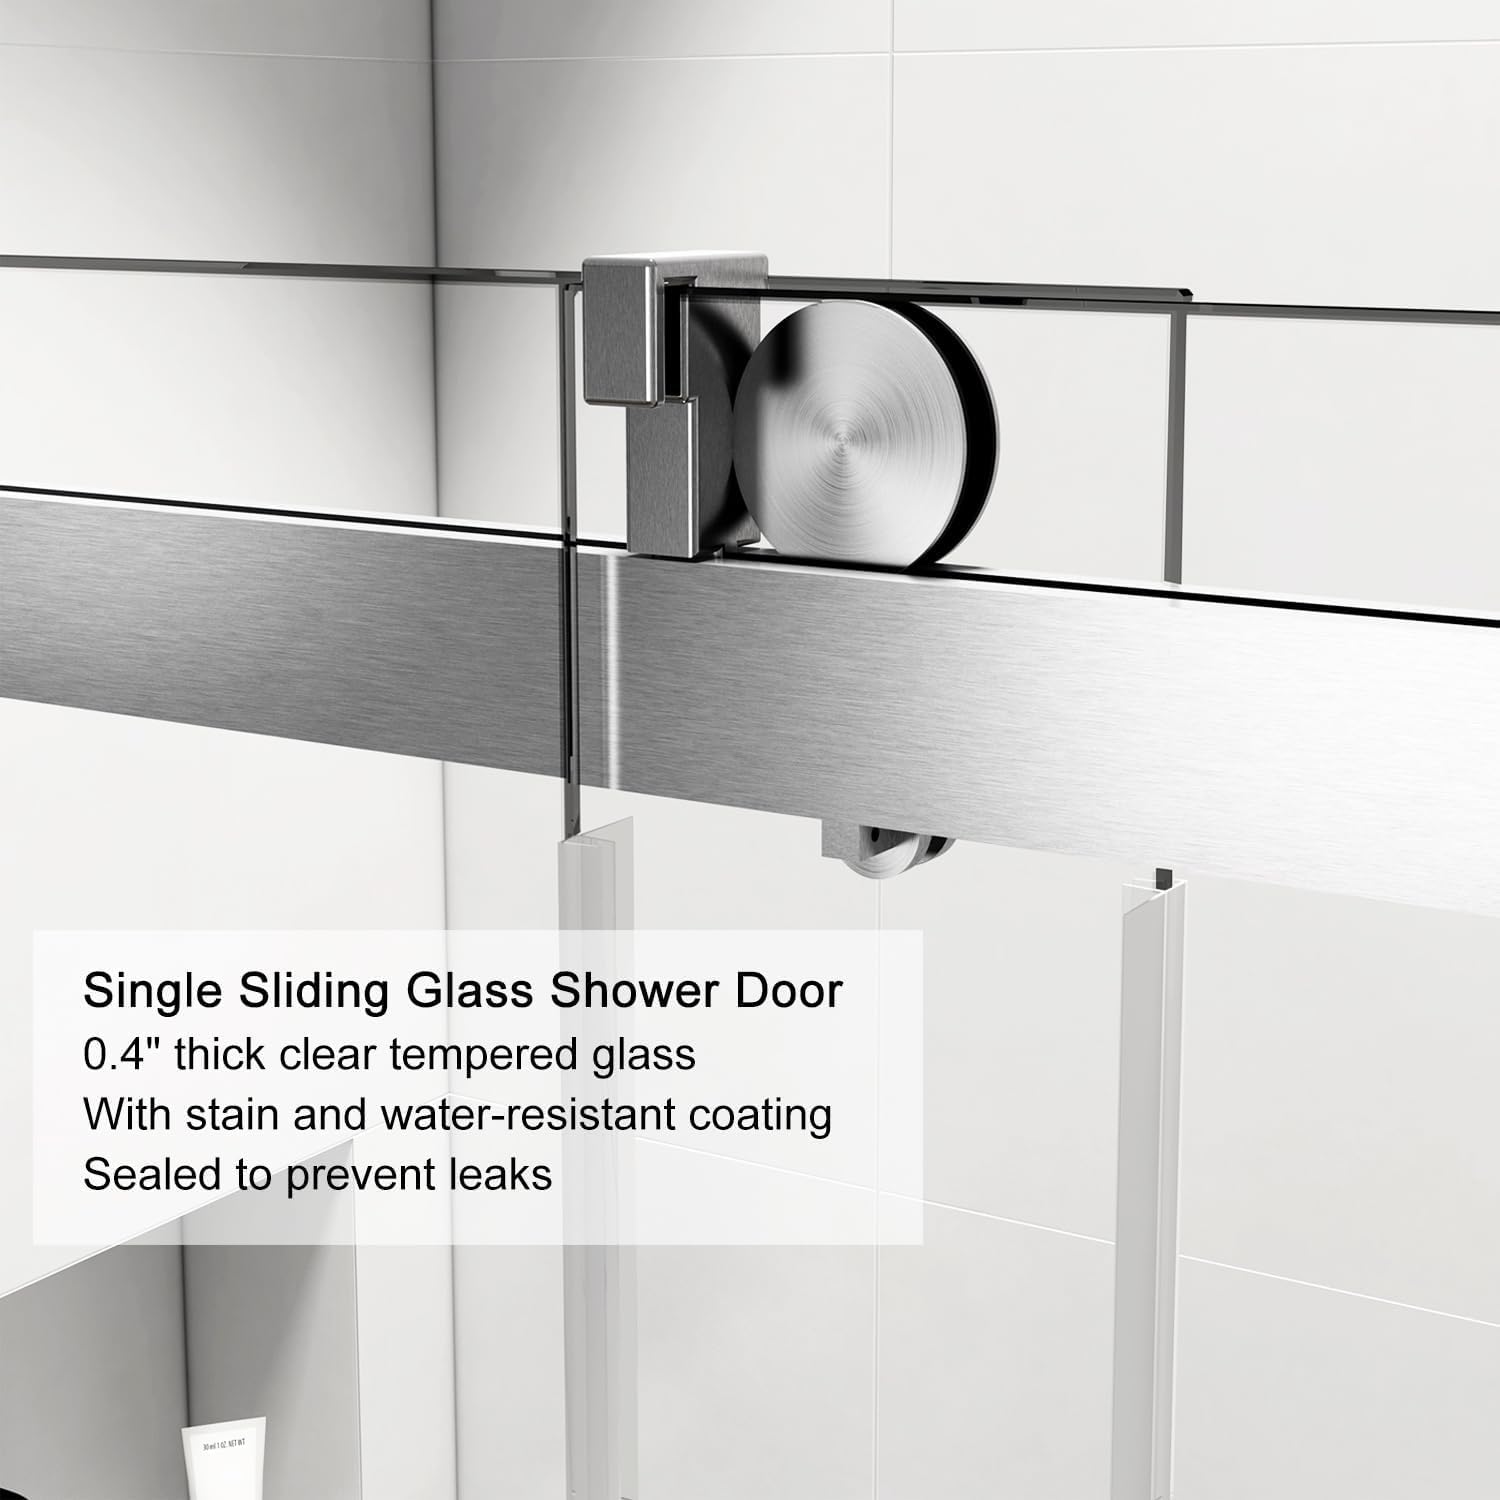
Figure 6.1: Detail of the single sliding glass panel and its smooth roller mechanism.
7. Care and Maintenance
Regular cleaning and maintenance will ensure the longevity and pristine appearance of your shower door.
7.1 Glass Cleaning
- Clean glass panels regularly with a soft cloth and a mild, non-abrasive glass cleaner.
- Avoid using abrasive cleaners, scouring pads, or harsh chemicals, as these can damage the glass surface or its easy-clean coating.
- Wipe down the glass after each use to prevent water spots and soap scum buildup.
7.2 Hardware and Track Maintenance
- Wipe down metal components (track, rollers, handle) with a soft, damp cloth. Dry thoroughly to prevent water spots and maintain the Nickel Brushed finish.
- Periodically inspect the rollers and track for any debris or buildup that might hinder smooth operation. Clean as needed.
- Check sealing strips and gaskets for wear or damage. Replace if necessary to maintain a watertight enclosure.

Figure 7.1: Example of the waterproof and leakproof sealing components.
8. Troubleshooting
This section addresses common issues you might encounter with your shower door.
8.1 Door Not Sliding Smoothly
- Check Track: Inspect the top track for any obstructions, dirt, or debris. Clean the track thoroughly.
- Inspect Rollers: Ensure rollers are clean and free from hair or soap residue. Verify they are properly seated in the track.
- Alignment: If the door feels misaligned, re-check the installation instructions to ensure the track and bottom guide are perfectly level and parallel. Minor adjustments may be needed.
8.2 Water Leakage
- Check Sealing Strips: Examine all sealing strips and gaskets for proper placement and condition. Replace any worn or damaged seals.
- Caulking: Ensure all exterior seams are properly sealed with silicone caulk. Reapply caulk if any gaps or cracks are visible.
- Shower Head Direction: Verify that the shower spray is not directly hitting the door seams or openings with excessive force.
9. Warranty and Support
Clovis is committed to providing high-quality products and customer satisfaction. Your shower door comes with a worry-free after-sales service.
- Damage or Defects: If you encounter any damage or defects upon receipt or during use, please contact Clovis customer support promptly.
- Contact Information: For support, warranty claims, or to report any issues, please refer to the contact details provided with your purchase documentation or visit the official Clovis website.

