1. Introduction
Welcome to the UGREEN NAS DXP6800 Plus instruction manual. This document provides essential information for setting up, operating, maintaining, and troubleshooting your Network Attached Storage device. The DXP6800 Plus is designed for high-performance data storage and management, offering robust features for both personal and business use.
2. Safety Information
Please read all safety instructions carefully before using the device.
- Ensure the device is placed on a stable, flat surface to prevent accidental falls.
- Do not expose the device to water, moisture, or extreme temperatures.
- Use only the provided power adapter and cables.
- Avoid blocking ventilation openings to prevent overheating.
- Do not attempt to open or repair the device yourself. Refer to qualified service personnel.
- Keep the device away from children and pets.
3. Setup
3.1. Unboxing and Package Contents
Carefully unpack your UGREEN NAS DXP6800 Plus and verify all contents against the list below.
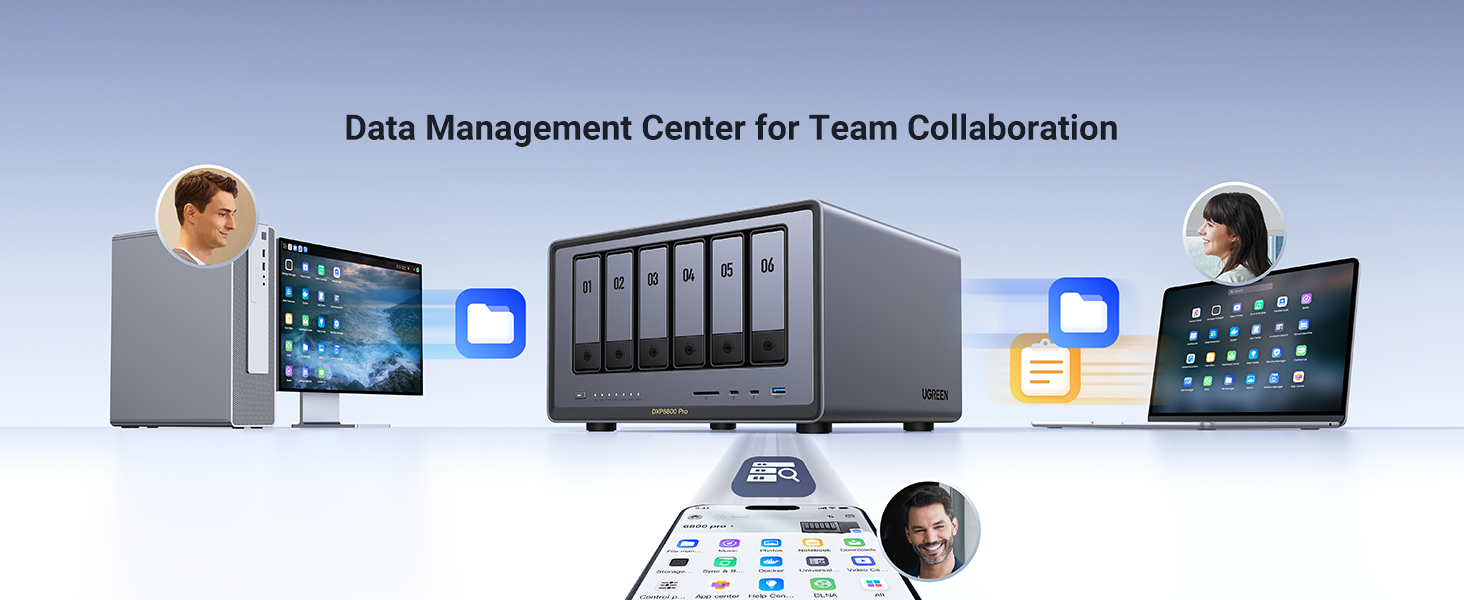
Image: The UGREEN NAS DXP6800 Plus and its accessories laid out, including the NAS unit, user manual, after-sales card, hard drive tray keys, power cable, Ethernet cables, SSD silicone pads, screws, and a screwdriver.
- NASync DXP6800 Plus x 1
- User Manual x 1
- After-sales Card x 1
- Hard Drive Tray Keys x 2
- Power Cable x 1
- Ethernet Cables (CAT7) x 2
- SSD Silicone Pads x 2
- Screws & Screwdriver
3.2. Hardware Installation (HDDs/SSDs)
The DXP6800 Plus supports 3.5-inch HDDs and 2.5-inch SSDs (SATA interface) in its 6 drive bays, and M.2 NVMe SSDs in its two M.2 slots for caching. Storage disks are sold separately.
- Gently press the release tabs on the drive trays and pull them out.
- Attach your 3.5-inch HDD or 2.5-inch SSD to the drive tray using the provided screws.
- Slide the filled drive tray back into the NAS until it clicks into place.
- For M.2 NVMe SSDs, locate the M.2 slots (typically under a removable panel) and secure the SSDs with the provided screws.

Image: Front view of the UGREEN NAS DXP6800 Plus showing the six accessible drive bays labeled 01 to 06. The drives are installed by sliding them into these bays.

Image: A hand demonstrating how to install a hard drive into a drive tray, highlighting the tool-less design for easy setup.
3.3. Initial Connection
Follow these steps to connect your NAS for the first time.
- Place the NAS on a flat, stable surface.
- Connect the included power adapter to the NAS and a power outlet.
- Connect one end of the Ethernet cable to the LAN port on the NAS and the other end to your router or switch.
- (Optional) Connect an HDMI cable from the NAS to a monitor for direct display of the boot process and IP address.
- Press the power button on the front of the NAS to turn it on. The status lights will illuminate.
Video Description: This video demonstrates the initial power-on operation of a NAS device, including connecting power, Ethernet, and HDMI cables, and then powering on the device. It shows the status lights illuminating and the device booting up to display the MINISFORUM logo and an IP address on a connected monitor.
3.4. Software Setup
After connecting the hardware, you need to initialize the NAS software.
- Ensure your computer or mobile device is connected to the same network as the NAS.
- For mobile setup, tap your phone to the front of the NAS (if NFC is supported) or manually download the UGREEN NAS app from your device's app store.
- For PC setup, open a web browser and navigate to the NAS's IP address (displayed on the connected monitor or found via a network scan tool).
- Follow the on-screen prompts to create a system pool, register an administrator account, and log in.
- Update the client software if prompted.
- Initialize the storage pool, selecting your preferred RAID configuration (e.g., RAID 10 for data redundancy).
Video Description: This video demonstrates the process of setting up a UGREEN NAS using a mobile phone. It shows tapping the phone to the NAS to initiate app download, installing the UGREEN NAS app, and then configuring the storage pool, including RAID settings.
4. Operating the UGREEN NAS
4.1. Accessing the NAS
Access your NAS through the UGREEN NAS app on your mobile device or via a web browser on your computer. The UGOS Pro system provides a unified interface for all functions.

Image: The UGOS Pro System interface displayed across multiple devices including Windows, macOS, iOS, Android, and web browsers, illustrating universal access.
4.2. File Management
The NAS App integrates various functions into one place, allowing you to manage files, photos, and more. You can easily copy files from an SD card by inserting it into the dedicated slot and using the file manager.

Image: A smartphone displaying the UGREEN NAS app interface, showing various integrated functions like Storage Manager, Files, Photos, and App Center.
4.3. Photo Sync and Backup
The UGREEN NAS app includes a photo sync and backup option. Navigate to "Tools" > "Sync & Backup" and enable "Photo Backup" for your mobile device.
Video Description: This video addresses common questions about the UGREEN NASync Series, including maximum drive size, storage expansion, PCIe versions, photo sync, desktop syncing over WAN, and user limits. It visually demonstrates the photo backup feature within the NASync app.
4.4. Remote Access
The UGREEN NAS supports remote access, allowing you to sync photos in real-time and access any files remotely, anywhere. Desktop syncing over WAN (internet) is possible through various synchronization methods, including UG Link for UGREEN NASync devices, RSync for UGREEN NAS to other brand NAS, and syncing between UGREEN NASync and cloud services.
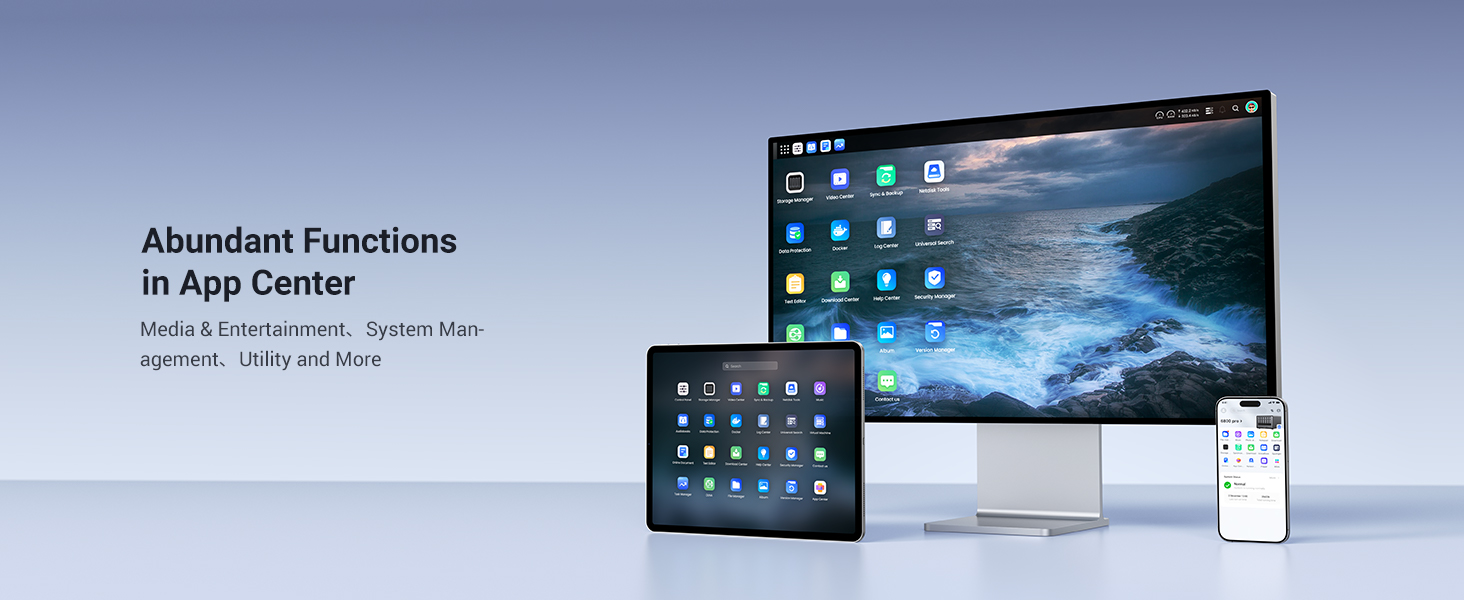
Image: An illustration showing remote access capabilities, with users accessing the NAS from different locations and devices (laptop, smartphone, tablet).
4.5. User Management
The UGREEN NAS supports a maximum of 2048 users per device, allowing for extensive team collaboration and individual access control.
5. Maintenance
5.1. Drive Replacement and Expansion
The UGREEN NAS supports dynamic storage expansion. You can start with fewer drives and add more later to increase capacity within the same storage pool. Hard drive trays are designed for smooth setup and replacement.
Image: A close-up of hands demonstrating the push/pull mechanism of the drive trays for easy installation and removal of hard drives.
5.2. Firmware Updates
Regularly check for and install firmware updates for the UGOS Pro system to ensure optimal performance, security, and access to the latest features. Updates can typically be managed through the NAS app or web interface.
5.3. Cooling System
The NAS features a smart cooling fan with multiple modes (Default, Quiet, Full Speed) to maintain optimal operating temperatures. A magnetic dust mesh filter is included for easy cleaning and maintenance.

Image: An illustration of the NAS's internal cooling system, showing airflow and the three fan modes: Default, Quiet, and Full Speed.

Image: A close-up view of the magnetic dust mesh filter being removed from the NAS, indicating ease of cleaning.
6. Troubleshooting
- Device not detected on network: Ensure the Ethernet cable is securely connected to both the NAS and your router. Verify that your computer/mobile device is on the same network. Restart the NAS and your router.
- Slow data transfer speeds: Check your network connection speed. Ensure you are using appropriate cables (CAT7 Ethernet recommended). Verify drive health and RAID configuration. Consider enabling SSD caching if not already in use.
- Overheating: Ensure the NAS is in a well-ventilated area. Check that the cooling fan is operating correctly and the dust filter is clean. Adjust fan speed settings if necessary.
- Data loss concerns: Always maintain backups of critical data. Utilize RAID configurations that provide data redundancy (e.g., RAID 1, RAID 5, RAID 6, RAID 10).
7. Specifications
| Feature | Detail |
|---|---|
| Brand | UGREEN |
| Model | DXP6800 Plus, 6-Bay |
| CPU | 12th Gen Intel Core i3 Processor (6-core, 8-thread) |
| RAM | 8GB DDR5 (Expandable) |
| Internal Storage | 128G SSD (for OS), up to 196TB total capacity |
| Drive Bays | 6 x SATA (3.5" HDD or 2.5" SSD), 2 x M.2 NVMe Slots |
| Network Ports | 1 x 10GbE, 1 x 2.5GbE |
| Video Output | 4K HDMI |
| PCIe Version (NVMe) | 2 x PCIe Gen 4x4, 2 x PCIe Gen 3x4 (for DXP4800T, DXP6800 Plus uses Gen 4x4) |
| Max Users | 2048 |
| Operating System | UGOS Pro |
| Dimensions | 16.3 x 13.9 x 11.2 inches (Package) |
| Weight | 17.91 pounds |
8. Warranty and Support
UGREEN is committed to providing excellent customer service and product support.
- Warranty: Enjoy a 3-Year Coverage on your UGREEN NAS DXP6800 Plus.
- Technical Support: Access 24-hour Specialist Support for any technical assistance you may need.
- Returns: Benefit from a 30-day Free Returns policy.
- Data Security: Your data is protected with advanced encryption, TRUSTe certified in the United States, and ETSI EN 303 645 certification mark for NAS products by TÜV SÜD Group.

Image: Icon representing 3-Year Coverage.

Image: Icon representing 24h Specialist Support.
Image: Icon representing 30-day Free Returns.


