1. Introduction
This instruction manual provides essential information for the proper use, installation, and maintenance of your SENIX 16-inch chainsaw bar. This bar is specifically designed for compatibility with the SENIX X6 60V chainsaw model CSX6-M. Adhering to these instructions will help ensure safe and efficient operation, extending the lifespan of your equipment.
2. Safety Information
Always prioritize safety when operating chainsaws and handling chainsaw components. Failure to follow safety guidelines can result in serious injury.
- Read the Chainsaw Manual: Always refer to your chainsaw's original instruction manual for comprehensive safety and operating procedures.
- Wear Personal Protective Equipment (PPE): Always wear appropriate PPE, including safety glasses, hearing protection, gloves, and sturdy footwear, when handling or operating a chainsaw.
- Sharp Chain Safety: A sharp chain is safer and more efficient. Dull chains can cause kickback and require more force, increasing the risk of accidents.
- Proper Installation: Ensure the chainsaw bar and chain are correctly installed and tensioned according to the manufacturer's instructions to prevent chain derailment or breakage.
- Inspect Before Use: Before each use, inspect the chainsaw bar and chain for any damage, wear, or loose components. Replace damaged parts immediately.
3. Product Overview
The SENIX 16-inch chainsaw bar is a genuine OEM part designed to ensure optimal compatibility, performance, and quality with your SENIX X6 60V chainsaw model CSX6-M. It is engineered for reliable cutting performance.
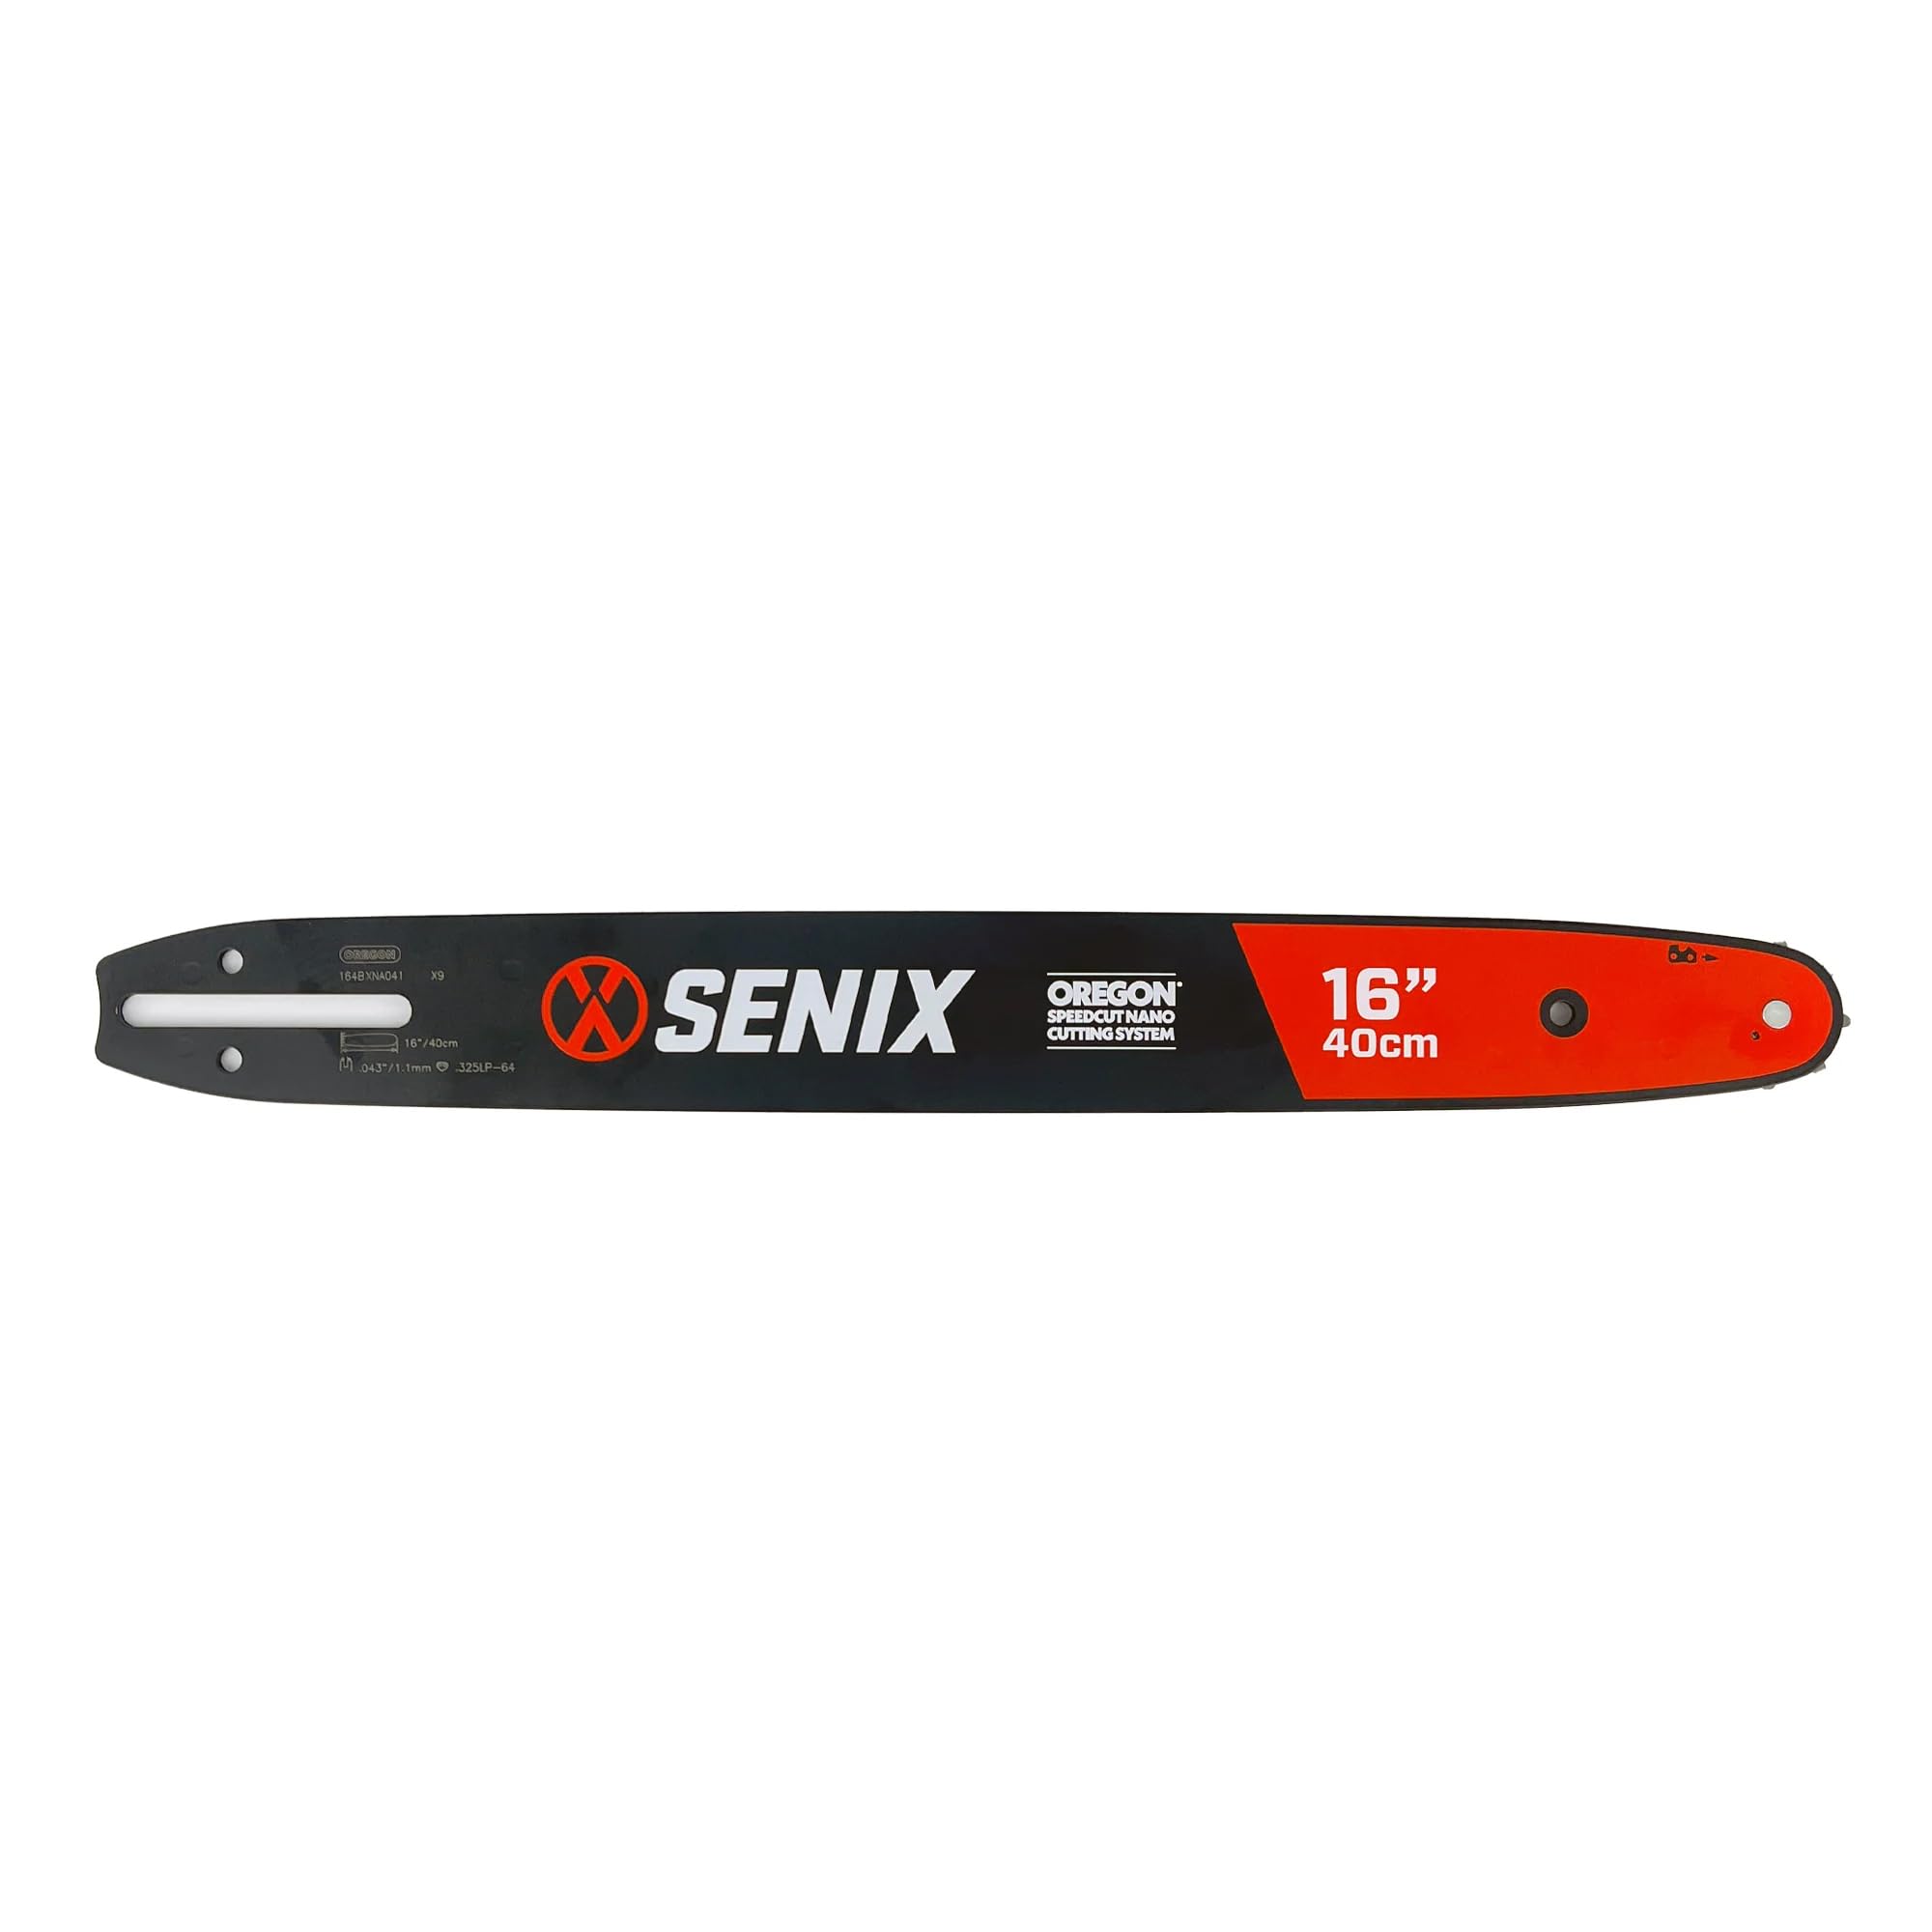
Figure 1: The SENIX 16-inch Chainsaw Bar.
Key features include:
- Optimal Compatibility: Designed specifically for SENIX X6 60V chainsaw model CSX6-M.
- Durable Construction: Made from high-quality materials for extended lifespan and consistent performance.
- Genuine OEM Part: Ensures perfect fit and reliable operation.
4. Identifying Your Chainsaw Chain
Before installing a new chain, it is crucial to correctly identify the specifications of your existing chain or the required specifications for your chainsaw bar. The key parameters are length, gauge, pitch, and the number of drive links. This information is typically found in your chainsaw's manual or sometimes stamped on the chainsaw bar itself.
Video 1: This video demonstrates how to identify the correct chainsaw chain parameters, including length, gauge, and pitch, and provides a visual guide for installing a new chain on a chainsaw.
- Length: The cutting length of the bar, typically measured in inches. For this product, it is 16 inches.
- Gauge: The thickness of the drive links, which fit into the bar's groove. Common gauges are 0.050" (1.3mm) or 0.058" (1.5mm).
- Pitch: The distance between three consecutive rivets on the chain, divided by two. Common pitches include 3/8" LP (Low Profile) or 0.325".
- Drive Links: The total number of drive links on the chain. This must match the number specified for your bar length and pitch.
5. Setup and Installation
Follow these general steps to install the chainsaw bar and chain. Always refer to your specific chainsaw model's manual for detailed instructions.
- Prepare the Chainsaw: Ensure the chainsaw is turned off, the battery is removed (for cordless models), or the spark plug wire is disconnected (for gas models). Engage the chain brake.
- Remove the Side Cover: Loosen the nuts or knob securing the side cover and remove it. This will expose the clutch and sprocket.
- Remove Old Bar and Chain (if applicable): Carefully remove the old chain from the sprocket and guide bar. Then, remove the guide bar.
- Install New Chain: Place the new chain around the clutch sprocket, ensuring the cutting teeth are facing the correct direction (usually forward on the top of the bar).
- Attach Guide Bar: Slide the new guide bar onto the mounting studs, ensuring the chain's drive links fit into the bar's groove.
- Route the Chain: Guide the chain around the nose sprocket of the bar.
- Replace Side Cover: Reinstall the side cover, but do not fully tighten the nuts yet.
- Adjust Chain Tension: Adjust the chain tensioning screw until the chain is snug but can still be pulled freely around the bar by hand. The chain should not sag on the underside of the bar, but also not be too tight. A common test is to lift the chain from the bar; you should be able to see one or two drive links.
- Tighten Side Cover: Once the tension is correct, fully tighten the side cover nuts.
- Check Oil Level: Ensure the chainsaw's chain oil reservoir is filled with appropriate bar and chain oil.
6. Operating Guidelines
While this manual focuses on the chainsaw bar, proper operation of the chainsaw is critical for safety and performance. Always follow the operating instructions provided with your SENIX X6 60V chainsaw.
- Maintain a Firm Grip: Always hold the chainsaw firmly with both hands.
- Proper Stance: Maintain a balanced stance and avoid overreaching.
- Clear Work Area: Ensure your work area is clear of obstacles and bystanders.
- Avoid Kickback: Be aware of potential kickback zones and techniques to avoid it.
7. Maintenance
Regular maintenance of your chainsaw bar and chain is essential for optimal performance and longevity.
- Chain Sharpening: Keep the chain sharp. A dull chain reduces cutting efficiency and increases wear on the chainsaw. Sharpen the chain regularly or replace it when necessary.
- Bar Maintenance: Clean the guide bar groove regularly to remove sawdust and debris. Flip the guide bar periodically to ensure even wear. Check the bar for burrs and file them smooth.
- Lubrication: Ensure the chainsaw's automatic oiler is functioning correctly and that the chain is adequately lubricated during operation. Use recommended bar and chain oil.
- Tension Check: Check chain tension frequently, especially during initial use and after prolonged cutting. Adjust as needed.
8. Troubleshooting
Here are some common issues related to the chainsaw bar and chain:
| Problem | Possible Cause | Solution |
|---|---|---|
| Chain not cutting efficiently | Dull chain, incorrect chain tension, insufficient lubrication | Sharpen or replace chain, adjust tension, check oil level/oiler function |
| Chain derails from bar | Incorrect chain tension (too loose), worn guide bar, incorrect chain size | Adjust tension, replace worn guide bar, ensure correct chain for bar |
| Excessive smoke from chain | Insufficient lubrication, dull chain, incorrect chain tension (too tight) | Check oil level/oiler function, sharpen chain, adjust tension |
| Chain binds in wood | Dull chain, improper cutting technique, incorrect chain tension | Sharpen or replace chain, review cutting technique, adjust tension |
9. Specifications
| Specification | Value |
|---|---|
| Brand | SENIX |
| Part Number | S202404047 |
| Product Dimensions | 16 x 0.43 x 16 inches |
| Item Model Number | S202404047 |
| Compatible Chainsaw Model | SENIX X6 60V Chainsaw Model CSX6-M |
| Compatible Saw Chain Part No. | S202404046 |
| UPC | 843212190028 |
10. Warranty and Support
For warranty information, technical support, or to purchase additional parts, please refer to the documentation included with your original SENIX X6 60V chainsaw or visit the official SENIX website. Using genuine OEM parts ensures continued warranty coverage and optimal performance.


