
1. Introduction
This manual provides essential information for the safe assembly, operation, and maintenance of your Generic Single Truss Arch Storage Shelter (Model: W20'xL30'xH12' 11oz PE). Please read these instructions thoroughly before beginning assembly or use. Retain this manual for future reference.
This storage shelter is designed for industrial, architectural, and recreational storage needs, offering reliable year-round protection with its robust truss construction and durable 11oz PE fabric.

Image 1.1: Front view of the assembled storage shelter, showing the arch design and front opening.
2. Safety Information
WARNING: Failure to follow these safety instructions may result in serious injury or property damage.
- Site Selection: Choose a level, well-drained site away from overhead power lines, trees, or structures that could fall onto the shelter. Ensure adequate clearance for assembly and future access.
- Anchoring: Proper anchoring is critical. Securely anchor the shelter to the ground using appropriate methods for your soil type and local weather conditions. Consult a professional if unsure.
- Weather Conditions: Do not attempt assembly during high winds, heavy rain, or lightning. The shelter is designed to withstand 42 lbs/ft² snow load and 50 mph wind load, but extreme weather may require additional precautions or temporary disassembly. Monitor local weather forecasts.
- Assembly Safety:
- Always use appropriate safety gear, including gloves, eye protection, and hard hats if necessary.
- Ensure sufficient personnel are available for assembly. This is a large structure and requires multiple people.
- Follow all assembly steps in the correct sequence.
- Keep children and pets away from the assembly area.
- Do not climb on the frame or cover during or after assembly.
- Fire Safety: While the fabric is fire retardant, keep all heat sources, open flames, and flammable materials away from the shelter.
- Ventilation: Ensure adequate ventilation if storing vehicles or equipment that emit fumes.
3. Package Contents
Before beginning assembly, unpack all components and verify that you have received all parts. If any parts are missing or damaged, contact customer support immediately. The package typically includes:
- Alloy Steel Frame Components (trusses, purlins, connectors)
- 11oz PE Fabric Cover (main cover, end panels)
- Anchoring Hardware (ground anchors, ropes/straps)
- Assembly Hardware (bolts, nuts, washers)
- Instruction Manual (this document)
Note: Specific quantities and types of components may vary slightly. Refer to the detailed parts list included with your physical product for exact counts.
4. Setup and Assembly
Assembly of this storage shelter requires careful attention to detail and multiple individuals. It is recommended to have at least 3-4 people for safe and efficient assembly. Typical tools required include wrenches, a tape measure, a level, and a hammer/mallet.
- Site Preparation: Clear and level the chosen site. Ensure the ground is firm and capable of holding anchors securely.
- Frame Assembly:
- Assemble the individual truss sections on the ground according to the detailed diagrams in your product-specific assembly guide.
- Connect the assembled trusses using the purlin tubes and appropriate hardware. Ensure all connections are tight and secure.
- Carefully raise the frame sections into position, securing them temporarily if needed.
- Anchoring the Frame: Once the main frame is upright, securely anchor each base plate to the ground using the provided anchoring hardware. This step is crucial for stability.
- Cover Installation:
- Unroll the main PE fabric cover over the assembled frame. Ensure it is centered and aligned correctly.
- Secure the cover to the frame using the tensioning system (e.g., straps, ropes, or ratchets) as instructed. Ensure the cover is taut to prevent flapping and water pooling.
- Install the end panels, securing them to the frame and main cover.
- Final Inspection: Double-check all connections, anchors, and cover tension. Ensure there are no loose parts or unsecured sections.

Image 4.1: Side view of the assembled storage shelter, illustrating its full length and arch profile.
5. Operating and Usage
Your Generic Single Truss Arch Storage Shelter provides a protected space for various items. Its dome design enhances strength and maximizes internal space.
- Intended Use: This shelter is suitable for storing vehicles, equipment, materials, or as a temporary workspace.
- Load Capacity: The shelter is engineered to withstand a snow load of 42 lbs/ft² and a wind load of 50 mph. Do not exceed these limits. In areas with heavy snowfall, regularly remove accumulated snow from the roof.
- Access: The end panels typically feature roll-up doors or zippered openings for easy access. Ensure these are properly secured when not in use to protect contents from weather.
- Internal Space: The arch design provides ample headroom and usable space. Organize items to allow for safe movement and access.
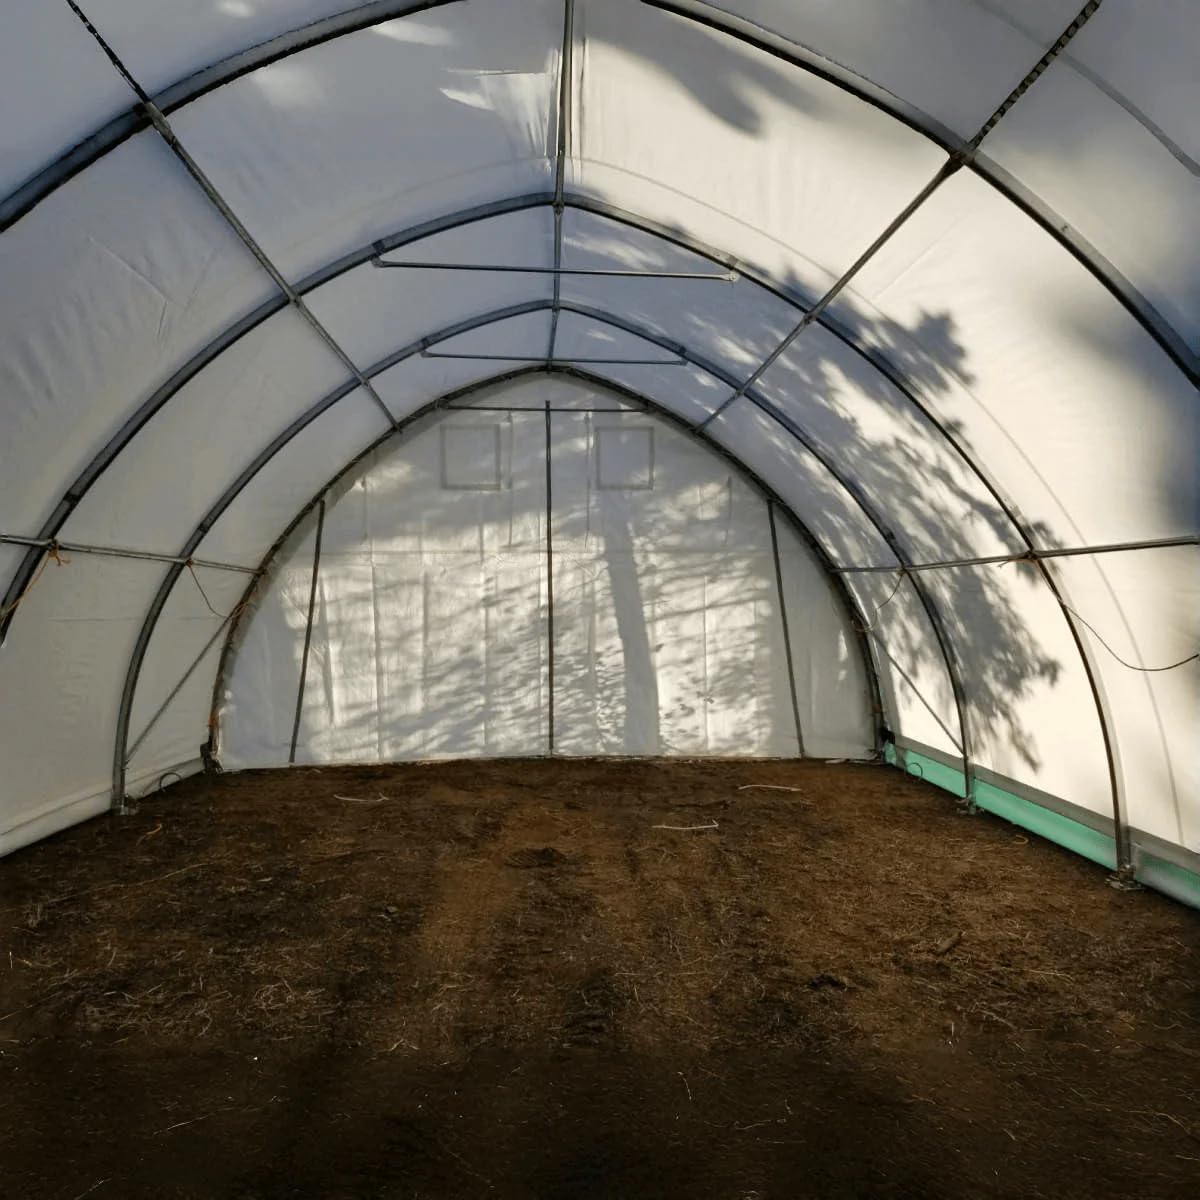
Image 5.1: Interior view of the storage shelter, showing the truss frame structure and spacious area.
6. Maintenance
Regular maintenance will extend the life of your storage shelter and ensure its continued performance.
- Regular Inspections: Periodically inspect the entire structure, especially after severe weather. Check for:
- Loose or damaged frame connections.
- Tension of the fabric cover; re-tension if necessary.
- Integrity of anchoring points.
- Tears, punctures, or excessive wear on the fabric cover.
- Cleaning: Clean the fabric cover with mild soap and water. Avoid harsh chemicals or abrasive cleaners, which can damage the PE material. Rinse thoroughly.
- Snow Removal: In snowy conditions, regularly remove snow accumulation from the roof to prevent excessive load and potential collapse. Use a soft broom or brush from the inside to push snow off, avoiding sharp objects.
- Repairs: Promptly repair any small tears or punctures in the fabric cover using appropriate repair kits (often available from the manufacturer or seller). Larger damage may require professional repair or replacement panels.
7. Troubleshooting
| Problem | Possible Cause | Solution |
|---|---|---|
| Cover sags or flaps excessively. | Insufficient tension; loose straps/ropes. | Re-tension the fabric cover using the tensioning system. Ensure all straps are tight. |
| Water pooling on the roof. | Cover not taut enough; improper installation. | Ensure the cover is stretched tightly over the frame to allow water runoff. Check for proper frame assembly. |
| Frame feels unstable. | Inadequate anchoring; loose frame connections. | Verify all anchors are securely fastened to the ground. Tighten all bolts and connections on the frame. Reinforce anchoring if necessary. |
| Tears or holes in fabric. | Abrasion; impact damage; prolonged exposure. | Patch small tears with a repair kit. For larger damage, contact the seller for replacement parts. |
8. Specifications
- Model: W20'xL30'xH12' 11oz PE
- Dimensions (Nominal): Width 20 feet, Length 30 feet, Height 12 feet
- Frame Material: Alloy Steel
- Cover Material: 11oz Polyethylene (PE) Fabric
- Fabric Properties: Waterproof, Fire Retardant, UV Resistant
- Snow Load Capacity: 42 lbs/ft²
- Wind Load Capacity: 50 mph
- Design: Single Truss Arch, Dome Design
- Color: White+Green (as per product listing)

Image 8.1: Dimensional diagram of the storage shelter, indicating width, length, and height.
9. Warranty and Support
For warranty information, specific return policies, or technical support, please refer to the documentation provided with your purchase or contact the seller directly. Keep your proof of purchase for any warranty claims.
If you have questions regarding assembly, missing parts, or operational issues not covered in this manual, please reach out to the retailer or manufacturer's customer service department.