
1. Introduction
This manual provides detailed instructions for the installation, operation, and maintenance of your Oskkude TISU-05-DYY Double Din Car Stereo. This unit is designed for Suzuki Grand Vitara models from 2005 to 2015, offering an enhanced in-car entertainment and navigation experience with its 9-inch IPS touchscreen, Android 13 operating system, Wireless CarPlay, and Android Auto capabilities.
2. Safety Information
Please read all safety instructions carefully before installation and operation. Failure to follow these guidelines may result in injury, damage to the unit, or damage to your vehicle.
- Professional Installation Recommended: Due to the complexity of car audio systems, professional installation is highly recommended to ensure proper wiring and functionality.
- Power Source: Connect the unit only to a 12V DC power supply with a negative ground.
- Avoid Distractions: Do not operate the unit or view videos while driving, as this can lead to accidents. Always prioritize safe driving.
- Temperature: Avoid exposing the unit to extreme temperatures or direct sunlight for prolonged periods.
- Moisture: Keep the unit away from water and moisture to prevent electrical hazards.
- Ventilation: Ensure adequate ventilation around the unit to prevent overheating.
3. Package Contents
Verify that all items listed below are included in your package:
- Oskkude TISU-05-DYY Car Stereo Unit
- Power Cable
- RCA Input/Output Cables
- 2 USB Cables
- Camera Input Cable
- GPS Antenna
- Instruction Manual
- USB Adapter
- AHD Backup Camera

Image: Contents of the Oskkude TISU-05-DYY car stereo package.

Image: Detailed view of the car stereo unit and its accessories.
4. Setup
4.1. Installation Overview
The Oskkude TISU-05-DYY car stereo is designed for a precise fit in Suzuki Grand Vitara models from 2005-2015. Ensure your vehicle's dashboard dimensions and shape match the unit before proceeding with installation. Professional installation is recommended.

Image: Before and After installation of the car stereo in a Suzuki Grand Vitara dashboard.

Image: Oskkude Double Din Car Stereo installed in a Suzuki Grand Vitara.
4.2. Wiring Connections
Carefully connect all necessary cables according to the wiring diagram provided. Ensure secure connections to prevent malfunctions.
- Power Cable: Connect to the vehicle's power supply (12V DC).
- RCA Input/Output: For external audio/video devices.
- USB Cables: For connecting USB devices or for wired Android Auto.
- Camera Input: Connect the AHD backup camera.
- GPS Antenna: Mount in a location with a clear view of the sky for optimal signal reception.

Image: Rear wiring connections of the car stereo.
5. Operating Instructions
5.1. Basic Operations
The unit features a 9-inch IPS touchscreen for intuitive control. Power on the unit by starting your vehicle. Navigate through menus by tapping icons and swiping.

Image: Main interface of the car stereo.
5.2. Bluetooth Connection
To connect your mobile device via Bluetooth:
- On the car stereo, tap the 'BT' icon to enter Bluetooth settings.
- On your mobile device, go to Bluetooth settings and enable Bluetooth.
- Search for available devices and select 'CarBT'.
- Enter the PIN '0000' on your mobile device when prompted.
- Once paired, 'phone audio' and 'music audio' will be displayed, indicating a successful connection. If not, restart the Bluetooth on both devices.
5.3. Wireless CarPlay & Android Auto (ZLINK)
The unit supports both Wireless CarPlay and wired Android Auto for seamless smartphone integration.
- Bluetooth Connection: First, ensure your phone is connected to the car stereo via Bluetooth as described in section 5.2.
- ZLINK Application: On the car stereo, open the 'ZLINK' application.
- Automatic Connection: The ZLINK app will attempt to connect to your phone for CarPlay or Android Auto.
- Manual WiFi Connection (if needed): If the ZLINK connection is not successful, you may need to manually connect to the car stereo's WiFi hotspot. Go to 'Settings' > 'Android Settings' > 'Network & Internet' > 'Hotspot & tethering' > 'Wi-Fi hotspot' on the car stereo. Enable the hotspot and note the network name (e.g., AndroidAP_B442) and password. On your phone, connect to this WiFi network. After connecting to the WiFi, delete the history record in the ZLINK app and try again.
- Subsequent Connections: After the initial setup, subsequent connections typically only require Bluetooth to automatically connect to CarPlay or Android Auto.

Image: Wireless CarPlay and Android Auto interfaces.
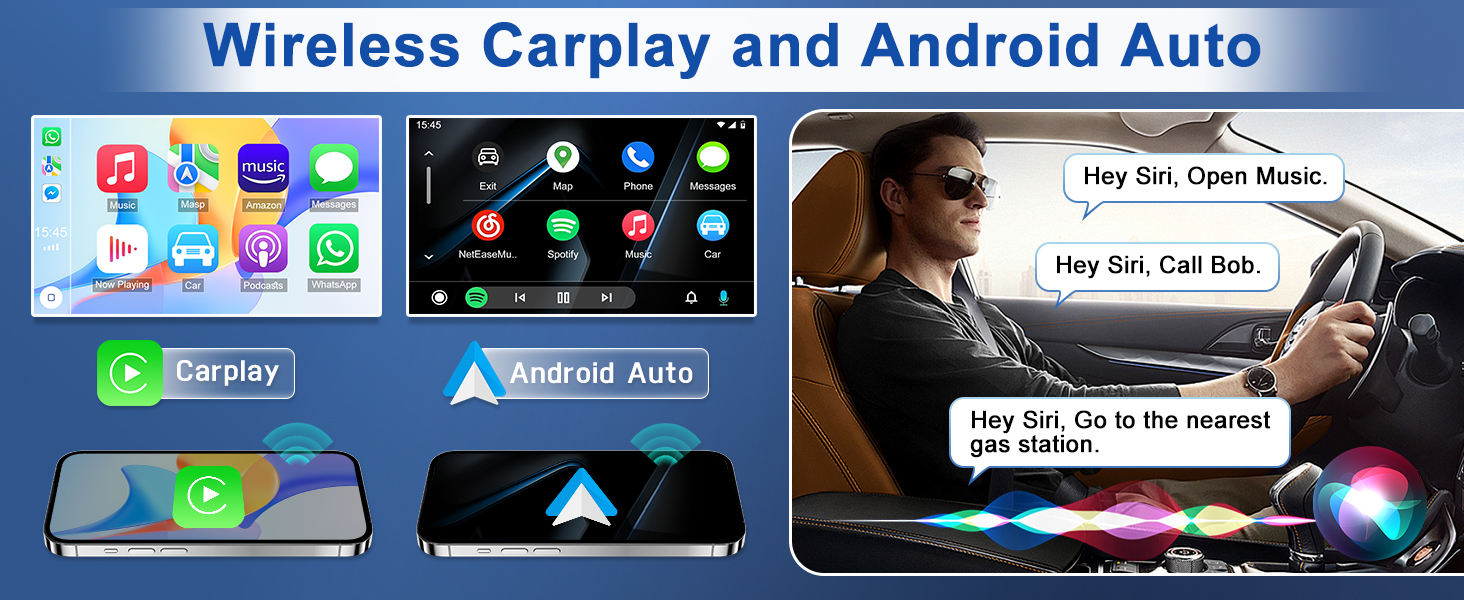
Image: User interacting with Wireless CarPlay and Android Auto.
Video: Demonstrates how to connect the car stereo for CarPlay/Android Auto via Bluetooth and WiFi hotspot, including troubleshooting steps for connection issues.
5.4. GPS Navigation & WiFi
The unit features built-in GPS navigation with support for online and offline maps. It comes with an offline map of North America pre-installed. Connect to WiFi to use online maps and download additional applications.
- Offline Maps: Access pre-installed North America maps without an internet connection.
- Online Maps: Connect to a WiFi hotspot (e.g., from your phone) to use real-time navigation apps like Google Maps.
- App Installation: Install or delete Android apps from the Application Store, similar to a smartphone.

Image: GPS Navigation and Bluetooth features.
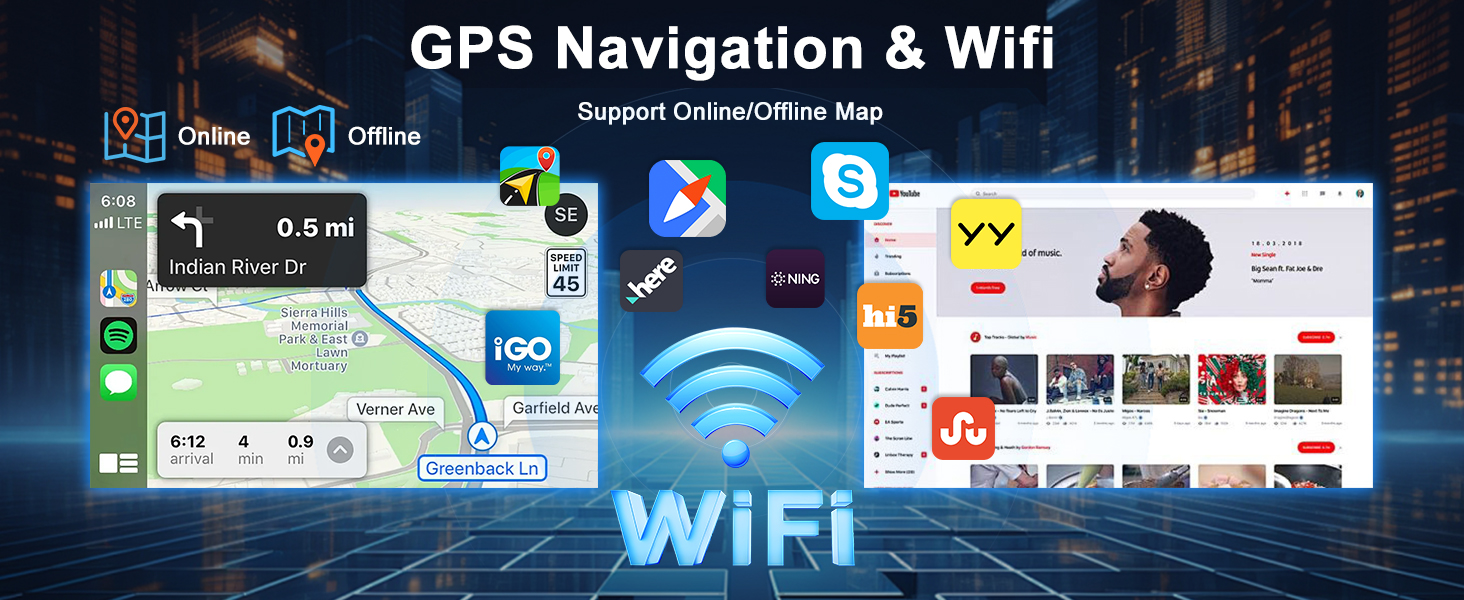
Image: GPS Navigation and WiFi capabilities.
5.5. Steering Wheel Control
The unit supports your vehicle's existing steering wheel controls, allowing you to manage media and apps without taking your hands off the wheel. This enhances driving safety.
- Functionality: Easily change music tracks, adjust volume, and navigate through functions.
- Configuration: Access the 'Steering Learn' option in the settings to configure or recalibrate your steering wheel controls.

Image: Steering Wheel Control functionality.
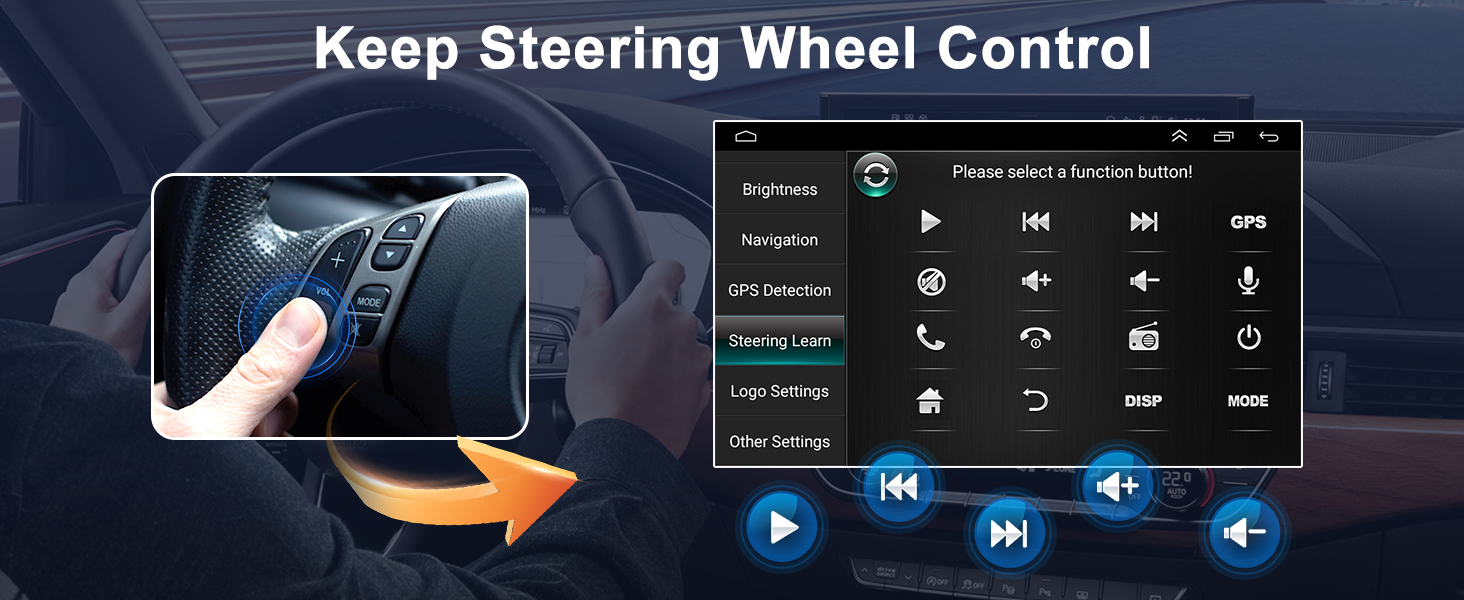
Image: Keeping Steering Wheel Control.
5.6. AHD Backup Camera
The included AHD backup camera provides a clear, wide-angle view of the area behind your vehicle, automatically displaying the image when you shift into reverse. This feature enhances parking safety.
- Night Vision: Equipped with night vision for clear visibility in low-light conditions.
- 170° Wide Field of View: Offers a broad perspective of the rear surroundings.
- Waterproof: Designed to withstand various weather conditions.
Image: Backup Camera view and functionality.
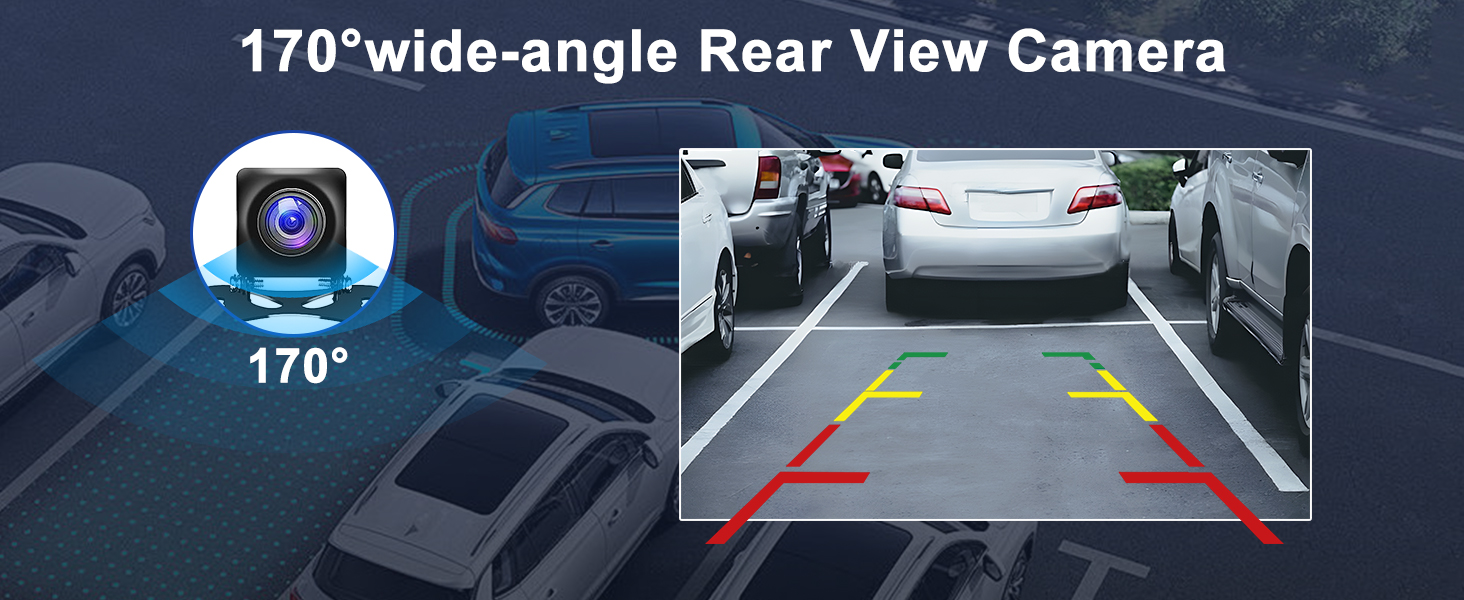
Image: 170-degree wide-angle Rear View Camera.
5.7. FM/RDS Radio
Enjoy your favorite radio stations with the built-in FM/RDS radio tuner. The unit supports both automatic and manual station searching.
- Automatic Search: Scan for available stations and save them.
- Manual Tuning: Fine-tune to specific frequencies.
- RDS (Radio Data System): Displays station information such as song title or artist where available.

Image: Split Screen and FM/RDS Radio interfaces.
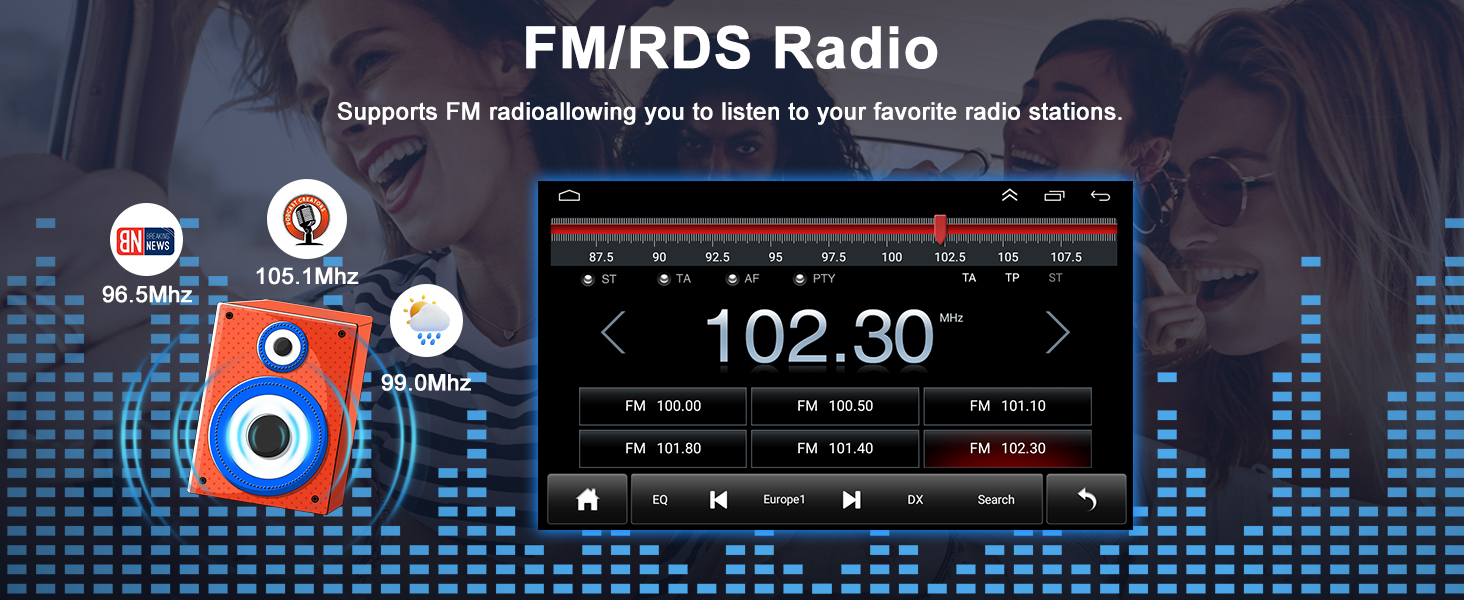
Image: FM/RDS Radio interface.
5.8. Mirror Link
The Mirror Link function allows you to mirror your smartphone screen directly onto the car stereo display. This enables you to view navigation maps, play videos, and access other phone content on the larger screen.
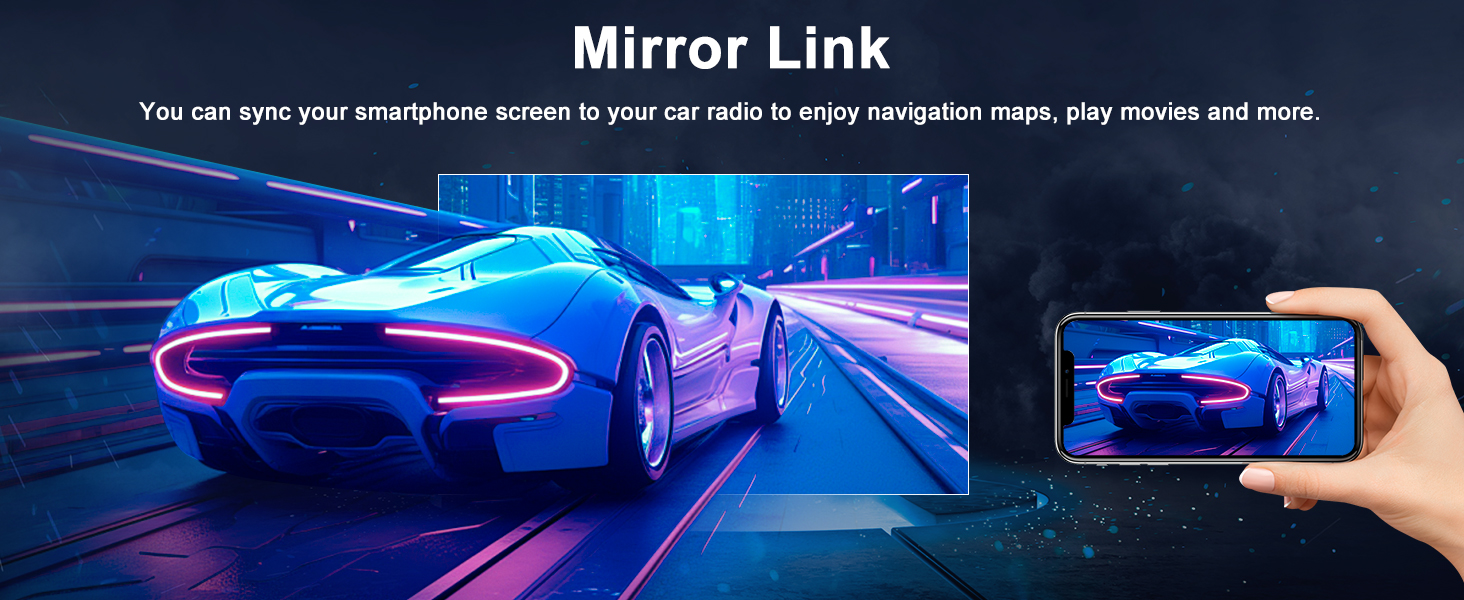
Image: Mirror Link functionality.
5.9. Split Screen
The split-screen feature allows you to run two applications simultaneously on the car stereo display. For example, you can have navigation running on one side while controlling music playback on the other.
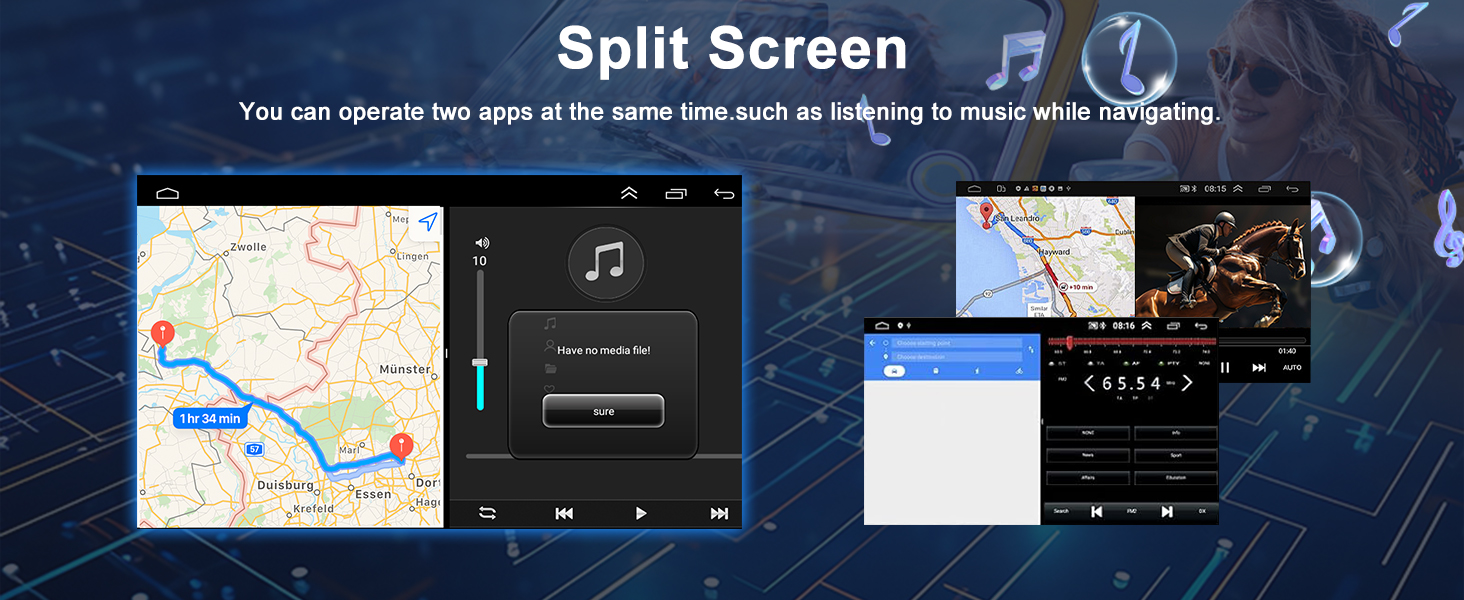
Image: Split Screen feature in action.
6. Maintenance
Proper maintenance ensures the longevity and optimal performance of your car stereo.
- Cleaning the Screen: Use a soft, lint-free cloth to gently wipe the touchscreen. Avoid abrasive cleaners or solvents.
- Software Updates: Periodically check for software updates to ensure the unit has the latest features and bug fixes. Updates can usually be found on the manufacturer's website or through the unit's settings.
- General Care: Keep the unit free from dust and debris. Avoid placing heavy objects on the unit.
7. Troubleshooting
If you encounter issues with your Oskkude car stereo, refer to the following common problems and solutions:
| Problem | Possible Cause | Solution |
|---|---|---|
| Unit does not power on. | Incorrect wiring, blown fuse, vehicle power issue. | Check power cable connections. Inspect vehicle fuses. Consult a professional installer. |
| No sound. | Volume too low, incorrect audio source, speaker wiring issues. | Increase volume. Select correct audio source. Check speaker connections. |
| Bluetooth connection fails. | Incorrect pairing, Bluetooth disabled, interference. | Ensure Bluetooth is enabled on both devices. Re-pair the devices (PIN: 0000). Restart Bluetooth on both devices. |
| CarPlay/Android Auto (ZLINK) not connecting. | Bluetooth not connected, WiFi hotspot issue, ZLINK app error. | Ensure Bluetooth is connected first. If issues persist, manually connect to the car stereo's WiFi hotspot (see section 5.3) and delete history in ZLINK. |
| GPS signal weak or inaccurate. | GPS antenna placement, environmental interference. | Ensure GPS antenna has a clear view of the sky. Avoid obstructions. |
| Touchscreen unresponsive. | Software glitch, temporary freeze. | Restart the unit (turn vehicle off and on). If issue persists, perform a factory reset (refer to settings, note this will erase data). |
8. Specifications
Key technical specifications for the Oskkude TISU-05-DYY Double Din Car Stereo:
| Feature | Description |
|---|---|
| Brand | Oskkude |
| Model Name | TISU-05-DYY |
| Operating System | Android 13 |
| Memory Storage Capacity | 64 GB |
| Screen Size | 9 Inches |
| Display Type | IPS |
| Touch Screen Type | Capacitive |
| Connectivity Technology | Bluetooth, USB, Wi-Fi |
| Connectivity Protocol | Bluetooth, Wi-Fi |
| Special Features | Wireless CarPlay, Wired Android Auto, Steering Wheel Control, GPS Navigation, Bluetooth, WiFi, IPS Touchscreen, Split Screen, AHD Backup Camera, FM/AUX, AV IN, RCA, RLV |
| Map Type | Worldwide (North America offline map included) |
| Supported Satellite Navigation System | GPS |
| Audio Output Mode | Stereo |
| Mounting Type | Dashboard Mount |
| Compatible Vehicle Type | Car, SUV (Suzuki Grand Vitara 2005-2015) |
| Item Weight | 1600 Grams |
9. Warranty and Support
Oskkude products are designed for quality and reliability. For specific warranty details, please refer to the warranty card included with your product or contact Oskkude customer support.
9.1. Customer Support
If you have any questions, require technical assistance, or need to report an issue, please contact Oskkude customer support through the retailer where you purchased the product or visit the official Oskkude brand store online.
Online Store: Oskkude Store on Amazon