
Introduction
This manual provides detailed instructions for the installation, operation, and maintenance of your UBORSY A25-TX001-R1 / A25-TX00I Universal Ceiling Fan Remote Control Kit. Please read this manual thoroughly before installation and use to ensure proper function and safety.
Package Contents
Verify that all components are present in your package:
- Remote Control (1)
- Receiver (1)
- Wall Mount Holder (1)
- User Guide (1)
- Wire Nuts (6)
- Screws (2)
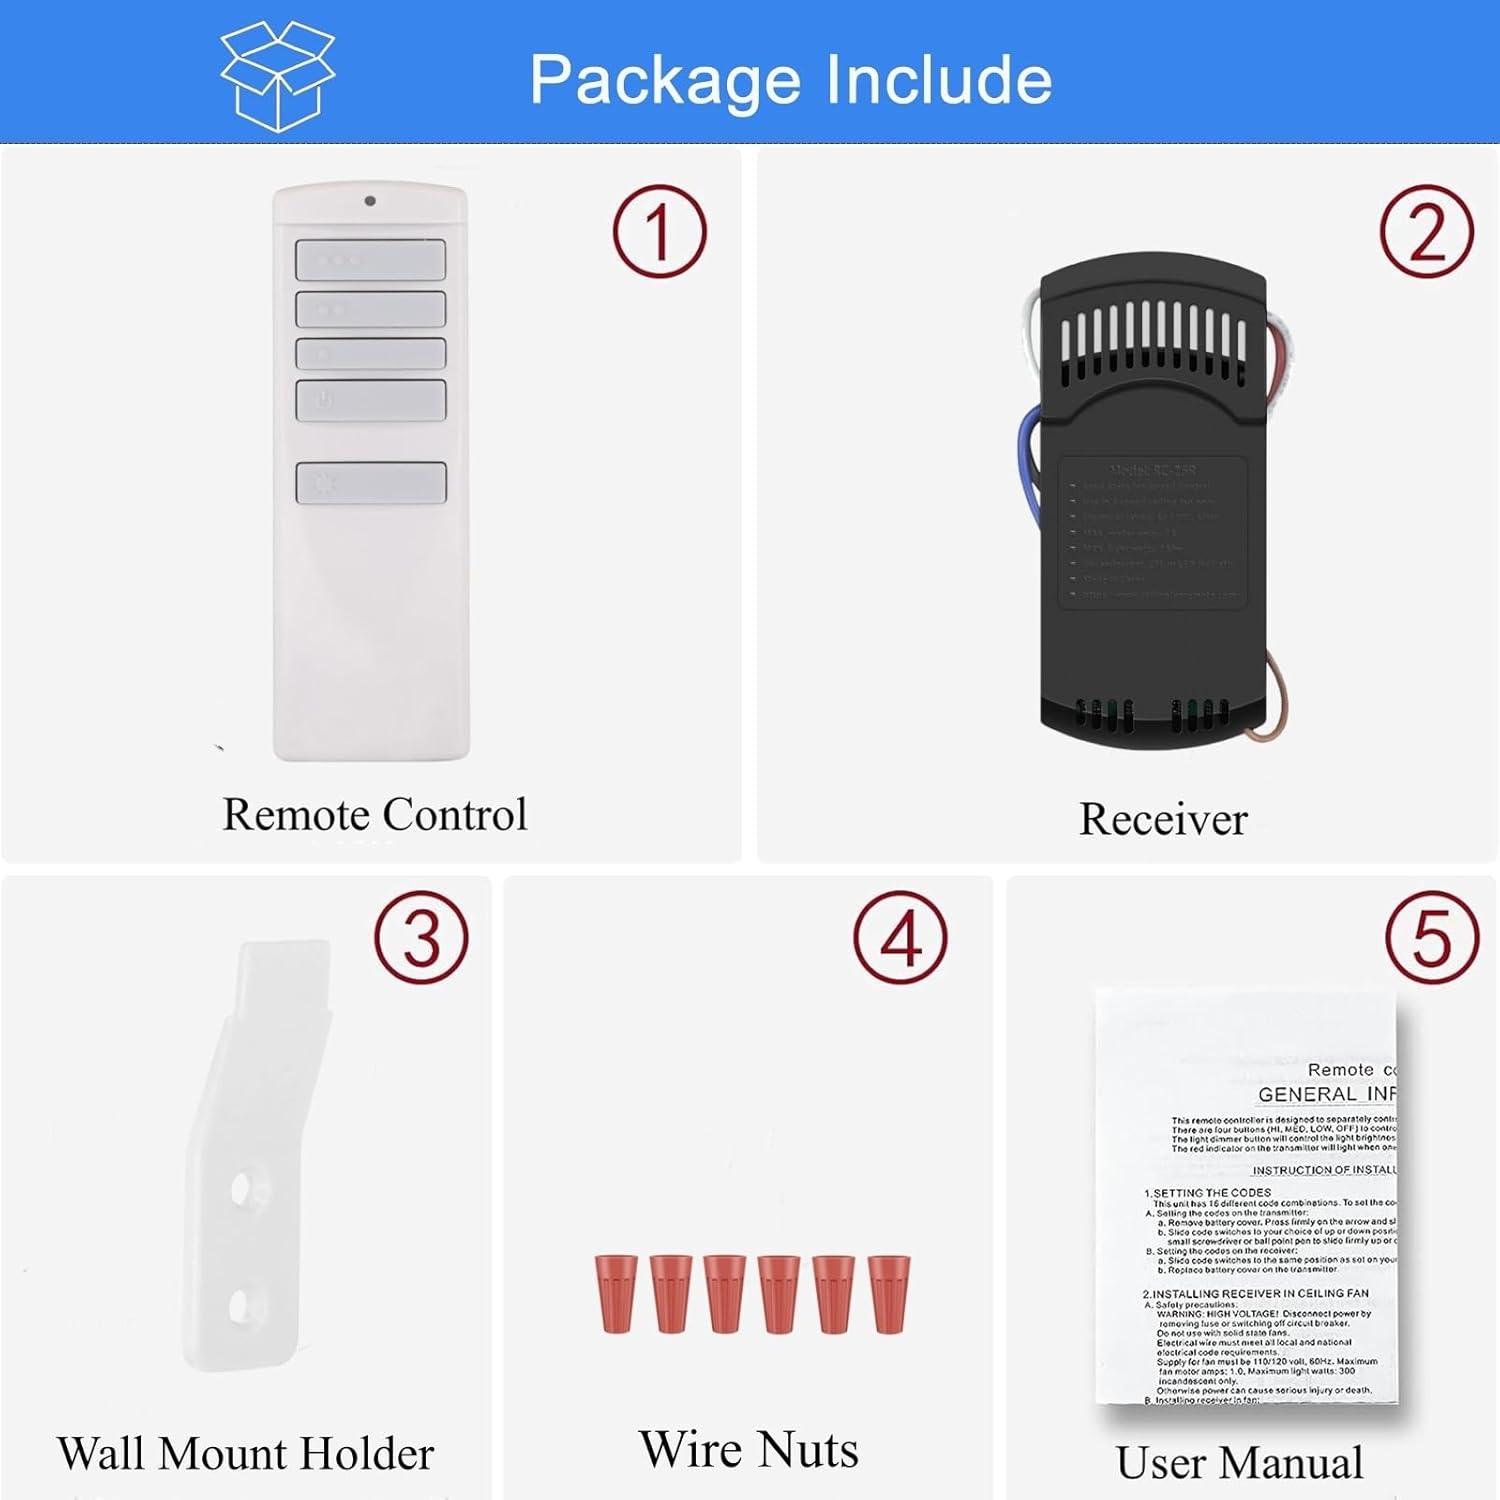
Figure 1: Package Contents. This image displays all items included in the UBORSY A25-TX001-R1 / A25-TX00I Universal Ceiling Fan Remote Control Kit.
Safety Precautions
WARNING: HIGH VOLTAGE! Always disconnect power by removing the fuse or switching off the circuit breaker before installation or maintenance. Failure to do so can result in serious injury or death.
- Do not use with solid state fans.
- Electrical wiring must meet all local and national electrical code requirements.
- Supply for the fan must be 110/120 volts, 60Hz.
- Maximum fan motor amps: 1.0.
- Maximum light watts: 300 dimmable LED or incandescent only.

Figure 2: Safety Precautions and Wiring Diagram. This image shows the steps to disconnect power and a detailed wiring diagram for the receiver installation.
Setup Instructions
Installation of Receiver
- Disconnect Power: Before beginning any installation, ensure the power to the ceiling fan is turned off at the circuit breaker.
- Access Wiring: Remove the canopy of your ceiling fan to access the existing wiring.
- Install Receiver: Connect the receiver wires to the corresponding fan and house wires using the provided wire nuts. Refer to the wiring diagram in Figure 2 for correct connections. Ensure all connections are secure.
- Position Receiver: Carefully tuck the receiver into the fan canopy. Ensure it does not interfere with the fan's operation or wiring.
- Reattach Canopy: Securely reattach the fan canopy.
Pairing the Remote Control
The ceiling fan receiver does not require a manual code setting. Follow these steps to pair the remote:
- Restore Power: Turn on the power to the ceiling fan through the wall switch or circuit breaker.
- Initiate Pairing: Within 30 seconds of restoring power, press and hold the 'Learn' button on the remote control. The indicator light on the remote will flash.
- Confirmation: If pairing is successful, the ceiling fan will turn on at a low speed, and the indicator light on the remote will go out.

Figure 3: Easy Pairing Instructions. This image visually guides you through the steps to pair your remote control with the receiver.
Note: Before using this wireless controller, ensure your original wall switch is set to turn on the lights and fan to maximum speed for proper operation.
Operating Instructions
Remote Control Functions

Figure 4: Remote Control Button Functions. This image details the purpose of each button on the remote control.
- High Fan Speed: Activates the fan at its highest speed.
- Medium Fan Speed: Activates the fan at a medium speed.
- Low Fan Speed: Activates the fan at its lowest speed.
- Fan Power / Light Delay Off Mode: Turns the fan off and delays the light turning off for 60 seconds.
- Light Control: Turns lights off and on. Press and hold to brighten or dim the light.
The remote features tactile textured dots on the speed and dimming buttons for blind-friendly use, allowing visually impaired users to operate the fan and lights confidently.
Light Dimmer Functionality
The light dimmer button controls the brightness of incandescent lights. If your light fixtures use LED or CFL bulbs, this button will only control the bulbs' ON/OFF function, not dimming, unless the bulbs themselves are dimmable.

Figure 5: Bulb and Fan Compatibility. This image provides details on compatible bulb types and fan styles.
- Bulb Compatibility: Does not support smart bulbs; only compatible with dimmable non-smart lights.
- Bulb Load Limits: Maximum load for LED/CFL bulbs is 150W; for incandescent bulbs, it's 300W.
- Fan Compatibility: Suitable for most downrod style fans; not recommended for use with hugger style fans.
Maintenance
Battery Replacement
The remote control uses one 12V battery (not included). When the remote's range decreases or the indicator light dims, it is time to replace the battery. To replace, open the battery compartment on the back of the remote, remove the old battery, and insert a new 12V battery, observing polarity.
Cleaning
Wipe the remote control and receiver with a soft, dry cloth. Do not use abrasive cleaners or solvents, as these may damage the finish or internal components.
Troubleshooting
- Fan or Light Not Responding:
- Check if the circuit breaker is on.
- Ensure the remote control battery is not depleted and is installed correctly.
- Verify that the remote and receiver are properly paired (refer to "Pairing the Remote Control" section).
- Check all wire connections in the fan canopy to ensure they are secure.
- Light Dimmer Not Working with LED/CFL Bulbs:
- Confirm that your LED or CFL bulbs are specifically labeled as "dimmable." Non-dimmable bulbs will only turn ON/OFF.
- Reduced Remote Range:
- Replace the remote control battery.
- Ensure there are no significant obstructions between the remote and the fan receiver.
Specifications
| Brand | UBORSY |
| Model Name | RC-92T+RC92R |
| Special Feature | Light Dimmer |
| Color | White |
| Max Number of Supported Devices | 2 |
| Compatible Devices | Harbor Breeze, Honeywell, Hampton Bay, Hunter, Allen+Roth, Litex, Kichler, Westinghouse Ceiling Fans |
| Connectivity Technology | Radio Frequency 315MHz |
| Button Quantity | 5 |
| Maximum Range | 60 Feet |
| Battery Type | 12V battery (not included) |
| Item Weight | 0.1 Pounds |
Warranty Information
This UBORSY product comes with a 1-year warranty from the date of purchase. This warranty covers defects in materials and workmanship under normal use. It does not cover damage resulting from misuse, accident, modification, or unauthorized repair. Please retain your proof of purchase for warranty claims.
Customer Support
For further assistance, technical support, or warranty inquiries, please visit the official UBORSY store on Amazon or contact customer service through your purchase platform. You can find more information and products at the UBORSY Store.