
1. Product Overview
The LICAEVEY Bluetooth Thermal Label Printer is a compact and portable device designed for efficient label printing. It features both USB-C and Bluetooth connectivity, a 1500mAh built-in battery, and supports various label types and barcodes. This manual provides instructions for its setup, operation, and maintenance.
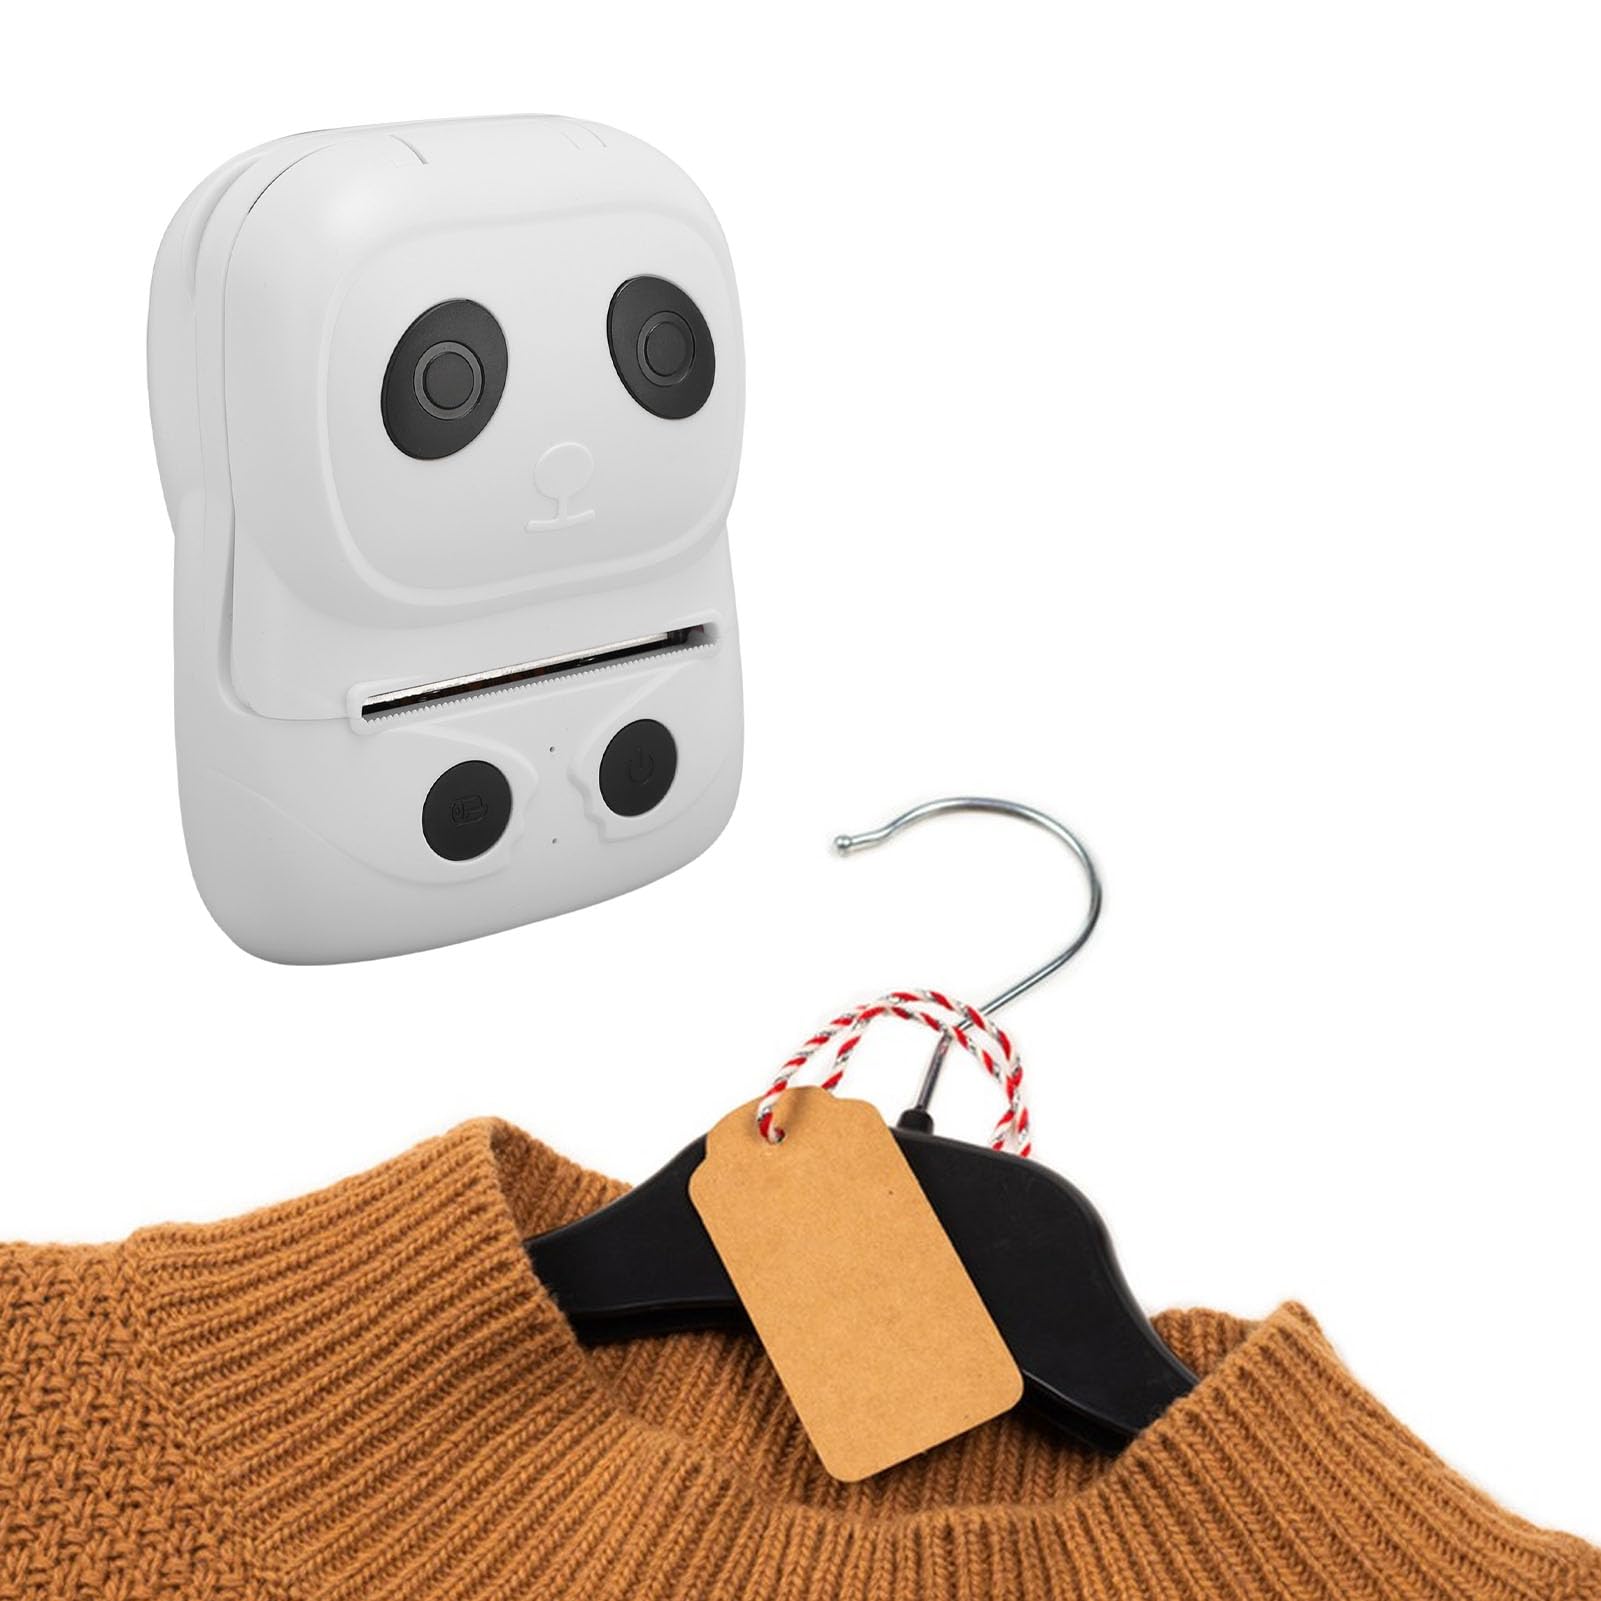
Image 1.1: Front view of the LICAEVEY Bluetooth Thermal Label Printer.
Key Features:
- Portable & Compact Design: Lightweight (4.4x3.3x2.1in) with a 1500mAh lithium battery for mobile use.
- Versatile Printing: Supports text, symbols, graphics, and 1D/2D barcodes (UPC, QR Code, PDF417) on 10-50mm thermal labels.
- Long-Lasting Performance: High-capacity battery and durable TPH (50km lifespan).
- Seamless Connectivity: Bluetooth for iOS/Android devices and USB-C for PC.
- Multi-Scenario Compatibility: Suitable for small businesses, home organization, and industrial use.
2. Setup
2.1 Package Contents
Before starting, ensure all items are present in the package:
- 1 x LICAEVEY Bluetooth Thermal Label Printer
- 1 x Label Paper Roll
- 1 x Instruction Manual (this document)
- 1 x USB Cable (Type C)

Image 2.1: The printer shown with its included label paper roll and USB-C cable.
2.2 Charging the Device
The printer comes with a built-in 1500mAh polymer lithium-ion battery. Before first use, it is recommended to fully charge the device.
- Connect the provided USB Type-C cable to the charging port on the printer.
- Connect the other end of the USB cable to a compatible USB power source (e.g., wall adapter, computer USB port, power bank, or car charger).
- The charging indicator light will illuminate. Once fully charged, the indicator light may change color or turn off, depending on the model.

Image 2.2: The printer supports various charging methods including USB charging, car charging, and power bank charging via its USB Type-C port.
2.3 Loading Label Paper
Follow these steps to correctly load the thermal label paper:
- Gently open the top cover of the printer.
- Place the label paper roll into the paper bin, ensuring the printing side of the labels faces upwards and feeds smoothly towards the print head.
- Adjust the paper guides to fit the width of the label roll, ensuring the roll is centered and stable.
- Pull a small length of label paper out past the print head and close the top cover firmly until it clicks into place.
- The printer will automatically detect the label gap and calibrate the paper position.

Image 2.3: The printer's paper bin open, illustrating how to insert a label roll. The maximum paper width is 50mm.

Image 2.4: An internal view of the printer, showing the mechanism for holding the label paper roll.
3. Operating Instructions
3.1 Powering On/Off
- To Power On: Press and hold the power button (usually marked with a power symbol) for a few seconds until the indicator light illuminates.
- To Power Off: Press and hold the power button again for a few seconds until the indicator light turns off.
3.2 Connecting via Bluetooth
This printer supports wireless connection via Bluetooth for iOS and Android devices.
- Ensure the printer is powered on and within range of your mobile device.
- Enable Bluetooth on your mobile device.
- Open the dedicated printing application (refer to the app store for 'LICAEVEY Label Printer' or similar).
- Within the app, search for available Bluetooth devices and select the printer (e.g., 'LICAEVEY Printer' or a similar name).
- Once paired, the Bluetooth indicator light on the printer will confirm the connection.
3.3 Connecting via USB-C
For PC connectivity, use the provided USB Type-C cable.
- Connect one end of the USB Type-C cable to the printer's USB port.
- Connect the other end to an available USB port on your computer.
- Install the necessary printer drivers on your computer if prompted. Drivers are typically available on the manufacturer's website.
- The printer will be recognized as a standard printer device, allowing you to print from various applications.
3.4 Printing Labels
Once connected, you can proceed with printing:
- Open the desired label design software or application on your connected device.
- Create or select the label you wish to print.
- Ensure the label dimensions in the software match the physical label paper loaded in the printer.
- Initiate the print command from the software.
- The printer will feed and print the label.
3.5 Supported Content and Applications
The printer supports a wide range of content and is suitable for various applications:
- Printable Content: English, Numbers, Various Symbols, Chinese Characters, Graphics, Curves, Preset Icons.
- 1D Barcode Support: UPC, UPC-E, CODE39, EAN-13, EAN-8, CODABAR, CODE128, CODE93, CODE128, ITF.
- 2D Barcode Support: QR Code, PDF417.
- Applications: Food labels, price tags, clothing labels, shipping labels, home organization, retail, logistics, e-commerce.

Image 3.1: Examples of various labels printed using the device, including clothing labels, supermarket prices, jewelry labels, and product information labels.
4. Maintenance
4.1 Cleaning the Print Head
Regular cleaning of the print head ensures optimal print quality and extends the printer's lifespan.
- Ensure the printer is powered off and disconnected from any power source.
- Open the top cover to access the print head.
- Gently wipe the print head surface with a cotton swab lightly dampened with isopropyl alcohol.
- Allow the print head to dry completely before closing the cover and powering on the printer.
4.2 Battery Care
- Avoid fully discharging the battery frequently.
- Store the printer in a cool, dry place if not used for extended periods.
- Charge the printer periodically (e.g., every 3 months) to maintain battery health during storage.
5. Troubleshooting
This section addresses common issues you might encounter.
5.1 Common Issues and Solutions
- Printer Not Powering On:
- Check battery level. Charge the printer if the battery is low.
- Ensure the power button is pressed and held correctly.
- No Print Output / Blank Labels:
- Verify label paper is loaded correctly with the printing side facing the print head.
- Check for 'Out Of Paper Detection' alarm. Reload paper if necessary.
- Ensure the print head is clean and free from debris.
- Poor Print Quality:
- Clean the print head (refer to Section 4.1).
- Ensure you are using high-quality thermal labels.
- Adjust print density settings in your printing application, if available.
- Bluetooth Connection Issues:
- Ensure Bluetooth is enabled on both the printer and your mobile device.
- Make sure the printer is not already paired with another device.
- Restart both the printer and your mobile device.
- Ensure you are using the correct printing application.
- 'Low Battery Detection' Alarm:
- Charge the printer immediately.
6. Specifications
Detailed technical specifications for the LICAEVEY Bluetooth Thermal Label Printer:

Image 6.1: Dimensions of the LICAEVEY Bluetooth Thermal Label Printer, measuring approximately 112mm (4.4in) in length, 83mm (3.3in) in width, and 53mm (2.1in) in height.
| Feature | Specification |
|---|---|
| Item Type | Bluetooth Thermal Label Printer |
| Material | ABS |
| Interface | USB (Type C) and Bluetooth |
| Print Command | TSPL (CPCL/ESC/POS) |
| Maximum Paper Width | 50.5 ± 0.5 mm |
| Minimum Label Width | 10 mm |
| Print Speed | 50-90 mm/sec |
| Paper Thickness | 0.06 mm - 0.20 mm |
| Print Resolution | 203 DPI |
| TPH Life | 50 km (Print Density Not Exceeding 25%) |
| Internal ASCII Font Library | (8x16, 12x24, 16x32, 24x48) |
| GBK Font Library | (16x16) |
| GB1830 Font Library | (24x24) |
| Black Mark Detection | Yes |
| Label Detection | Yes |
| Alarm Functions | Out Of Paper Detection, Low Battery Detection |
| Built-In Battery | Polymer Lithium Ion Battery, 1500 Mah |
| Product Size | Approx. 112x83x53mm / 4.4x3.3x2.1in |
| Item Weight | 336 g |
| Model Name | LICAEVEYm9ek7dw6nt |
7. Warranty and Support
7.1 Warranty Information
This product comes with a manufacturer warranty for 90 days from the date of purchase. Please retain your proof of purchase for warranty claims. The warranty covers manufacturing defects but does not cover damage caused by misuse, accidents, unauthorized modifications, or normal wear and tear.
7.2 Customer Support
For technical assistance, troubleshooting, or warranty inquiries, please contact LICAEVEY customer support through the retailer where the product was purchased or refer to the official LICAEVEY website for contact information.