
1. Introduction
This manual provides detailed instructions for the safe and efficient operation, assembly, maintenance, and troubleshooting of your VINGLI Automatic Suction-Side Pool Vacuum Cleaner. Please read this manual thoroughly before installation and use to ensure optimal performance and longevity of your product.

Image 1.1: The VINGLI Automatic Suction-Side Pool Cleaner operating in a pool.
2. Safety Information
Always observe basic safety precautions when using this product to reduce the risk of injury, electric shock, or damage. This cleaner operates using your pool's existing pump system.
- Ensure the pool pump is turned off before installing, removing, or performing any maintenance on the cleaner.
- Keep children and pets away from the pool area when the cleaner is in operation.
- Do not operate the cleaner if any parts are damaged or missing.
- This cleaner is designed for pool use only. Do not use it for other purposes.
- Regularly inspect hoses and connections for wear or damage.
3. Package Contents
Verify that all components are present and undamaged before proceeding with assembly. The package includes:
- 1 x Cleaner Body
- 1 x Hose Protector
- 2 x Elbow Connectors
- 1 x Flow Meter
- 1 x Regulator Valve
- 1 x Compression Adapter
- 1 x Hose Float
- 12 x Hose Segments (3.3 ft each, total 39.6 ft)

Image 3.1: Visual representation of all included cleaner components and their dimensions.
4. Assembly
Assembly of the VINGLI Automatic Suction-Side Pool Vacuum Cleaner is designed to be quick and tool-free, typically taking approximately 2 minutes.
- Connect the hose segments: Join the 12 hose segments together to achieve the desired length for your pool. Ensure a secure fit for each connection.
- Attach the hose protector to the end of the hose that connects to the cleaner body.
- Connect the assembled hose to the cleaner body.
- Attach the hose float to the hose near the cleaner body. This helps maintain the cleaner's position in the water.
- Install the regulator valve and compression adapter to the other end of the hose, which will connect to your pool's skimmer or dedicated suction line.

Image 4.1: All product accessories laid out, including the cleaner body, hose segments, and various connectors.
5. Setup
Proper setup ensures efficient cleaning performance.
- Prepare the Pool: Ensure your pool filter is clean and the pump is functioning correctly. The cleaner requires a minimum 1.5HP/1100W pool pump for optimal performance.
- Submerge the Cleaner: Place the cleaner into the pool. Hold the hose end that connects to the skimmer/suction line and feed the hose into the water, allowing it to fill with water and sink. This removes air from the hose.
- Connect to Suction Line: Once the hose is filled with water, connect the regulator valve and compression adapter assembly to your pool's skimmer or dedicated suction line.
- Adjust Suction Power: Turn on your pool pump. Use the regulator valve to adjust the suction power. The cleaner should move steadily across the pool floor and walls without getting stuck or moving too slowly. Experiment with the valve settings to find the optimal flow for your pool system.
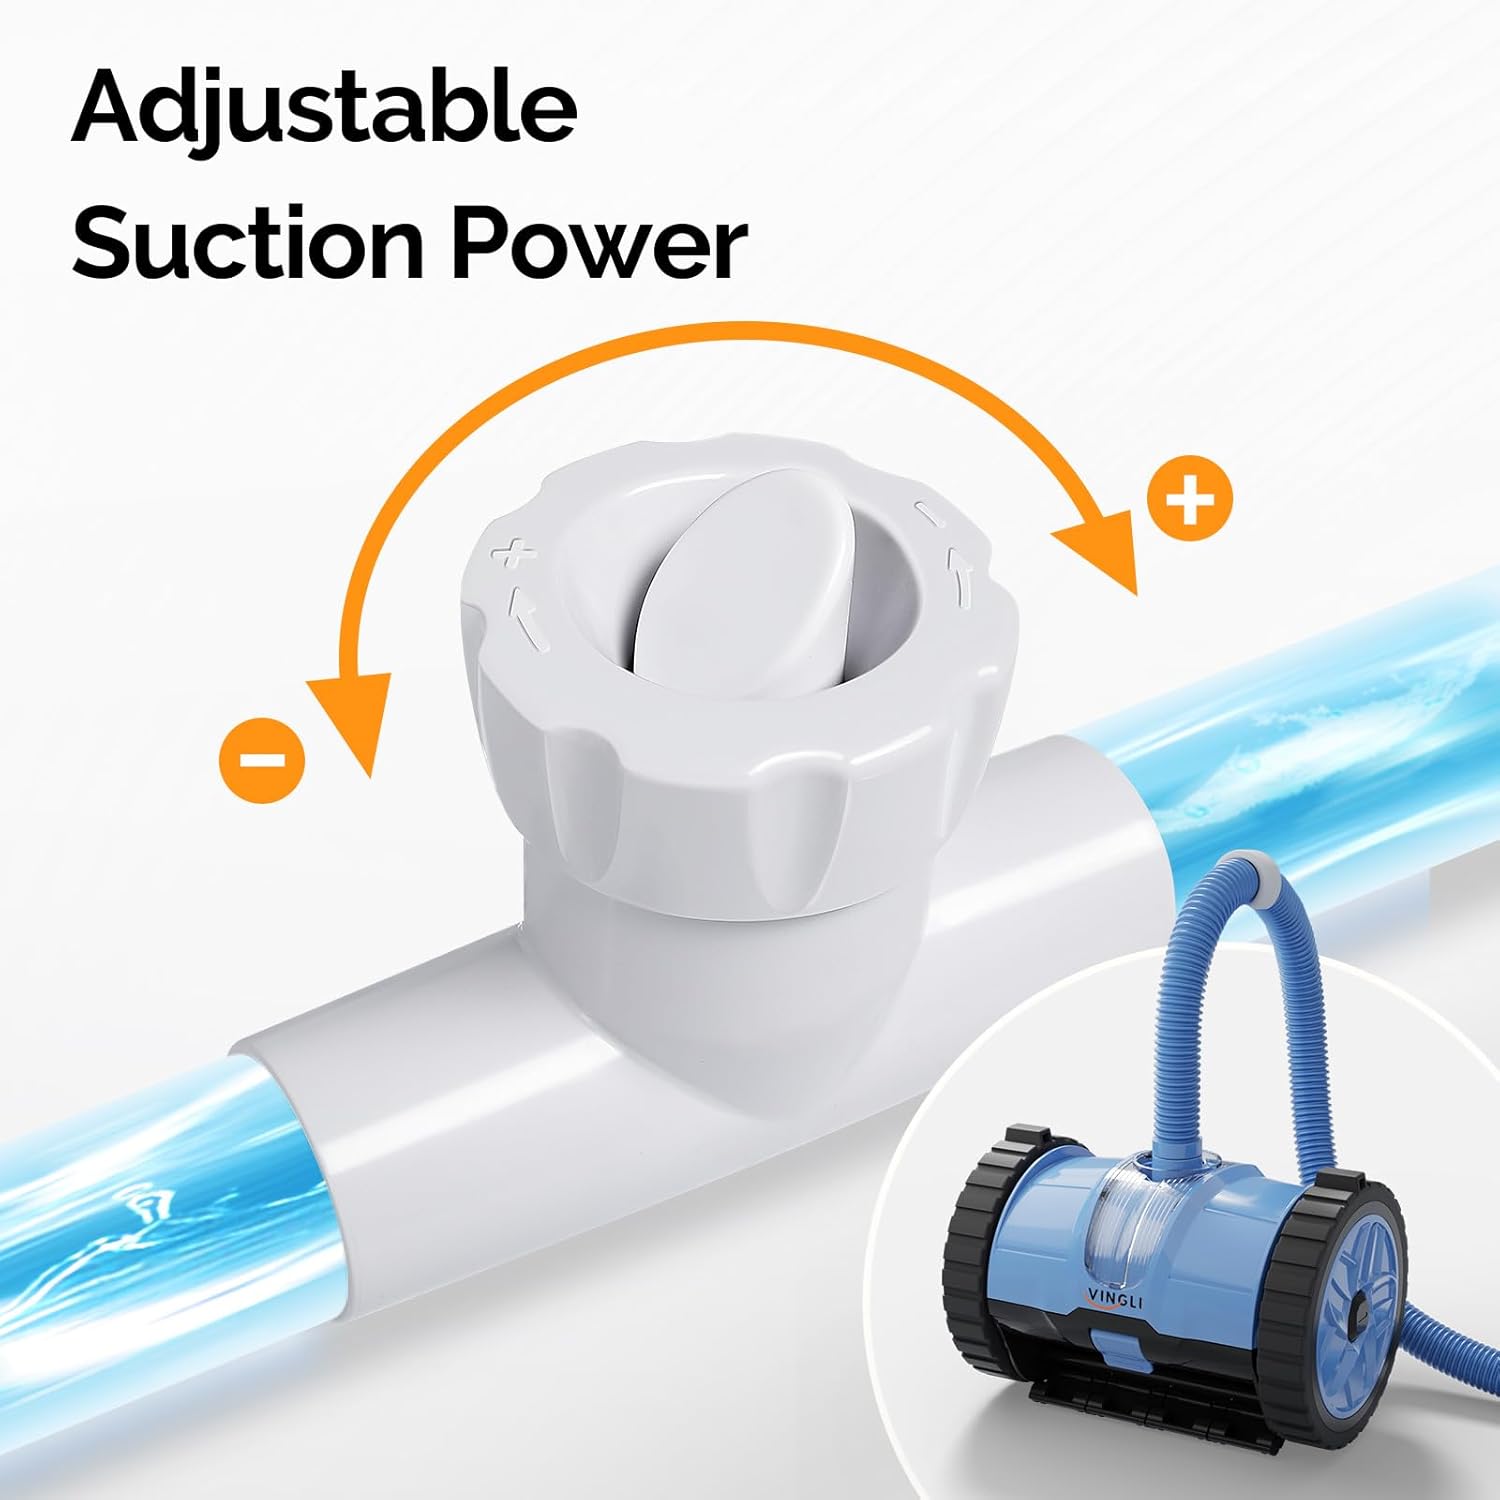
Image 5.1: The adjustable suction power valve, used to control the cleaner's movement and cleaning efficiency.
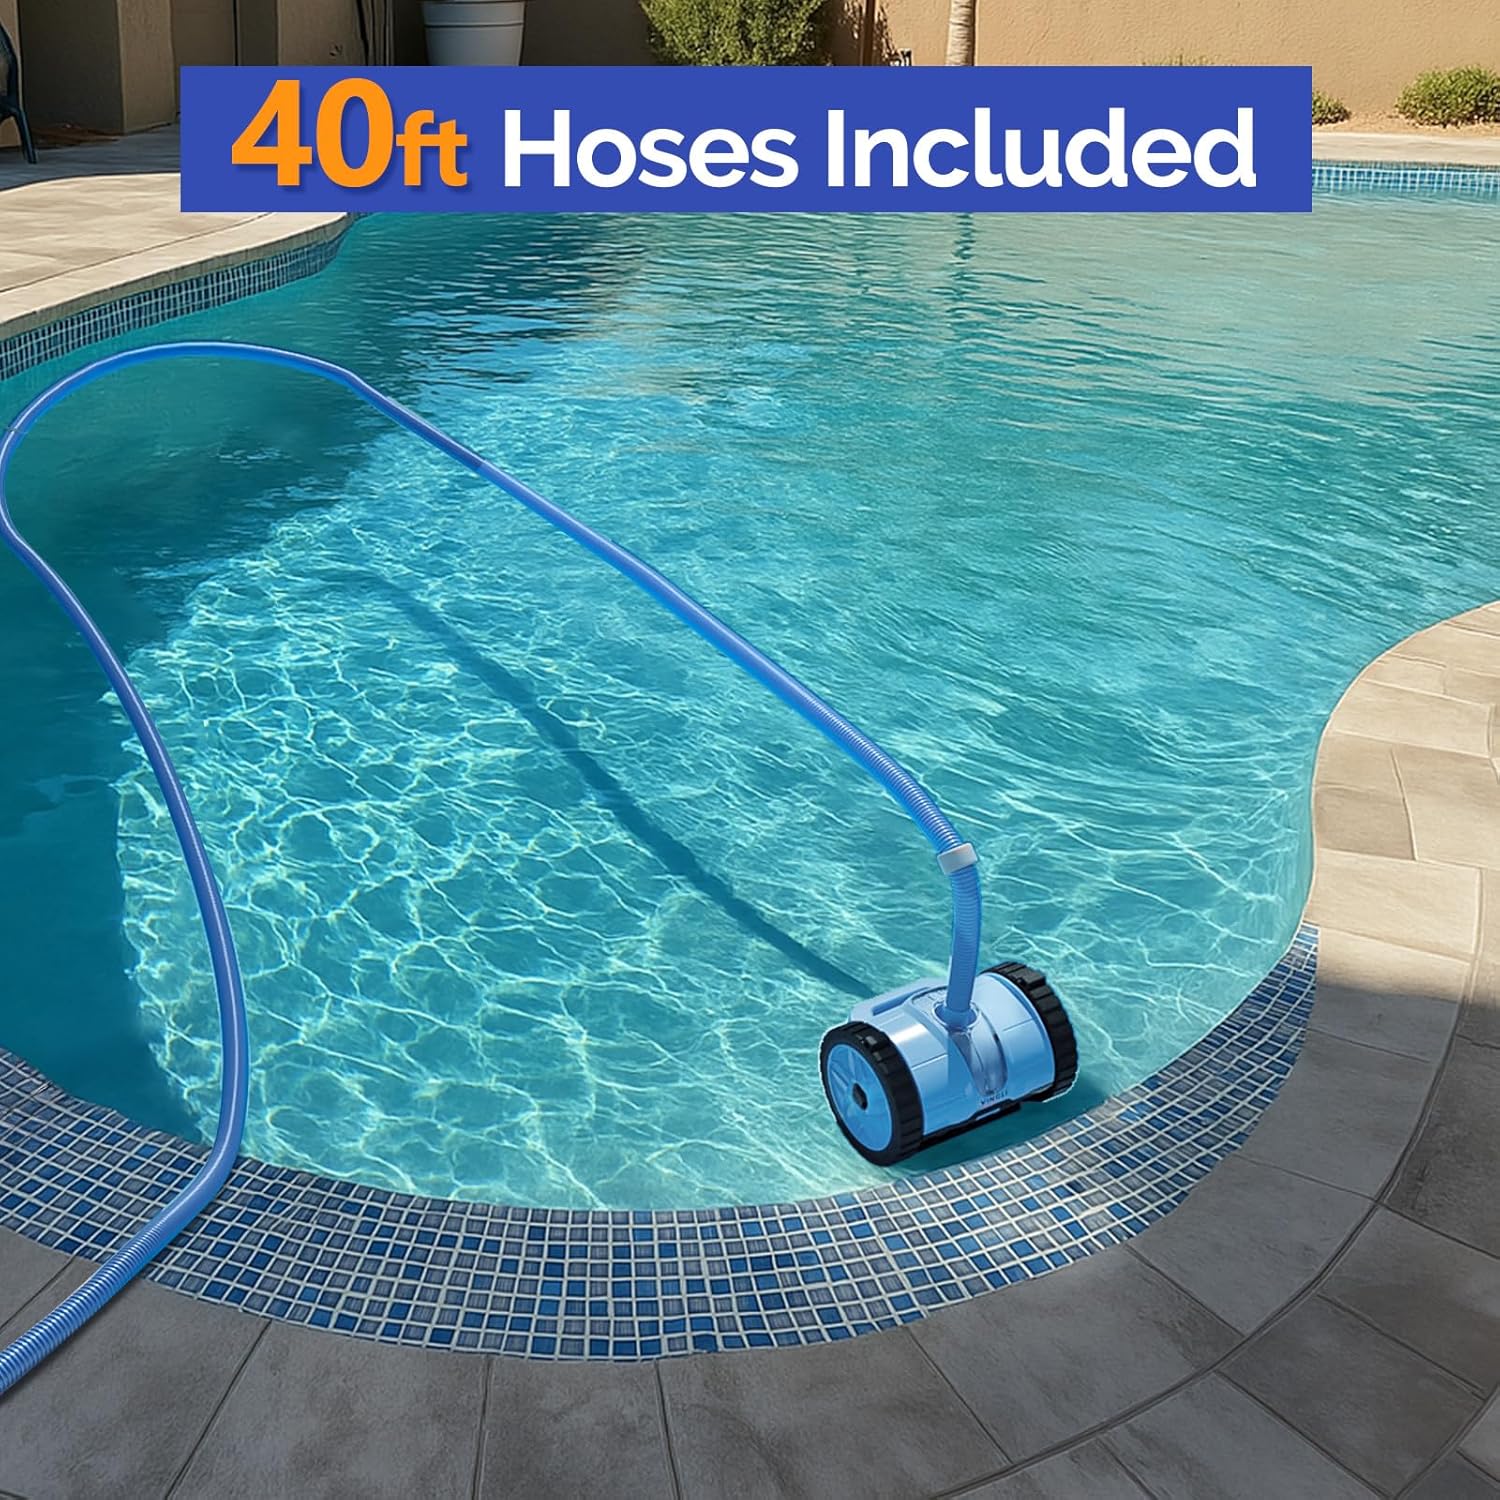
Image 5.2: The VINGLI cleaner connected to its 40-foot hose, ready for operation in a pool.
6. Operating Instructions
The VINGLI Automatic Suction-Side Pool Vacuum Cleaner is designed for autonomous cleaning of both inground and above-ground pools.
- Once properly set up and connected to your pool's suction system, the cleaner will begin to move randomly across the pool floor and climb walls, collecting debris.
- The advanced tire system and flexible skirt design allow it to navigate obstacles and maintain consistent suction across various pool surfaces.
- The cleaner operates quietly, allowing for a peaceful poolside environment.
- It is suitable for pools with a maximum depth of 9.8 feet and a minimum depth of 3.3 feet.

Image 6.1: The cleaner actively removing debris from the pool floor, showcasing its powerful suction.

Image 6.2: The cleaner demonstrating its ability to travel easily over various pool surfaces, including drains.

Image 6.3: The cleaner is compatible with both inground and above-ground pool types.
7. Maintenance
The VINGLI pool cleaner is designed for minimal upkeep due to its clog-resistant design.
- Regular Inspection: Periodically inspect the cleaner body, hoses, and connections for any signs of wear, cracks, or blockages.
- Clear Debris: If the cleaner's movement becomes sluggish or stops, check the intake area for large debris that may be obstructing the suction.
- Hose Float: Ensure the hose float remains securely attached to the hose to prevent the cleaner from climbing too high on pool walls.
- Storage: When not in use for extended periods, disconnect the cleaner, drain all water, and store it in a cool, dry place away from direct sunlight.
8. Troubleshooting
If you encounter issues with your VINGLI pool cleaner, refer to the following common problems and solutions:
| Problem | Possible Cause | Solution |
|---|---|---|
| Cleaner is not moving or moving slowly. | Insufficient suction from pump; air in hose; debris blockage; regulator valve setting. | Ensure pump is 1.5HP/1100W minimum. Bleed air from hose by submerging it completely. Check for debris in cleaner intake or hose. Adjust regulator valve to increase suction. Check pool filter for clogs. |
| Cleaner gets stuck on steps or drains. | Incorrect hose length; suction too high; hose float position. | Adjust hose length to be appropriate for your pool size. Reduce suction slightly using the regulator valve. Ensure hose float is positioned correctly to prevent excessive wall climbing. |
| Hose connections leak or disconnect. | Loose connections; worn O-rings; damaged hose segments. | Ensure all hose segments are securely twisted together. Inspect O-rings for damage and replace if necessary. Replace any damaged hose segments. |
| Cleaner is not picking up debris effectively. | Low suction; clogged cleaner intake; dirty pool filter. | Increase suction via regulator valve. Clear any blockages in the cleaner's intake. Clean or backwash your pool filter. |
9. Specifications
- Model: suction side pool cleaner-635
- Power Source: Pool Pump (minimum 1.5HP/1100W recommended)
- Item Weight: 18.7 Pounds
- Hose Length: 39.6 feet (12 meters), consisting of 12 segments (3.3 feet each, 1.5" diameter)
- Product Dimensions: 11.4"L x 7.7"W x 7.7"H
- Material: Plastic
- Assembly Required: Yes
- Approximate Assembly Time: 2 Minutes
- Special Features: Adjustable Suction Power, Heavy-Duty Construction
- UPC: 840323501460
10. Warranty and Support
VINGLI offers a limited warranty for this product. If you experience any issues or require replacement parts, please contact VINGLI customer support for assistance. Your satisfaction is important, and solutions will be provided for any defects or operational concerns.
For support, please refer to the contact information provided with your purchase or visit the official VINGLI website.