Introduction
This manual provides essential instructions for the safe and efficient operation of your Beautiful by Drew Barrymore Programmable Single-Serve Coffee Maker with Integrated Grinder, Model 19332. Please read all instructions carefully before first use and retain this manual for future reference.
Important Safety Information
When using electrical appliances, basic safety precautions should always be followed to reduce the risk of fire, electric shock, and/or injury to persons, including the following:
- Read all instructions.
- Do not touch hot surfaces. Use handles or knobs.
- To protect against electric shock, do not immerse cord, plugs, or coffee maker in water or other liquid.
- Close supervision is necessary when any appliance is used by or near children.
- Unplug from outlet when not in use and before cleaning. Allow to cool before putting on or taking off parts, and before cleaning the appliance.
- Do not operate any appliance with a damaged cord or plug, or after the appliance malfunctions or has been damaged in any manner.
- The use of accessory attachments not recommended by the appliance manufacturer may result in fire, electric shock, or injury to persons.
- Do not use outdoors.
- Do not let cord hang over edge of table or counter, or touch hot surfaces.
- Do not place on or near a hot gas or electric burner, or in a heated oven.
- Always attach plug to appliance first, then plug cord into the wall outlet. To disconnect, turn any control to "off", then remove plug from wall outlet.
- Do not use appliance for other than intended use.
- Scalding may occur if the lid is removed during the brewing cycle.
Package Contents
Verify that all items listed below are included in your package:
- Beautiful by Drew Barrymore Single-Serve Coffee Maker with Integrated Grinder
- 2-in-1 Cleaning Brush with Measuring Scoop
- Charcoal Filter and Holder
- Reusable Coffee Filter
- Instruction Manual (this document)
Product Overview
Familiarize yourself with the components of your coffee maker.

Figure 1: Front view of the Beautiful by Drew Barrymore Single-Serve Coffee Maker, showing the control panel, brew spout, and drip tray.

Figure 2: Top view of the coffee maker with the lid open, revealing the integrated burr grinder and bean hopper. The hopper can hold enough beans for up to 16 cups of coffee.

Figure 3: Illustration of the reusable gold-tone coffee filter being placed into the brew basket. This filter eliminates the need for disposable paper filters or pods.
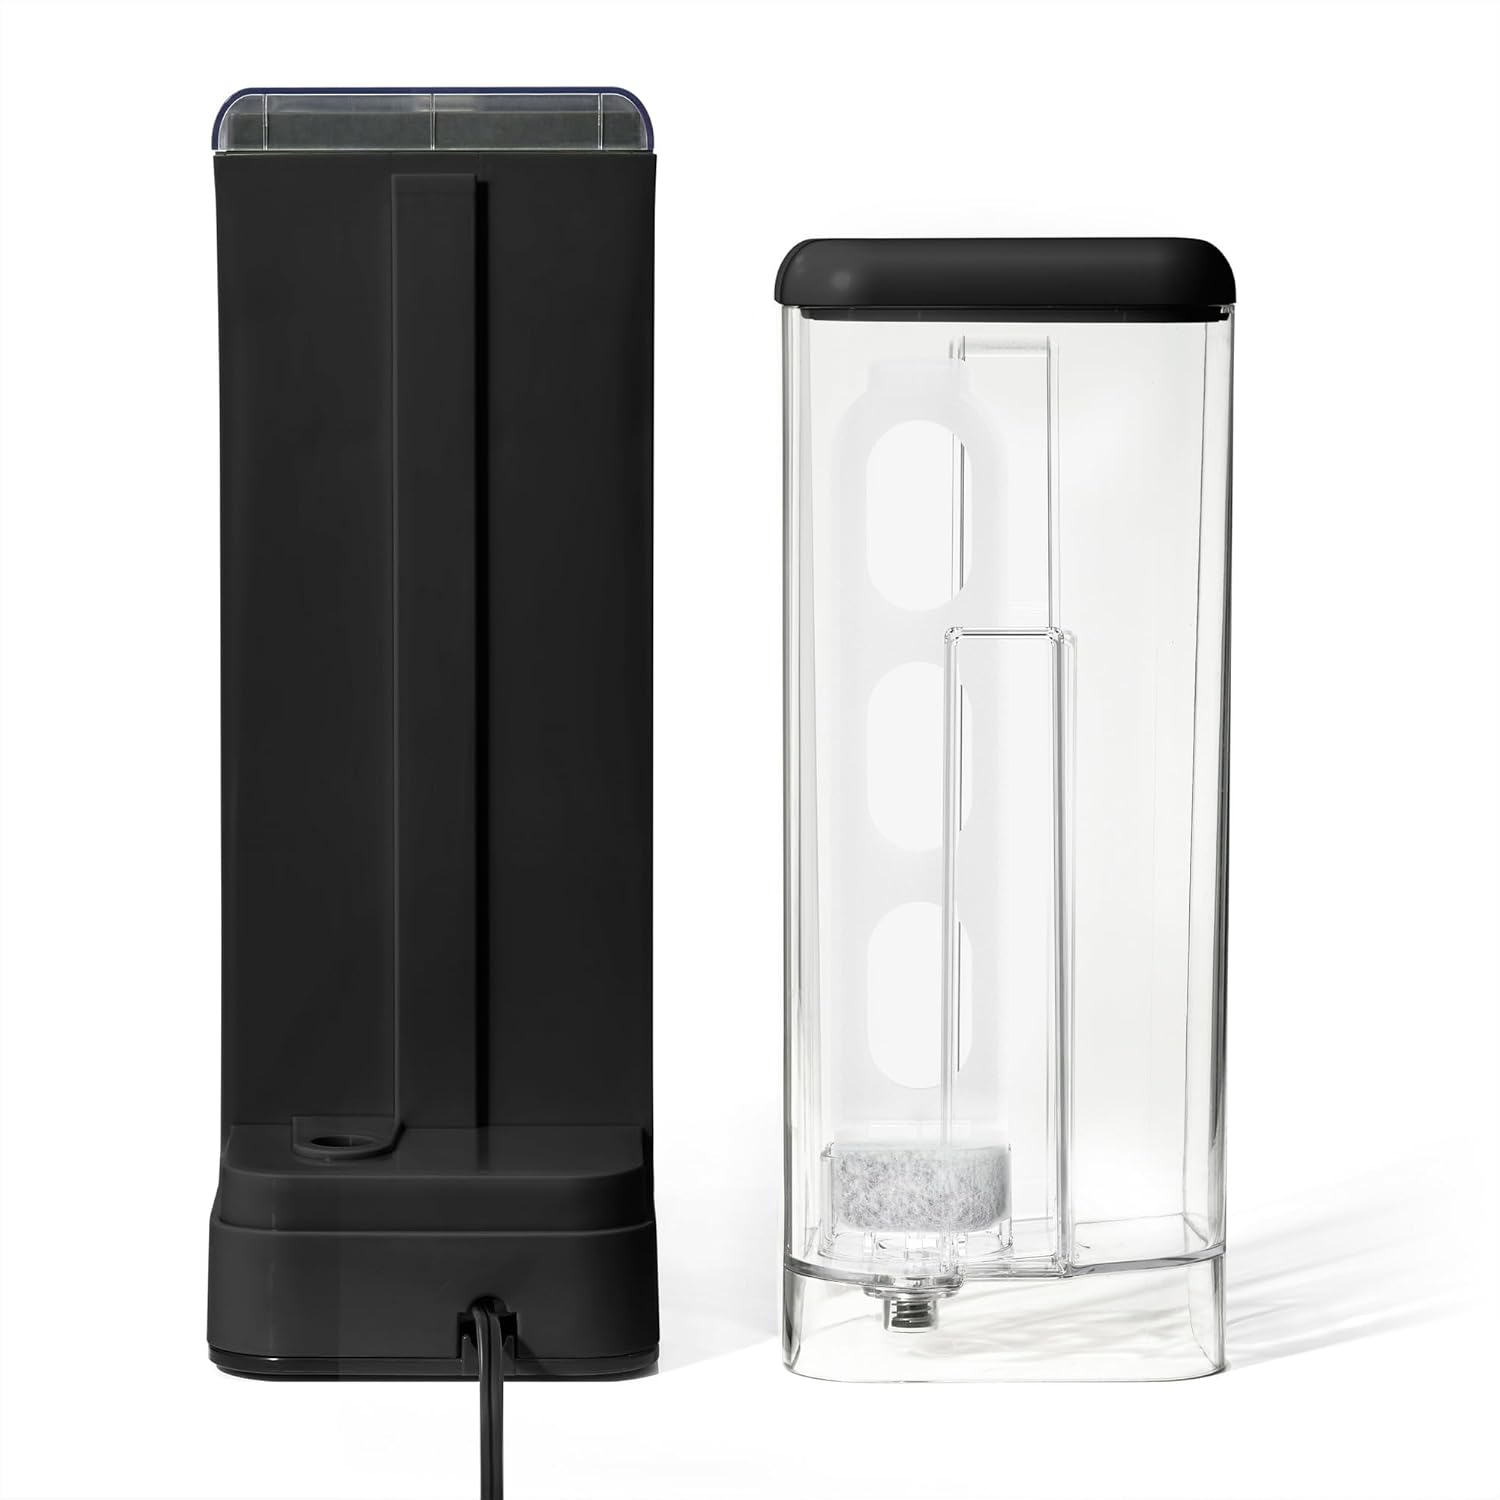
Figure 4: The detachable 14 oz water reservoir, shown with the charcoal filter and holder. The reservoir is designed for single-serve brewing.
Setup
Before First Use
- Unpack the coffee maker and all accessories. Remove any packaging materials and labels.
- Wash the reusable coffee filter, water reservoir, and drip tray in warm, soapy water. Rinse thoroughly and dry.
- Insert the charcoal filter into its holder, then place it into the water reservoir.
- Fill the water reservoir with fresh, cold water up to the MAX fill line.
- Perform a cleaning cycle:
- Ensure the reusable filter is empty and correctly seated.
- Place a large mug or container on the drip tray.
- Press the "Brew Size" button to select 14 oz.
- Press the "Brew On" button to start a water-only cycle.
- Discard the hot water. Repeat this process once more.
Placing the Coffee Maker
Place the coffee maker on a flat, stable, heat-resistant surface near a power outlet. Ensure there is adequate clearance around the unit for ventilation and access to the water reservoir and bean hopper.
Operating Instructions
Brewing a Single Cup of Coffee
- Fill Water Reservoir: Remove the water reservoir and fill it with fresh, cold water to your desired brew size (6, 8, 10, or 14 oz). Reattach the reservoir securely.
- Add Coffee Beans: Open the lid to the bean hopper. Add whole coffee beans. The integrated burr grinder will automatically grind the precise amount needed for your selected brew.
- Select Brew Size: Press the "Brew Size" button repeatedly to cycle through the available cup sizes (6, 8, 10, 14 oz).
- Adjust Brew Strength (Optional): Press the "Bold" button to select a stronger brew if desired. The indicator light will illuminate.
- Place Mug: Position your mug or travel cup on the drip tray. For taller travel mugs, the drip tray can be removed.
- Start Brewing: Press the "Brew On" button. The coffee maker will grind the beans, then begin the brewing process.
- Enjoy: Once brewing is complete, carefully remove your mug. The coffee maker will automatically shut off.
Using the Programmable Auto-Start Timer
You can program your coffee maker to start brewing at a specific time.

Figure 5: The control panel displaying time and various function buttons, including "Delay Menu", "Hour", and "Minute" for setting the auto-start timer.
- Set Current Time: Press and hold the "Hour" button until the display flashes. Use "Hour" and "Minute" buttons to set the current time. Press "Delay Menu" to confirm.
- Prepare for Brewing: Follow steps 1-5 from "Brewing a Single Cup of Coffee" (fill water, add beans, select brew size, adjust strength, place mug).
- Set Delay Time: Press the "Delay Menu" button. The display will flash. Use "Hour" and "Minute" buttons to set your desired brew start time.
- Activate Delay Brew: Press "Delay Menu" again to confirm. The "Delay" indicator light will illuminate, and the coffee maker will start brewing at the set time.
Brewing "Over Ice" Coffee
This feature is designed to brew a concentrated coffee over ice for a refreshing iced beverage.

Figure 6: The coffee maker brewing a concentrated coffee directly over ice in a glass, utilizing Exact Xtract technology for enhanced flavor.
- Fill Water Reservoir: Fill the water reservoir with fresh, cold water according to the desired iced coffee volume.
- Add Coffee Beans: Add whole coffee beans to the hopper.
- Prepare Ice: Fill your serving glass with ice cubes.
- Select "Over Ice": Press the "Over Ice" button. The indicator light will illuminate. The coffee maker will automatically adjust the brew settings for iced coffee.
- Start Brewing: Press the "Brew On" button.
- Serve: Once brewing is complete, stir and enjoy your iced coffee.
Maintenance and Cleaning
Regular cleaning ensures optimal performance and extends the life of your coffee maker.
Daily Cleaning
- Unplug: Always unplug the coffee maker before cleaning.
- Reusable Filter: Remove the reusable filter, discard used coffee grounds, and rinse thoroughly under running water. Use the cleaning brush if necessary.
- Drip Tray: Remove and empty the drip tray. Wash with warm, soapy water and rinse.
- Water Reservoir: Rinse the water reservoir with fresh water.
- Exterior: Wipe the exterior of the coffee maker with a damp cloth. Do not use abrasive cleaners or scouring pads.
Grinder Cleaning
Periodically clean the integrated burr grinder to prevent clogs and maintain grind consistency.
- Ensure the coffee maker is unplugged and cooled.
- Remove any remaining coffee beans from the hopper.
- Use the provided 2-in-1 cleaning brush to gently brush away any coffee grounds from the burrs and the grinder chute.
- Wipe the inside of the bean hopper with a dry cloth.
Descaling
Mineral deposits from water can build up over time and affect performance. Descale your coffee maker every 2-3 months, or more frequently if you have hard water.
- Prepare a descaling solution: Mix 1 part white vinegar with 2 parts water, or use a commercial descaling solution according to its instructions.
- Fill the water reservoir with the descaling solution.
- Place a large mug on the drip tray.
- Run a brew cycle without coffee grounds.
- After the cycle, let the coffee maker sit for 30 minutes with the solution inside.
- Run another brew cycle to empty the reservoir.
- Rinse thoroughly by running 2-3 cycles with fresh, clean water.
Troubleshooting
Refer to this section for common issues and their solutions.
| Problem | Possible Cause | Solution |
|---|---|---|
| Coffee not brewing. | No water in reservoir; unit not plugged in; brew cycle not initiated. | Fill reservoir; ensure power cord is securely plugged in; press "Brew On" button. |
| Weak coffee. | Insufficient coffee beans; incorrect brew strength selected; descaling needed. | Add more beans; select "Bold" brew strength; descale the unit. |
| Grinder not working. | No beans in hopper; grinder clogged; unit not powered. | Add beans; clean grinder burrs with brush; ensure power. |
| Coffee overflows. | Mug too small; brew basket clogged. | Use a larger mug; clean the reusable filter and brew basket. |
| "Clean" indicator light is on. | Indicates descaling is recommended. | Perform a descaling cycle as described in the Maintenance section. |
Specifications
- Model Name: RP19332
- Item Model Number: 19332
- Brand: Beautiful by Drew Barrymore
- Color: Black Sesame
- Product Dimensions: 12.95"D x 12.14"W x 5.11"H
- Item Weight: 7.73 pounds
- Water Reservoir Capacity: 14 oz
- Special Features: Brew Strength Control, Built-In Conical Burr Grinder, Programmable Auto-Start Timer, Reusable Coffee Filter, Single-Serve Design (6, 8, 10, or 14 oz mugs)
- Included Components: 2-in-1 cleaning brush with measuring scoop, charcoal filter, and holder
Warranty and Support
For warranty information or technical support, please refer to the warranty card included with your product or contact the manufacturer's customer service. Keep your purchase receipt as proof of purchase.


