Introduction
Thank you for choosing the AOSU Solar Wall Light Camera System. This system integrates a security camera with a solar-powered wall light, offering comprehensive surveillance and illumination for your property. This manual provides detailed instructions for installation, operation, maintenance, and troubleshooting to ensure optimal performance of your device.
Package Contents
Please check the package for the following items. If any items are missing or damaged, please contact AOSU customer support.
- AOSU Solar Wall Light Camera Unit
- Detachable Solar Panel
- Mounting Bracket
- Mounting Screw Kit (screws, wall anchors)
- USB Charging Cable
- Quick Start Guide
- Drill Template
Product Overview
Familiarize yourself with the components of your AOSU Solar Wall Light Camera System.
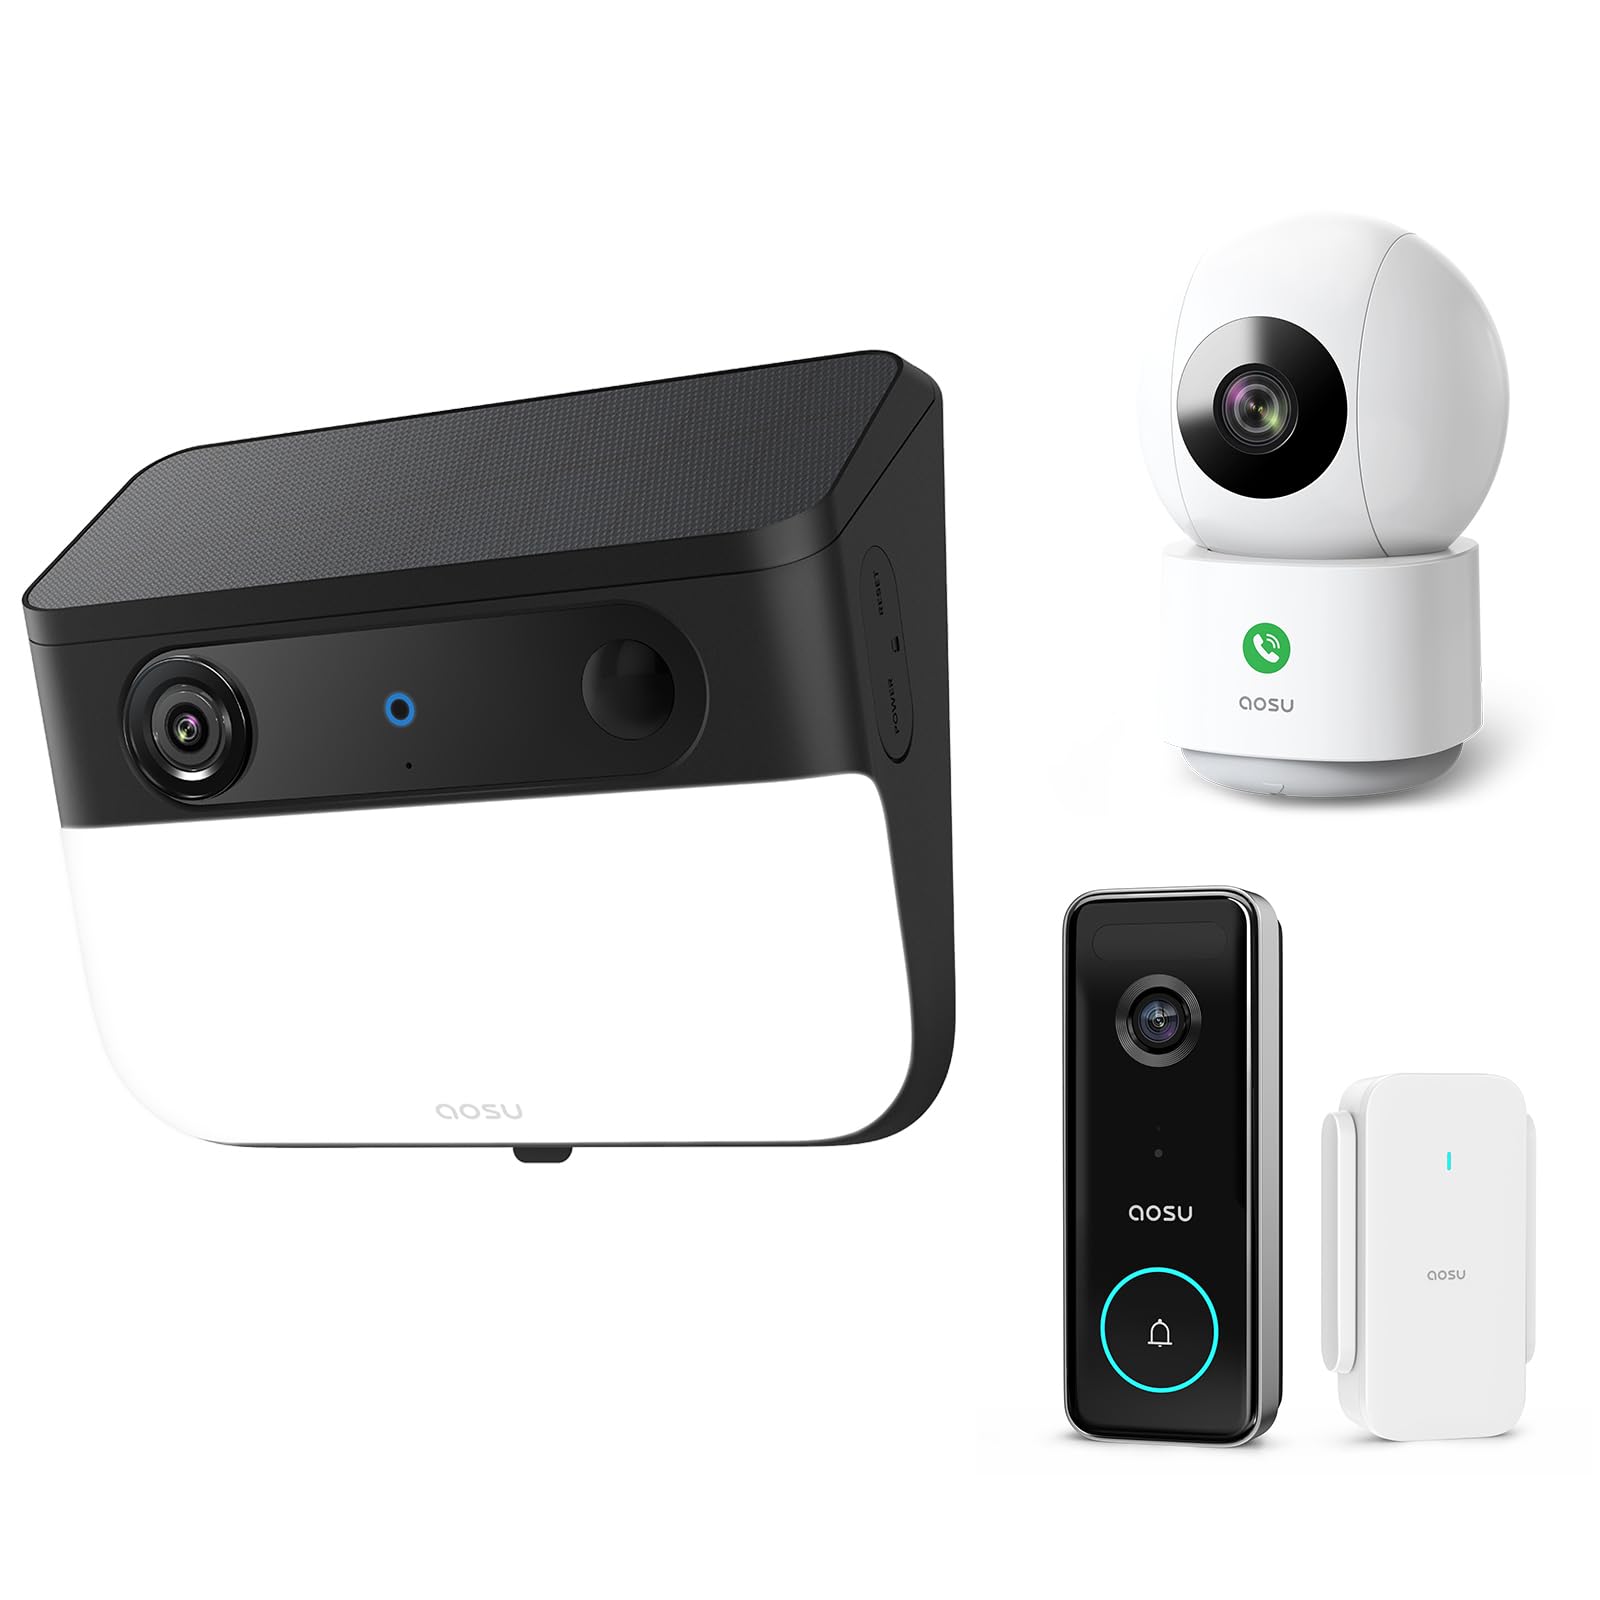
Image 1: AOSU Solar Wall Light Camera System. This image displays the main camera unit integrated with a wall light, alongside its detachable solar panel.
- Camera Lens: Captures video footage.
- LED Light Panel: Provides 400-lumen illumination.
- PIR Sensor: Detects passive infrared motion.
- Radar Sensor: Enhances motion detection accuracy.
- Microphone: Records audio.
- Speaker: Enables two-way audio communication and siren.
- Solar Panel Port: Connects the detachable solar panel for charging.
- Reset Button: Used for factory reset (typically located under a cover).
- Status Indicator Light: Shows device status (e.g., charging, connected, recording).
Setup
1. Initial Charging
Before installation, fully charge the camera unit using the provided USB cable. Connect the USB cable to the charging port on the camera and a standard 5V/2A USB power adapter (not included). The status indicator light will show charging progress.
2. App Installation and Account Creation
- Download the "AOSU Security" app from the Apple App Store or Google Play Store.
- Open the app and create a new account, or log in if you already have one.
3. Device Pairing
- In the AOSU Security app, tap the "+" icon to add a new device.
- Select "Solar Wall Light Camera" from the list of devices.
- Follow the on-screen instructions to power on the camera and scan the QR code displayed in the app using the camera's lens.
- Connect the camera to your 2.4GHz Wi-Fi network. Ensure your Wi-Fi signal is strong at the installation location.
- Once connected, name your device and complete the pairing process.
4. Mounting the Camera and Solar Panel
Choose a mounting location that provides a clear view of the area you wish to monitor and receives ample direct sunlight for the solar panel.
- Marking: Use the drill template to mark the screw positions on the wall.
- Drilling: Drill holes at the marked positions. Insert wall anchors if mounting on masonry or stucco.
- Mounting Bracket: Secure the mounting bracket to the wall using the provided screws.
- Attach Camera: Slide the camera unit onto the mounting bracket until it clicks into place. Adjust the camera angle as needed.
- Solar Panel Installation:
- Mount the detachable solar panel in a location that receives maximum direct sunlight throughout the day.
- Connect the solar panel cable to the solar panel port on the camera unit. Ensure a secure connection.
Operating Instructions
Live View and Recording
- Open the AOSU Security app and select your camera to access the live view.
- From the live view, you can manually record video, take screenshots, and use two-way audio.
- Recorded events are stored in the cloud or on a local storage card (if installed).
Motion Detection and Alerts
- The camera utilizes advanced radar and PIR motion sensors for accurate detection.
- Configure motion detection sensitivity and activity zones within the app settings.
- Enable push notifications to receive alerts on your smartphone when motion is detected.
- Smart Motion Tracking: Activate this feature in the app to allow the camera to automatically follow detected objects within its field of view.
Wall Light Operation
- The 400-lumen wall light automatically activates at night when motion is detected.
- Adjust light duration and brightness settings via the AOSU Security app.
Color Night Vision
The camera provides vivid, full-color images even in low-light conditions or complete darkness, thanks to its advanced color night vision technology. This feature activates automatically.
Doorbell Camera Functionality (if applicable)
If your model includes doorbell functionality, visitors can press the doorbell button. This will trigger a notification on your phone, allowing you to see and speak to the visitor via the app.
Maintenance
- Cleaning: Regularly wipe the camera lens, light panel, and solar panel with a soft, damp cloth to remove dust and dirt. Do not use harsh chemicals.
- Solar Panel Efficiency: Ensure the solar panel remains free from obstructions (e.g., leaves, snow) to maximize charging efficiency.
- Firmware Updates: Periodically check the AOSU Security app for available firmware updates. Keeping your device's firmware up-to-date ensures optimal performance and security. Follow the in-app instructions for updates.
- Battery Care: While solar-powered, extreme cold or prolonged periods without sunlight may reduce battery performance. Ensure the solar panel receives adequate sunlight.
Troubleshooting
Camera Not Connecting to Wi-Fi
- Ensure your Wi-Fi network is 2.4GHz. The camera does not support 5GHz Wi-Fi.
- Check Wi-Fi signal strength at the camera's location. Move the router closer or use a Wi-Fi extender if necessary.
- Verify the Wi-Fi password entered in the app is correct.
- Try resetting the camera by pressing the reset button for 5 seconds until you hear a prompt.
Poor Image Quality
- Clean the camera lens to remove any smudges or dirt.
- Ensure there is adequate lighting in the monitored area, especially for color night vision.
- Check your internet connection speed. A slow connection can affect live view quality.
Motion Detection Not Working or Too Many False Alerts
- Adjust motion detection sensitivity settings in the app.
- Define specific activity zones to focus detection on critical areas and ignore irrelevant movements.
- Ensure the camera's view is not obstructed by moving objects like tree branches.
Solar Panel Not Charging
- Verify the solar panel cable is securely connected to the camera.
- Ensure the solar panel is positioned to receive direct sunlight for several hours daily, free from shade.
- Clean the surface of the solar panel to remove any dirt or debris.
Specifications
| Resolution | 5MP Ultra HD (3K) |
| Night Vision | Advanced Color Night Vision |
| Light Output | 400 Lumens |
| Motion Detection | Triple Motion Detection (Radar + PIR + Human Detection) |
| Tracking | Smart Motion Tracking |
| Connectivity | 2.4GHz Wi-Fi |
| Power Source | Rechargeable Battery, Solar Panel |
| Optical Lens | 7-piece ultra-clear optical glass lens |
| ASIN | B0F7Y1PRVT |
| First Available | March 25, 2025 |
Warranty and Support
AOSU provides a limited warranty for this product. For detailed warranty information, please refer to the warranty card included in your package or visit the official AOSU website. For technical support, product inquiries, or warranty claims, please contact AOSU customer service through the contact information provided on the official website or within the AOSU Security app.
Official Website: www.aosu.com (Note: This is a placeholder URL, please refer to your product documentation for the correct website.)


