1. Introduction
Thank you for choosing the TITAN ARMY P2418C 24-Inch Computer Monitor. This manual provides essential information for setting up, operating, and maintaining your new monitor. Please read this manual thoroughly before use to ensure optimal performance and safety.
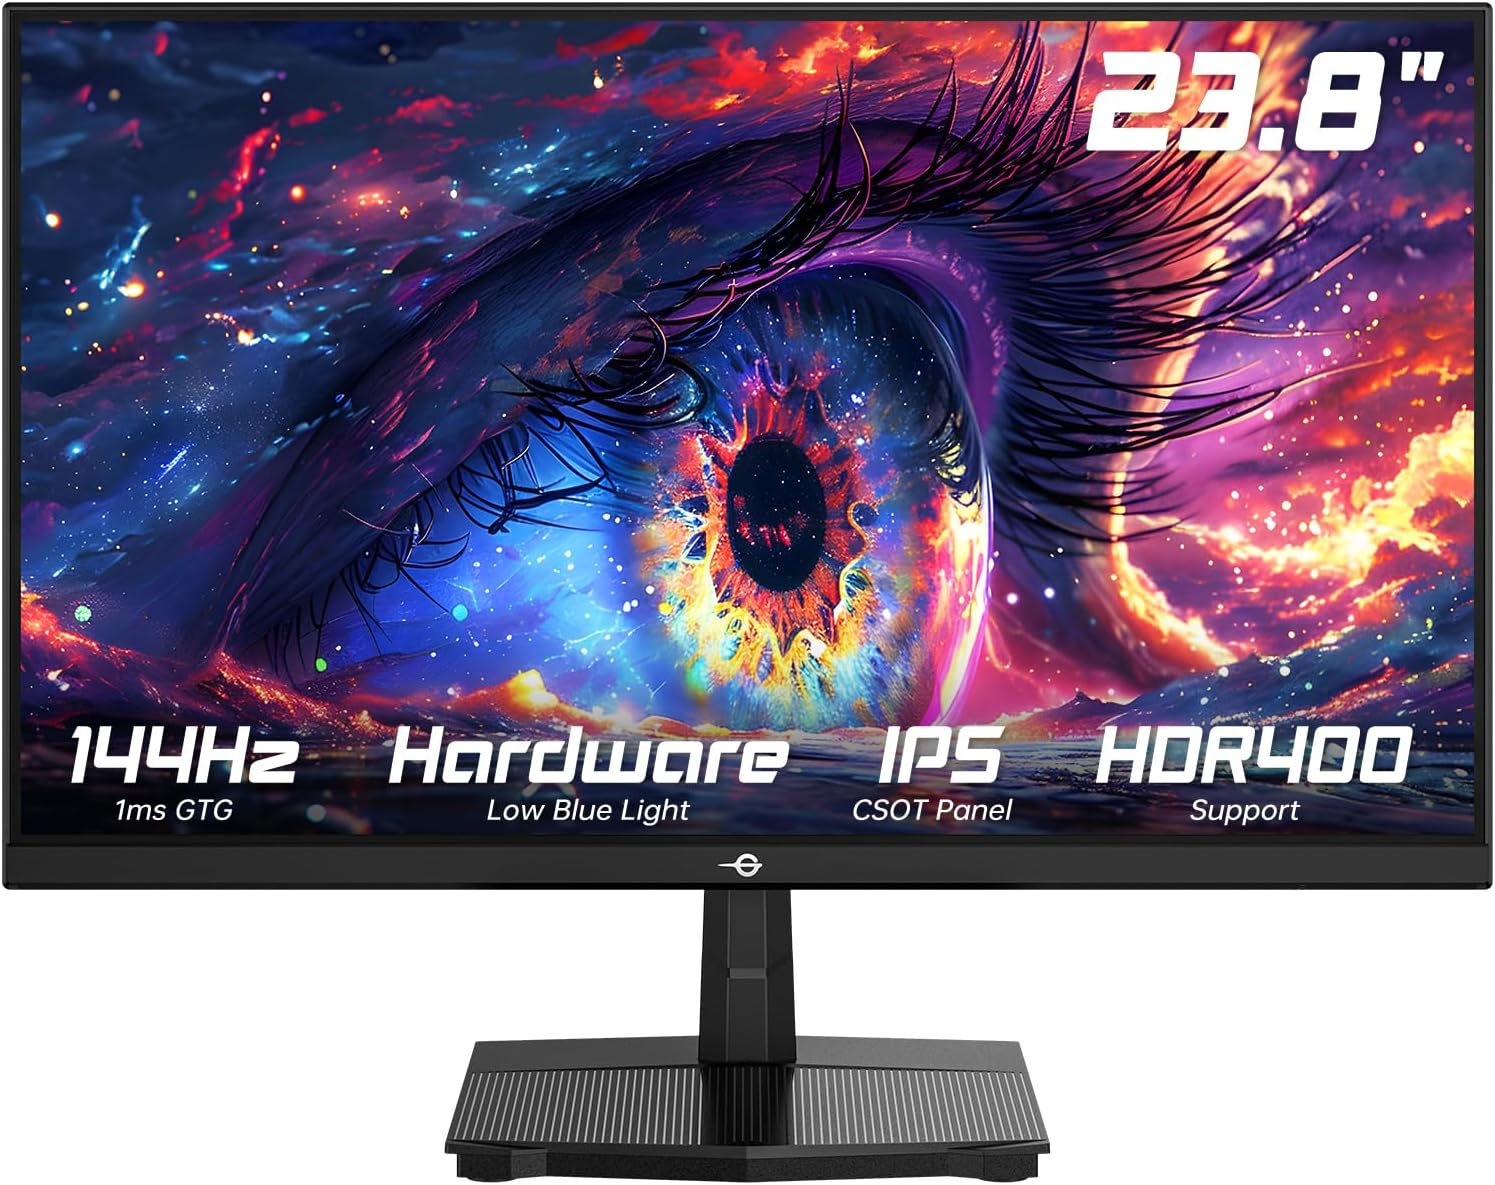
Figure 1.1: Front view of the TITAN ARMY P2418C monitor.
2. Safety Information
Please observe the following safety precautions to prevent damage to the monitor and ensure your personal safety:
- Do not expose the monitor to rain, moisture, or extreme temperatures.
- Do not block ventilation openings.
- Use only the power adapter supplied with the monitor.
- Do not attempt to service the monitor yourself. Refer all servicing to qualified personnel.
- Place the monitor on a stable, flat surface to prevent it from falling.
- Avoid placing heavy objects on the power cord.
- Disconnect the power plug from the outlet if the monitor will not be used for a long period.
3. Package Contents
Verify that all items are present in your package:
- TITAN ARMY P2418C Monitor
- Monitor Stand (Base and Neck)
- Power Adapter
- HDMI Cable
- User Manual (this document)

Figure 3.1: The TITAN ARMY P2418C monitor and its included accessories.
4. Setup
4.1 Assembling the Stand
- Carefully remove the monitor from its packaging, keeping the screen protected.
- Attach the stand neck to the monitor's rear panel. Ensure it clicks securely into place or is fastened with screws if provided.
- Attach the stand base to the stand neck. Tighten the thumb screw or screws at the bottom of the base.
- Place the assembled monitor on a stable, flat desk.
4.2 VESA Wall Mount Installation (Optional)
The monitor supports a 100x100mm VESA mount. If you wish to wall-mount the monitor, remove the stand and attach your VESA-compatible bracket using appropriate screws (not included).

Figure 4.1: Rear view of the monitor highlighting the VESA mount compatibility.
4.3 Connecting Cables
Connect the video cables from your computer to the monitor. The P2418C supports HDMI and DisplayPort connections.
- HDMI Connection: Connect one end of the HDMI cable to the HDMI port on your computer's graphics card and the other end to the HDMI port on the monitor.
- DisplayPort (DP) Connection: Connect one end of the DisplayPort cable to the DP port on your computer's graphics card and the other end to one of the DP ports on the monitor.
- Power Connection: Connect the power adapter to the monitor's power input, then plug the power cord into a wall outlet.

Figure 4.2: Side view of the monitor displaying the available input ports (HDMI, DP).
5. Operating Instructions
5.1 Powering On/Off
Press the power button located on the monitor to turn it on or off. The power indicator light will illuminate when the monitor is on.
5.2 On-Screen Display (OSD) Menu
The OSD menu allows you to adjust various settings of your monitor. Use the control buttons (usually located on the back or bottom right of the monitor) to navigate the menu.
Key OSD Settings:
- Brightness/Contrast: Adjust the overall luminance and contrast ratio of the display.
- Color Settings: Modify color temperature, gamma, and individual RGB values.
- Input Select: Manually switch between HDMI and DisplayPort inputs.
- Refresh Rate: Ensure your refresh rate is set to 144Hz for optimal performance. This may also need to be configured in your computer's display settings.
- Low Blue Light: Activate this feature to reduce blue light emission, which can help minimize eye strain during prolonged use.
- HDR (High Dynamic Range): Enable HDR400 for enhanced contrast and color depth.
- Adaptive Sync: Turn on Adaptive Sync to reduce screen tearing and stuttering, especially during gaming.
- Scenario Modes: Select from pre-set display modes optimized for different content types (e.g., Standard, Game, Movie, Text).

Figure 5.1: Overview of key display features and adjustable settings.

Figure 5.2: Visual representation of HDR400 enhancing contrast and clarity.

Figure 5.3: Illustration of the Low Blue Light technology for eye comfort.

Figure 5.4: Visualizing the difference between 100Hz and 144Hz refresh rates for smoother motion.
6. Maintenance
6.1 Cleaning the Monitor
- Always unplug the monitor from the power outlet before cleaning.
- Use a soft, lint-free cloth slightly dampened with water or a non-abrasive screen cleaner.
- Do not spray cleaner directly onto the screen.
- Avoid using benzene, thinner, ammonia, or abrasive cleaners, as these can damage the monitor's surface.
6.2 Storage
If storing the monitor for an extended period, disconnect all cables and pack it in its original packaging to protect it from dust and physical damage. Store in a cool, dry place.
7. Troubleshooting
If you encounter issues with your monitor, refer to the following common problems and solutions:
| Problem | Possible Cause | Solution |
|---|---|---|
| No image on screen | Power cable disconnected; Video cable disconnected; Incorrect input selected. | Ensure power cable is securely connected. Check video cable connection. Select correct input via OSD menu. |
| Image is blurry or distorted | Incorrect resolution; Loose video cable. | Set display resolution to 1920x1080. Reconnect video cable firmly. |
| Screen flickering | Refresh rate mismatch; Faulty cable. | Ensure refresh rate is set to 144Hz in both monitor OSD and computer display settings. Try a different video cable. |
| Colors appear incorrect | Color settings misconfigured; Faulty cable. | Adjust color settings in OSD. Reset OSD to factory defaults. Try a different video cable. |
| Cannot achieve 144Hz refresh rate | Cable limitation; Graphics card limitation; Incorrect settings. | Ensure you are using a high-quality HDMI 2.0 or DisplayPort 1.2 (or higher) cable. Verify your graphics card supports 144Hz at 1080p. Check display settings in your operating system. |
8. Specifications
| Feature | Detail |
|---|---|
| Model | P2418C |
| Screen Size | 24 Inches (23.8 inches viewable) |
| Panel Type | IPS |
| Resolution | 1920 x 1080 (Full HD) |
| Refresh Rate | 144Hz |
| Aspect Ratio | 16:9 |
| Brightness | 350 cd/m² (HDR400 support) |
| Color Gamut | 99% sRGB |
| Display Colors | 16.7 Million (8-Bit) |
| Static Contrast Ratio | 1500:1 |
| Viewing Angle | 178° (H/V) |
| Connectivity | 1 x HDMI, 2 x DisplayPort |
| Ergonomics | Tilt (-5° to 20°) |
| VESA Compatibility | 100x100mm |
| Special Features | HDR400, Low Blue Light, Adaptive Sync |
| Product Dimensions (with stand) | 8.6 x 21.3 x 16.3 inches |
9. Warranty and Support
For warranty information and technical support, please refer to the warranty card included with your product or visit the official TITAN ARMY website. Please have your product model number (P2418C) and serial number ready when contacting support.
Online Support: Visit the TITAN ARMY Store on Amazon


