
1. Product Overview
The AstroAI P12 Jump Starter is a portable device designed to jump start vehicles with dead batteries. It also functions as a power bank for electronic devices and includes an LED flashlight. This unit is compatible with all gas engines and diesel engines up to 12L.
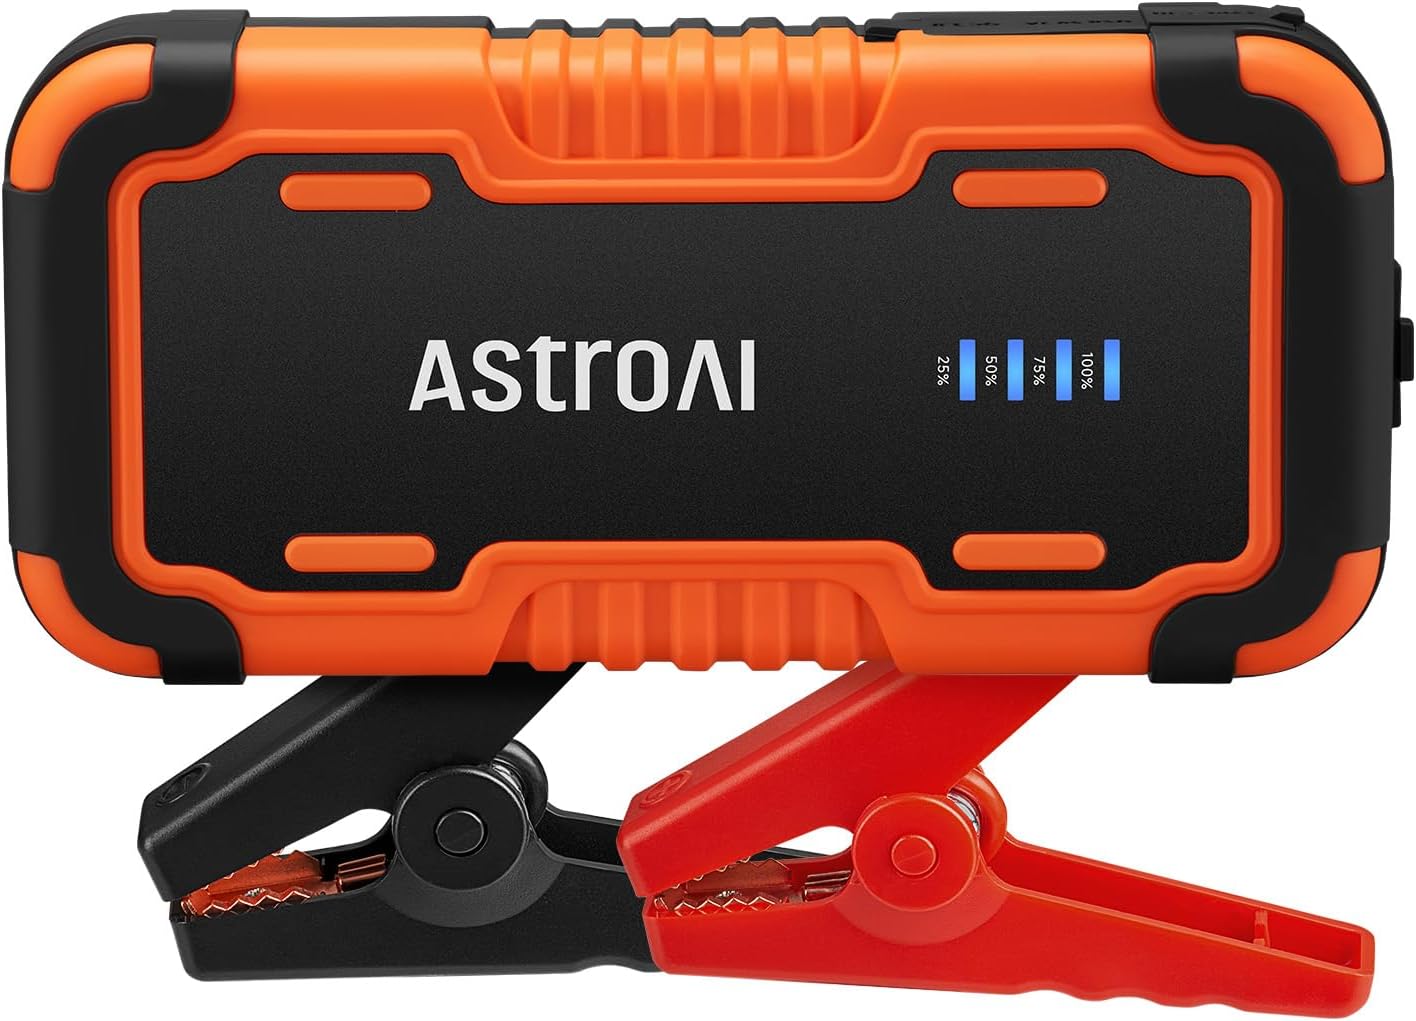
Image 1.1: AstroAI P12 Jump Starter with attached smart battery clamps.
2. What's Included
The package contains the following items:
- AstroAI P12 Jump Starter Unit
- Smart Battery Clamps
- Storage Bag
- USB A-C Cable
- User Manual (this document)

Image 2.1: All components included in the AstroAI P12 Jump Starter package.
3. Safety Information
Read all safety warnings and instructions before using this product. Failure to follow the warnings and instructions may result in electric shock, fire, and/or serious injury.
General Safety Precautions:
- Do not operate the jump starter if it has been damaged or modified.
- Do not expose the jump starter to rain or wet conditions.
- Do not use attachments not recommended or sold by the manufacturer.
- Ensure proper ventilation during use.
- Keep out of reach of children.
- Wear eye protection when operating.
Built-in Protections:
The AstroAI P12 includes 10 comprehensive safety protections:
- Reverse Polarity Protection
- Overcurrent Protection
- Overcharge Protection
- Overdischarge Protection
- High & Low Temperature Protection
- Reverse Connection Protection
- Over Voltage Protection
- Overload Protection
- Short Circuit Protection
- Spark-Proof Clamps

Image 3.1: Visual representation of the 10 safety protections integrated into the device.
4. Charging the Jump Starter
Before initial use, fully charge the AstroAI P12 Jump Starter. It is recommended to recharge the unit every few months to maintain battery health, especially if not used regularly.
- Connect the provided USB A-C cable to the USB-C input port on the jump starter.
- Connect the other end of the USB A-C cable to a compatible USB wall adapter (not included) or a powered USB port.
- The LED indicator on the jump starter will show the charging progress. Charge until the indicator shows 100% or full charge.
A full charge typically takes approximately 4-5 hours from empty.
5. Operating Instructions
5.1. Jump Starting a Vehicle
Follow these steps carefully to jump start your vehicle:
- Ensure the jump starter is sufficiently charged (at least 75% recommended).
- Turn off the vehicle's ignition and all accessories (lights, radio, etc.).
- Connect the smart battery clamps to the jump starter's output port. Ensure it is fully inserted.
- Attach the red positive (+) clamp to the positive (+) terminal of the vehicle's battery.
- Attach the black negative (-) clamp to the negative (-) terminal of the vehicle's battery.
- Observe the indicator on the smart battery clamps. If it glows solid green, the connection is correct and safe to proceed. If it flashes red/green or shows an error, recheck connections and refer to the troubleshooting section.
- Once the indicator is solid green, start the vehicle's engine.
- After the engine starts, immediately remove the smart battery clamps from the vehicle battery, first the negative (-) clamp, then the positive (+) clamp.
- Disconnect the smart battery clamps from the jump starter.

Image 5.1: Step-by-step visual guide for jump starting a vehicle.

Image 5.2: AstroAI P12 Jump Starter connected to a vehicle battery.
5.2. Using as a Power Bank
The AstroAI P12 can charge electronic devices via its USB-A output ports.
- USB-A Output (QC 3.0): 5V;3A, 9V;2A, 12V;1.5A (18W Max)
- USB-A Output: 5V;2A
- Connect your device's charging cable to one of the USB-A output ports on the jump starter.
- Connect the other end of the cable to your electronic device.
- The jump starter will automatically begin charging your device.

Image 5.3: The jump starter functioning as a power bank for various electronic devices.
5.3. Using the LED Flashlight
The built-in LED flashlight offers three modes: illumination, SOS, and strobe.
- Press and hold the power button for approximately 3 seconds to turn on the flashlight (illumination mode).
- Press the power button again to cycle through the modes: SOS (flashing) and Strobe.
- Press and hold the power button again for 3 seconds to turn off the flashlight.

Image 5.4: The AstroAI P12 Jump Starter's LED flashlight in use.
6. Maintenance
- Cleaning: Wipe the unit with a dry, soft cloth. Do not use harsh chemicals or abrasive materials.
- Storage: Store the jump starter in a cool, dry place, away from direct sunlight and extreme temperatures. The operating temperature range is -20°C to 50°C (-4°F to 122°F).
- Recharging: Recharge the unit every 3-6 months, even if not used, to prolong battery life.
- Battery Clamps: Inspect the clamps and cables for any damage before each use.

Image 6.1: The AstroAI P12 Jump Starter is designed to operate in a wide range of temperatures.
7. Troubleshooting
| Problem | Possible Cause | Solution |
|---|---|---|
| Vehicle does not start after jump start attempt. |
|
|
| Smart clamps indicator shows red/flashing. |
|
|
| Jump starter not charging devices. |
|
|
8. Specifications
| Feature | Detail |
|---|---|
| Model | P12 |
| Peak Current | 6000 Amps |
| Voltage | 12 Volts |
| Engine Compatibility | All Gas, up to 12L Diesel |
| Battery Type | Lithium Polymer (Lithium-Nickel Manganese Cobalt - NMC) |
| USB-A Output (QC 3.0) | 5V;3A, 9V;2A, 12V;1.5A (18W Max) |
| USB-A Output | 5V;2A |
| Dimensions | 183mm x 88mm x 39mm (7.20in x 3.45in x 1.53in) |
| Item Weight | 800 g |
| Operating Temperature | -20°C to 50°C (-4°F to 122°F) |

Image 8.1: The compact size of the AstroAI P12 Jump Starter.
9. Warranty and Support
For warranty information or technical support, please contact AstroAI customer service.
- Manufacturer: AstroAI
- Contact Email: Support@astroai.com
- Refer to the official AstroAI website for the most current warranty policy.


