
Introduction
Thank you for purchasing the Gawfolk 24.5 Inch Curved Gaming Monitor. This manual provides essential information for setting up, operating, and maintaining your monitor. Please read this manual thoroughly before using the product to ensure proper function and to prevent damage.
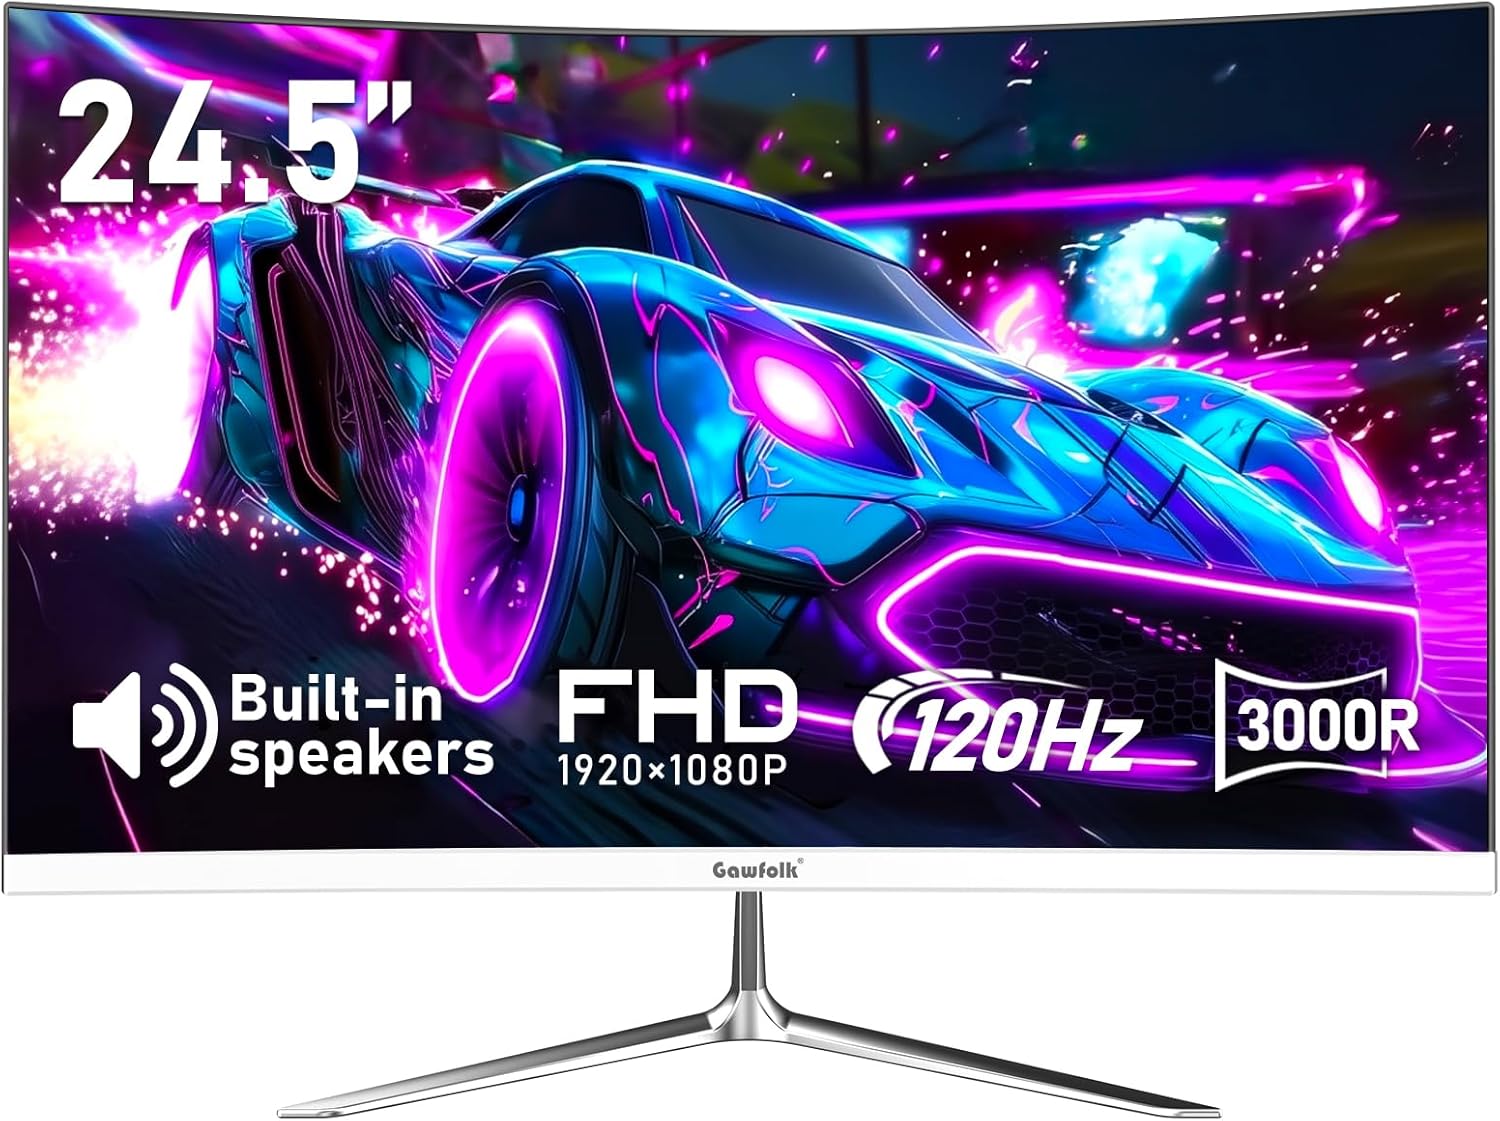
Image: Front view of the Gawfolk 24.5 Inch Curved Gaming Monitor, highlighting its 24.5-inch screen, built-in speakers, FHD 1920x1080 resolution, 120Hz refresh rate, and 3000R curvature.
Important Safety Information
- Ensure the monitor is placed on a stable, flat surface to prevent accidental falls.
- Do not expose the monitor to rain or moisture to avoid electric shock or fire.
- Keep ventilation openings clear to prevent overheating.
- Use only the power adapter supplied with the monitor.
- Avoid touching the screen with sharp objects.
- Unplug the monitor from the power outlet before cleaning.
Setup Guide
1. Unboxing and Package Contents
Carefully remove all components from the packaging. Verify that all items listed below are present:
- Gawfolk Monitor
- V-shaped base + bracket
- Power adapter
- User Manual (this document)
- Screw bag
- HDMI cable
2. Stand Assembly
- Attach the V-shaped base to the bracket using the provided screws.
- Secure the assembled stand to the back of the monitor. Ensure all screws are tightened.
Alternatively, the monitor is VESA mount compatible (75x75mm) for use with a wall mount or monitor arm (sold separately).
3. Connecting to Devices
The monitor features HDMI 2.0 and VGA ports for video input, and an audio output port. Connect your devices as follows:
- HDMI Connection: Use the provided HDMI cable to connect the monitor's HDMI port to your computer, gaming console (e.g., PS5, Xbox), or other HDMI-enabled device.
- VGA Connection: Use a VGA cable (not included) to connect the monitor's VGA port to older computers or devices.
- Audio Output: Connect external speakers or headphones to the audio output port if desired. The monitor also has built-in speakers.
- Power Connection: Connect the power adapter to the monitor's DC IN 12V port, then plug the adapter into a power outlet.

Image: Diagram illustrating the monitor's rear ports (VGA, HDMI 2.0, Audio, DC IN 12V) and examples of compatible devices such as PCs, notebooks, PS5, Xbox, external speakers, and earphones.

Image: Information regarding GPU compatibility. It states that devices should support 1K (1920x1080) resolution and match the monitor's refresh rate specifications (75Hz/144Hz/165Hz/180Hz/240Hz). It recommends using HDMI 2.0 or later, or DP 1.4 or later ports, as lower versions may limit performance. A GPU like GTX 1050 4G or above is recommended.
Operating Instructions
Video: An overview of the Gawfolk 24.5 Inch Gaming Curved Monitor, showcasing its 120Hz refresh rate, low blue light feature, 98% sRGB color gamut, built-in speakers, and 3000R curvature. This video highlights key features and visual performance.
1. Power On/Off
Press the power button, usually located on the back or bottom of the monitor, to turn it on or off. The power indicator light will illuminate when the monitor is on.
2. On-Screen Display (OSD) Menu Navigation
The OSD menu allows you to adjust various monitor settings. Buttons for OSD navigation are typically located on the back of the monitor.
- Press the Menu button to open the OSD.
- Use the Up/Down buttons to navigate through menu options.
- Press the Enter button to select an option or confirm a setting.
- Use the Exit button to close the OSD or go back to the previous menu.
3. Picture Settings
Adjust image quality settings to your preference:
- Brightness: Adjust the overall luminance of the screen.
- Contrast: Adjust the difference between light and dark areas.
- Color Temperature: Select predefined color temperature modes (e.g., Warm, Cool, User).
- Aspect Ratio: Choose between 16:9, 4:3, or other available options.
- Low Blue Light: Activate this mode to reduce blue light emission, which can help reduce eye strain during prolonged use.

Image: A split screen comparison showing a gaming scene with normal blue light (left) and with low blue light and no flicker (right), illustrating the eye comfort feature.
4. Audio Settings
Control the volume of the built-in speakers or connected audio devices:
- Volume: Adjust the audio output level.
- Mute: Toggle audio on or off.

Image: A gaming setup featuring the monitor with visual indicators of sound waves emanating from the built-in speakers, emphasizing the integrated audio feature.
5. Input Source Selection
If multiple devices are connected, you can manually select the input source:
- Press the Source button (or navigate through the OSD) to cycle through available inputs (HDMI, VGA).
The monitor supports a 120Hz refresh rate for smoother visuals. Ensure your connected device and cable support this refresh rate for optimal performance.

Image: A split screen comparison demonstrating the visual difference between 60Hz (right) and 120Hz (left) refresh rates in a fast-moving scene, highlighting the smoother motion at 120Hz.
Maintenance
1. Cleaning the Monitor
- Always unplug the monitor before cleaning.
- Use a soft, lint-free cloth lightly dampened with water or a mild, non-abrasive screen cleaner.
- Do not spray cleaner directly onto the screen.
- Avoid using harsh chemicals or abrasive materials, as they can damage the screen or casing.
2. Storage
If storing the monitor for an extended period, disconnect all cables and pack it in its original packaging or a suitable protective container. Store in a cool, dry place away from direct sunlight and extreme temperatures.
Troubleshooting
If you encounter issues with your monitor, refer to the following common problems and solutions:
No Power
- Ensure the power cable is securely connected to both the monitor and the power outlet.
- Verify the power adapter is functioning correctly.
- Check if the power outlet is working by plugging in another device.
No Signal / Blank Screen
- Confirm that the video cable (HDMI or VGA) is securely connected to both the monitor and your computer/device.
- Ensure the correct input source is selected on the monitor (refer to "Input Source Selection" in Operating Instructions).
- Check if your computer/device is powered on and outputting a video signal.
- Try a different video cable or port if available.
Image Issues (Distorted, Flickering, Incorrect Colors)
- Adjust the picture settings (brightness, contrast, color temperature) in the OSD menu.
- Ensure your computer's display resolution and refresh rate are set correctly and supported by the monitor.
- Check for loose cable connections.
- If flickering persists, ensure the Low Blue Light feature is not causing interference or try disabling it temporarily.
No Audio / Low Audio
- Increase the volume using the OSD menu or your connected device.
- Ensure the monitor is not muted.
- If using external speakers/headphones, ensure they are properly connected to the monitor's audio output or your device.
- Verify that your computer's audio output is directed to the monitor.
Specifications
| Brand | Gawfolk |
| Model Number | GF245A |
| Screen Size | 24.5 Inches |
| Resolution | 1920 x 1080 (FHD 1080p) |
| Refresh Rate | 120Hz |
| Curvature | 3000R |
| Aspect Ratio | 16:9 |
| Contrast Ratio | 3500:1 |
| Image Brightness | 250 Candela |
| Built-in Speakers | Yes |
| Connectivity | HDMI 2.0, VGA, Audio Out |
| VESA Mount Compatible | 75 x 75mm |
| Product Dimensions | 6.4 x 21.9 x 15.7 inches |
| Item Weight | 6.16 pounds |
Warranty and Support
For warranty information and technical support, please refer to the warranty card included in your product packaging or visit the official Gawfolk website. Keep your purchase receipt as proof of purchase for warranty claims.
You can also visit the Gawfolk Store on Amazon for additional product information and support resources.


