1. Introduction
This user manual provides detailed instructions for the installation, operation, and maintenance of your Baseus for MagSafe Car Mount. Please read this manual thoroughly before using the product to ensure optimal performance and safety. This magnetic phone holder is designed to securely hold your smartphone in your vehicle, offering adjustable viewing angles and strong adhesion.
2. Product Overview
2.1 Package Contents
- Baseus for MagSafe Car Mount
- 3M Automotive Adhesive (pre-applied)
- Magnetic Ring (for non-MagSafe compatible phones/cases)
- Positioning Card (for magnetic ring installation)
- Alcohol Wipe
- User Manual
2.2 Key Features
- Customizable Magnetic Force: Adjust holding power from 15N to 25N using the innovative magnetic adjustment knob.
- Flexible Viewing Angles: Features a 360° swivel base, reversible magnetic head, and a bendable aluminum arm for limitless adjustment.
- Versatile Mounting: Compact base and bendable design allow mounting on dashboard, windshield, center console, or air vent.
- Durable Construction: Utilizes premium 3M adhesive for resistance against high temperatures and constant vibration.
- Sleek Design: Minimalist Apple Watch-inspired silhouette with Kevlar-textured arm.
- Universal Compatibility: Direct use for iPhone 12 and newer; includes magnetic ring for iPhone 11 and earlier, and Android phones.
2.3 Product Diagram
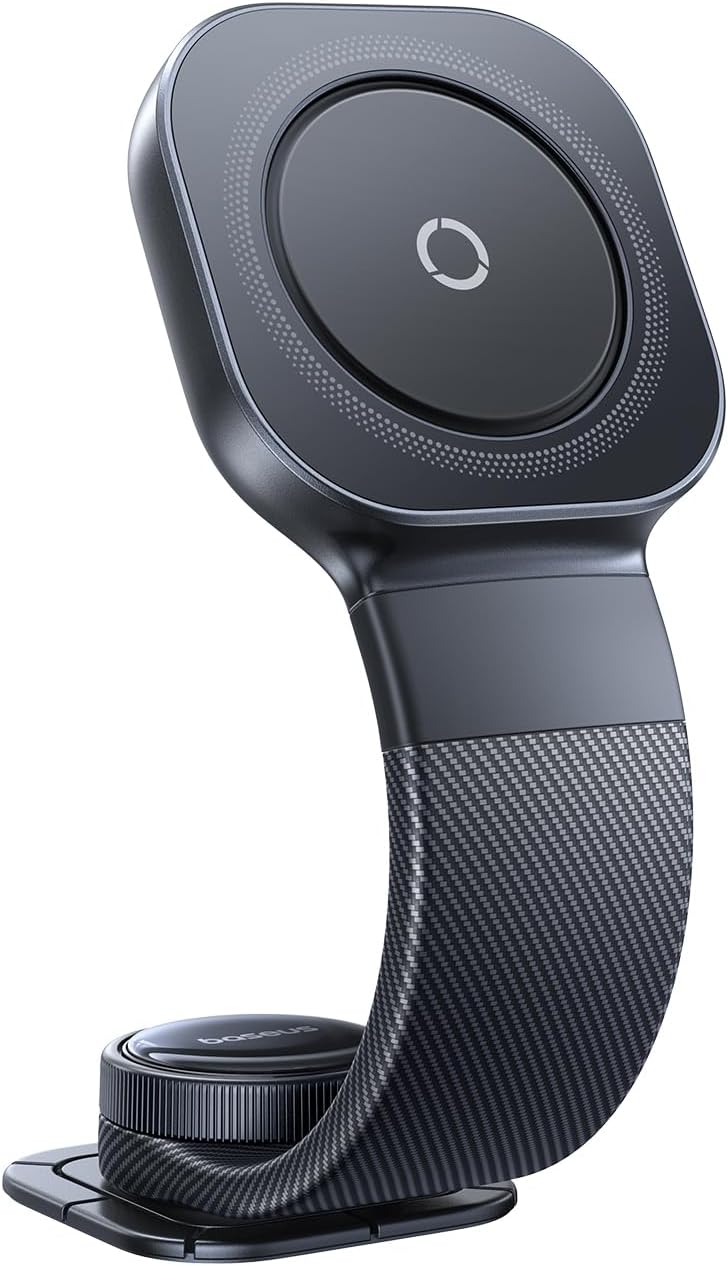
Figure 1: Baseus for MagSafe Car Mount - Front View
This image shows the overall design of the Baseus magnetic car mount, highlighting its sleek, dark gray finish and the central magnetic pad.

Figure 2: Adjustable Magnetic Force
This image illustrates the adjustable magnetic force feature, showing a knob that allows users to fine-tune the grip strength from 15N to 25N for various phone sizes and weights.
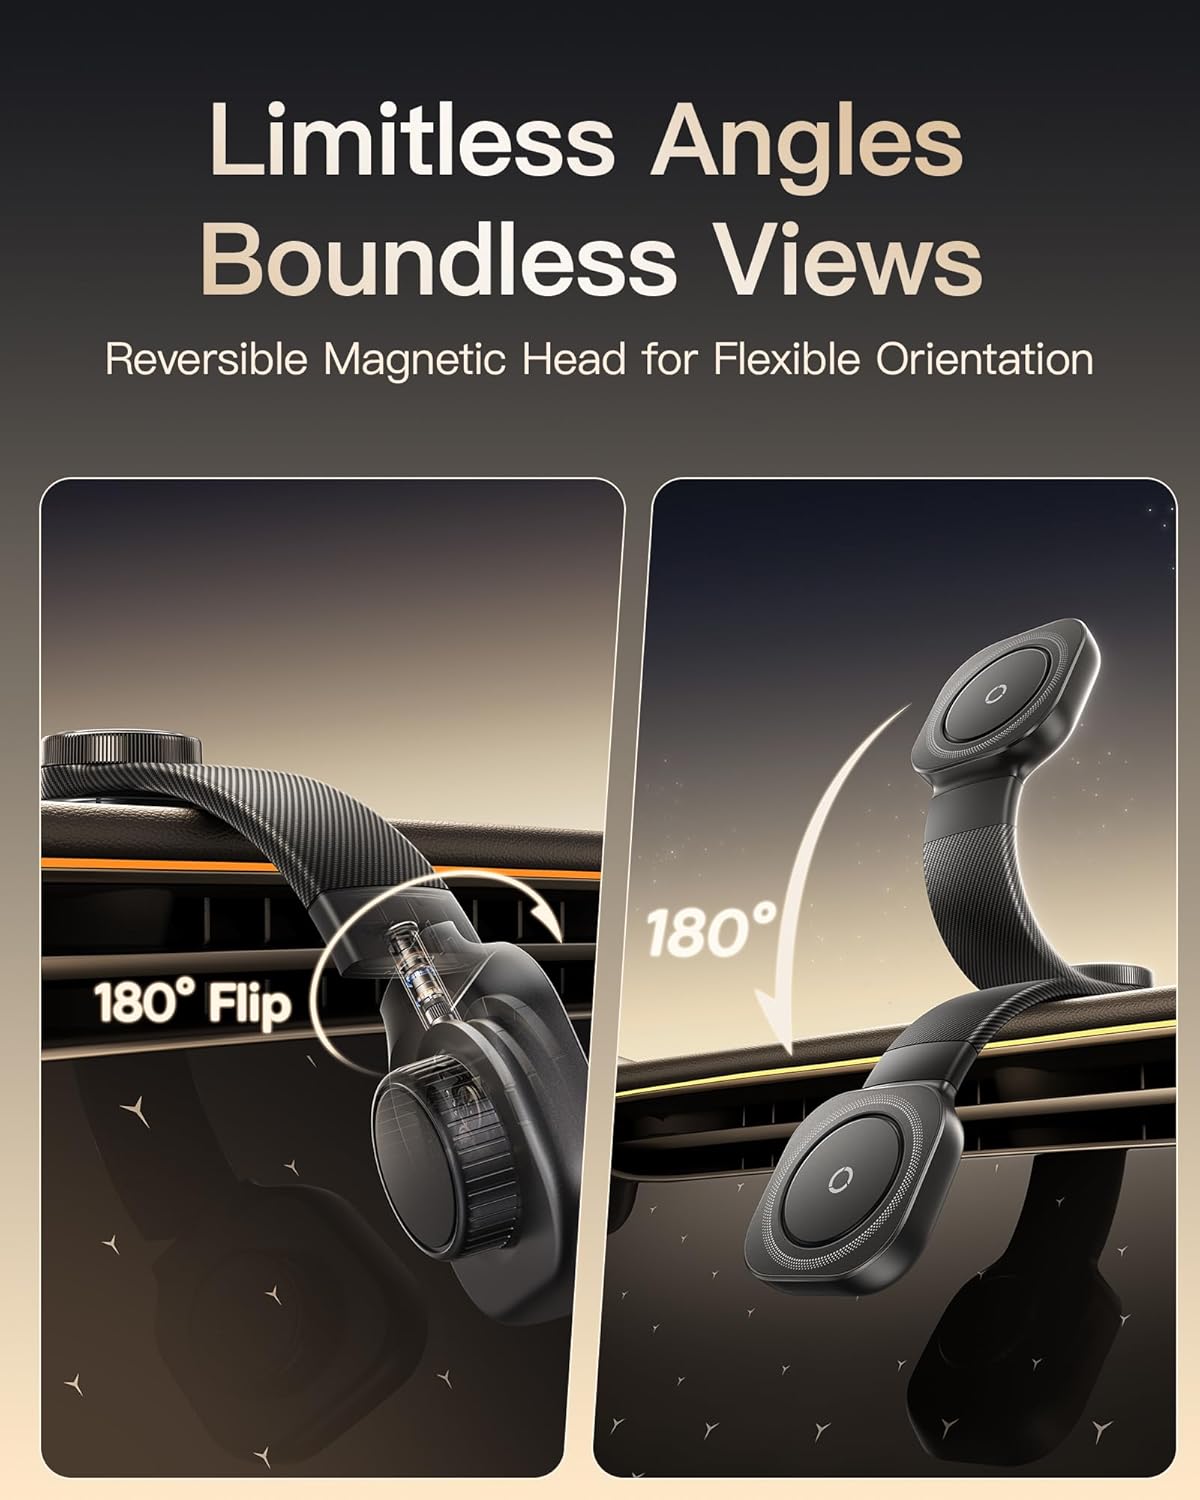
Figure 3: Limitless Angles and Views
This image demonstrates the flexibility of the mount, showcasing its reversible magnetic head that allows for 180-degree flips and flexible orientation for optimal viewing.
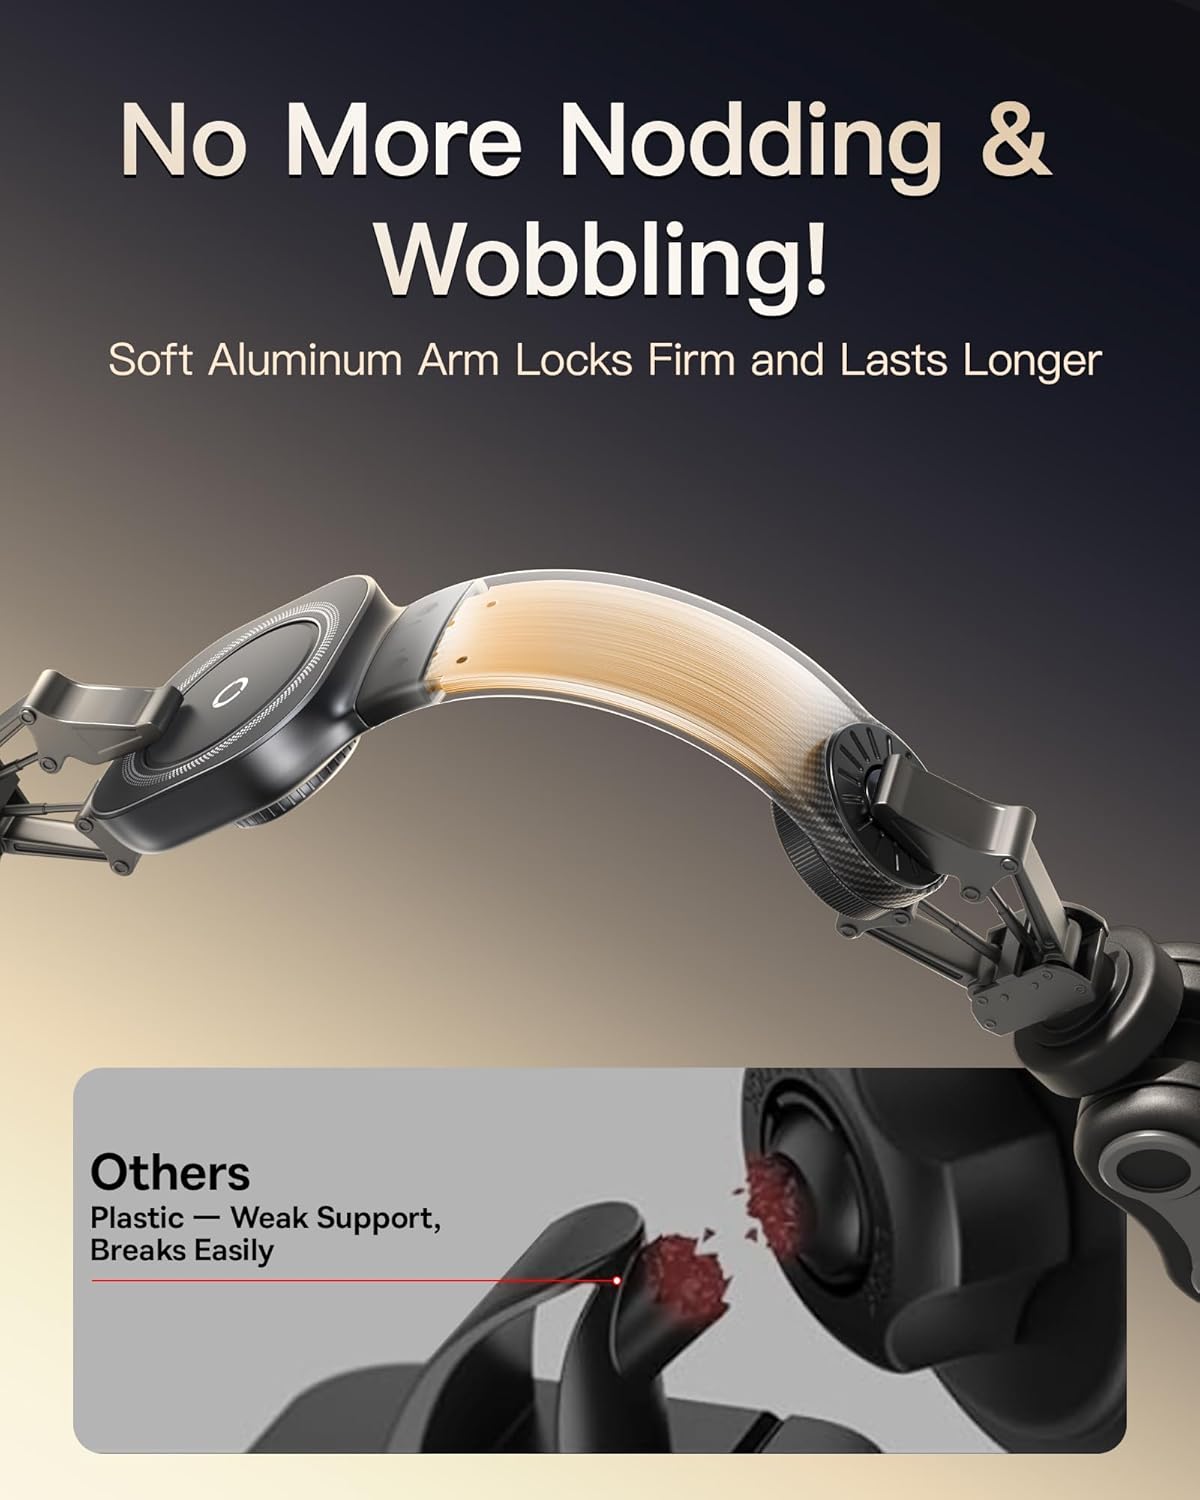
Figure 4: Stable Aluminum Arm
This image highlights the durable soft aluminum arm, designed to provide firm support and prevent nodding or wobbling, contrasting it with weaker plastic alternatives.

Figure 5: Versatile Mounting Locations
This image displays various potential mounting locations within a car, including the air vent, center console, screen, and dashboard, emphasizing the mount's adaptability.

Figure 6: Upgraded 3M Adhesive
This image focuses on the strong 3M adhesive used for the base, illustrating its robust adhesion, heat resistance, and long-lasting properties, even under conditions like sharp brakes, speed bumps, and rough roads.

Figure 7: Swivel, Bend, Adjust
This image visually explains the mount's adjustability, showing how it can swivel 180 degrees and bend 360 degrees to achieve the perfect viewing angle.
3. Setup and Installation
3.1 Choosing a Mounting Location
The Baseus Car Mount can be installed on various smooth, hard surfaces within your vehicle, including the dashboard, windshield, center console, or even an air vent. Ensure the chosen surface is clean and dry for optimal adhesion. Avoid fabric, soft leather, nubuck, suede, or other soft/uneven surfaces as they may reduce stability.

Figure 8: Compatible and Incompatible Mounting Surfaces
This image provides a visual guide to surfaces compatible with the 3M adhesive (e.g., plastic, glass, leather, metal) and those that are not recommended (e.g., fabric, soft leather, suede).
3.2 Installation Steps
- Clean the Area: Confirm the mounting area and clean it thoroughly with the provided alcohol wipe. Ensure the surface is completely dry before proceeding.
- Apply the Mount: Peel off the release film from the base of the car mount. Align the base onto the cleaned surface and press it firmly.
- Secure Adhesion: Press the center and edges of the base firmly for at least 30 seconds to ensure full contact and strong adhesion.
- Curing Time: Allow the adhesive to cure for 24 hours before attaching your phone or using the mount. This ensures maximum bond strength.

Figure 9: Step-by-Step Installation Guide
This image provides a visual, four-step guide for installing the car mount, from cleaning the surface to allowing the adhesive to set for 24 hours.
3.3 Magnetic Ring Installation (for non-MagSafe devices)
If your phone or phone case is not MagSafe compatible (e.g., iPhone 11 and earlier, Android phones), use the included magnetic ring for optimal performance. Ensure your phone case is suitable; avoid liquid silicone frosted finish, leather-textured, corrugated/uneven surface, or TPU soft cases.
- Clean the Case: Clean the area on your phone case where the magnetic ring will be attached with an alcohol wipe.
- Position the Ring: Align the magnetic ring using the included positioning card to ensure correct placement.
- Attach the Ring: Press the magnetic ring firmly onto the case, ensuring full contact.
- Curing Time: Wait 24 hours before using the phone with the car mount to allow the adhesive on the magnetic ring to fully bond.

Figure 10: Magnetic Ring Installation and Case Compatibility
This image details the four steps for installing the magnetic ring on a phone case and also lists types of phone cases that are not compatible with the magnetic ring.
4. Operating Instructions
4.1 Attaching Your Phone
Once the mount is securely installed and the adhesive has cured (24 hours), simply bring your MagSafe-compatible phone (or phone with the installed magnetic ring) close to the magnetic head of the mount. The strong magnets will automatically align and secure your phone in place.
4.2 Adjusting Viewing Angle and Orientation
- Magnetic Head Rotation: The magnetic head can be rotated 360 degrees to switch between portrait and landscape orientations.
- Flexible Arm Adjustment: The bendable aluminum arm allows you to position your phone at various heights and distances for optimal viewing.
- Reversible Magnetic Head: The magnetic head can be flipped 180 degrees, offering even more flexibility in positioning.
- Magnetic Force Adjustment: Use the knob on the base to fine-tune the magnetic suction force. Rotate to MIN for about 15N suction force (easier detachment) or to MAX for about 25N suction force (stronger hold).
Video 1: Baseus C03 Magnetic Car Mount Overview
This video demonstrates the key features and operation of the Baseus C03 Magnetic Car Mount, including its easy installation, 360-degree rotatable base, knob-adjustable orientation, flexible middle rod, adjustable magnetic suction force, strong magnetic adhesion, and stable frame during driving. It also shows versatile horizontal and vertical phone positioning.
5. Maintenance
To ensure the longevity and optimal performance of your Baseus Car Mount, follow these simple maintenance guidelines:
- Cleaning: Wipe the surface of the mount with a soft, damp cloth. Avoid using harsh chemicals or abrasive cleaners, which can damage the finish.
- Adhesive Care: The 3M adhesive is designed for long-term use. Avoid frequently removing and re-applying the mount, as this can weaken the adhesive bond. If re-application is necessary, ensure the surface is clean and dry, and allow 24 hours for curing.
- Magnetic Head: Keep the magnetic surface clean and free of dust or debris to ensure strong magnetic adhesion.
- Storage: If storing the mount for an extended period, keep it in a cool, dry place away from direct sunlight.
6. Troubleshooting
If you encounter any issues with your Baseus for MagSafe Car Mount, please refer to the following common problems and solutions:
| Problem | Possible Cause | Solution |
|---|---|---|
| Mount not sticking firmly. | Surface not clean/dry, adhesive not fully cured, incompatible surface type. | Ensure surface is clean and dry. Allow 24 hours for adhesive to cure after installation. Verify the surface is smooth and hard (refer to Section 3.1). |
| Phone not holding securely. | Magnetic force set too low, magnetic ring not installed (for non-MagSafe), incompatible phone case. | Rotate the magnetic adjustment knob towards MAX to increase suction force. If using a non-MagSafe phone, ensure the magnetic ring is properly installed on a compatible case (refer to Section 3.3). |
| Mount wobbles or shakes. | Improper installation, loose components. | Ensure the base is firmly adhered to the surface. Check that all adjustable parts are tightened if applicable (though this model is mostly fixed once adhered). |
If the problem persists, please contact Baseus customer support for further assistance.
7. Specifications
- Brand: Baseus
- Model: C03 (B0F7XCBP2S)
- Package Dimensions: 8.98 x 3.11 x 1.42 inches
- Item Weight: 5.9 ounces
- Mounting Type: Car Mount (Adhesive)
- Compatible Devices: Smartphones (MagSafe compatible or with included magnetic ring)
- Special Features: Adjustable magnetic force (15-25N), 360° swivel base, reversible magnetic head, bendable titanium alloy arm, 3M automotive adhesive.
- Whats in the box: Tape (referring to the 3M adhesive, but the product description implies more, so I'll use the package contents list from earlier).
- Date First Available: May 8, 2025
8. Warranty and Support
Baseus products are designed with quality and reliability in mind. For specific warranty information regarding your Baseus for MagSafe Car Mount, please refer to the warranty card included in your product packaging or visit the official Baseus website. For technical support, troubleshooting assistance, or any other inquiries, please contact Baseus customer service through their official channels or the retailer where you purchased the product.
Baseus Brand Store: Visit Baseus Store on Amazon


