
1. Introduction
This manual provides comprehensive instructions for the safe and effective use, assembly, operation, cleaning, and maintenance of your NCVI Hands-Free Wearable Breast Pump, Model AM8131. Please read this manual thoroughly before first use and retain it for future reference.
The NCVI Hands-Free Wearable Breast Pump is designed to offer a discreet and convenient pumping experience, allowing mothers to express breast milk while performing other activities. It features multiple modes and suction levels to mimic a baby's natural feeding rhythm.
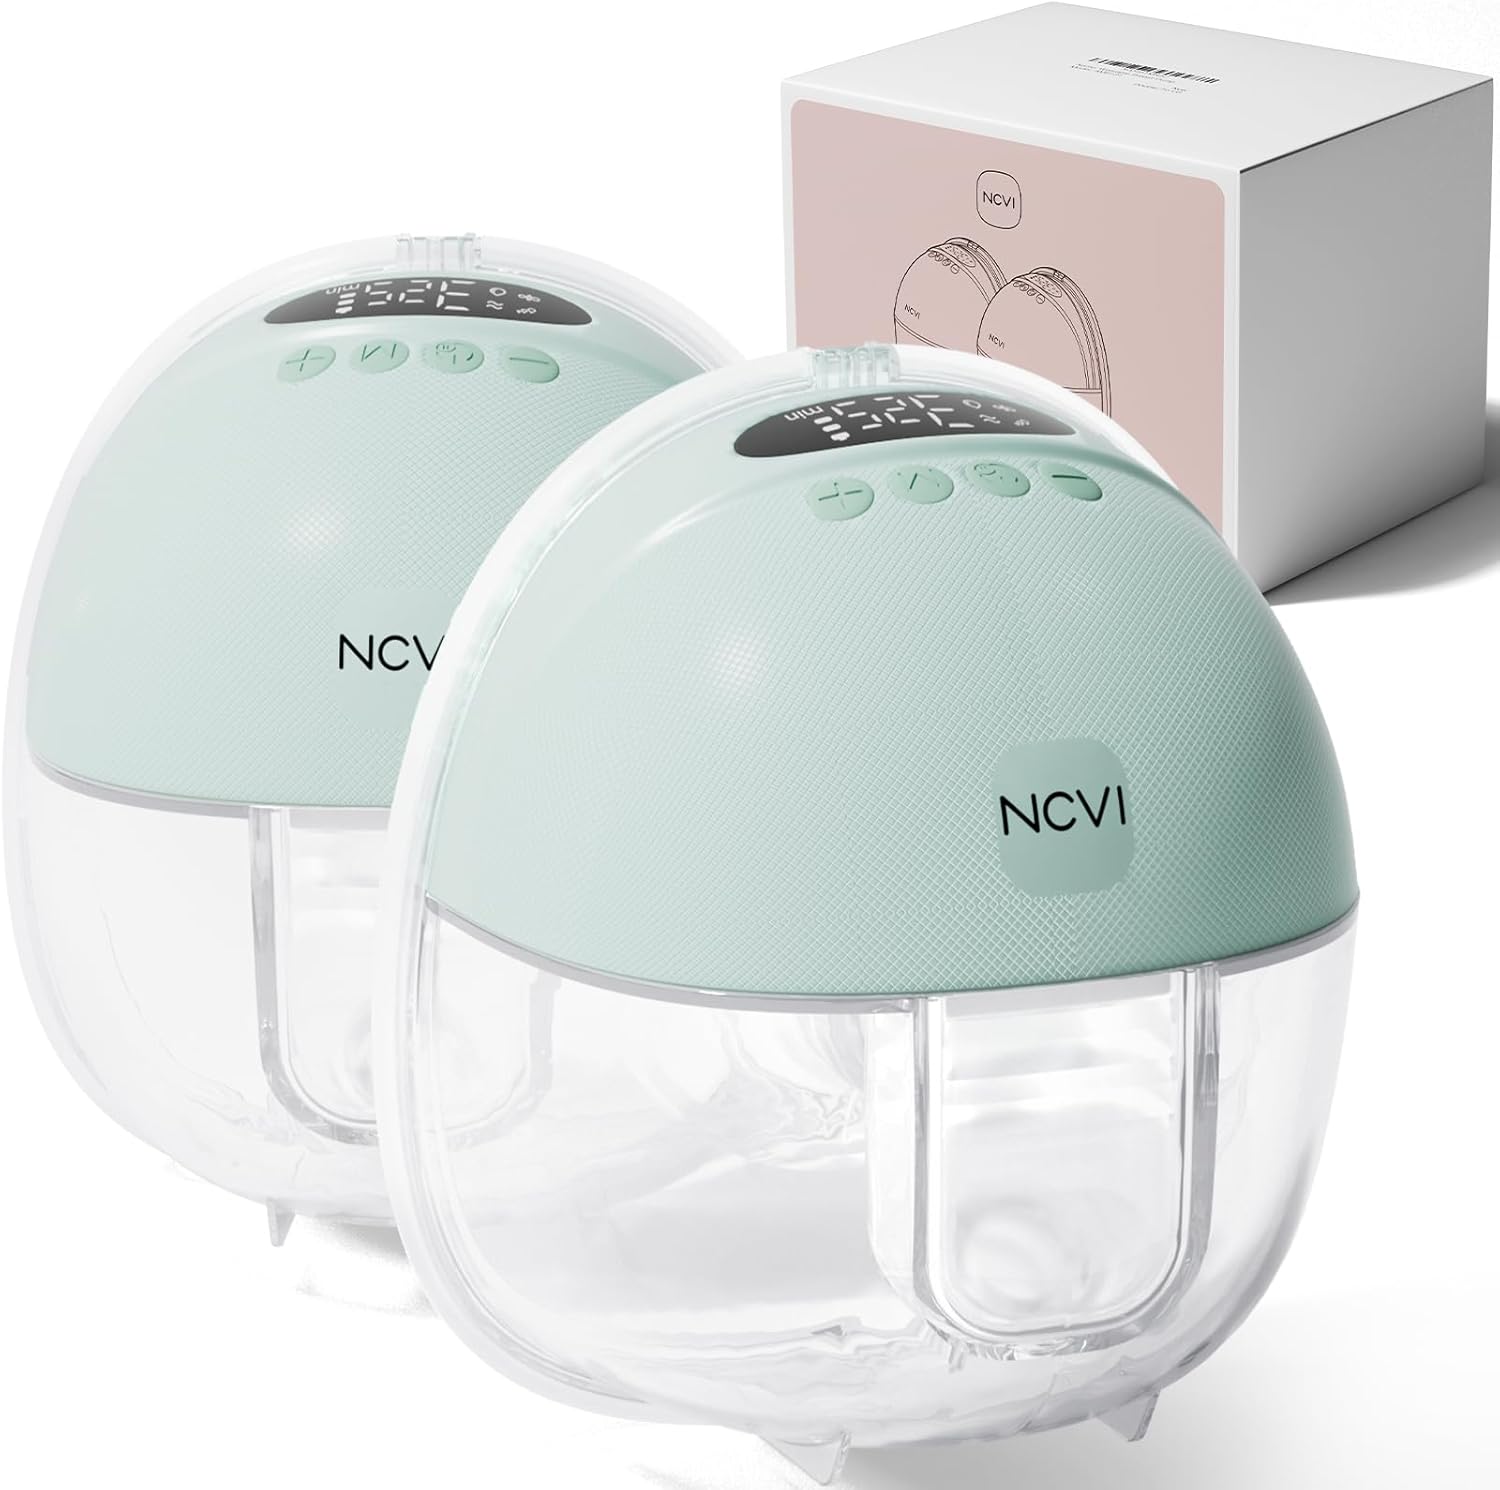
Image 1.1: The NCVI Hands-Free Wearable Breast Pump set, including two pumps and their packaging.
2. Important Safety Information
- Always inspect all pump components for damage or wear before each use. Discard and replace any damaged parts immediately.
- Ensure all parts that come into contact with breast milk are thoroughly cleaned and sterilized before first use and after each subsequent use.
- This breast pump is a personal care item. For hygiene reasons, it should not be shared between users.
- Keep the pump unit and all accessories out of reach of children.
- Do not immerse the motor unit in water or other liquids. Clean the motor unit with a damp cloth only.
- Use only the charging cable provided by the manufacturer.
- If you experience pain or discomfort during pumping, reduce the suction level or stop pumping and consult a healthcare professional.
- Statements regarding dietary supplements have not been evaluated by the FDA and are not intended to diagnose, treat, cure, or prevent any disease or health condition.
3. Package Contents
Please verify that all items listed below are included in your package:

Image 3.1: Detailed view of all components included in the NCVI Hands-Free Wearable Breast Pump package.
- Motor Unit (x2)
- Milk Collector (x2)
- Flange Insert 19mm (x2)
- Flange Insert 21mm (x2)
- 24mm Flange (x2)
- Duckbill Valve (x2)
- Diaphragm (x2)
- Bra Adjustment Buckle (x2)
- USB Type-C Charging Cable (x2)
- Nipple Ruler (x1)
- Milk Storage Bag (x10)
4. Product Components Overview
Familiarize yourself with the main components of the breast pump:

Image 4.1: Exploded view of the breast pump components, highlighting its simple design for easy assembly and cleaning.
- Motor Unit: Contains the pump mechanism, control panel, and rechargeable battery.
- Milk Collector: The container where expressed milk is collected.
- Flange: The part that comes into contact with the breast and nipple, available in 24mm with 19mm and 21mm inserts.
- Diaphragm: Creates a closed system, preventing milk from entering the motor unit.
- Duckbill Valve: Controls milk flow into the collector.
Control Panel

Image 4.2: Overview of the pump's control panel and display functions.
- On/Off Button: Powers the pump on or off.
- Mode Switch Button (M): Toggles between the 4 pumping modes.
- Level Up (+): Increases suction level.
- Level Down (-): Decreases suction level.
- Battery Indicator: Shows remaining battery life.
- Time Display: Shows elapsed pumping time.
- Level Display: Shows current suction level.
5. Assembly Instructions
Follow these steps to assemble your breast pump before first use and after each cleaning:

Image 5.1: Visual guide for assembling the breast pump.
- Install Duckbill Valve: Gently push the duckbill valve onto the designated opening at the bottom of the milk collector. Ensure it is securely seated.
- Insert Silicone Diaphragm: Place the silicone diaphragm into the top opening of the milk collector, ensuring its edges are sealed properly.
- Insert Flange: Place the chosen flange (or flange insert within the 24mm flange) into the milk collector, aligning it correctly.
- Secure Flange: Press firmly around the edge of the flange to ensure a tight seal and prevent air leaks.
- Attach Motor Unit: Carefully place the motor unit onto the assembled milk collector, ensuring it clicks into place securely.
6. Flange Size Selection
Choosing the correct flange size is crucial for comfort and effective milk expression. Use the included nipple ruler to determine your ideal size:

Image 6.1: Guide to selecting the appropriate flange size for optimal comfort and pumping efficiency.
- Stimulate the Nipple: Gently stimulate your nipple to make it erect.
- Measure Nipple Diameter: Place your nipple into the appropriate hole on the nipple ruler to find its diameter at the base (where it meets the areola).
- Select Flange Size:
- If your nipple diameter is up to 15-17mm, use the 19mm flange insert.
- If your nipple diameter is up to 17-19mm, use the 21mm flange insert.
- If your nipple diameter is up to 20-22mm, use the 24mm flange.
The flange should fit comfortably around your nipple without pulling in too much of the areola. If you experience discomfort, try a different size.
7. Operating Instructions
7.1 Charging the Pump
The NCVI breast pump features a built-in rechargeable battery. Before first use, fully charge the pump. Connect the provided USB Type-C charging cable to the pump's charging port and a suitable USB power adapter (not included). The battery indicator on the display will show charging status.

Image 7.1: The pump's internal battery and charging capabilities, offering extended use per charge.
- A full charge provides approximately 150 minutes of pumping time (5-6 sessions).
- The pump can be recharged using a power bank, car charger, or wall adapter.
7.2 Pumping Modes and Suction Levels
The pump offers 4 distinct modes and 9 adjustable suction levels to customize your pumping experience:

Image 7.2: The NCVI breast pump offers 4 modes and 9 suction levels for personalized milk expression.
| Mode Combination | Purpose |
|---|---|
| 2 Mins Massage Mode → Suck Simulate Mode | Gently Express Breastmilk |
| 2 Mins Massage Mode → Express Mode | Pain-Free Pumping |
| 2 Mins Multitronic Mode → Express Mode | Fast Empty Breastmilk |
| Multitronic Mode → Express Mode | Most Stimulation and Max Suction |
Tip: Experiment with different modes and suction levels to find what is most comfortable and effective for your individual needs.
7.3 Pumping Operation
- Positioning: Place the assembled pump onto your breast, ensuring your nipple is centered in the flange tunnel. The pump should feel secure and comfortable.
- Power On: Press the On/Off button to start the pump. It will typically begin in a stimulation mode.
- Select Mode: Press the 'M' (Mode Switch) button to cycle through the available modes (Multitronic, Massage, Suck Simulate, Express) until you find your preferred setting.
- Adjust Suction: Use the '+' and '-' buttons to increase or decrease the suction level (1-9) to your comfort.
- Monitor Pumping: The display will show the elapsed pumping time and current suction level.
- Power Off: Once you have finished pumping, press the On/Off button to turn off the pump.
- Remove Pump: Gently break the seal before removing the pump from your breast.
8. Cleaning and Maintenance
Proper cleaning and maintenance are essential for hygiene and prolonging the life of your breast pump. All parts that come into contact with breast milk are made from food-grade silicone and are BPA-free.

Image 8.1: The pump's design with only 4 main parts simplifies cleaning.
8.1 Disassembly for Cleaning
Disassemble the pump by reversing the assembly steps. Separate the motor unit from the milk collector, then remove the flange, diaphragm, and duckbill valve from the milk collector.
8.2 Cleaning Procedures
- Motor Unit: Wipe the exterior of the motor unit with a clean, damp cloth. Do not immerse it in water.
- Milk-Contacting Parts (Flange, Inserts, Milk Collector, Diaphragm, Duckbill Valve):
- Rinse immediately after use with cold water to remove milk residue.
- Wash in warm, soapy water using a mild dish soap. Use a soft brush to clean all surfaces.
- Rinse thoroughly under clean running water.
- Air dry on a clean drying rack or use a clean cloth. Avoid using paper towels as they may leave residue.
8.3 Sterilization
For initial use and periodically thereafter, sterilize the milk-contacting parts:
- Boiling: Place cleaned parts in a pot of boiling water for 3-5 minutes. Ensure parts do not touch the bottom or sides of the pot to prevent damage.
- Steam Sterilizer: Follow the manufacturer's instructions for your steam sterilizer.
8.4 Storage
Store all clean and dry pump components in a clean, dry place away from direct sunlight and dust when not in use.
9. Troubleshooting
If you encounter any issues with your NCVI breast pump, please refer to the following common problems and solutions:
| Problem | Possible Cause | Solution |
|---|---|---|
| No power/Pump not turning on | Low battery; Faulty charging cable/adapter | Charge the pump fully; Try a different USB Type-C cable or power source. |
| No suction or weak suction | Improper assembly; Damaged duckbill valve/diaphragm; Flange not sealed correctly | Ensure all parts are assembled correctly and tightly sealed; Inspect duckbill valve and diaphragm for tears or damage and replace if necessary; Re-position the flange on your breast. |
| Milk leaking from pump | Improper assembly; Overfilling milk collector; Incorrect flange size | Check assembly for secure seals; Do not exceed the maximum fill line (150ml); Re-evaluate flange size for proper fit. |
| Low milk output | Incorrect flange size; Ineffective pumping mode/suction level; Stress/Hydration | Verify flange size; Experiment with different modes and suction levels; Ensure adequate hydration and relaxation. Consult a lactation consultant if issues persist. |
10. Specifications
- Model Number: AM8131
- Power Source: Built-in Rechargeable Battery
- Battery Capacity: 1400mAh (approx.)
- Battery Life: Up to 150 minutes (5-6 sessions) per charge
- Charging Port: USB Type-C
- Material: Polypropylene, Food-Grade Silicone
- Material Type Free: BPA Free
- Noise Level: <45 dB
- Milk Collector Capacity: 5oz / 150ml
- Flange Sizes Included: 24mm (with 19mm & 21mm inserts)
- Special Features: Adjustable Suction, Closed System, Double Pump, Hands-Free Usage, Portable
- Package Dimensions: 7.09 x 5.51 x 5.51 inches
- Item Weight: 1.98 Pounds (for the pair)
11. Warranty and Support
For warranty information, product support, or to purchase replacement parts, please contact NCVI customer service. Refer to the product packaging or the official NCVI website for the most current contact details.
Please retain your proof of purchase for warranty claims.

