
CARPURIDE V9
Carpuride V9 Portable Wireless CarPlay and Android Auto System
Model: V9 | Brand: CARPURIDE
Introduction
The Carpuride V9 is an advanced portable display system designed to bring modern connectivity to your vehicle. It integrates wireless Apple CarPlay and Android Auto functionalities, providing access to navigation, music, calls, and more directly on its high-definition touchscreen. This manual provides comprehensive instructions for setting up, operating, and maintaining your Carpuride V9 system.
Setup
Package Contents
Before you begin, please ensure all items are present in the package:
- Carpuride V9 Display Unit
- Self-adhesive Bracket
- Suction Mount Bracket
- Suction Cup Gasket
- 3.5mm Audio Cable
- Car Charger
- User Manual (this document)

Figure 1: Carpuride V9 Packing List. This image displays all components included in the product package, such as the main display unit, various mounting options, cables, and the user manual.
Installation
The Carpuride V9 offers flexible installation options without requiring disassembly of your car's existing components. You can choose between a self-adhesive bracket or a suction cup mount.
- Choose Mounting Location: Select a suitable flat surface on your dashboard or windshield that does not obstruct your view or interfere with airbags.
- Attach Bracket:
- For the self-adhesive bracket, clean the surface thoroughly, peel off the protective film, and firmly press the bracket onto the desired location.
- For the suction cup mount, ensure the surface is clean and smooth. Press the suction cup firmly against the surface and engage the locking mechanism to secure it.
- Mount Display Unit: Attach the Carpuride V9 display unit to the installed bracket. Ensure it clicks securely into place. Adjust the viewing angle for optimal visibility.
- Power Connection: Connect the provided car charger to the DC 5V-12V 2A input port on the Carpuride V9 unit and plug the other end into your vehicle's cigarette lighter socket.

Figure 2: Carpuride V9 with Mounting Options. This image shows the main display unit along with the two types of mounting brackets included for installation in a vehicle.

Figure 3: Installation Types. This diagram illustrates the two primary methods for installing the Carpuride V9: using a self-adhesive bracket on the dashboard or a suction cup mount on the windshield, demonstrating adjustable angles.
Operating Instructions
Power On/Off
- Power On: Short press the power button located on the side of the unit.
- Power Off: Long press the power button to shut down the device.
Wireless CarPlay and Android Auto Connection
The Carpuride V9 supports wireless connection to both Apple CarPlay and Android Auto, allowing you to access your phone's features safely while driving.
- Initial Pairing: On your smartphone, enable Bluetooth and Wi-Fi. On the Carpuride V9, navigate to the CarPlay or Android Auto section.
- Connect to Device: Search for the Carpuride device's Wi-Fi network (e.g., "carpuride-xxxx") on your phone and connect. Enter the default password "66666666" if prompted.
- Confirm Connection: Once connected via Wi-Fi, the system will automatically initiate CarPlay or Android Auto.

Figure 4: CarPlay & Android Auto Interface. This image demonstrates the user interface when connected to Apple CarPlay and Android Auto, highlighting various compatible navigation applications.

Figure 5: Apple CarPlay Connection Steps. A visual guide detailing the process of connecting an iPhone to the Carpuride V9 for Apple CarPlay functionality.

Figure 6: Android Auto Connection Steps. A visual guide detailing the process of connecting an Android phone to the Carpuride V9 for Android Auto functionality.
GPS Navigation and Voice Control
Utilize your preferred navigation apps through CarPlay or Android Auto. The integrated microphone and BT 5.0 chip enable seamless voice commands for navigation, calls, and music playback.
- Voice Assistant: Activate Siri or Google Assistant by saying "Hey Siri" or "OK Google" (or pressing the voice command button on the screen/steering wheel if available).
- Commands: Issue commands such as "Navigate to [address]", "Call [contact name]", or "Play [song/artist]".

Figure 7: GPS Navigation & Voice Control. This image illustrates the Carpuride V9's capability for GPS navigation and voice-activated commands for various functions.

Figure 8: Voice Control in Action. This image depicts a user interacting with the Carpuride V9 using voice commands for navigation and communication.
Audio Output Options
The Carpuride V9 offers multiple ways to output audio to your vehicle's sound system:
- Bluetooth Audio: Connect your phone to the Carpuride V9 via Bluetooth for audio streaming.
- FM Transmission: Transmit audio wirelessly to your car's FM radio. Select an unused FM frequency on the Carpuride V9 and tune your car radio to the same frequency.
- AUX Connection: Use the provided 3.5mm audio cable to connect the Carpuride V9's audio out port to your car's AUX input.
- Built-in Speaker: The unit has a local horn (built-in speaker) for direct audio output, suitable for basic alerts or if other options are unavailable.

Figure 9: Four Ways of Sounding. This image details the various audio output options available with the Carpuride V9, including Bluetooth, FM transmission, AUX connection, and its internal speaker.

Figure 10: Audio Connectivity Options. This diagram visually explains how the Carpuride V9 can connect to your car's audio system via Bluetooth, FM, AUX, or use its integrated speaker.
Multimedia Playback and Mirror Link
The Carpuride V9 supports multimedia playback from TF cards and USB drives. Additionally, its mirror link function allows you to display your phone's screen directly on the unit.
- Local Media: Insert a TF card or USB drive into the designated port to play audio and video files.
- Mirror Link: Use the AirPlay (for iOS) or AutoLink (for Android) function to mirror your smartphone's display. Note that when using the mirror function, the display may not always be full screen.

Figure 11: Multimedia Playback and Mirror Link. This image demonstrates the Carpuride V9's ability to play media from SD cards and USB drives, and its mirror link functionality for smartphone screen mirroring.

Figure 12: Mirror Link Functionality. This image illustrates the mirror link feature, allowing content from your smartphone to be displayed on the Carpuride V9 screen.
Brightness Adjustment
The Carpuride V9 features a light-sensing design that automatically adjusts screen brightness based on ambient light conditions, enhancing visibility and driving safety.
- Automatic Adjustment: The device will automatically brighten in daylight and dim in low-light conditions or at night.
- Manual Adjustment: You can also manually adjust the brightness level through the system settings on the display.

Figure 13: Brightness Adjustment. This image demonstrates the automatic brightness adjustment feature of the Carpuride V9, adapting to different lighting conditions for optimal viewing.

Figure 14: Automatic Brightness Control. This image highlights the light-sensitive design of the Carpuride V9, which automatically adjusts screen brightness to ambient conditions.
EQ Effect (Equalizer)
When playing music via SD, USB Drive, or Bluetooth, you can customize the sound output using the built-in equalizer (EQ) to match your preferences.
- Access EQ: While playing audio, click the EQ icon on the screen.
- Select Presets: Choose from various sound effects such as Rock, Classical, Jazz, or customize your own settings.

Figure 15: EQ Effect Interface. This image displays the equalizer settings on the Carpuride V9, allowing users to customize audio output with various presets or manual adjustments.
Enhanced Call Quality
The Carpuride V9 features a unique front microphone design, improving radio reception and providing clearer call experiences compared to standard systems.
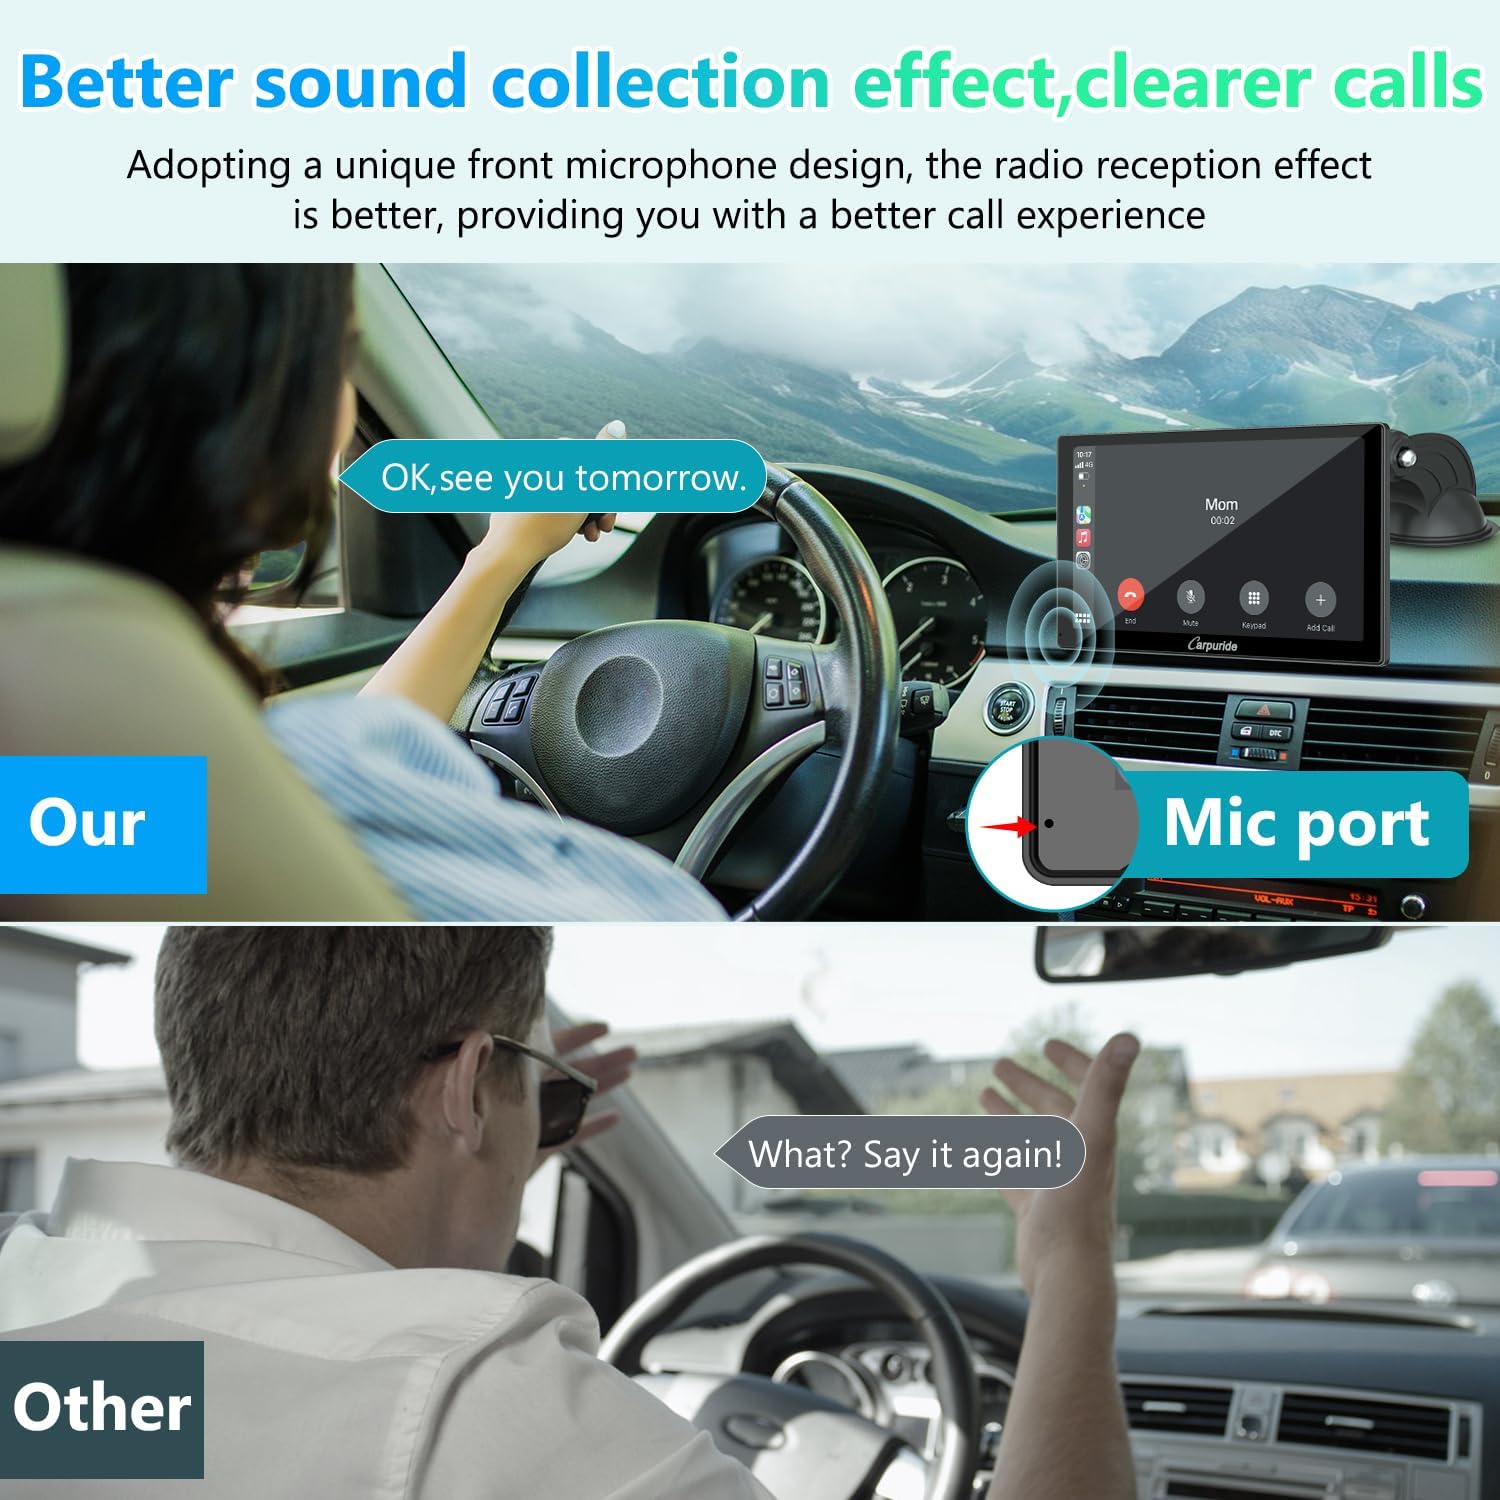
Figure 16: Clearer Call Quality. This image illustrates the improved call clarity provided by the Carpuride V9's unique front microphone design, contrasting it with less effective systems.
Maintenance
To ensure the longevity and optimal performance of your Carpuride V9, follow these simple maintenance guidelines:
- Cleaning the Screen: Use a soft, lint-free cloth to gently wipe the touchscreen. For stubborn smudges, slightly dampen the cloth with water or a screen-safe cleaner. Avoid abrasive materials or harsh chemicals.
- Cleaning the Unit: Wipe the body of the unit with a dry or slightly damp cloth. Ensure no liquid enters the ports.
- Port Care: Keep all ports (USB, TF card, audio, power) free of dust and debris. Use a can of compressed air if necessary.
- Storage: If storing the unit for an extended period, disconnect it from power and store it in a cool, dry place away from direct sunlight and extreme temperatures.
Troubleshooting
If you encounter issues with your Carpuride V9, refer to the following common problems and solutions:
| Problem | Possible Cause | Solution |
|---|---|---|
| Unit does not power on. | No power, loose connection, faulty car charger. | Ensure car charger is securely plugged into both the unit and the cigarette lighter. Check if the car's cigarette lighter socket is working. Try a different power source if available. |
| Cannot connect to CarPlay/Android Auto wirelessly. | Incorrect Wi-Fi password, Bluetooth not enabled, phone not compatible, interference. | Ensure Wi-Fi and Bluetooth are enabled on your phone. Verify the Wi-Fi password "66666666". Restart both the phone and the Carpuride V9. Check phone compatibility with CarPlay/Android Auto. |
| No audio output. | Incorrect audio output mode selected, volume too low, loose AUX cable, incorrect FM frequency. | Check the selected audio output mode (Bluetooth, FM, AUX). Increase volume on both the Carpuride V9 and your car stereo. Ensure AUX cable is fully inserted. For FM, verify the frequency matches your car radio and is clear of strong stations. |
| Touchscreen unresponsive or lagging. | Temporary software glitch, excessive background processes. | Restart the Carpuride V9 unit. Ensure the screen is clean and free of debris. |
| Mirror Link not working correctly. | Phone settings, app compatibility, network issues. | Ensure your phone's screen mirroring/casting feature is enabled. Check for any specific app requirements. Restart the mirror link function on both devices. |
Specifications
| Feature | Detail |
|---|---|
| Brand | CARPURIDE |
| Model Number | V9 |
| Color | Black |
| Screen Size | 9 Inches |
| Display Type | LCD |
| Display Resolution | 1920x1080 |
| Connectivity Technology | Bluetooth |
| Connections | Bluetooth, 3.5mm Jack (Audio Out), USB, TF Card |
| Compatible Devices | Mobile Phone (iOS & Android) |
| Power Input | DC 5V-12V 2A (via Car Charger) |
| Country of Origin | China |
Warranty and Support
For warranty information and technical support, please refer to the official Carpuride website or contact their customer service directly. Details regarding spare parts availability and software update guarantees are not available in this document.
Please retain your purchase receipt for any warranty claims.
Related documentsV9


Ask a question about this manual
Ask about setup, troubleshooting, compatibility, parts, safety, or missing instructions. Manuals+ will review the question and use this page’s manual context to help answer it.